HOW TO STYLE A BED - Design Tutorial
Hey Everyone!!
I don’t know about you, but I am in FULL ON NESTING MODE. We are mostly staying home and doing our best to self quarantine. I have already washed everything down inside and out, and that, of course, has me examining every square inch of our home. This is like a kid in a candy shop to me - making a list of all possibilities of what COULD be rather than what currently IS. The problem? We are all watching our spending and cannot really hit Home Goods for our spring change up! Yes, retail withdrawal is probably a think - got it, a first world issue, but nonetheless a thing running through my head.
Thus, I thought it might be fun to do a few posts on techniques for decorating inside your home - hopefully using things you already have, but trying to give you that freshening up that you are wanting. It’s a nice way to expend that nervous energy and also a fun way to make some changes without leaving your home.
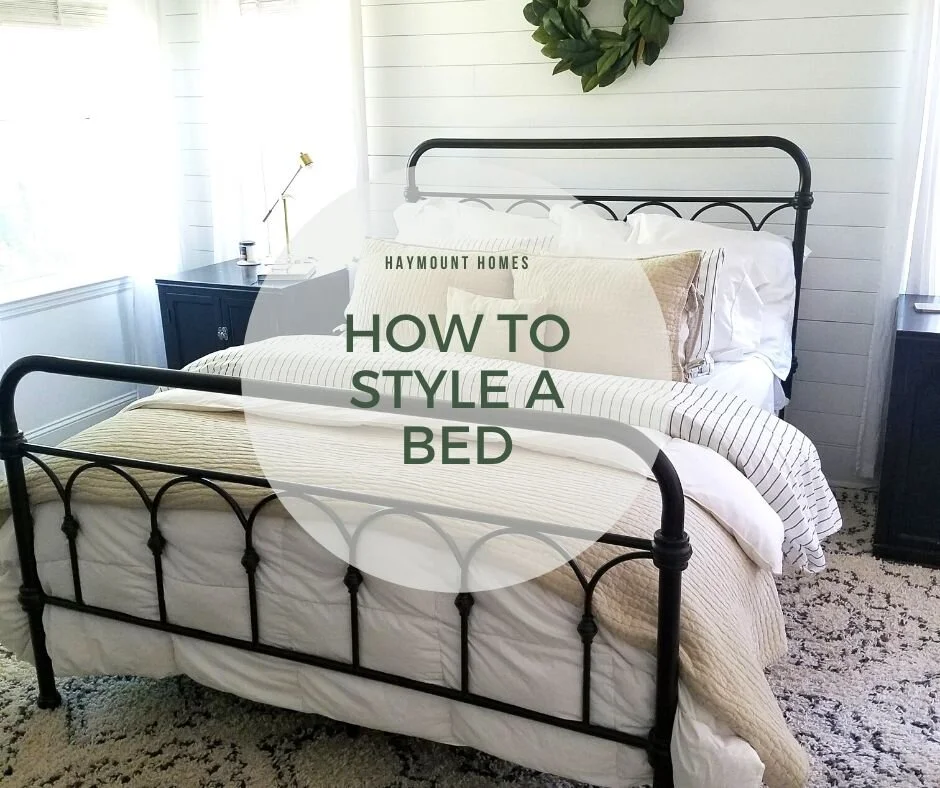
On that note, let’s talk about styling (not making, but styling it for prettiness!) your bed. There are lots of ways to make it beautiful, but I figured I’d share a simple step by step method that I use in our home. Hope this is fun for you - remember, swap pillows throughout your home to update looks and experiment with something new! You probably have more options than you think (note on pillows at the end…)
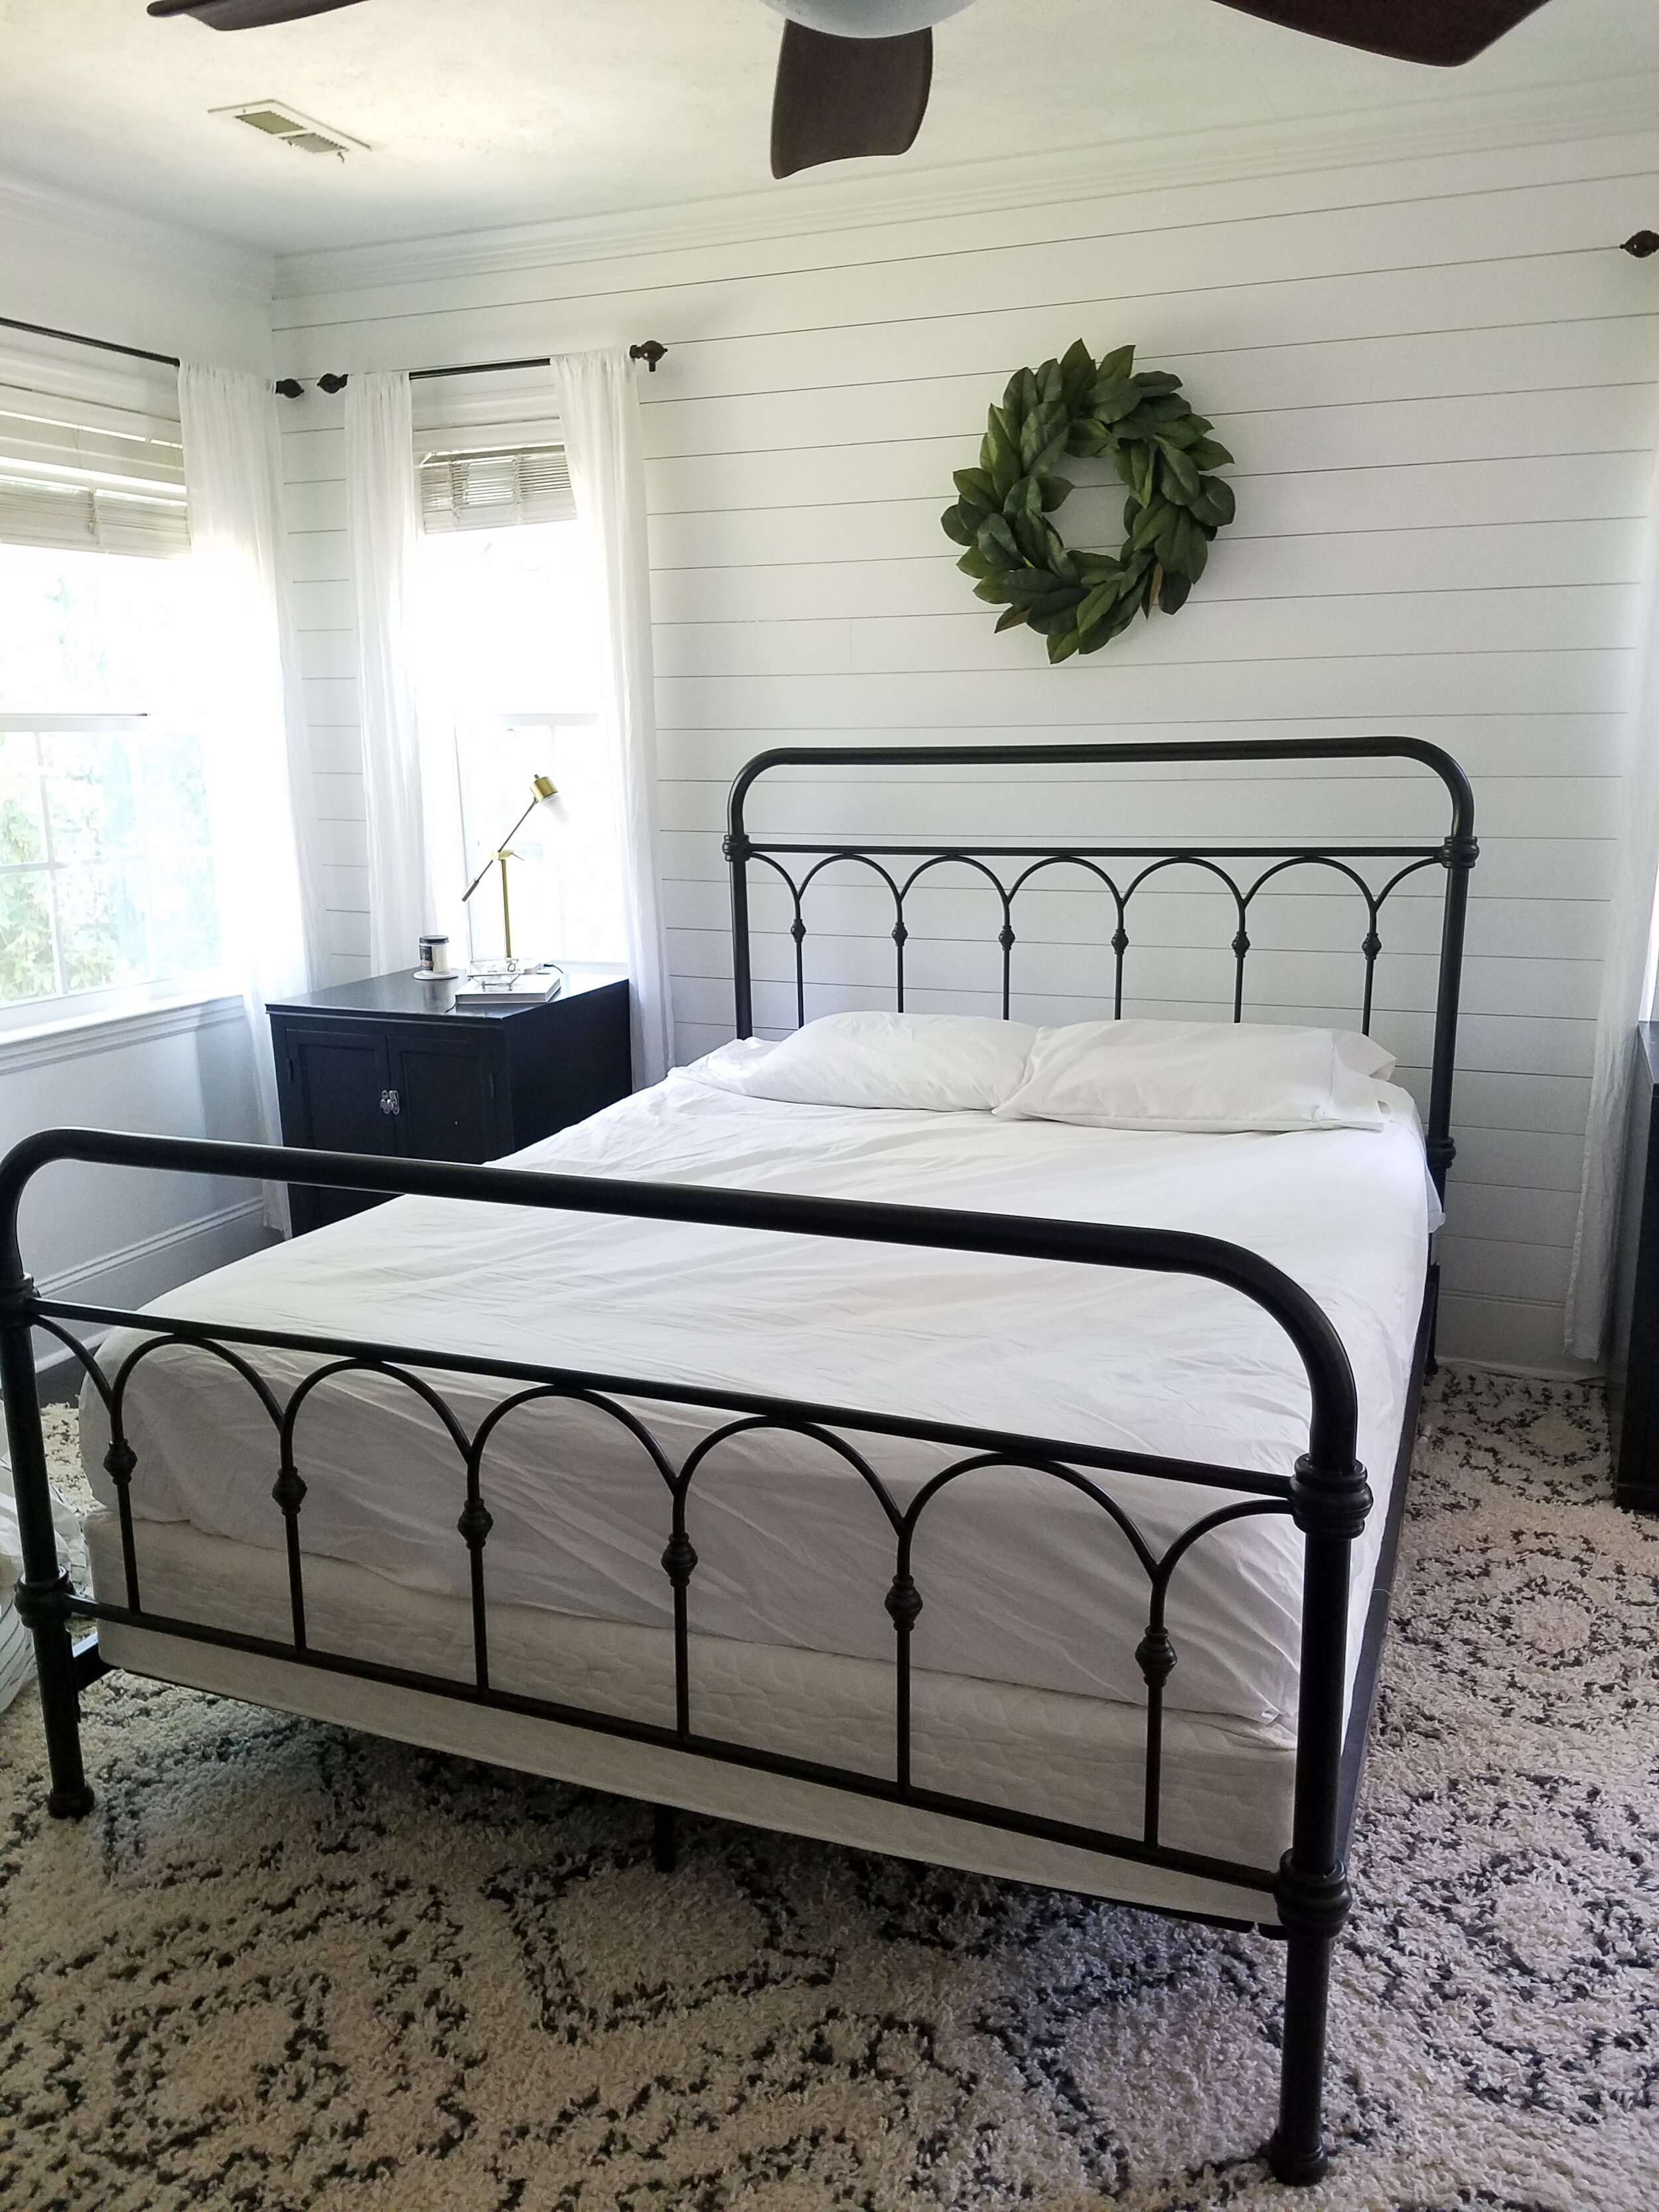
STEP ONE: Build your Basics - start with a crisp fitted and flat sheet, pillowcases, and pillows for sleeping.
STEP TWO: Add a duvet and duvet cover. Don’t be afraid to mix patterns - stripes against the boho print rug - adds interest!
STEP THREE: Optional - Add another duvet and cover for added warmth or texture/layering and fullness.
STEP FOUR: Add EURO Pillows- square shaped - can layer them behind or infront of the sleeping pillows.
STEP FIVE: Layer additional pillows. Mix patterns, sizes, and styles. Think of making a reverse pyramid - wider base at the back (near euro pillows) and start to build them into smaller layers as they move forward to the front.
STYLE NOTE: Don’t be afraid to mix whites and creams- seems scary, but it works - I have white walls and bedding, but an ivory rug and beige/ivory pillow shams and blankets. It creates imperfect cozy!
STEP SIX: Add a blanket or throw - for added layering, texture, and interest! Feel free to mix up colors, patterns, and textures!
STEP SEVEN: Balance the top with wall decor - I love a circular wreath to balance the rectangle of the bed. You want to help ground the art by placing the bottom of it about 4ish inches from the top of the bed. That will give it all balance. Another option is a large rectangular piece hung lengthwise, or a group of three smaller square pieces. See what you have in your home and swap it in!
STEP EIGHT: Enjoy! Have fun mixing and matching until you get the right combination!! Challenge yourself to use things already in your house.
One final note on pillows, Carl and I are at odds with pillows. In my head, the more the better, and he is not quite on board, feeling that he spends too much time arranging pillows each morning. Do you remember the moving, Along Came Polly? Here is a clip that pretty much defines it:
https://www.youtube.com/watch?v=OJcOHqyk5dY
Well, pillows might be decorative, but they are inviting, cozy, and appealing - they are visually pleasing and make me want to jump into my bed and stay awhile :) Thus, he knows they make me happy and deep down, he also knows that I am right :) So, to that, my quote:
“Throw pillows are the stuffed animals of grown women.”
Happy Nesting - Be well!
-Casey


