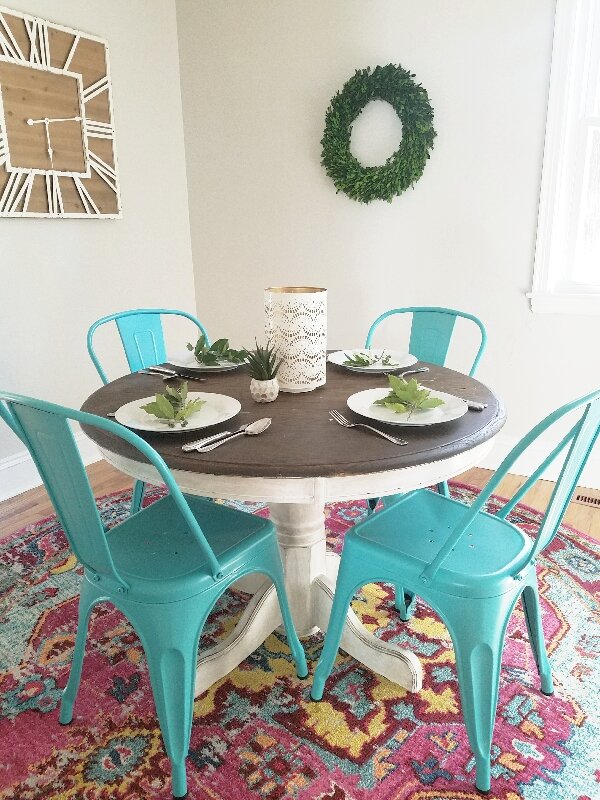
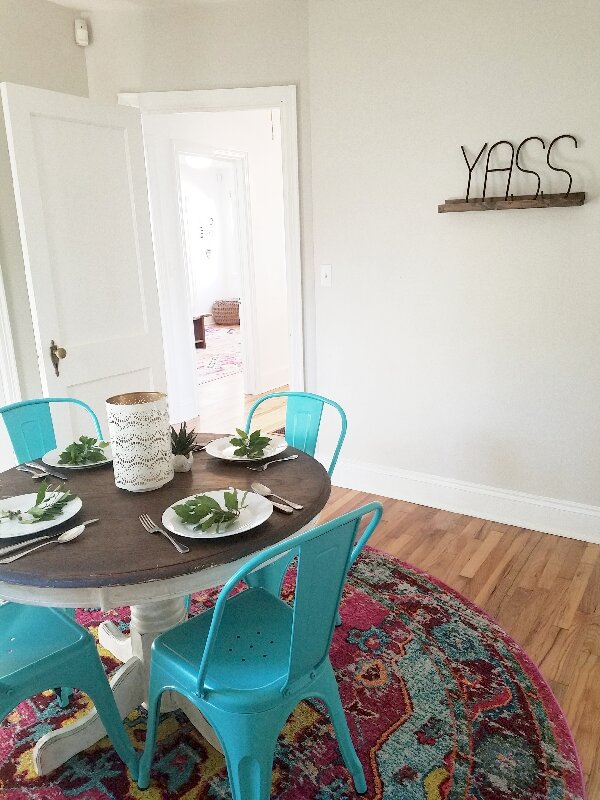
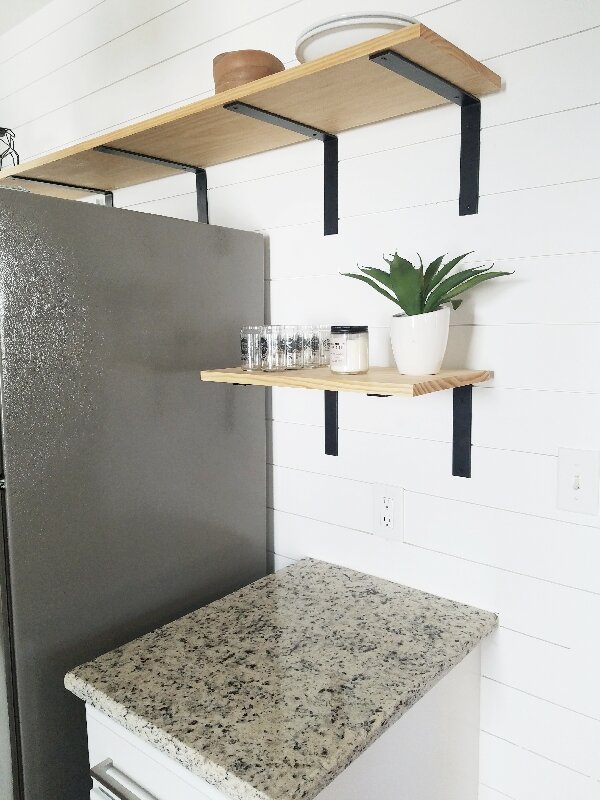
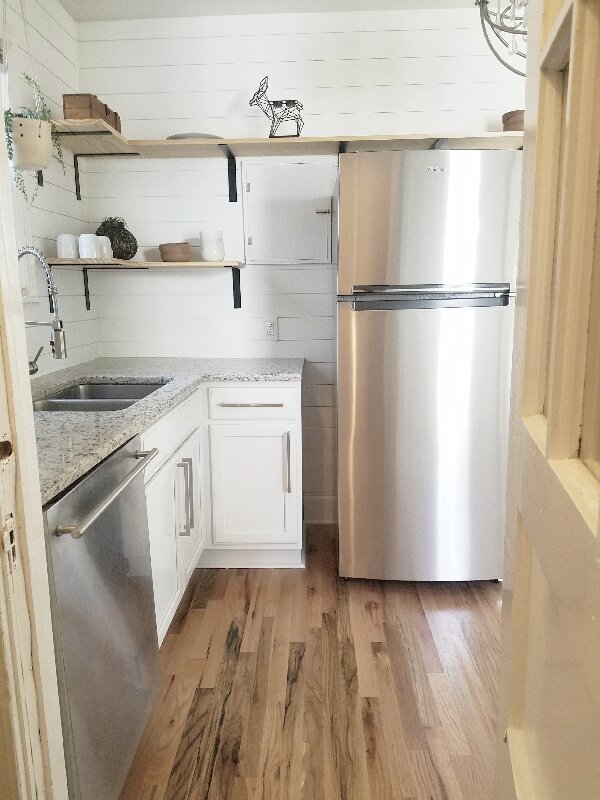
Hillside Renovations Part IV: Before and After Lower Level Living Room and Kitchen (Copy)
Beautiful before and after pictures of kitchen and living room renovation of a 120 year old historic home
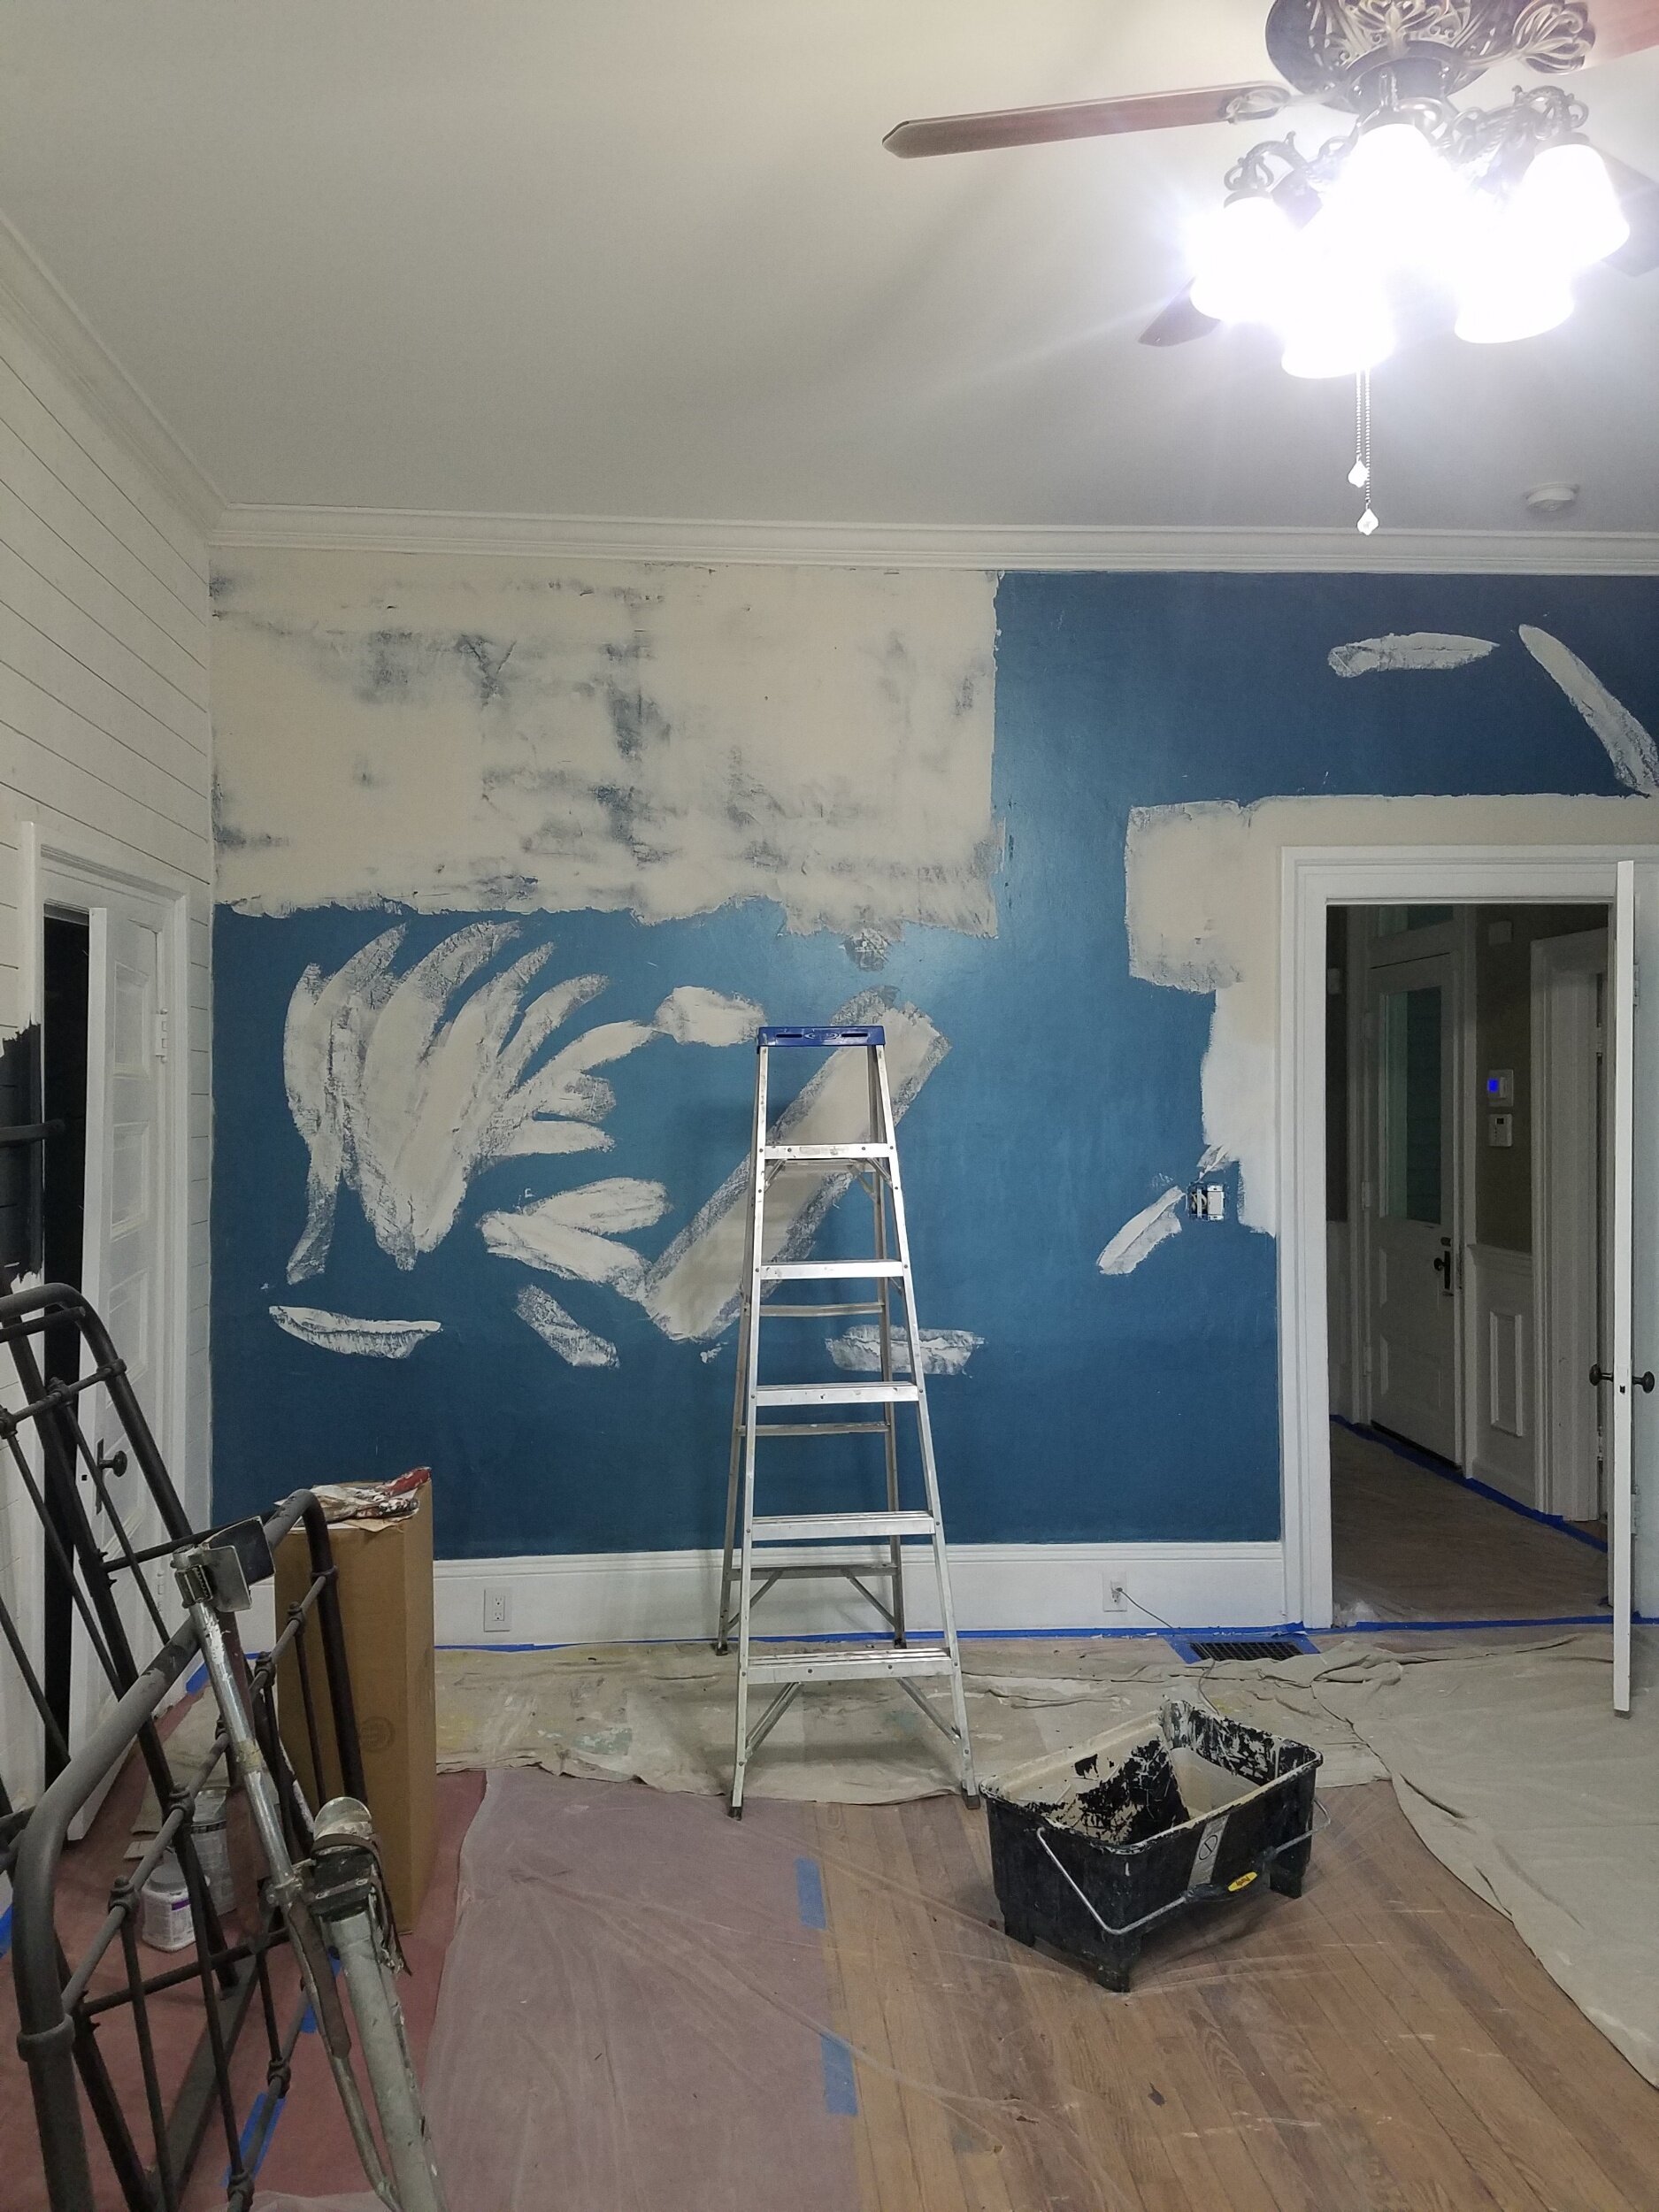
Well….who’s in the mood for some before and after photos? It's been a while since we have updated everybody on the renovations on our Hillside home, so we decided to get moving on a new blog post to show you some of the transformation.
At our home, everything is consistently a work in progress. We just ordered a couple of different runners to choose one for the kitchen (recent obsession Loloi rugs…), and things are slowly coming along on the bookshelves. Despite the lack of finished product, we took some photos anyway!
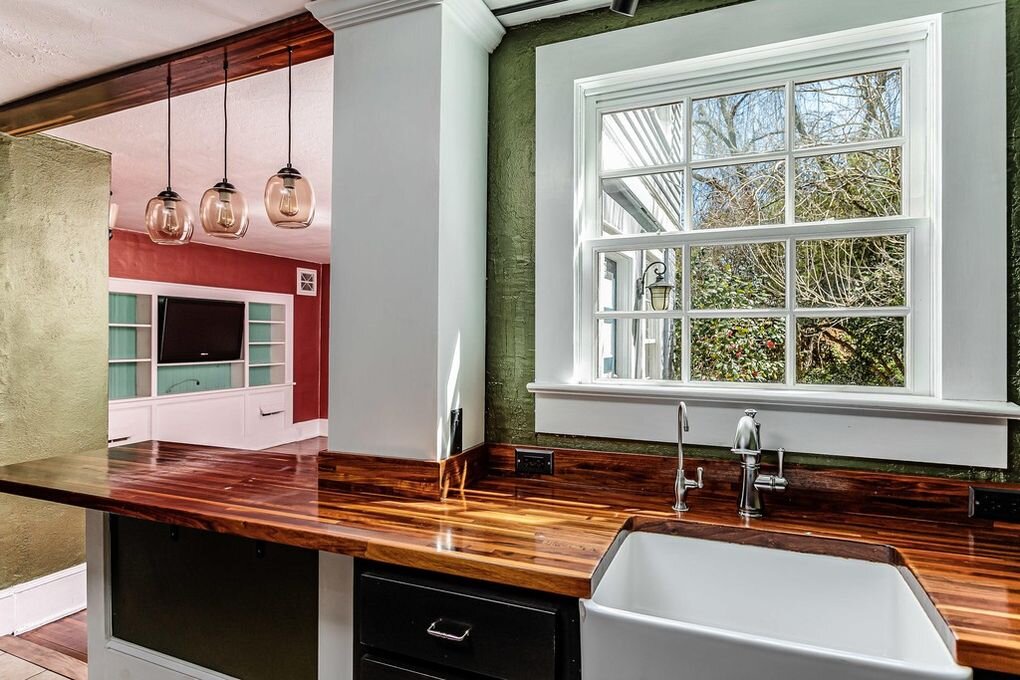
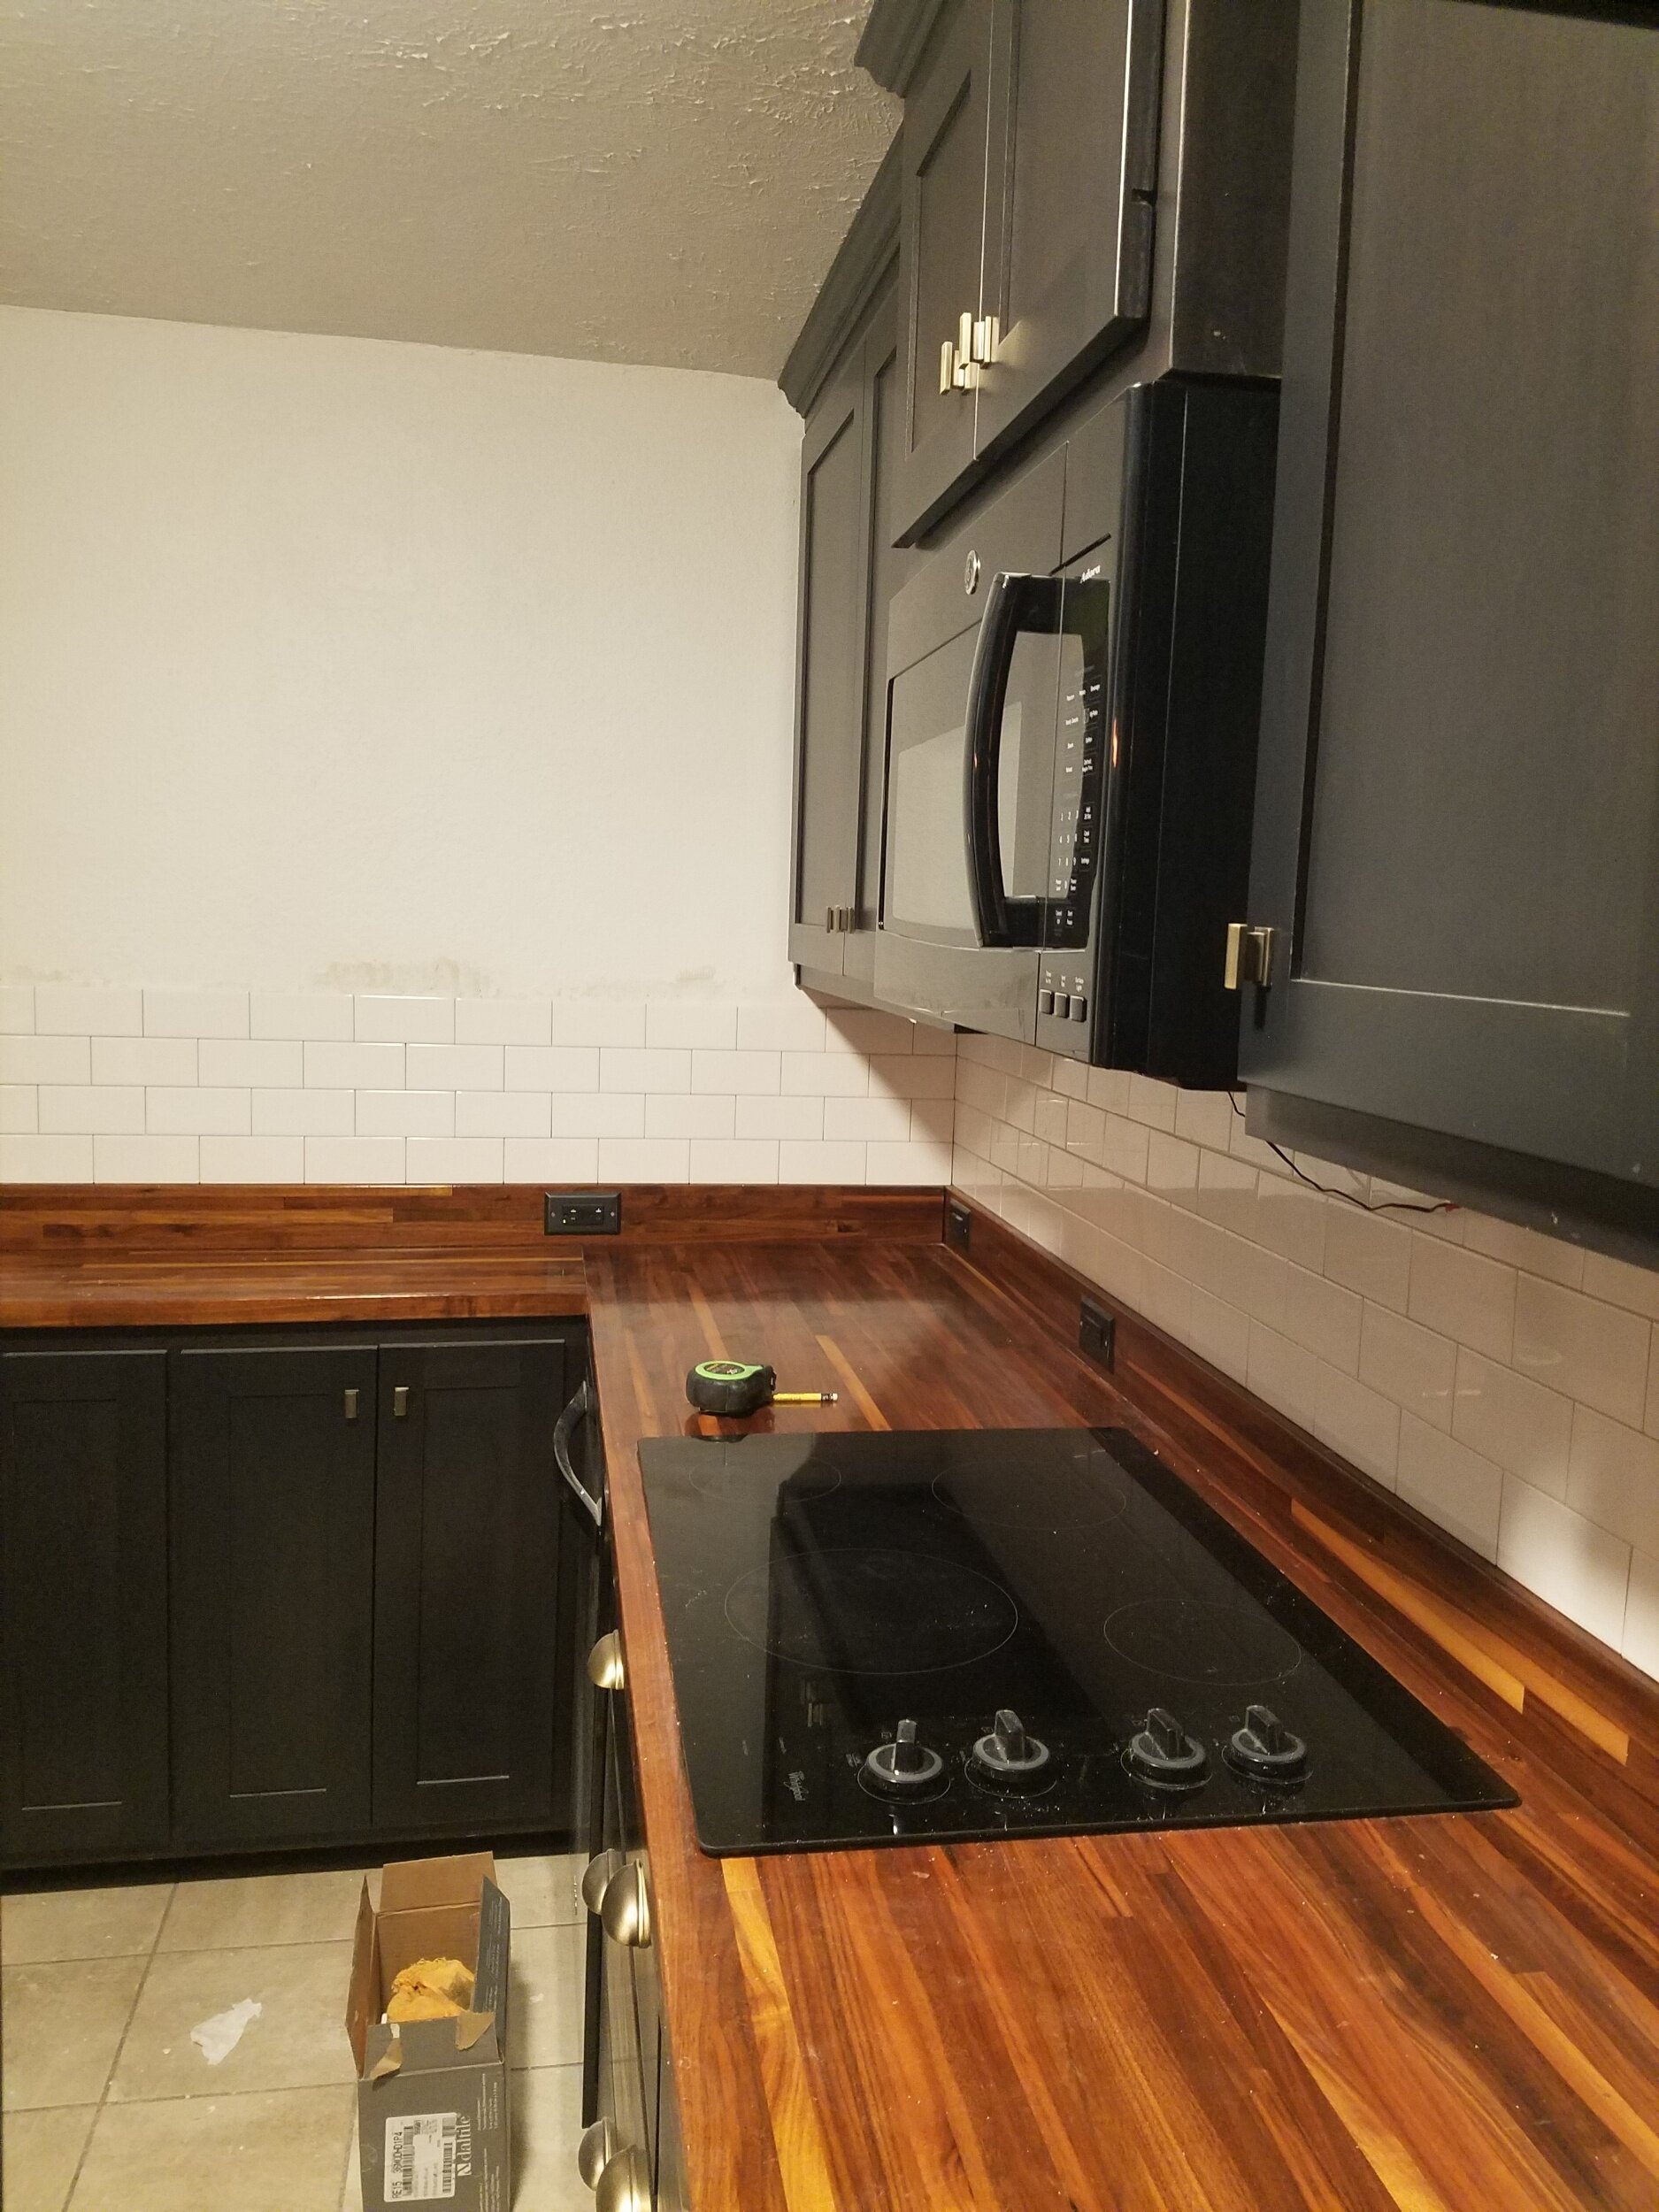
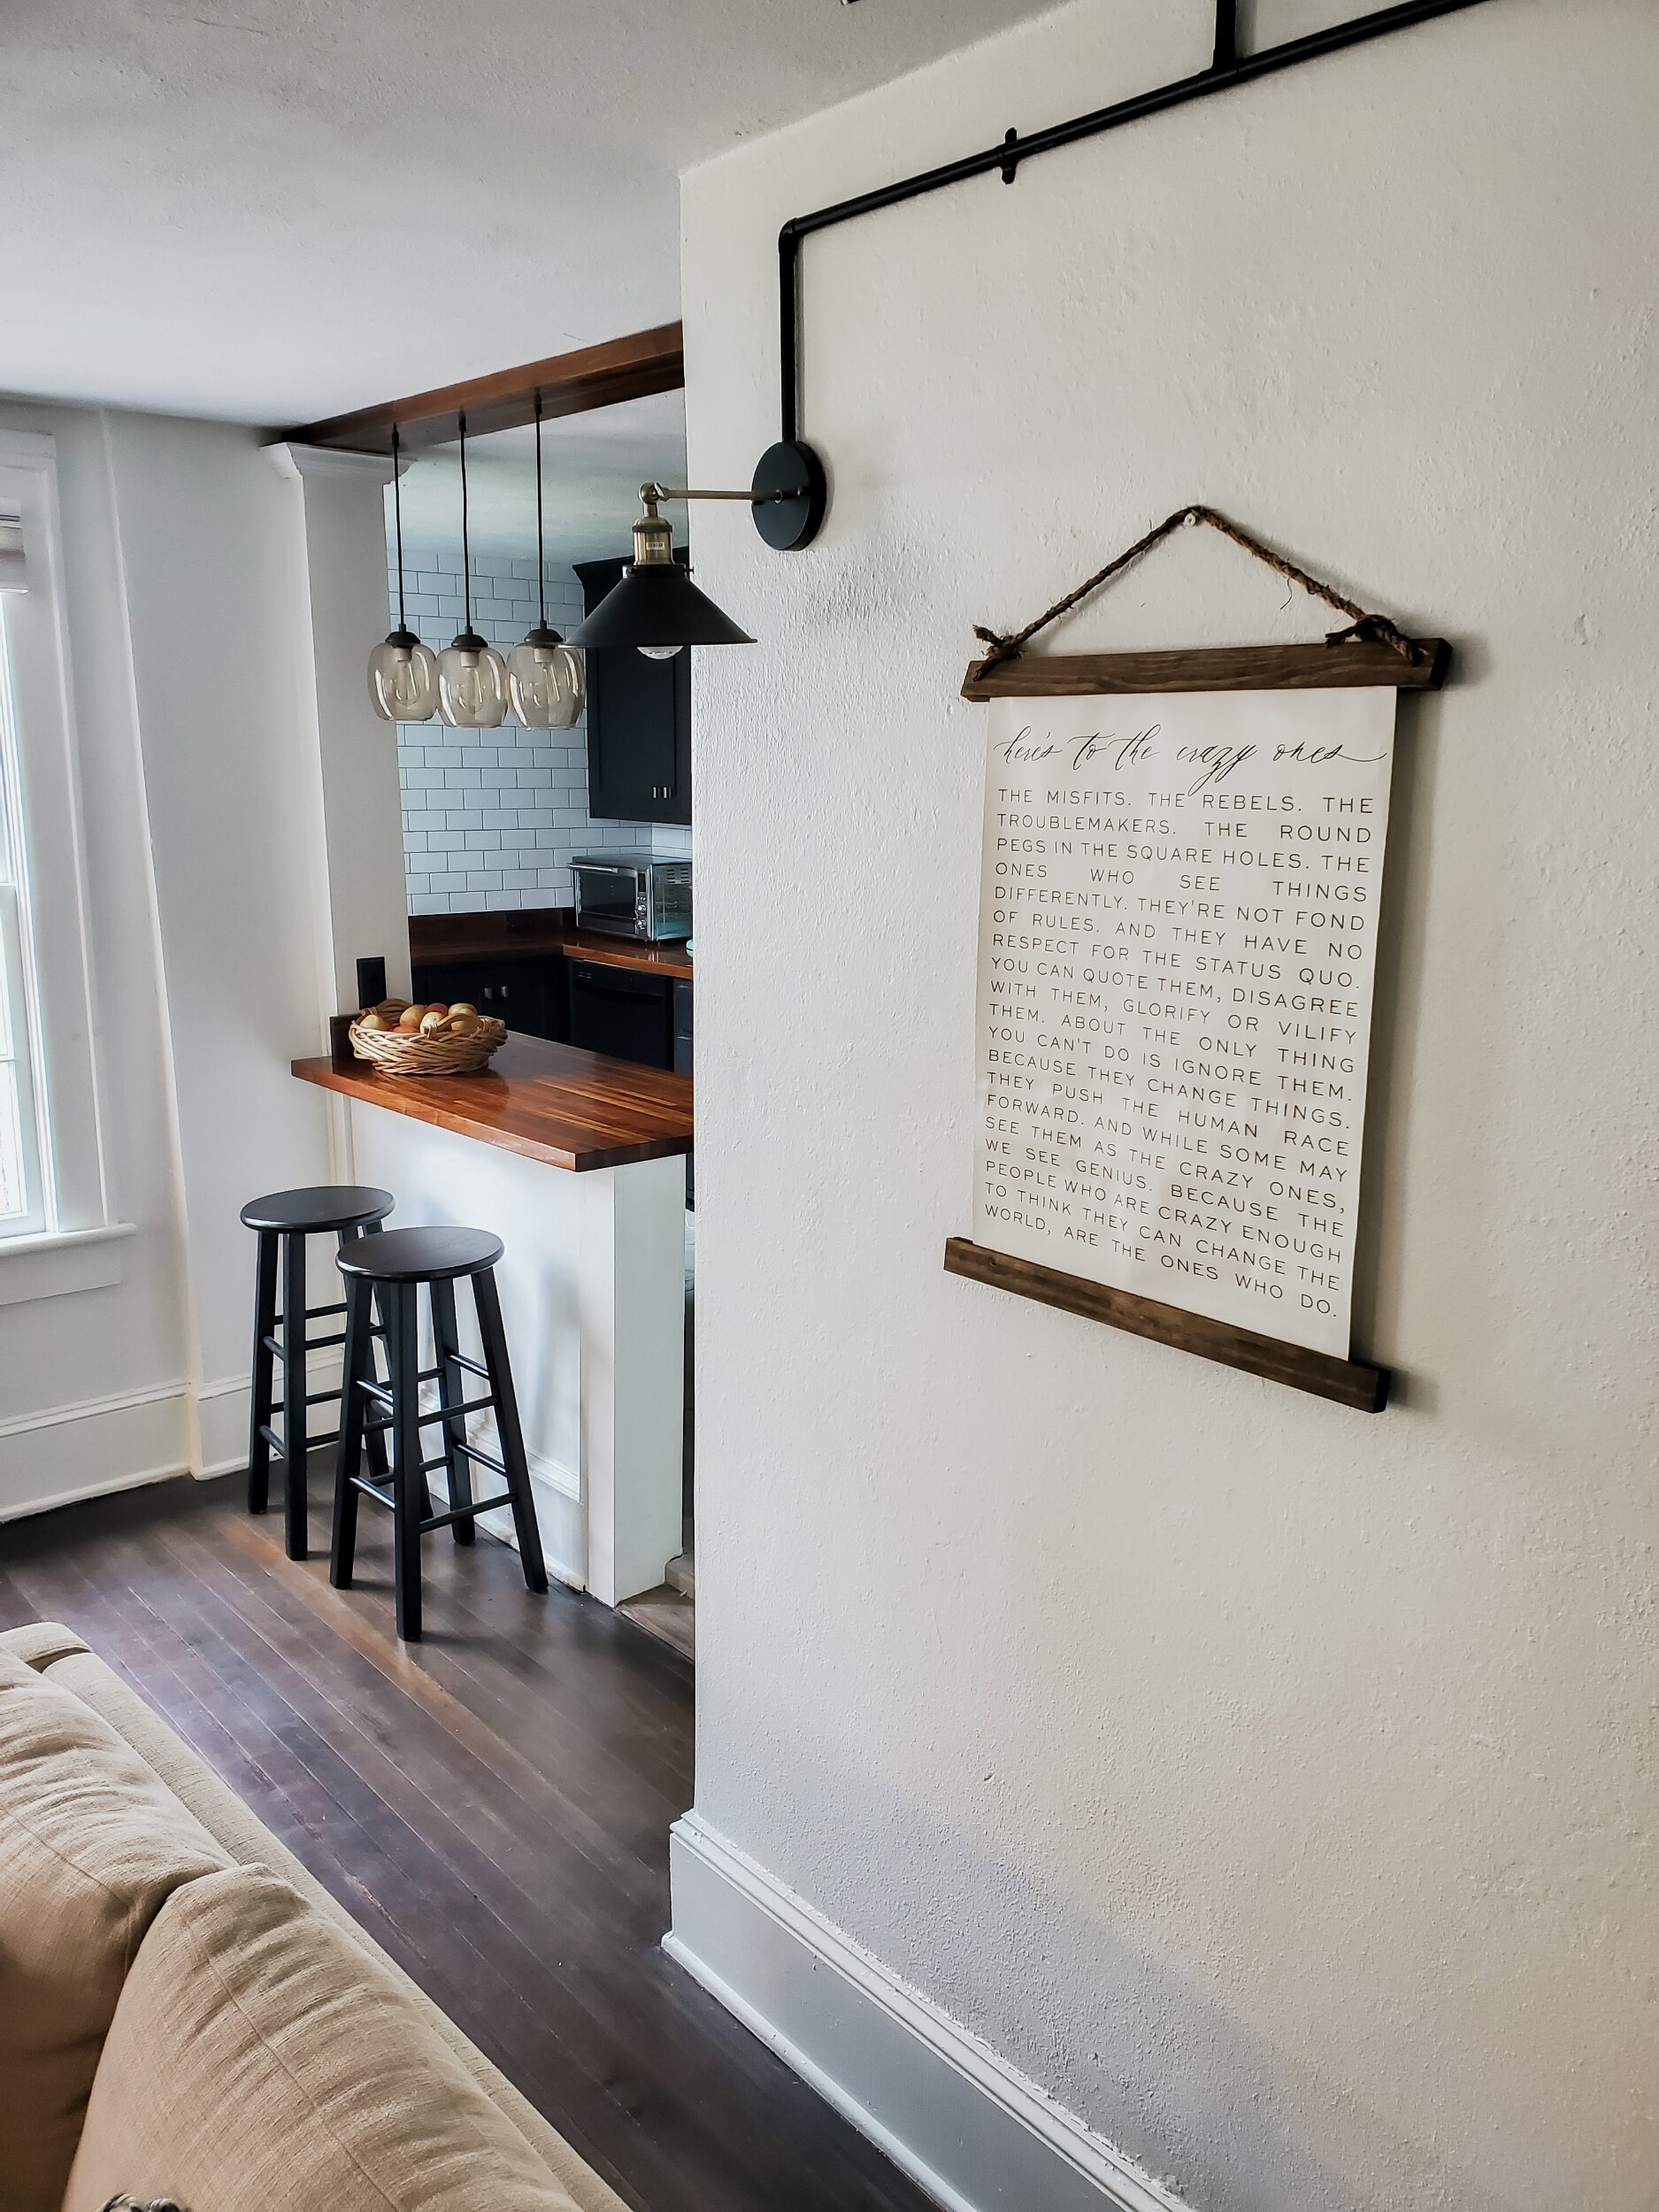
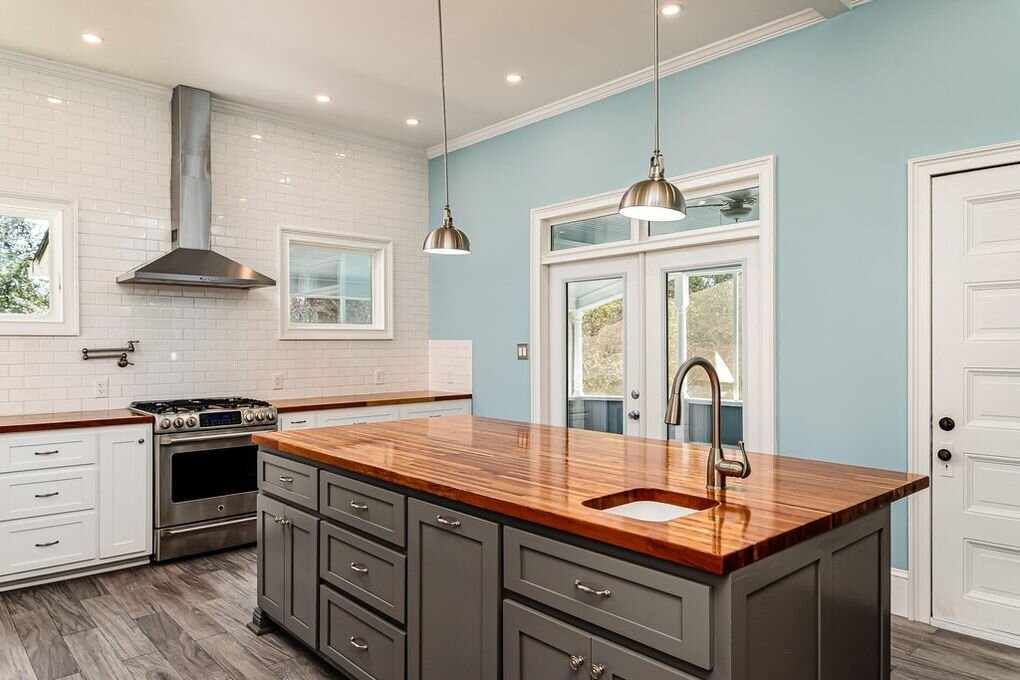
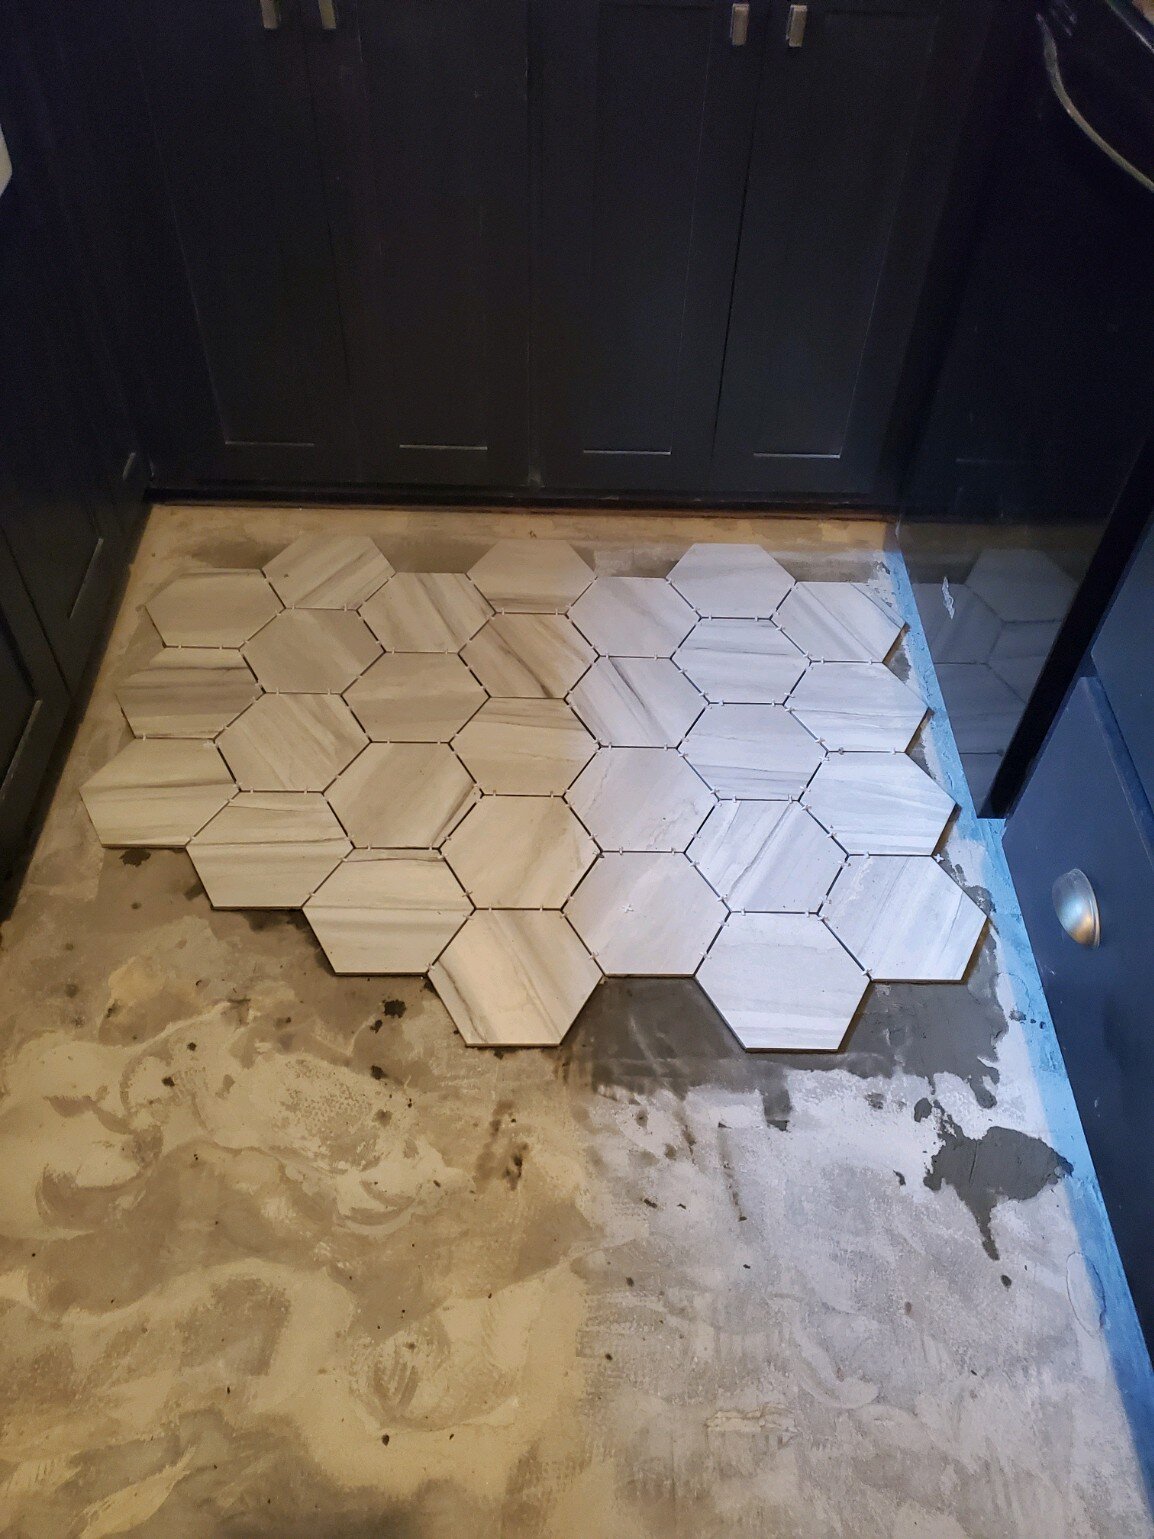
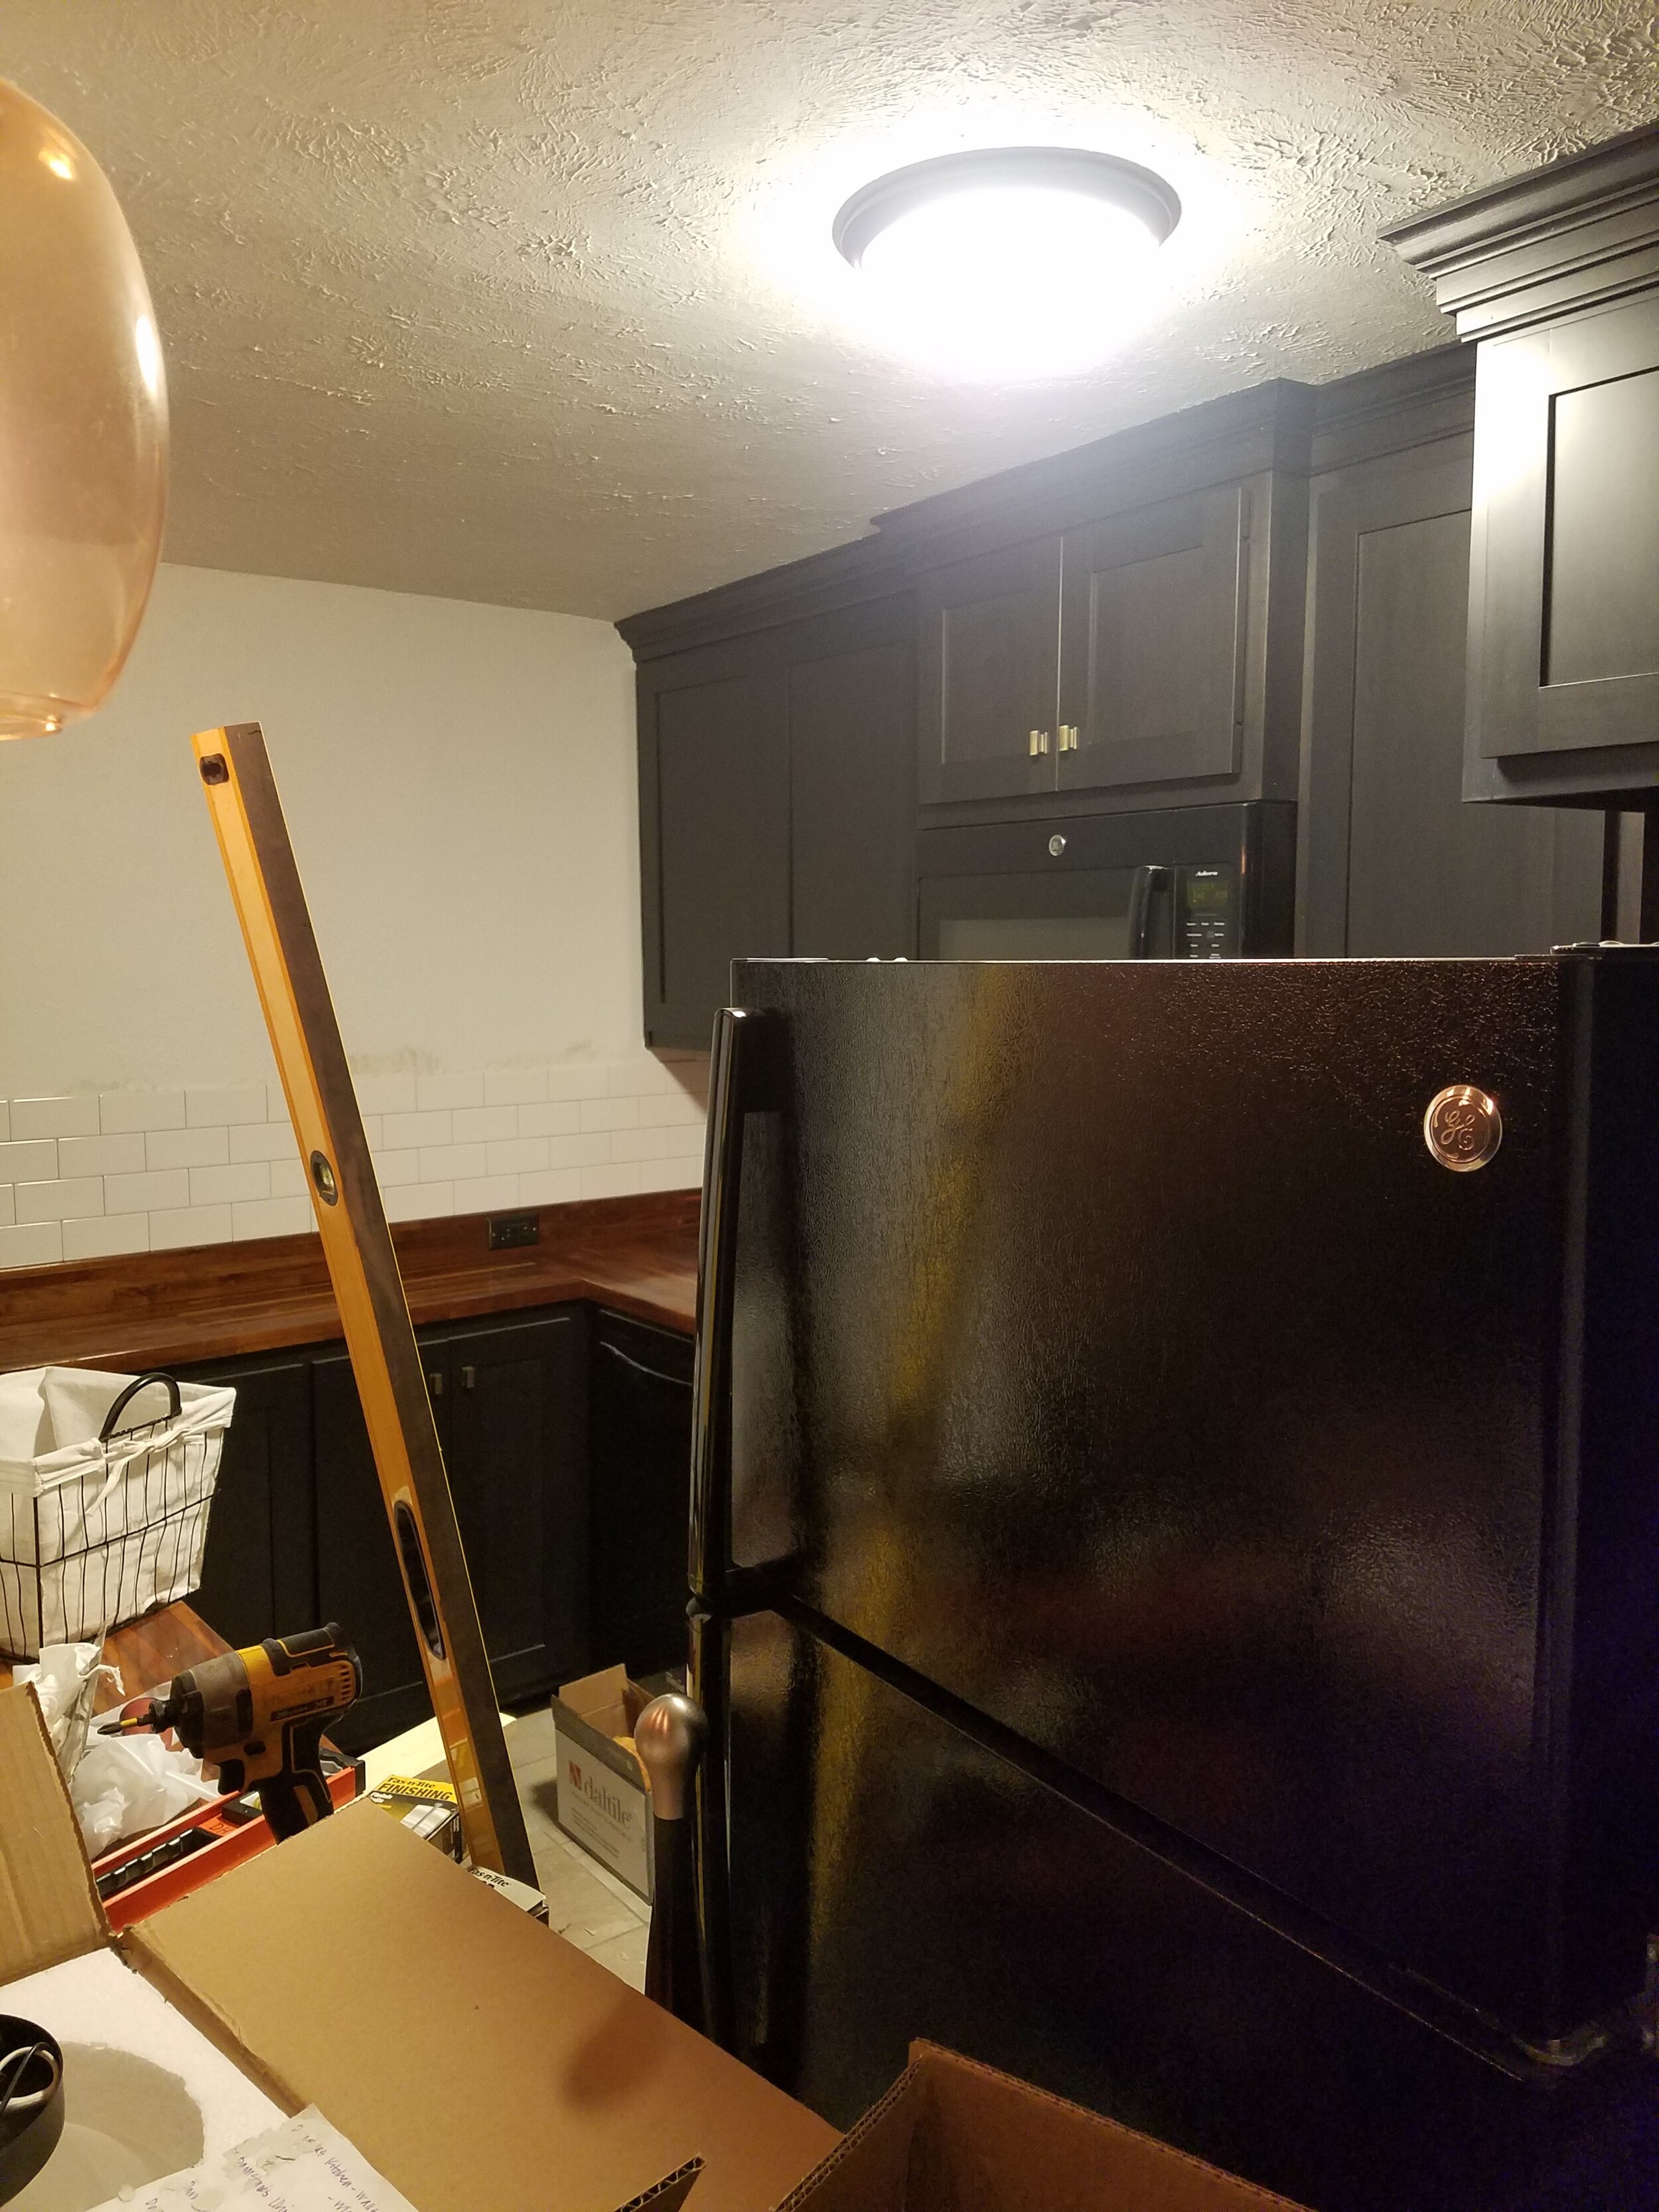
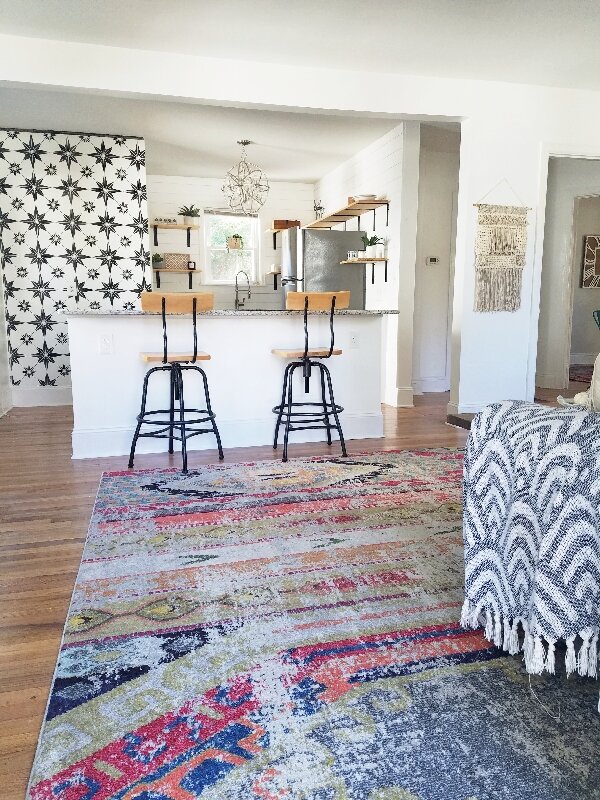
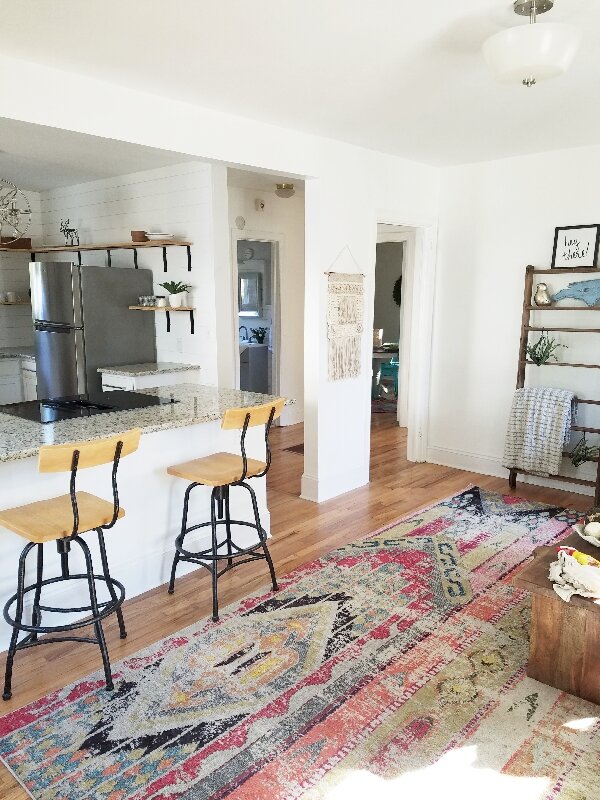
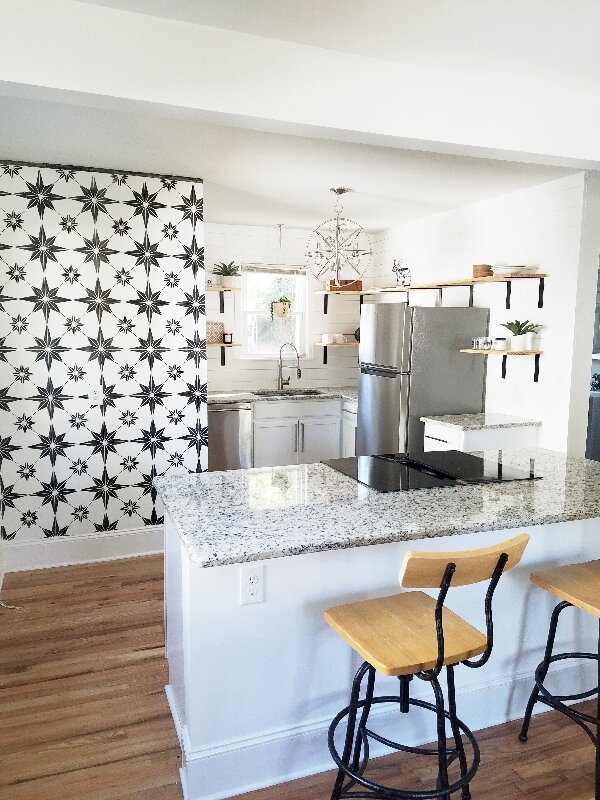
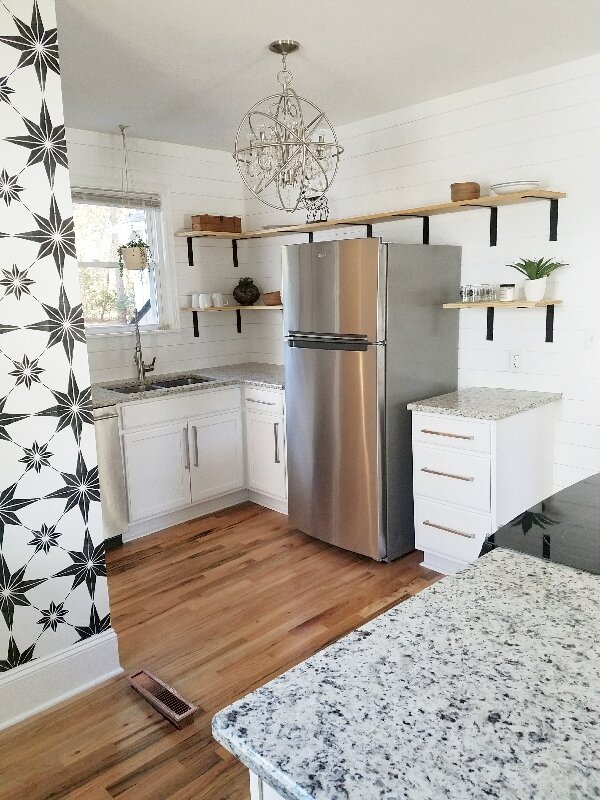
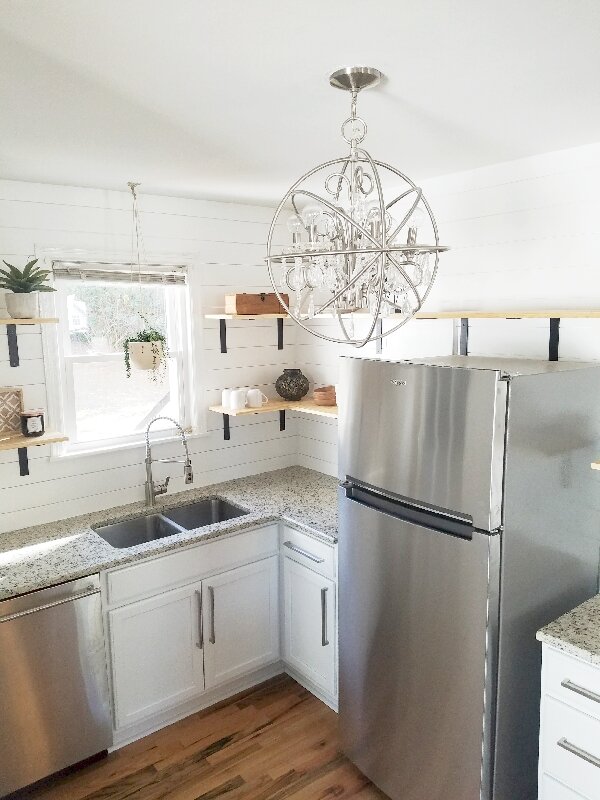
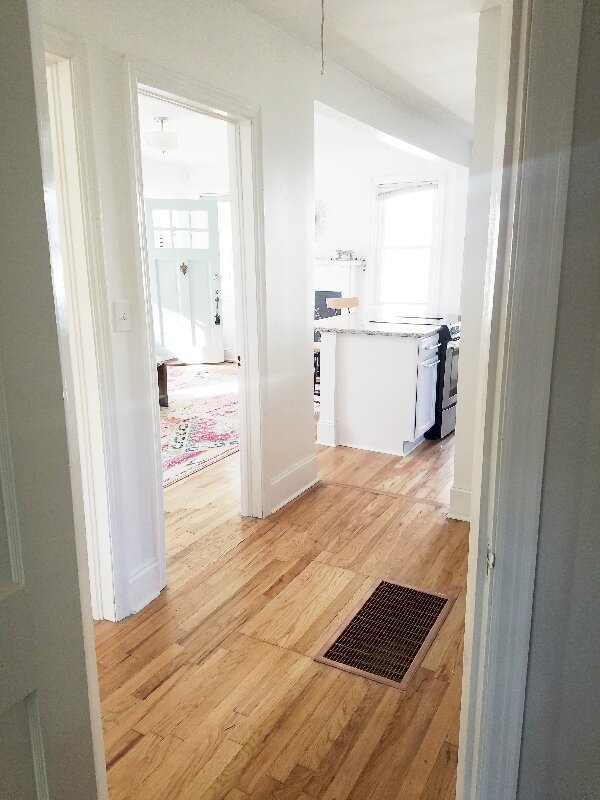
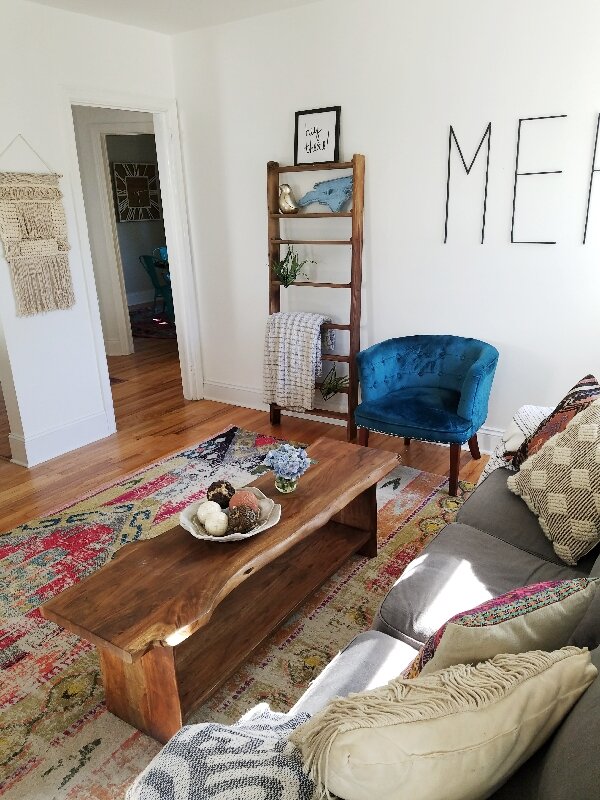
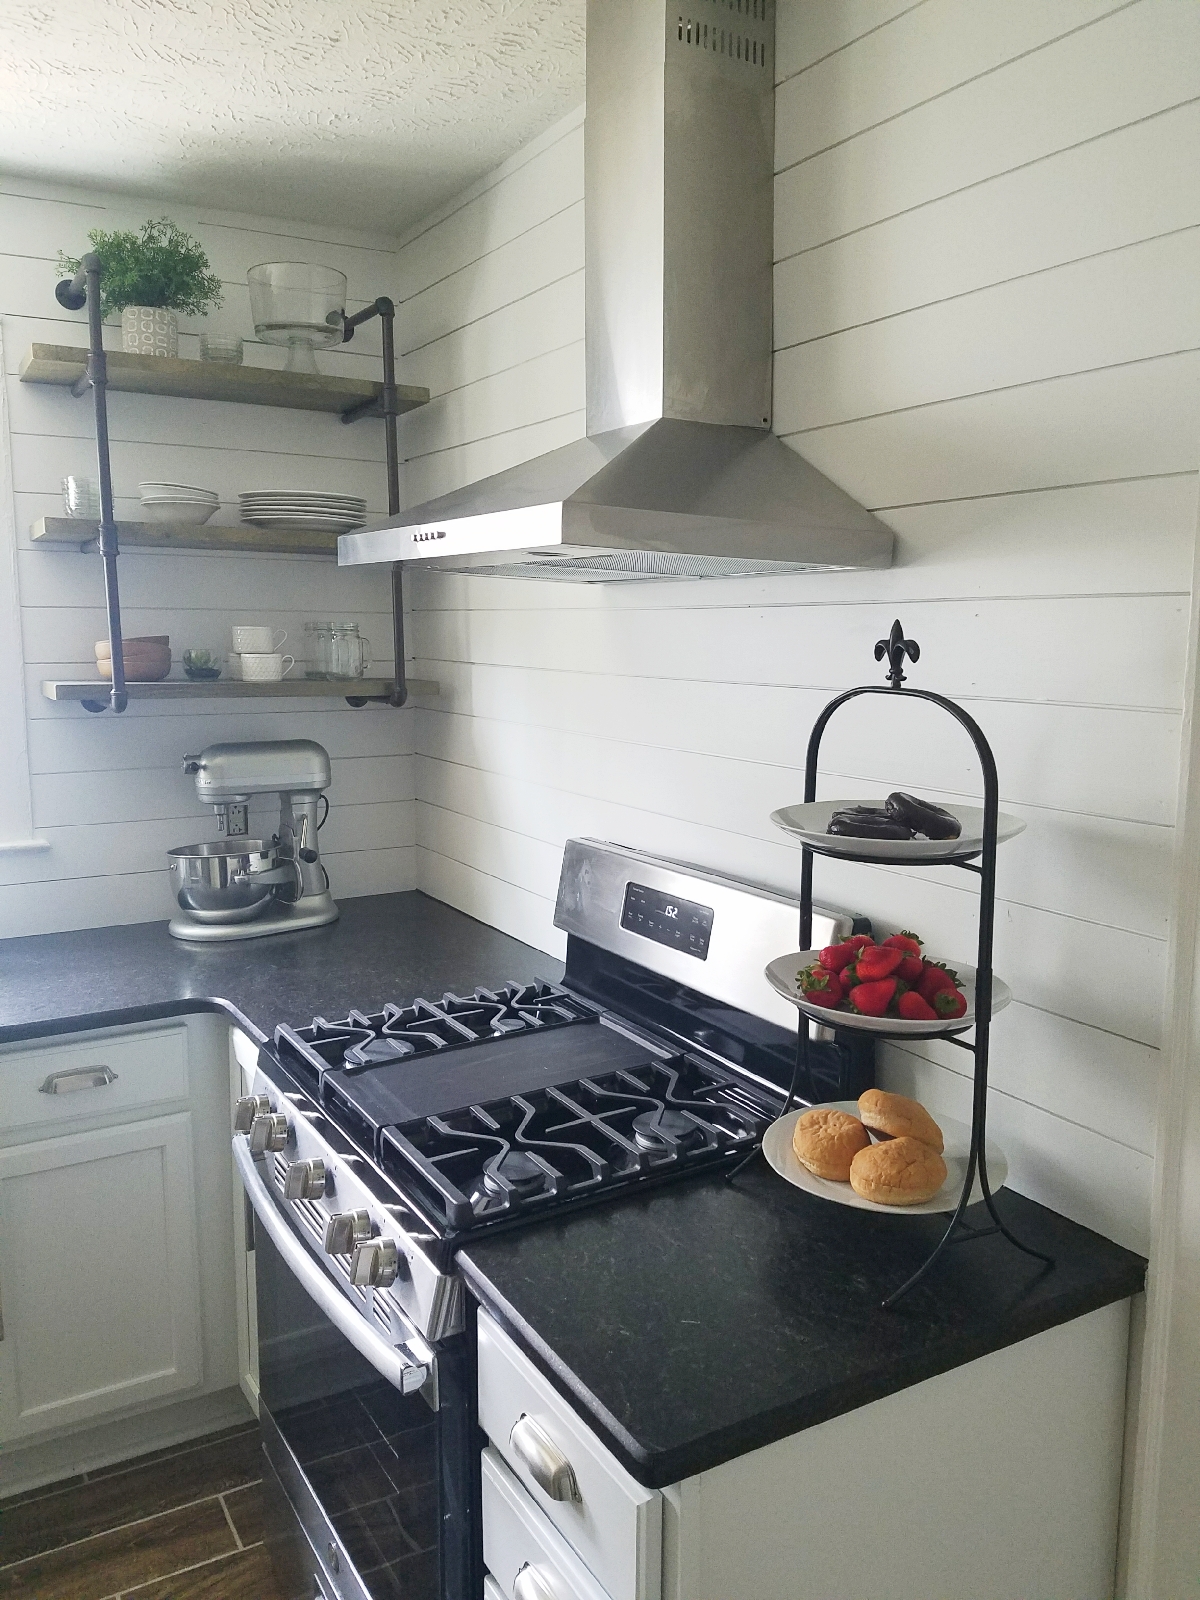
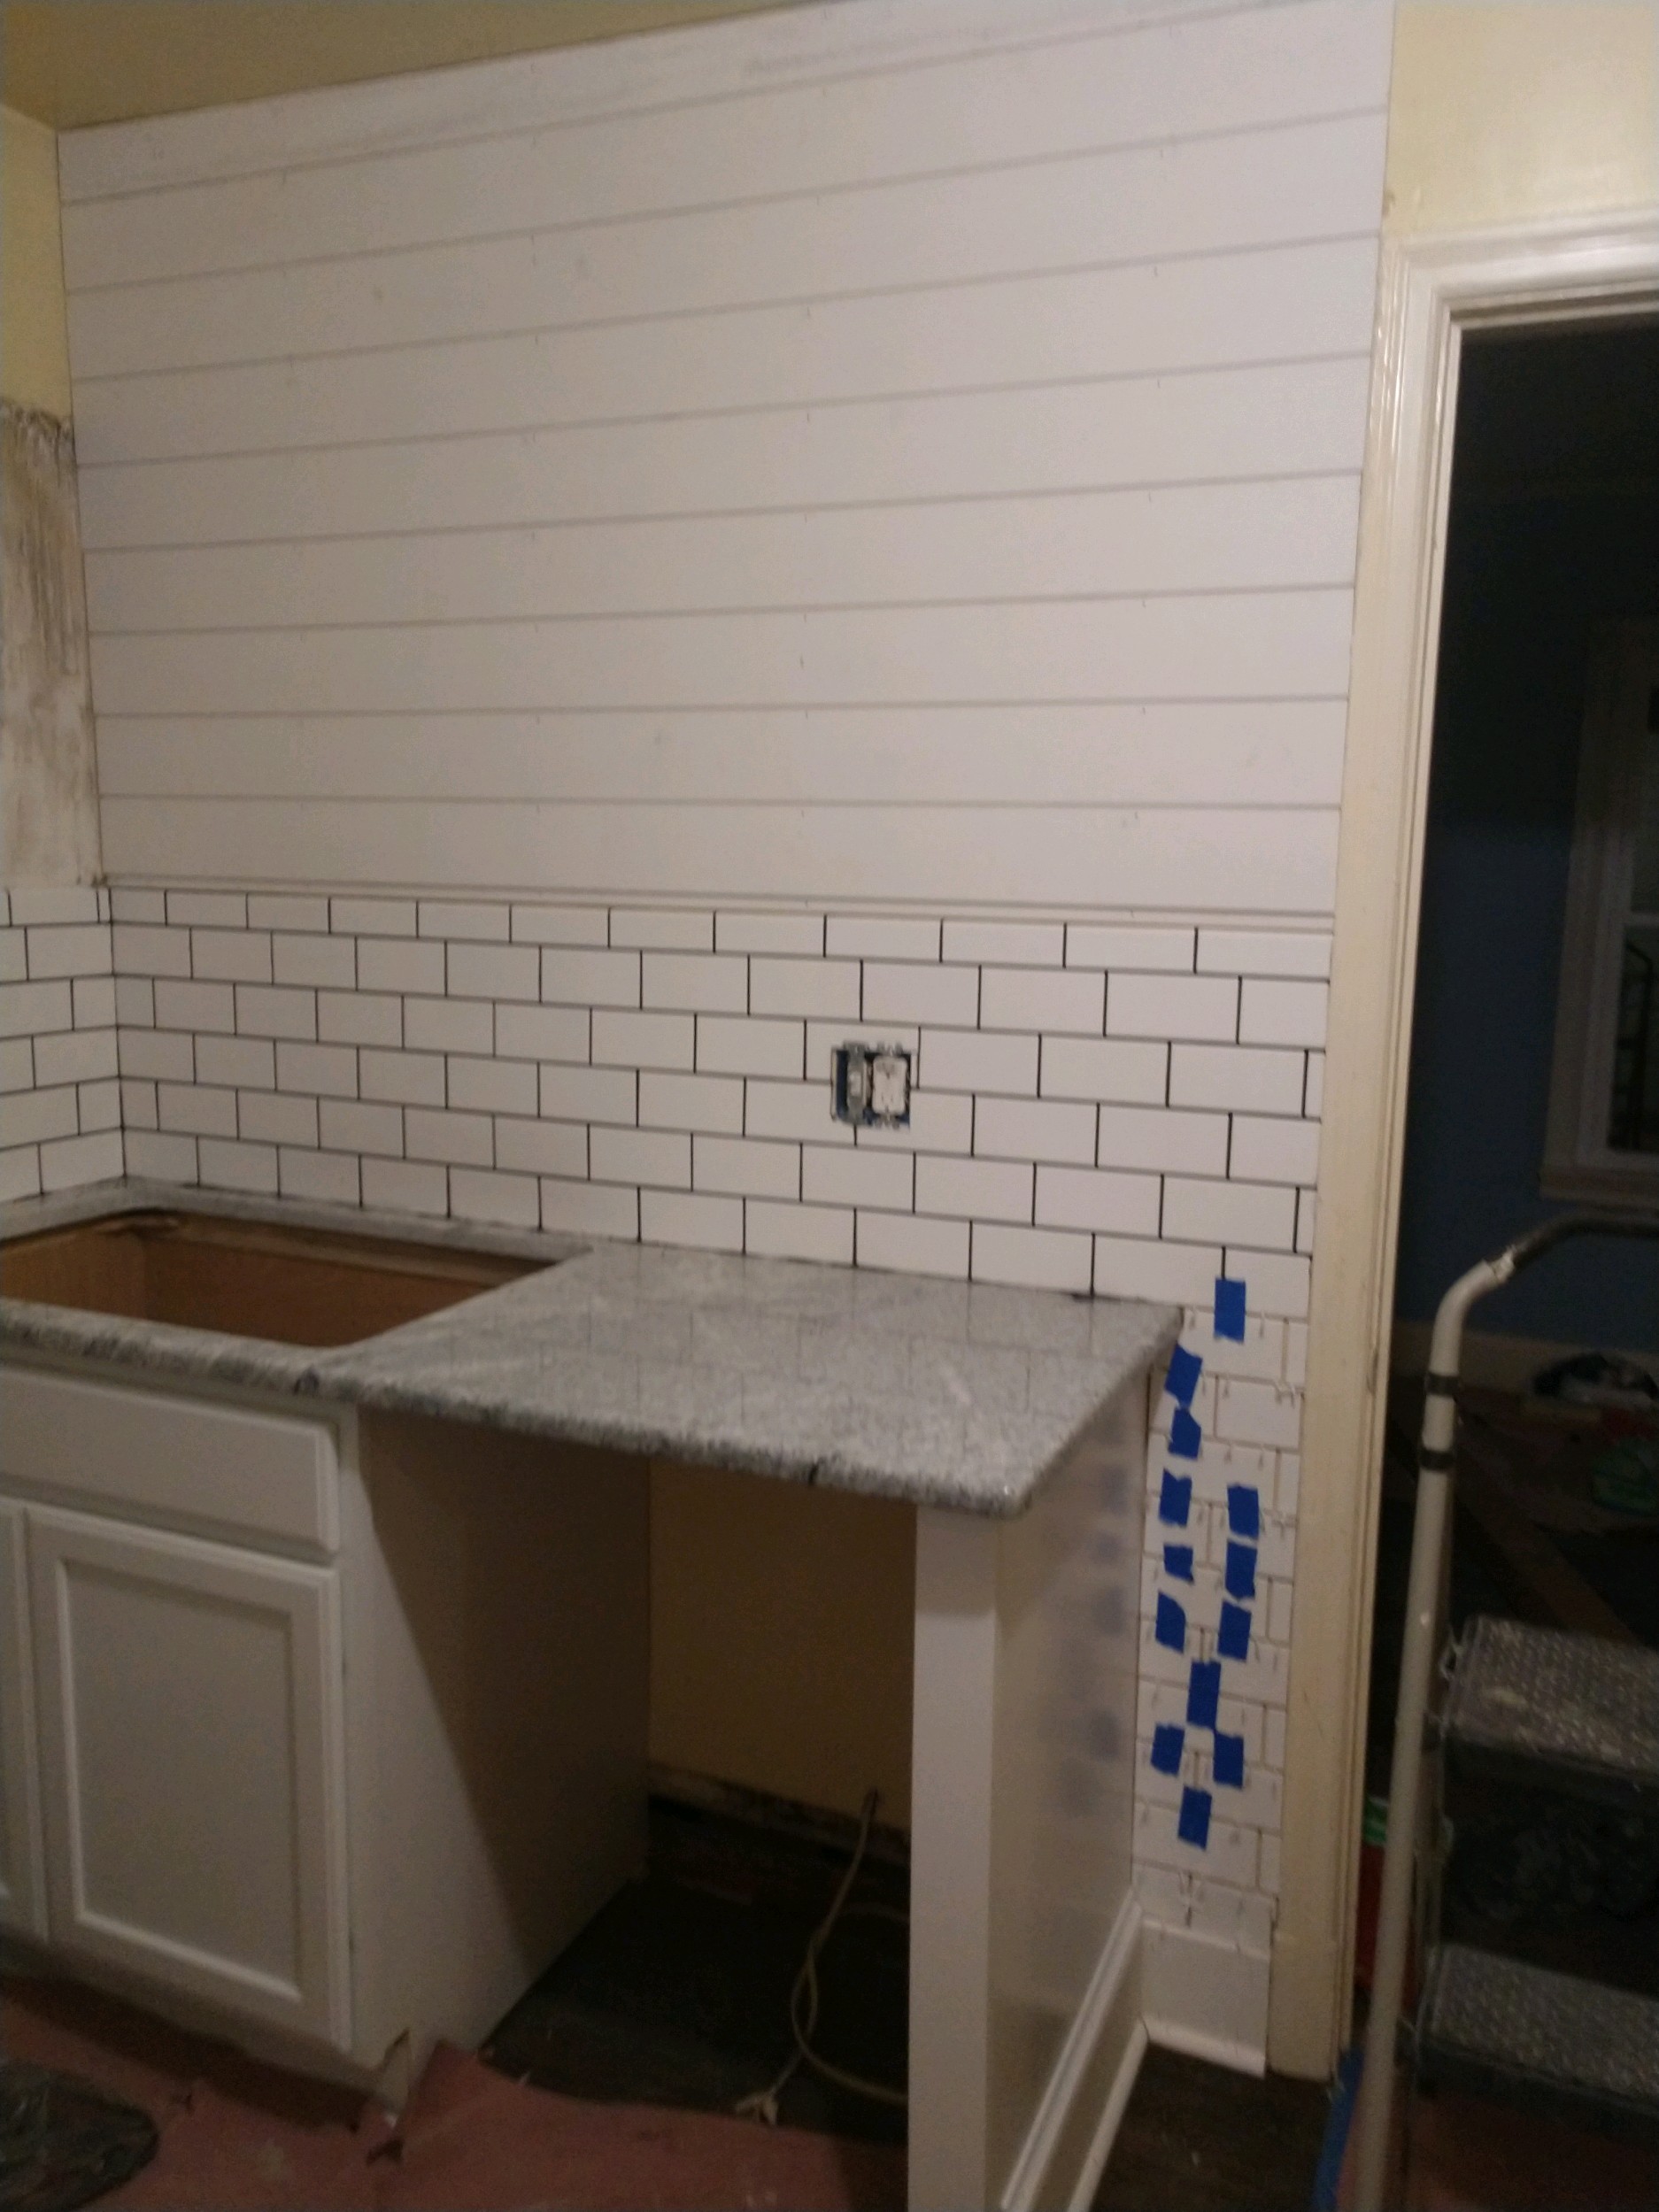
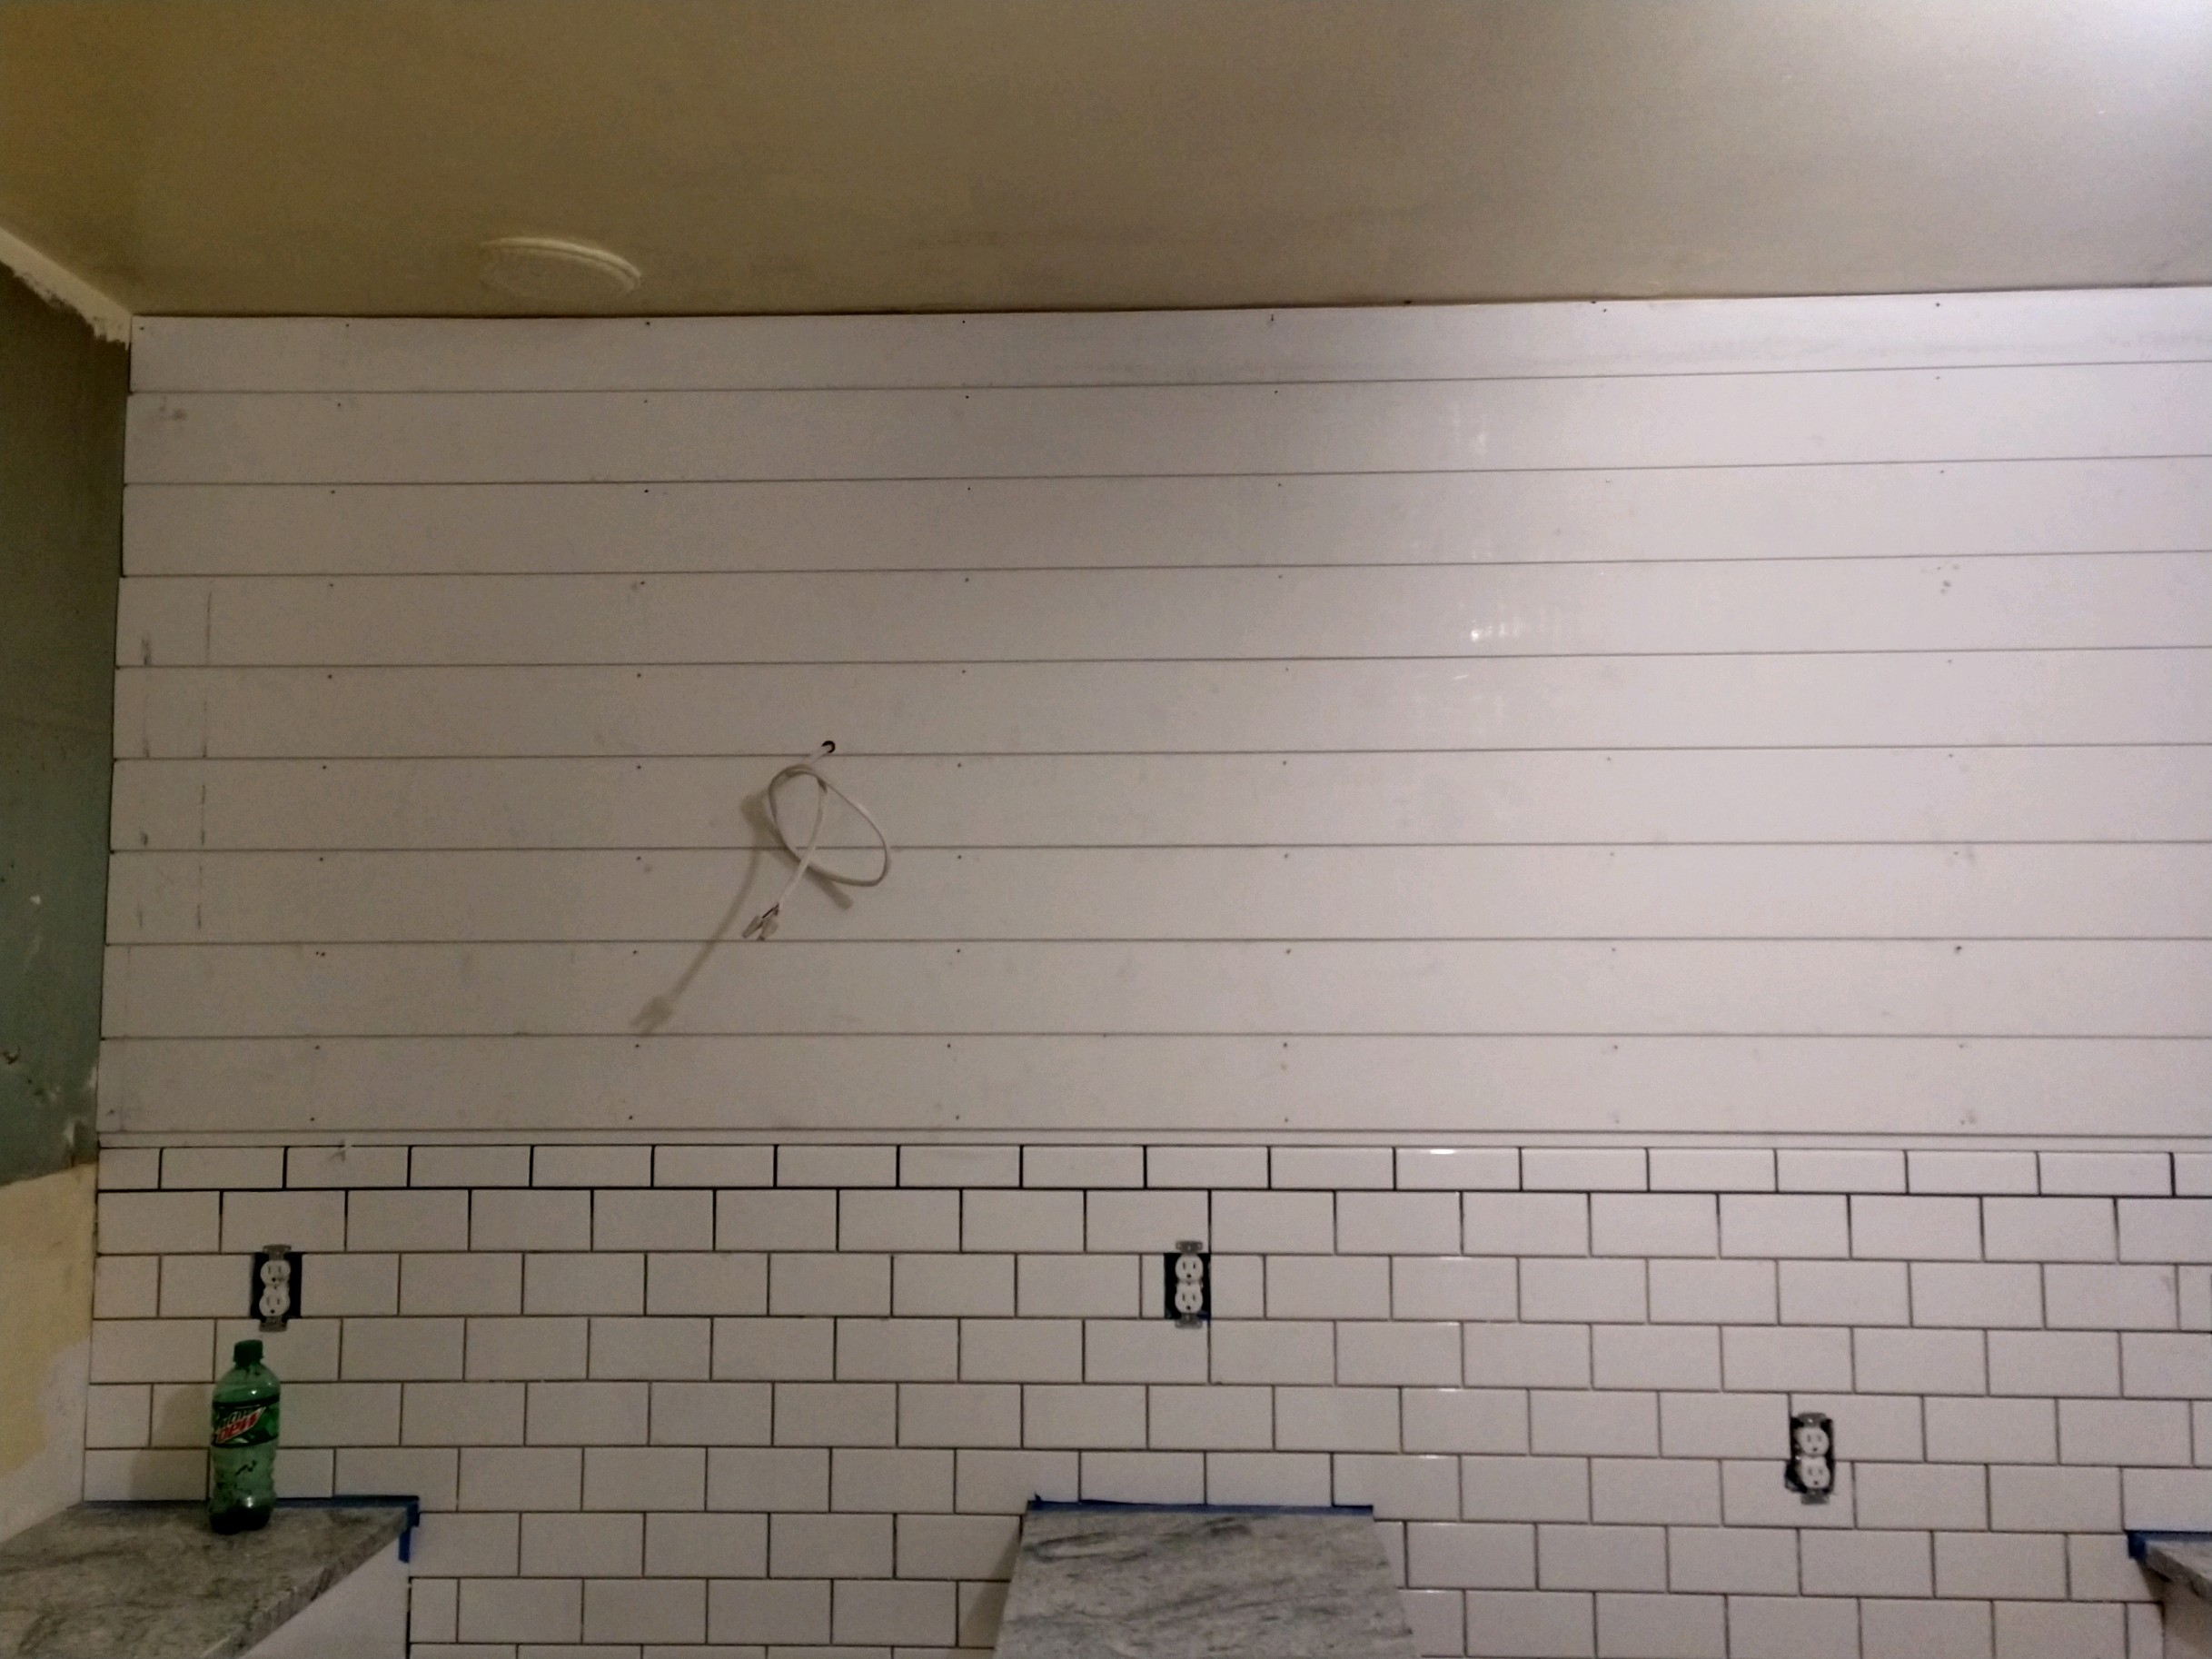
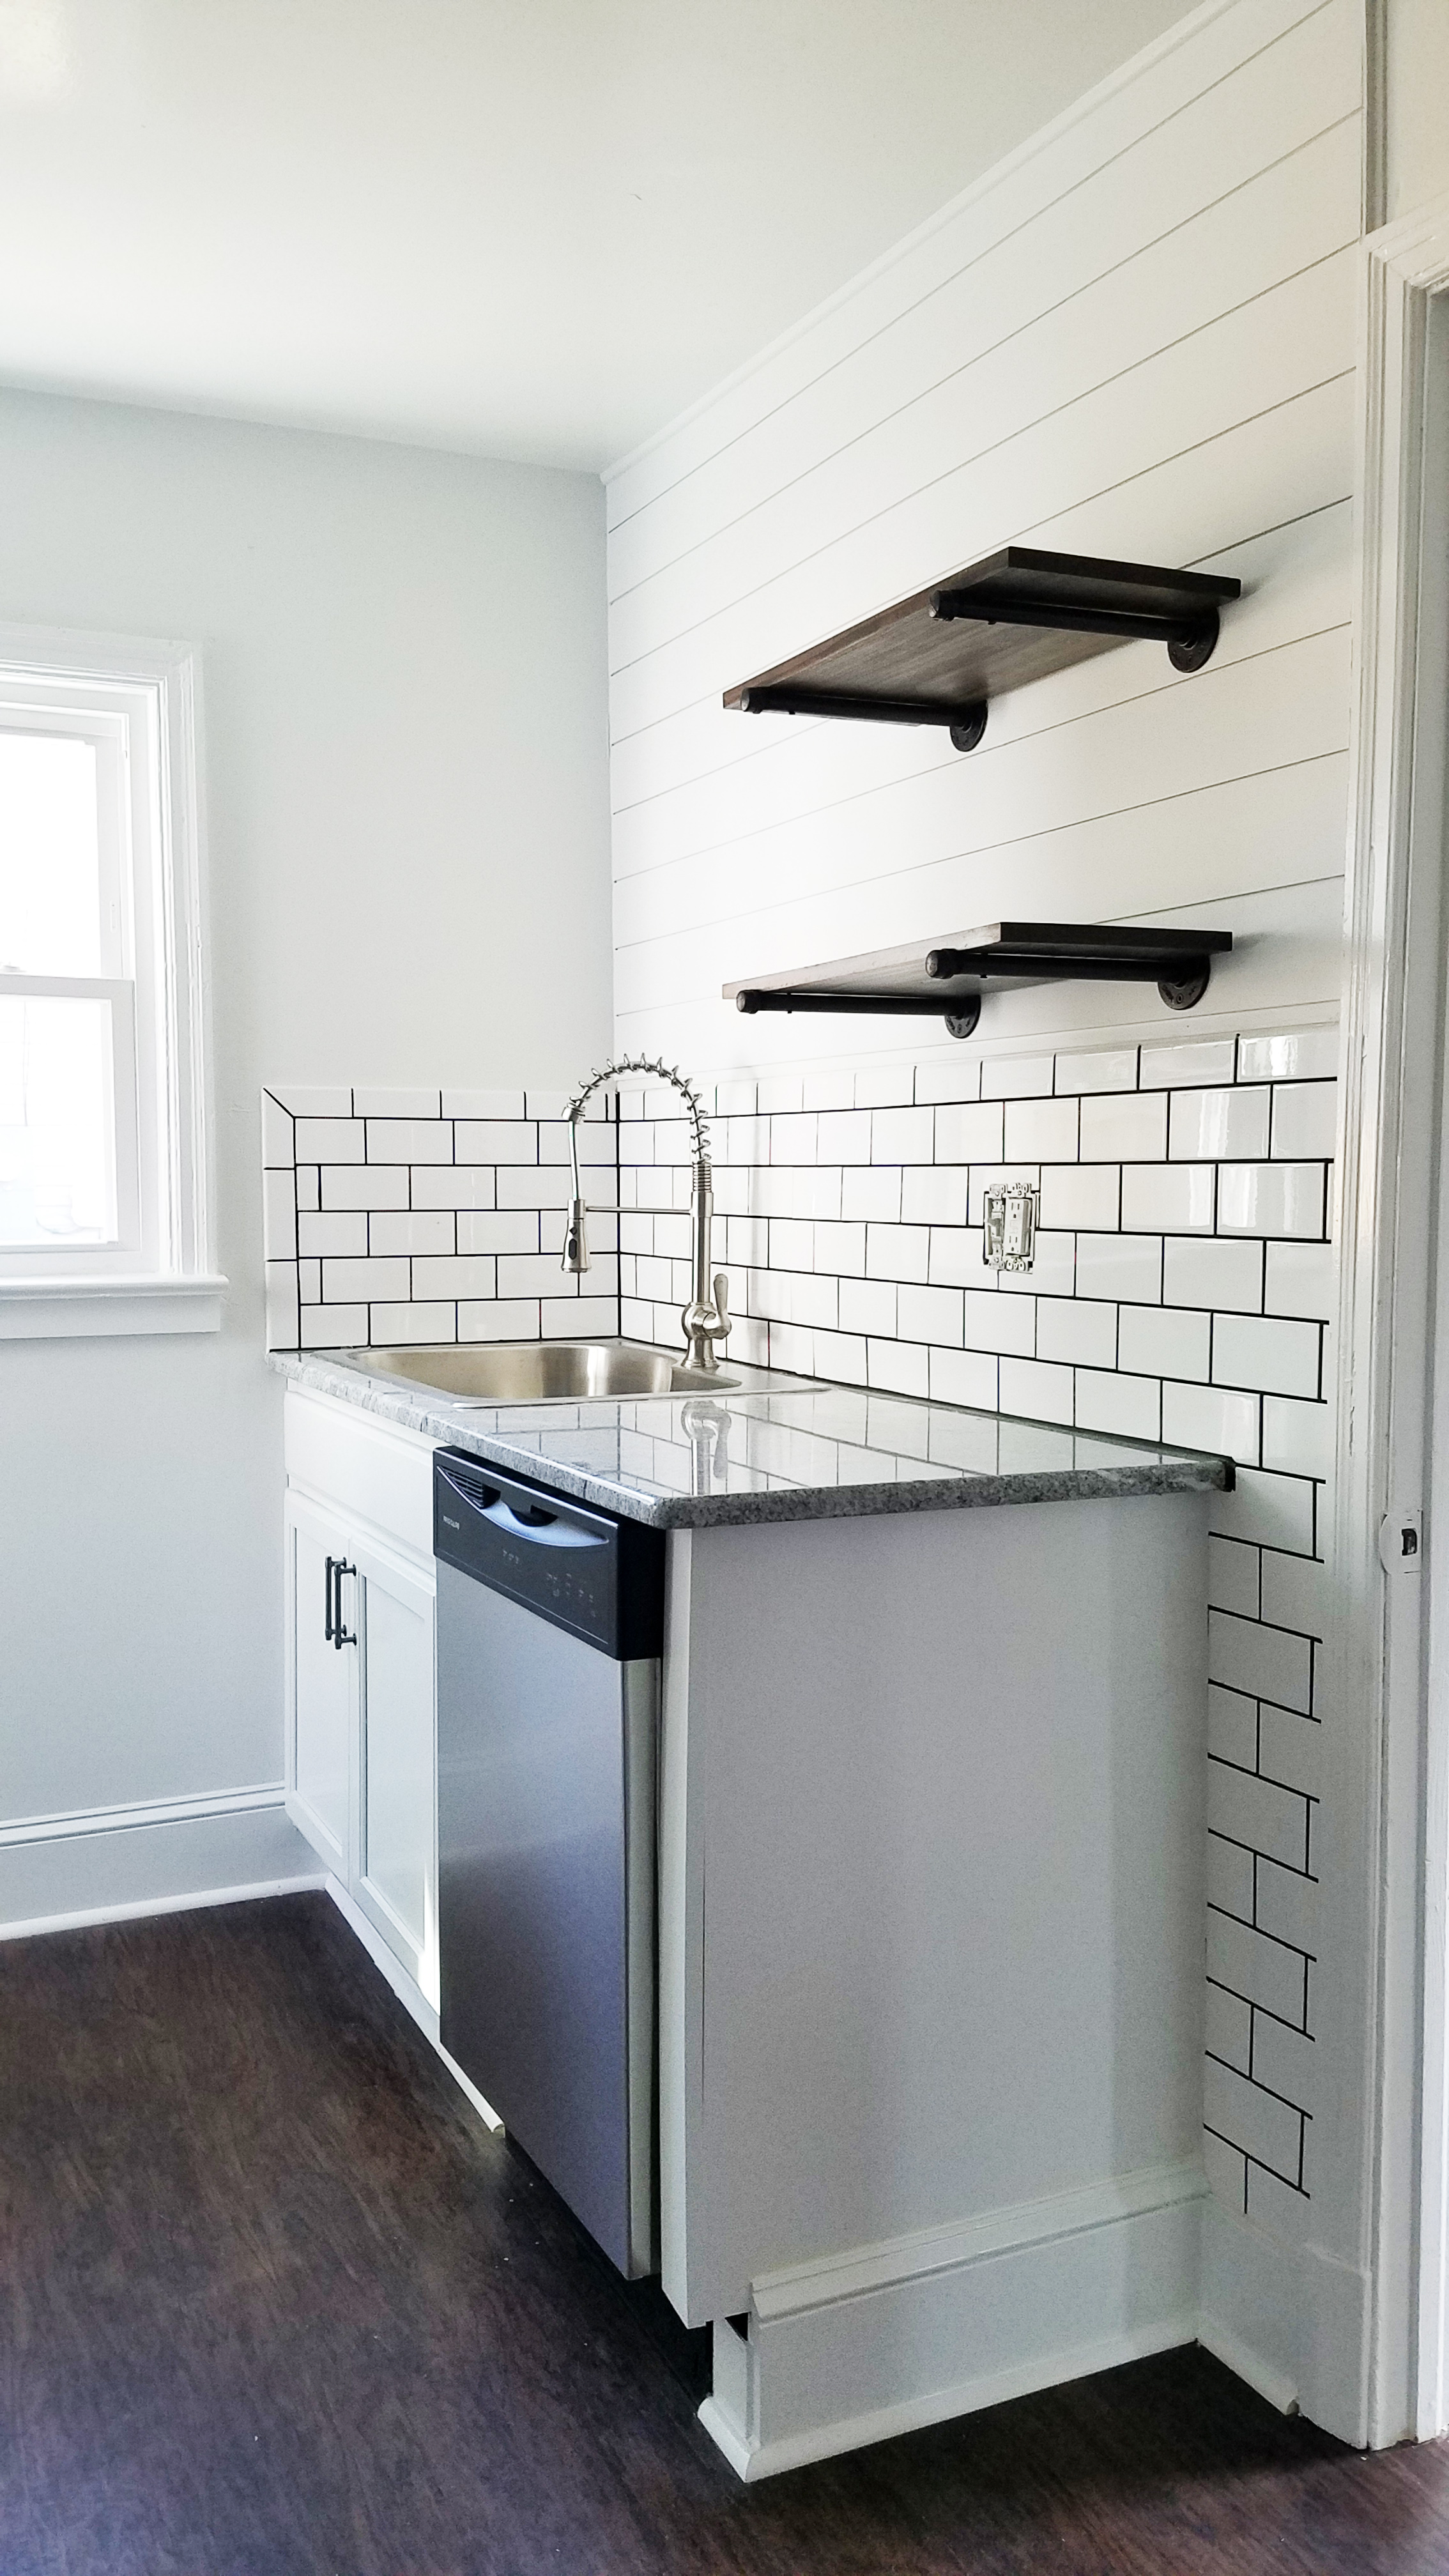
The kitchen was a little bit of a process. We chose to install a subway tile backsplash, changed the hardware out for brushed brass, and added a multi-patterned hexagon gray tile to the floor. The end result feels more like us!
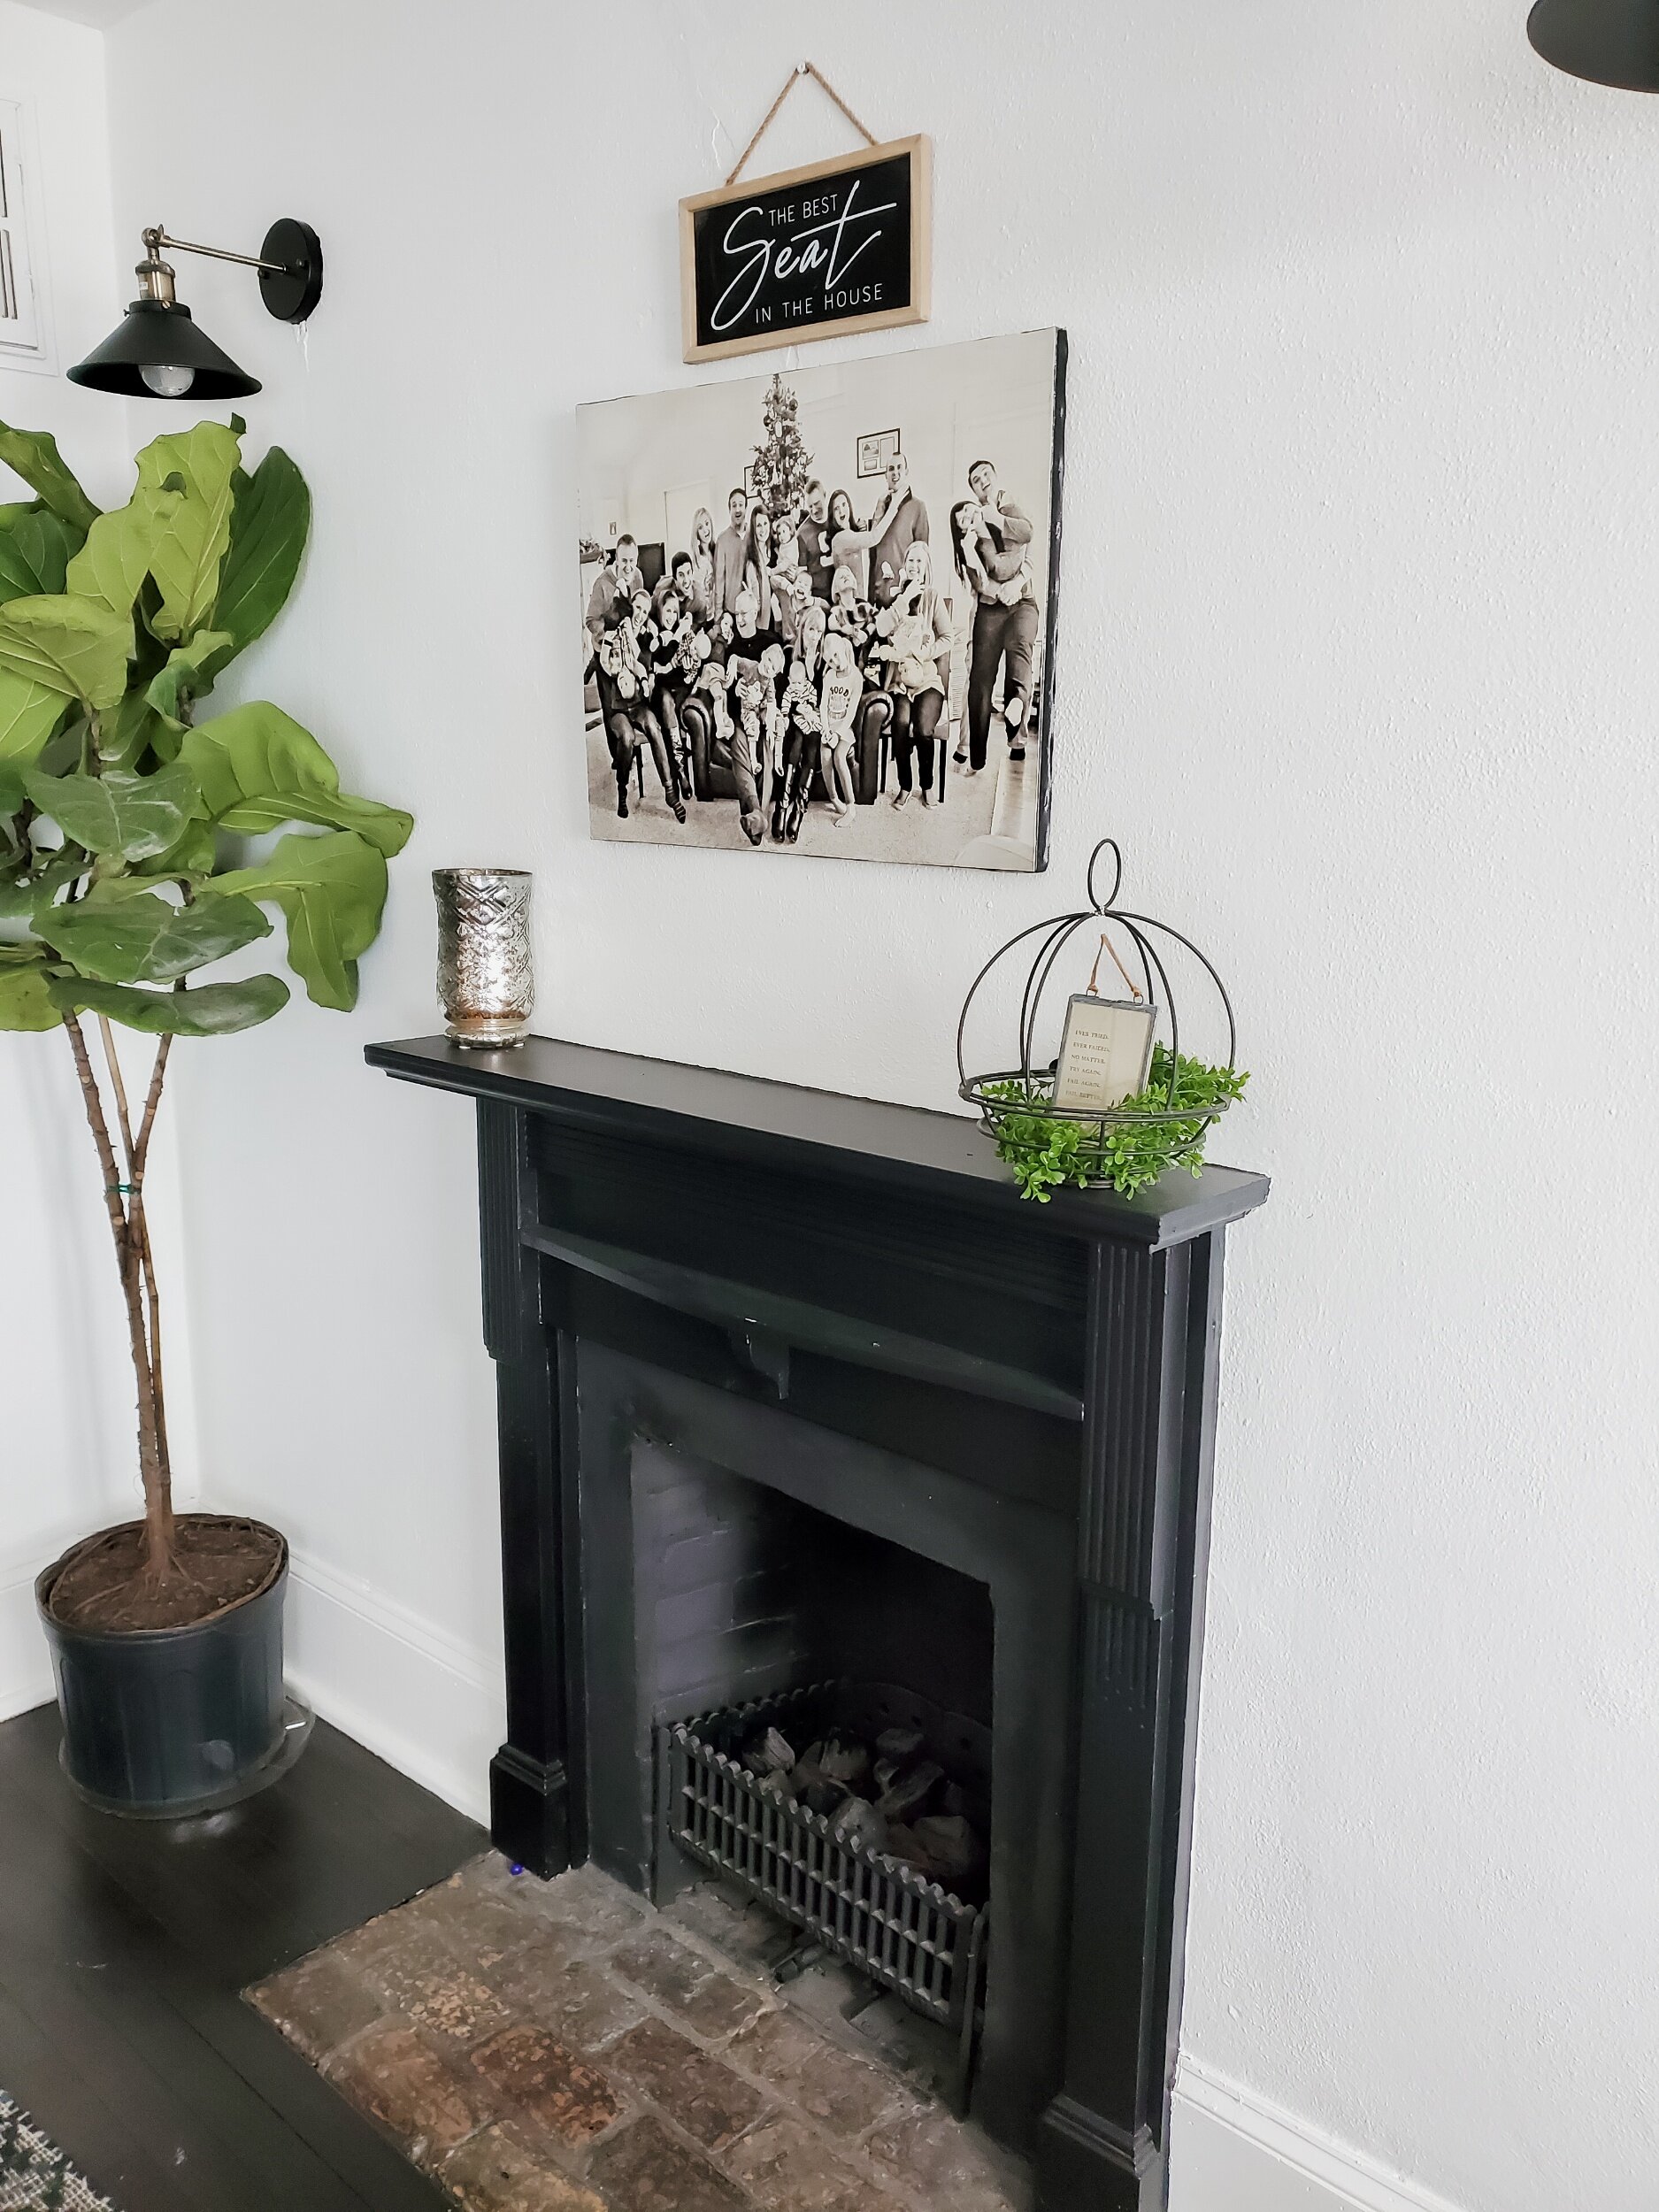
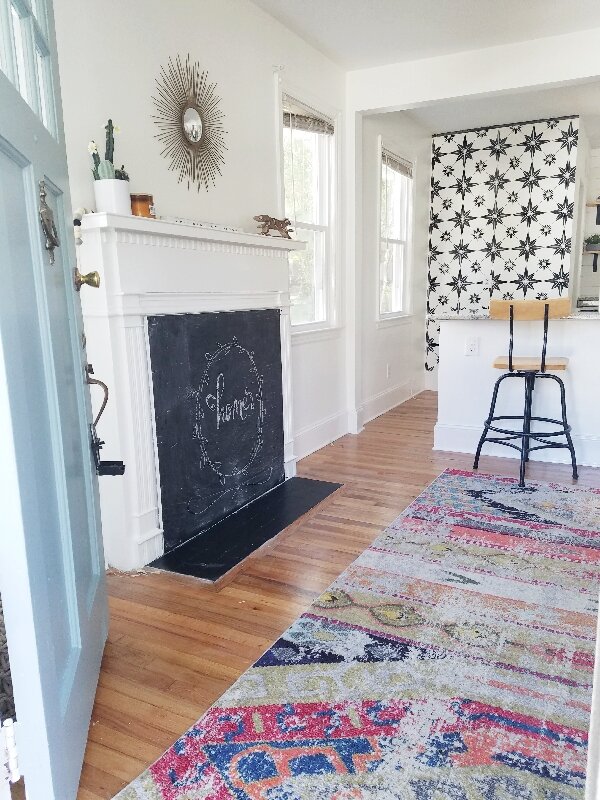
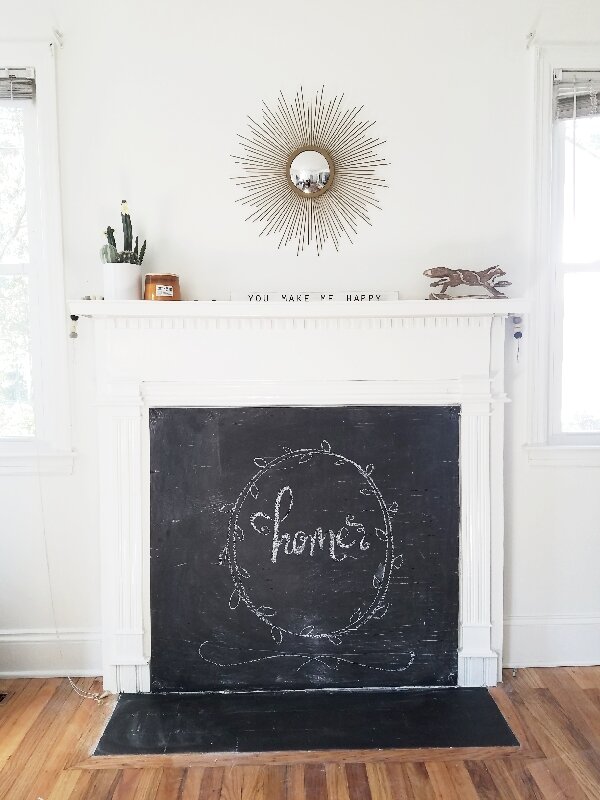
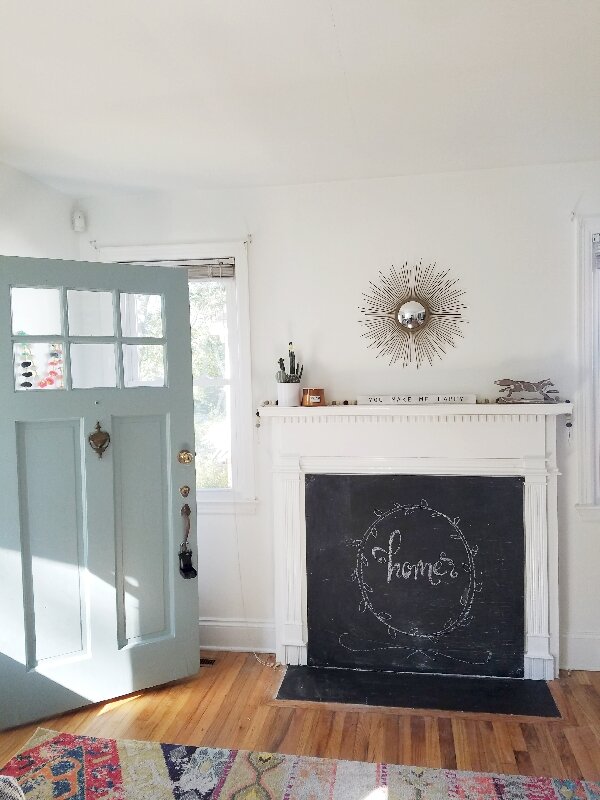
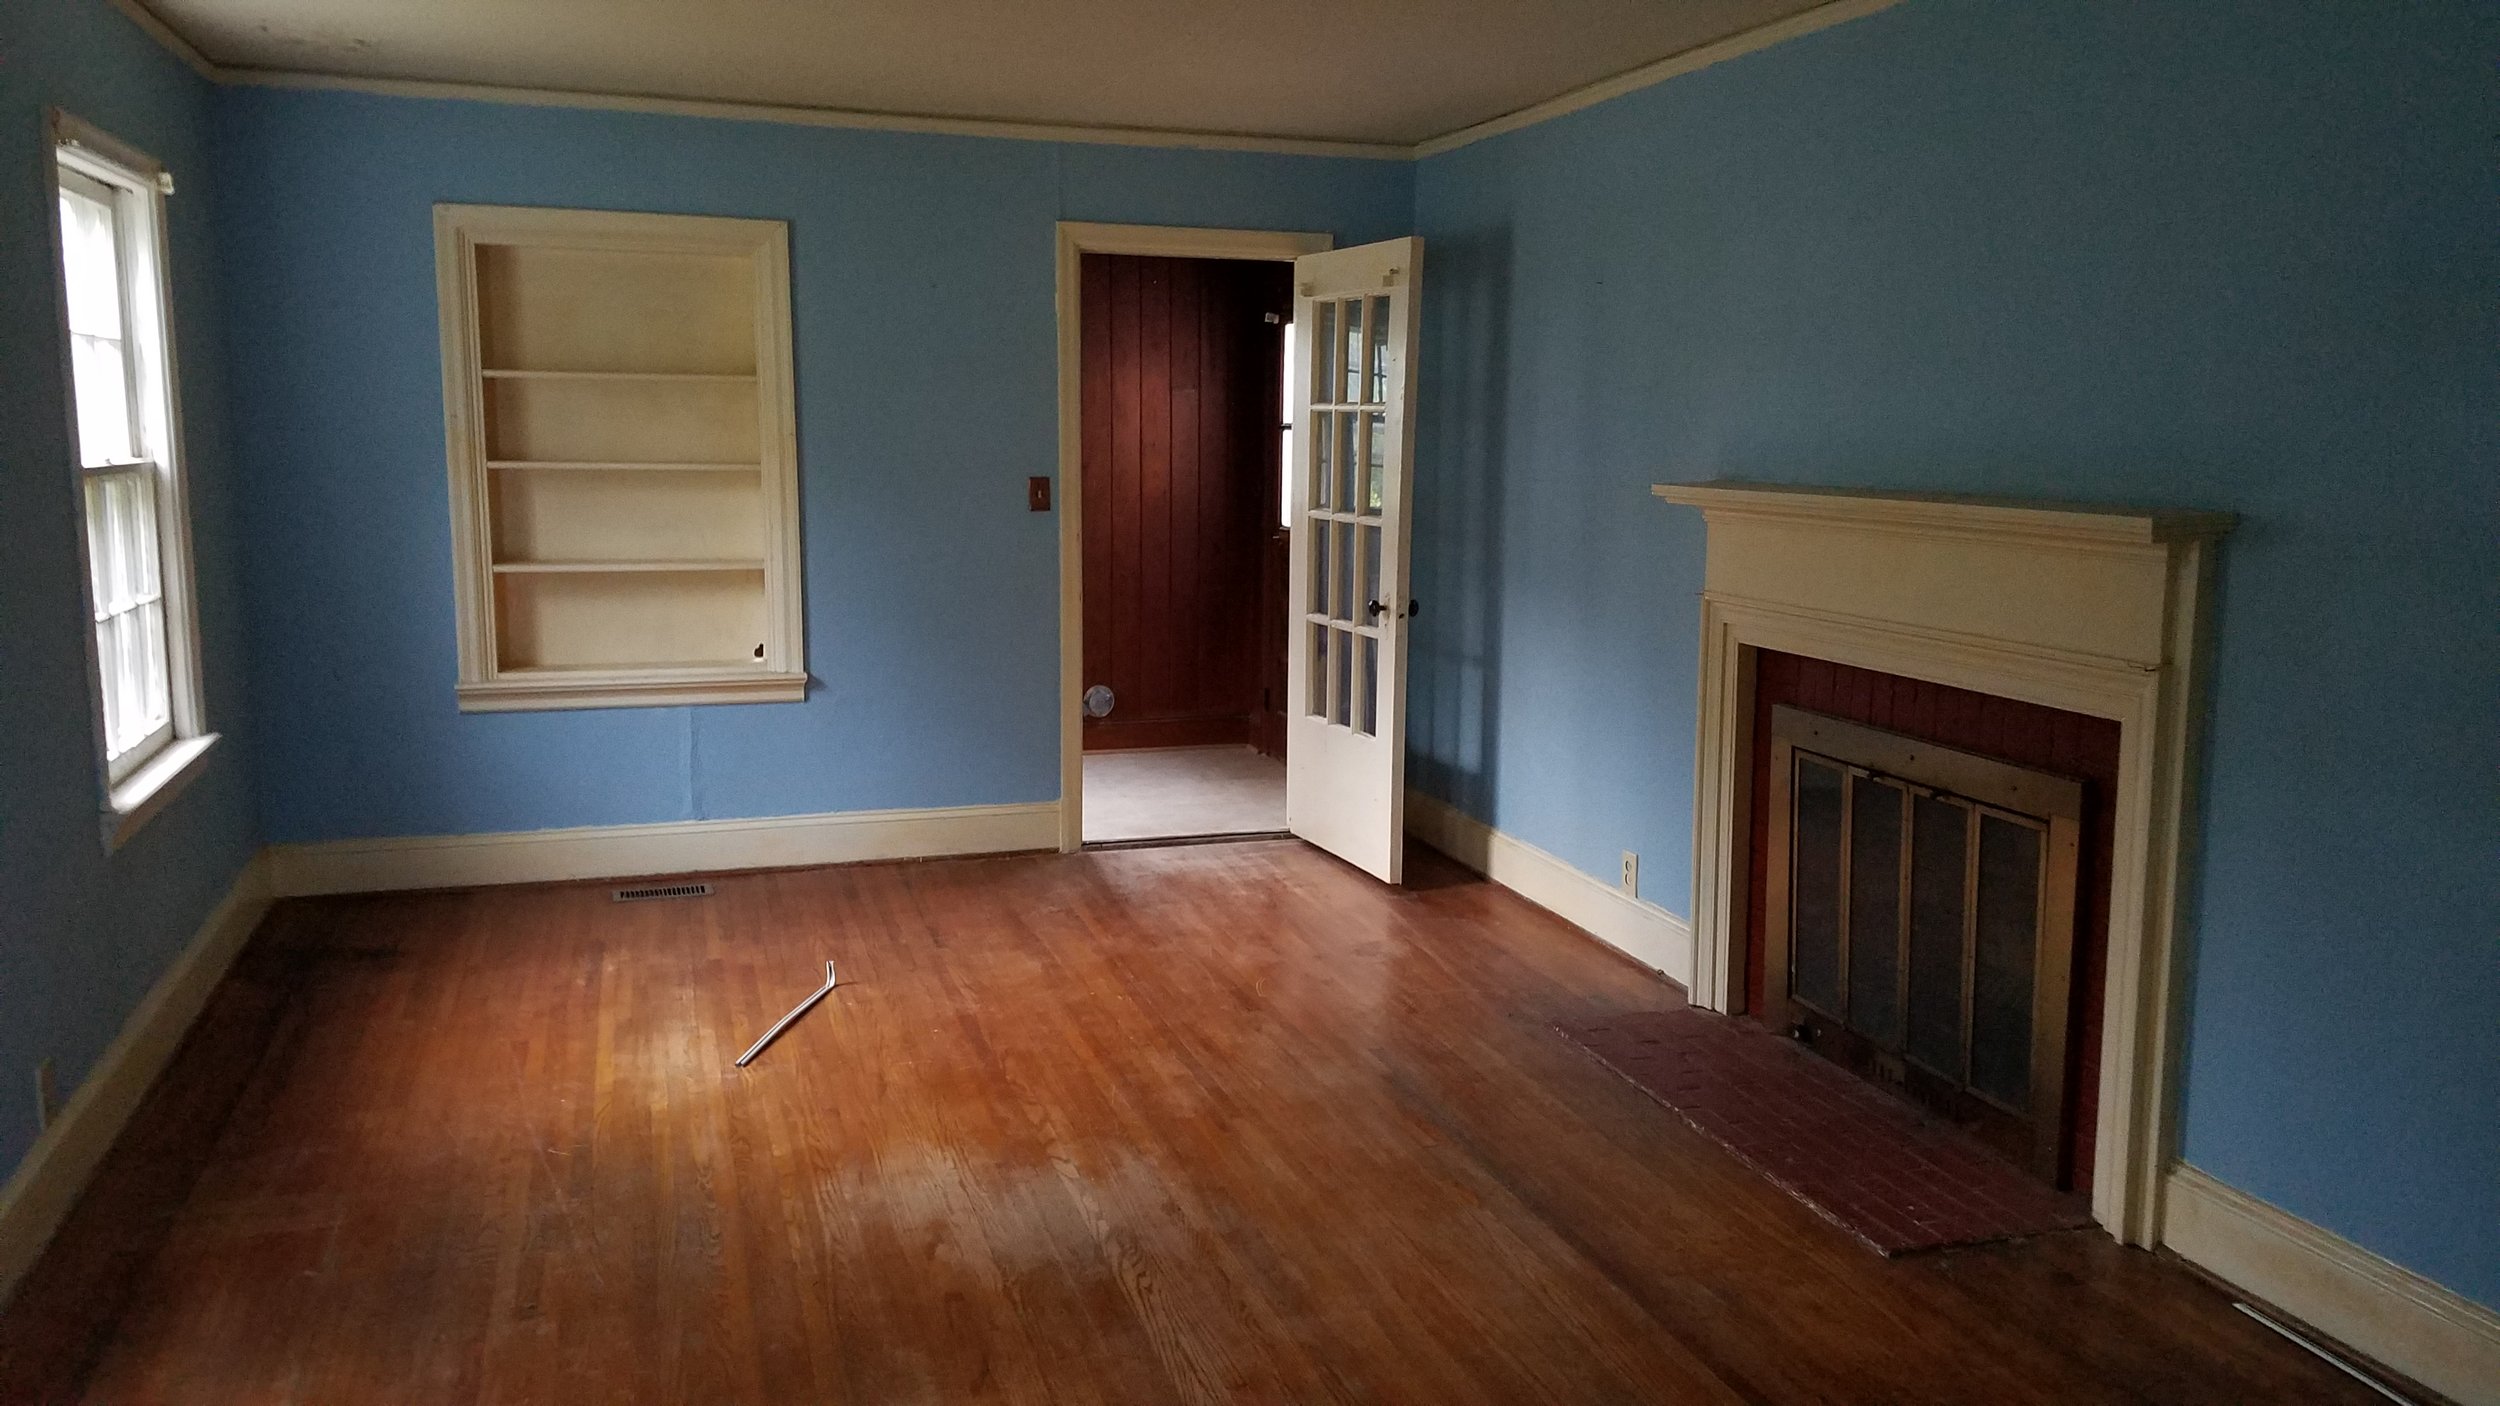
For the den, we painted out the built-in and mantle with Sherwin-Williams tricorn black, added some trim to take it all the way to the floor so that it looked more finished, and then painted the walls with Sherwin-Williams pure white paint. The addition of new sconces with vintage brass touches completed the job!
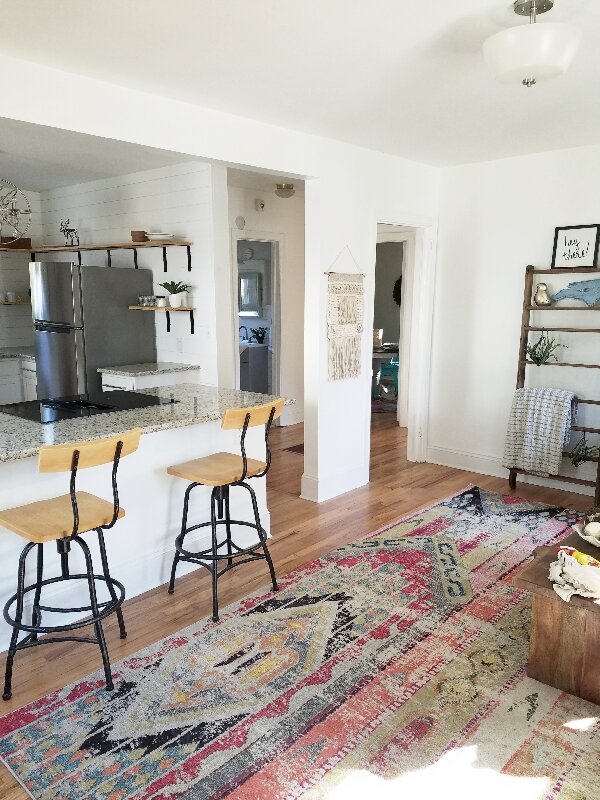
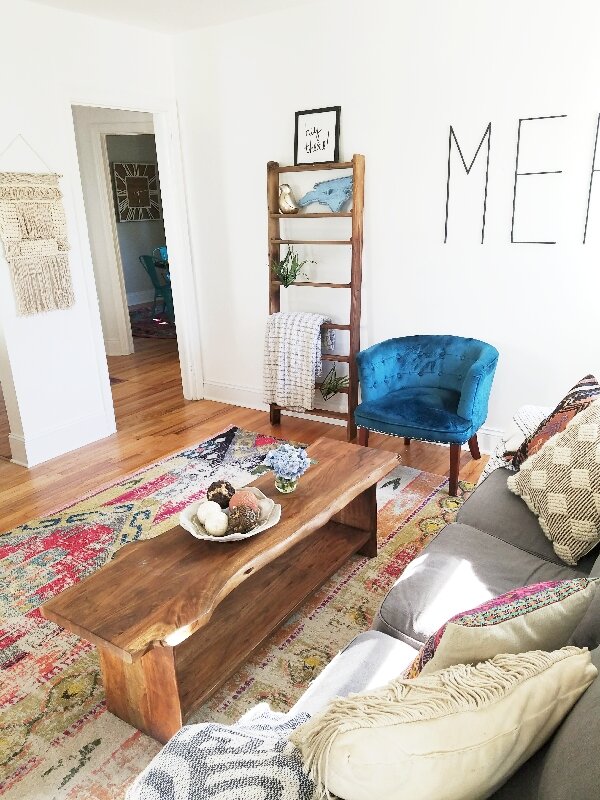
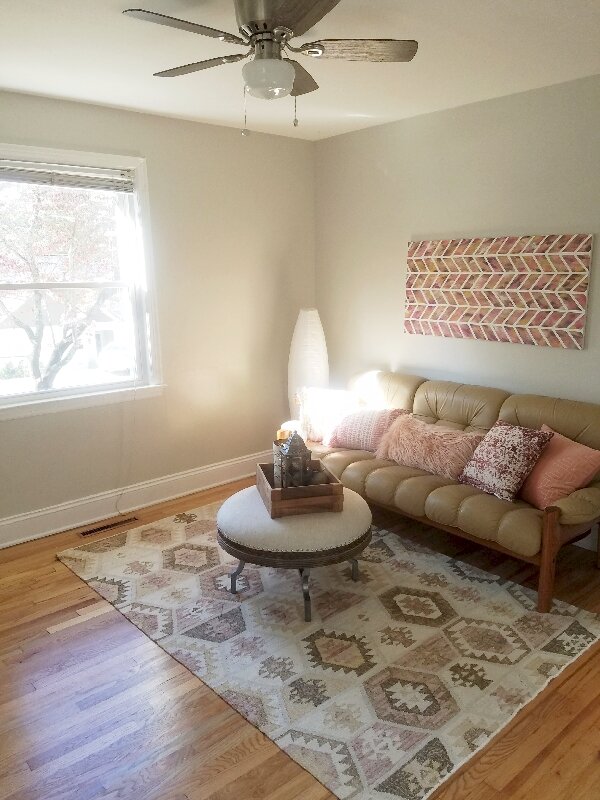
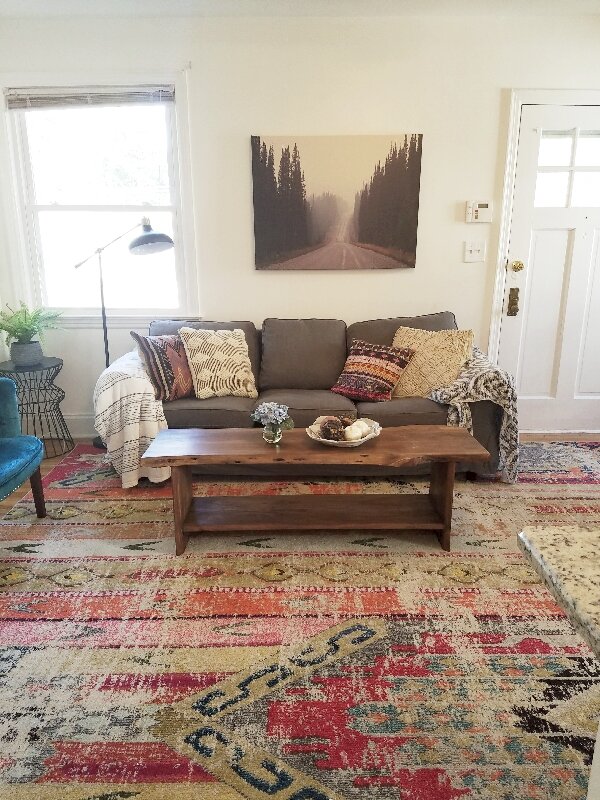
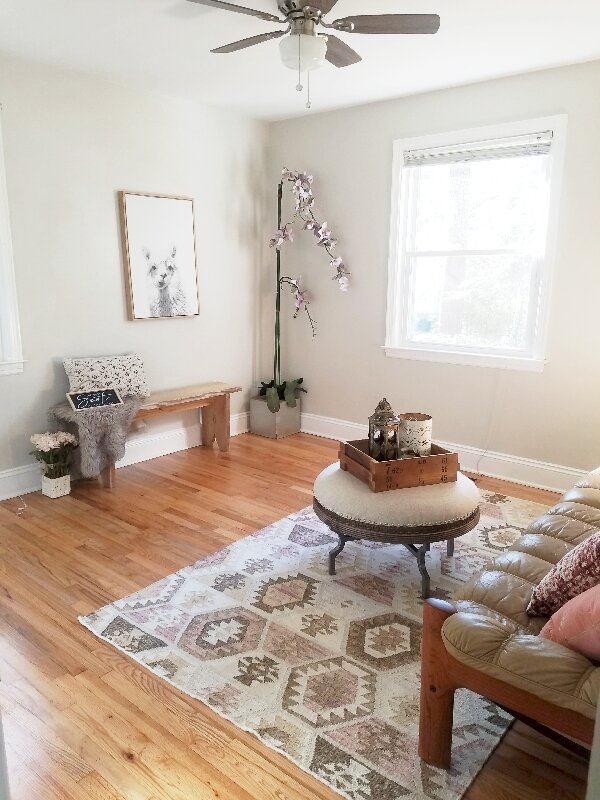
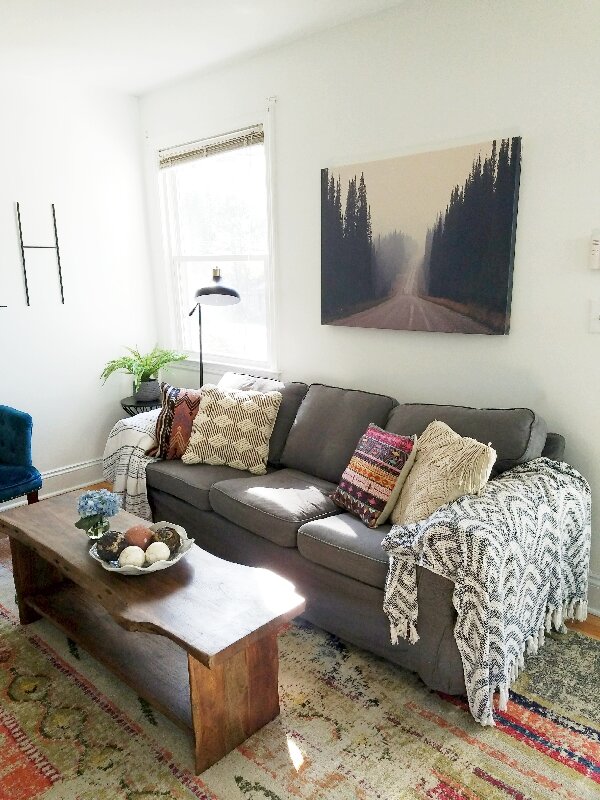
We had the red oak floors refinished with water based black stain to help tone down the red, making it a rich brown color. We chose a diamond leather rug, and outfitted the furniture with some Italian leather recliners (comfort won over style for movie nights) and a great apartment sofa from Ikea….we changed out the legs for a more mid-century turned leg.
All in all, we are starting to love it. The kids often have the popcorn maker and gumball machine going and movies playing. It is a cozy space and we are settling in!
Have you made any updates to your home? We’d love to see them!!
Casey and crew
PREP YOUR HOME FOR SALE DURING COVID - Guest Post
Hello Friends!
Welcome to 2021 - A Seller’s Market! Finally!
Home prices are rising as supply is limited, interest rates are low, building materials are backordered and inflated, and people are restless from staying home! That means it’s a great time to sell….but it also means more people touring your home and more difficulty mitigating the risks for Covid-19. If you are retirement age and looking to move on to your next stage in life, the risk is higher.
Fortunately, Bob Shannon from Seniorsmeet.org, is here to help guide you through selling your home during this hot market, but also provides us with great resources to help prep your home during a pandemic. He also shares market-ready ideas to ensure you get a top offer. Read on for great tips for a great selling experience!
A Quick How-To Guide for Prepping Your Home for Sale
If retirement means a smaller home or moving to a new locale this year, the time will come to put your home on the market. These days, selling a home is more involved than it used to be. And when it comes to attracting potential buyers, you need a plan, one that helps them imagine living happy, healthy lives in your home.
Preparing your home for sale means setting buyers up to have such a pleasurable experience inside and out that they leave feeling like your home is already theirs. If you aren't sure how to go about the process while dealing with the COVID-19 outbreak, then these tips and advice can be a great way to start.
Prepare for Pandemic-Related Challenges
The landscape of selling a home has significantly changed the entire process from start to finish.
How to Sell Your House When There's a Pandemic
Virtual Tours Become the New Norm in Selling Homes
Transaction Guidance During COVID-19
Contactless Buying: Closing Real Estate Deals Remotely
Clean and Declutter
Clearing out your home, staging it and keeping it clean are crucial parts of this process even if you won’t be having in-person showings.
Free Yourself From Clutter | A Simple Guide
Work with Haymount Homes Staging Services
How to Maintain a Clean, Healthy Home During COVID-19
Why You Should Hire a Professional Cleaning Service When You Move
Boost Curb Appeal
Even though people aren’t attending showings or touring homes, they will still drive by, and you’ll want to make a great first impression.
Increase Your Curb Appeal and Get a High Return on Investment
8 Easy Yard Care Tips to Help Sell Your Home
Top 32 Best Curb Appeal Ideas for Every Budget
Outdoor Living Spaces on a Budget
Find Upgrades with Great ROI
If you’re in a position to make updates or upgrades prior to listing, see what people are looking for and discuss options with your real estate agent.
7 Kitchen Trends That Will Takeover in 2021, According to Designers
How a Bathroom Remodel Can Increase Your Home Value
40 Decorating Tips for Anyone on a Shoestring Budget
Use Kohl’s or Macy’s Coupons to Save on Home Decor
Selling your home in retirement can be an exciting adventure, but it’s one that no one wants to last too long. Prepping your home for sale, from remodeling kitchens to landscaping your gardens, is your best chance of standing out in a busy market.
If you’re not keen to sell your home, consider turning it into a rental so you can generate income you can put toward a new home or vacation spot. Haymount Homes can teach you how to be your own property manager, and help guide you toward offering a beautiful rental.
Retire Big For A Simple Life
Hillside Avenue Before and After- Part Three
We continue to shape up our new home! Still at work in progress but really coming along. Today we are sharing with you the front living room, our bedroom, and the kitchen!
Some of the changes were simple and others were quite large! In the front room, we used Sherwin-Williams Tri-corn Black on the fireplace and built-ins and then Sherwin-Williams Pure White on the walls and trim. I love how the deep rich black brought out the depth in the room.
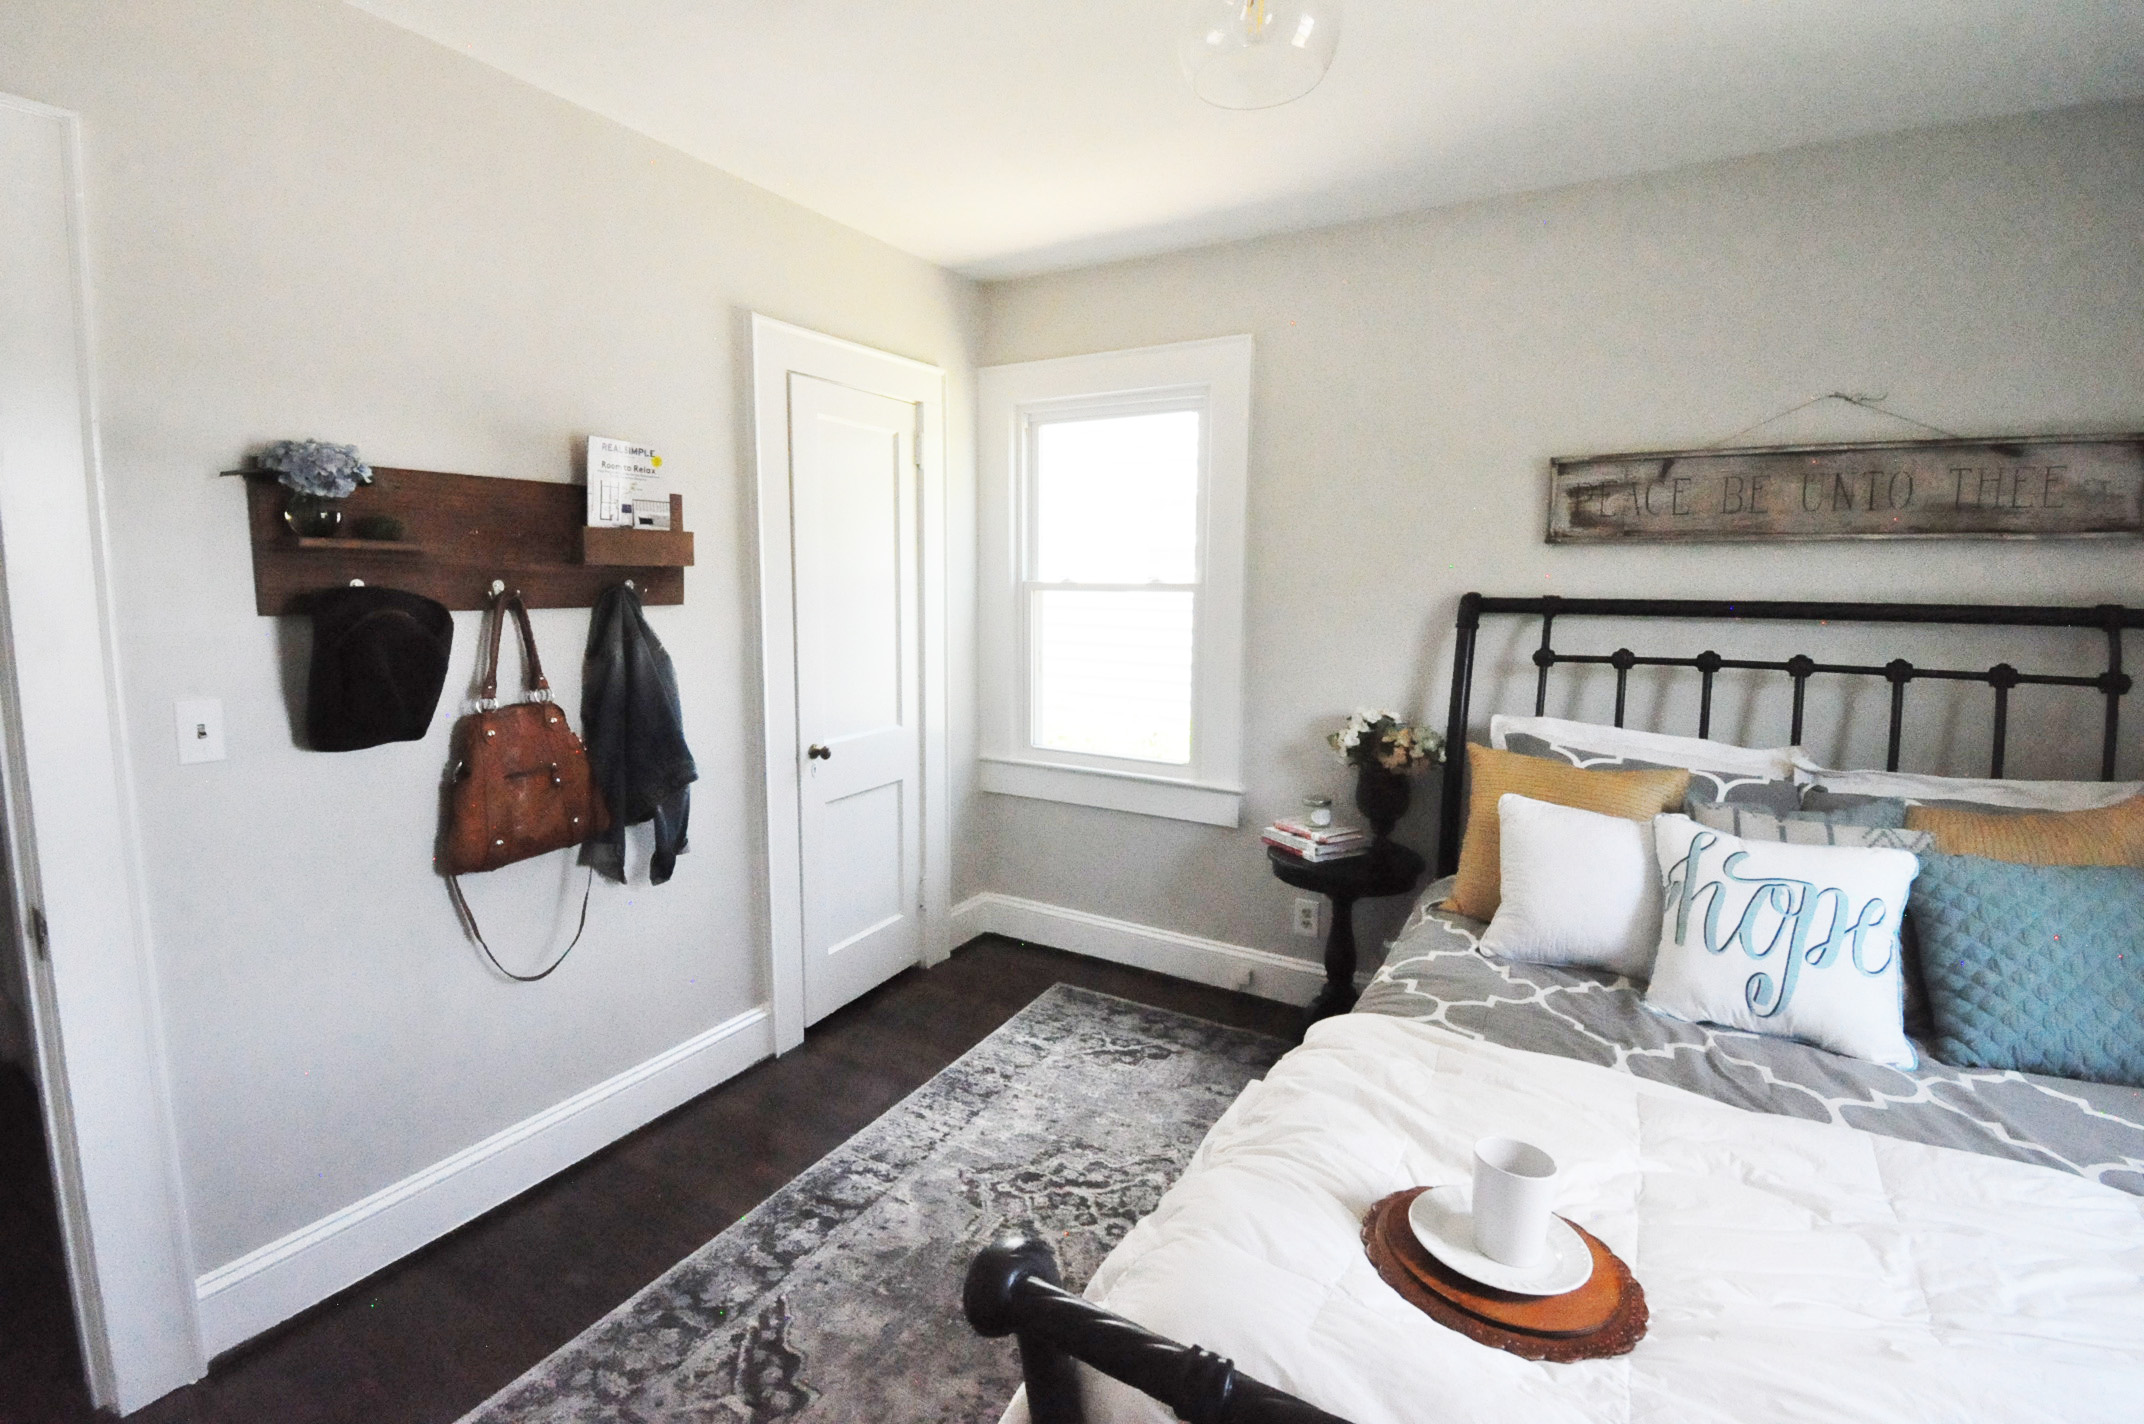
In the bedroom, our very skilled contractors repaired the walls. They went from a rippled plaster job, to nice smooth clean walls feeling almost new again. Additionally, to add some interest, we added shiplap as a feature wall to the fireplace. It was painted in Benjamin Moore Cheating Heart, which is a grayish blue black color…. Hard to define and very rich. The walls were again Sherwin-Williams Pure White.
Finally the kitchen was simple. We just painted the walls Sherwin-Williams Pure White (even after comparing about 20 different samples of white…) and then began to hunt for different hardware. We wanted hardware that was more of a statement, and also brought in some brass touches that were throughout the home. you wouldn't think that was so difficult, but we ended up ordering about 30 types of hardware to find what we wanted. our photos ended up looking kind of yellowish on some of these photos, but at least you get the idea.
Thank you so much for taking the time to take a peek at our transformation! As much work as it is, we are loving the result!
-Casey and crew
Hillside ave - before and after part two
Enjoy our small photo tour of the music room and bathroom transformation!
Happy Sunday!
Round two of before and after photos are here! We continue to put more ideas into our new home, but I was able to snap a few photos of some of our progress so far. Please ignore some of the randomness and try to see the beauty through the trees!
Some of our touches include great shiplap detail that helped disguise the poorly formed walls. Additionally, our contractors worked their magic on smoothing out other areas and making everything look new again. Refinishing floors and adding new paint made everything come together.
We bought a beautiful new light fixture for what we are now calling the music room, from Mid-South Lighting in downtown Fayetteville . If you need a light fixture, check them out because they are amazing!
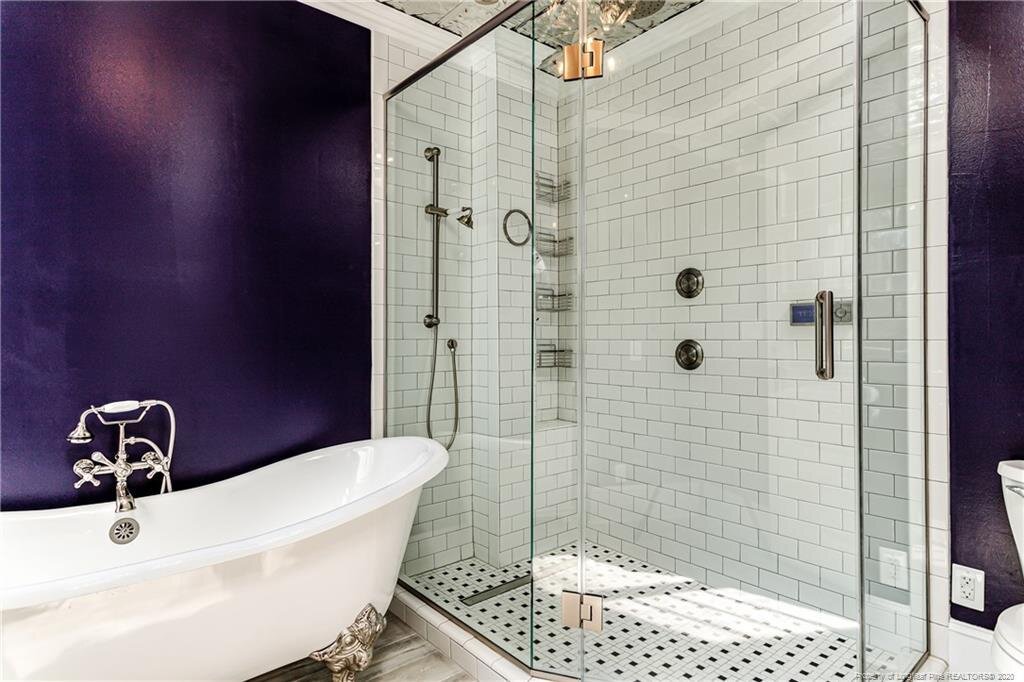
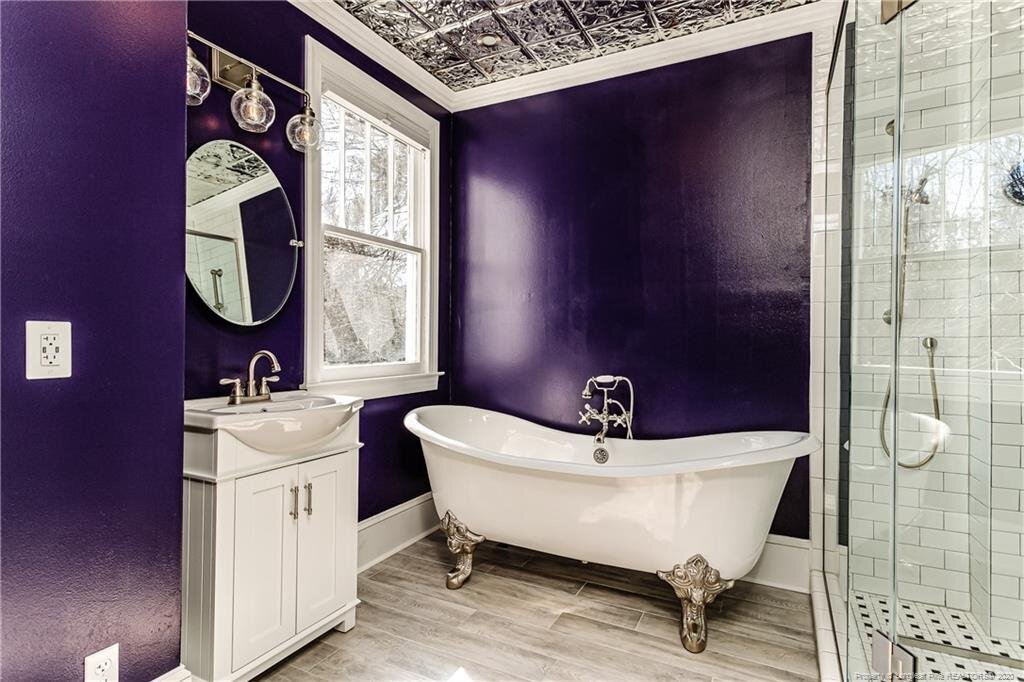
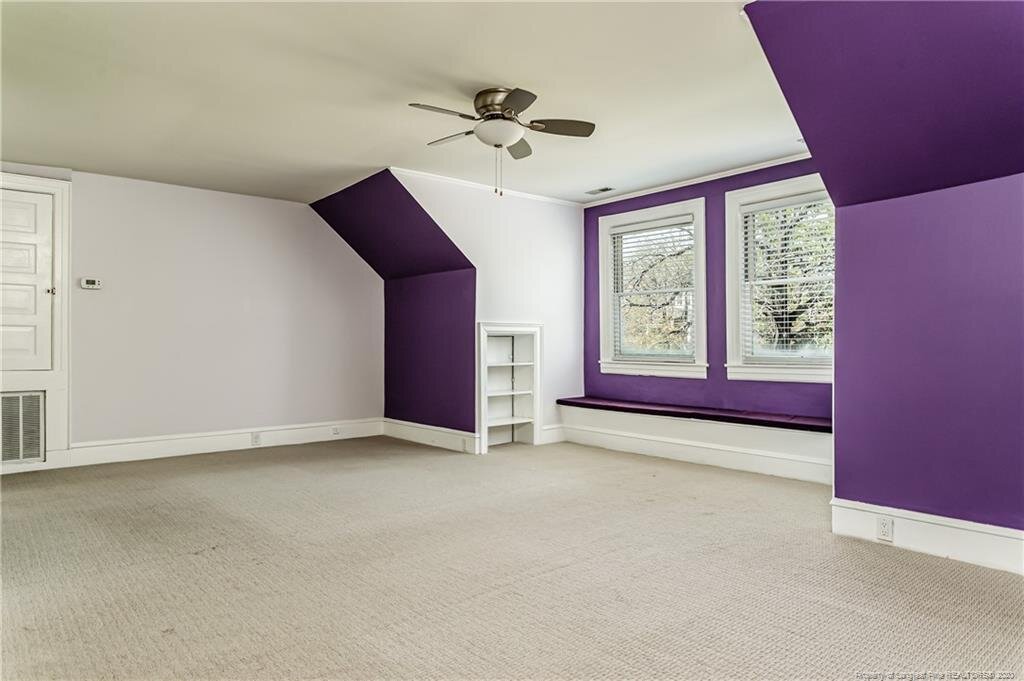
The majestic purple bathroom has been toned down. This was not exactly a group decision, and many people told us they loved that deep purple, but it wasn't the calming environment we were looking for. We love the result with our changes and apologize to the purple fans out there!
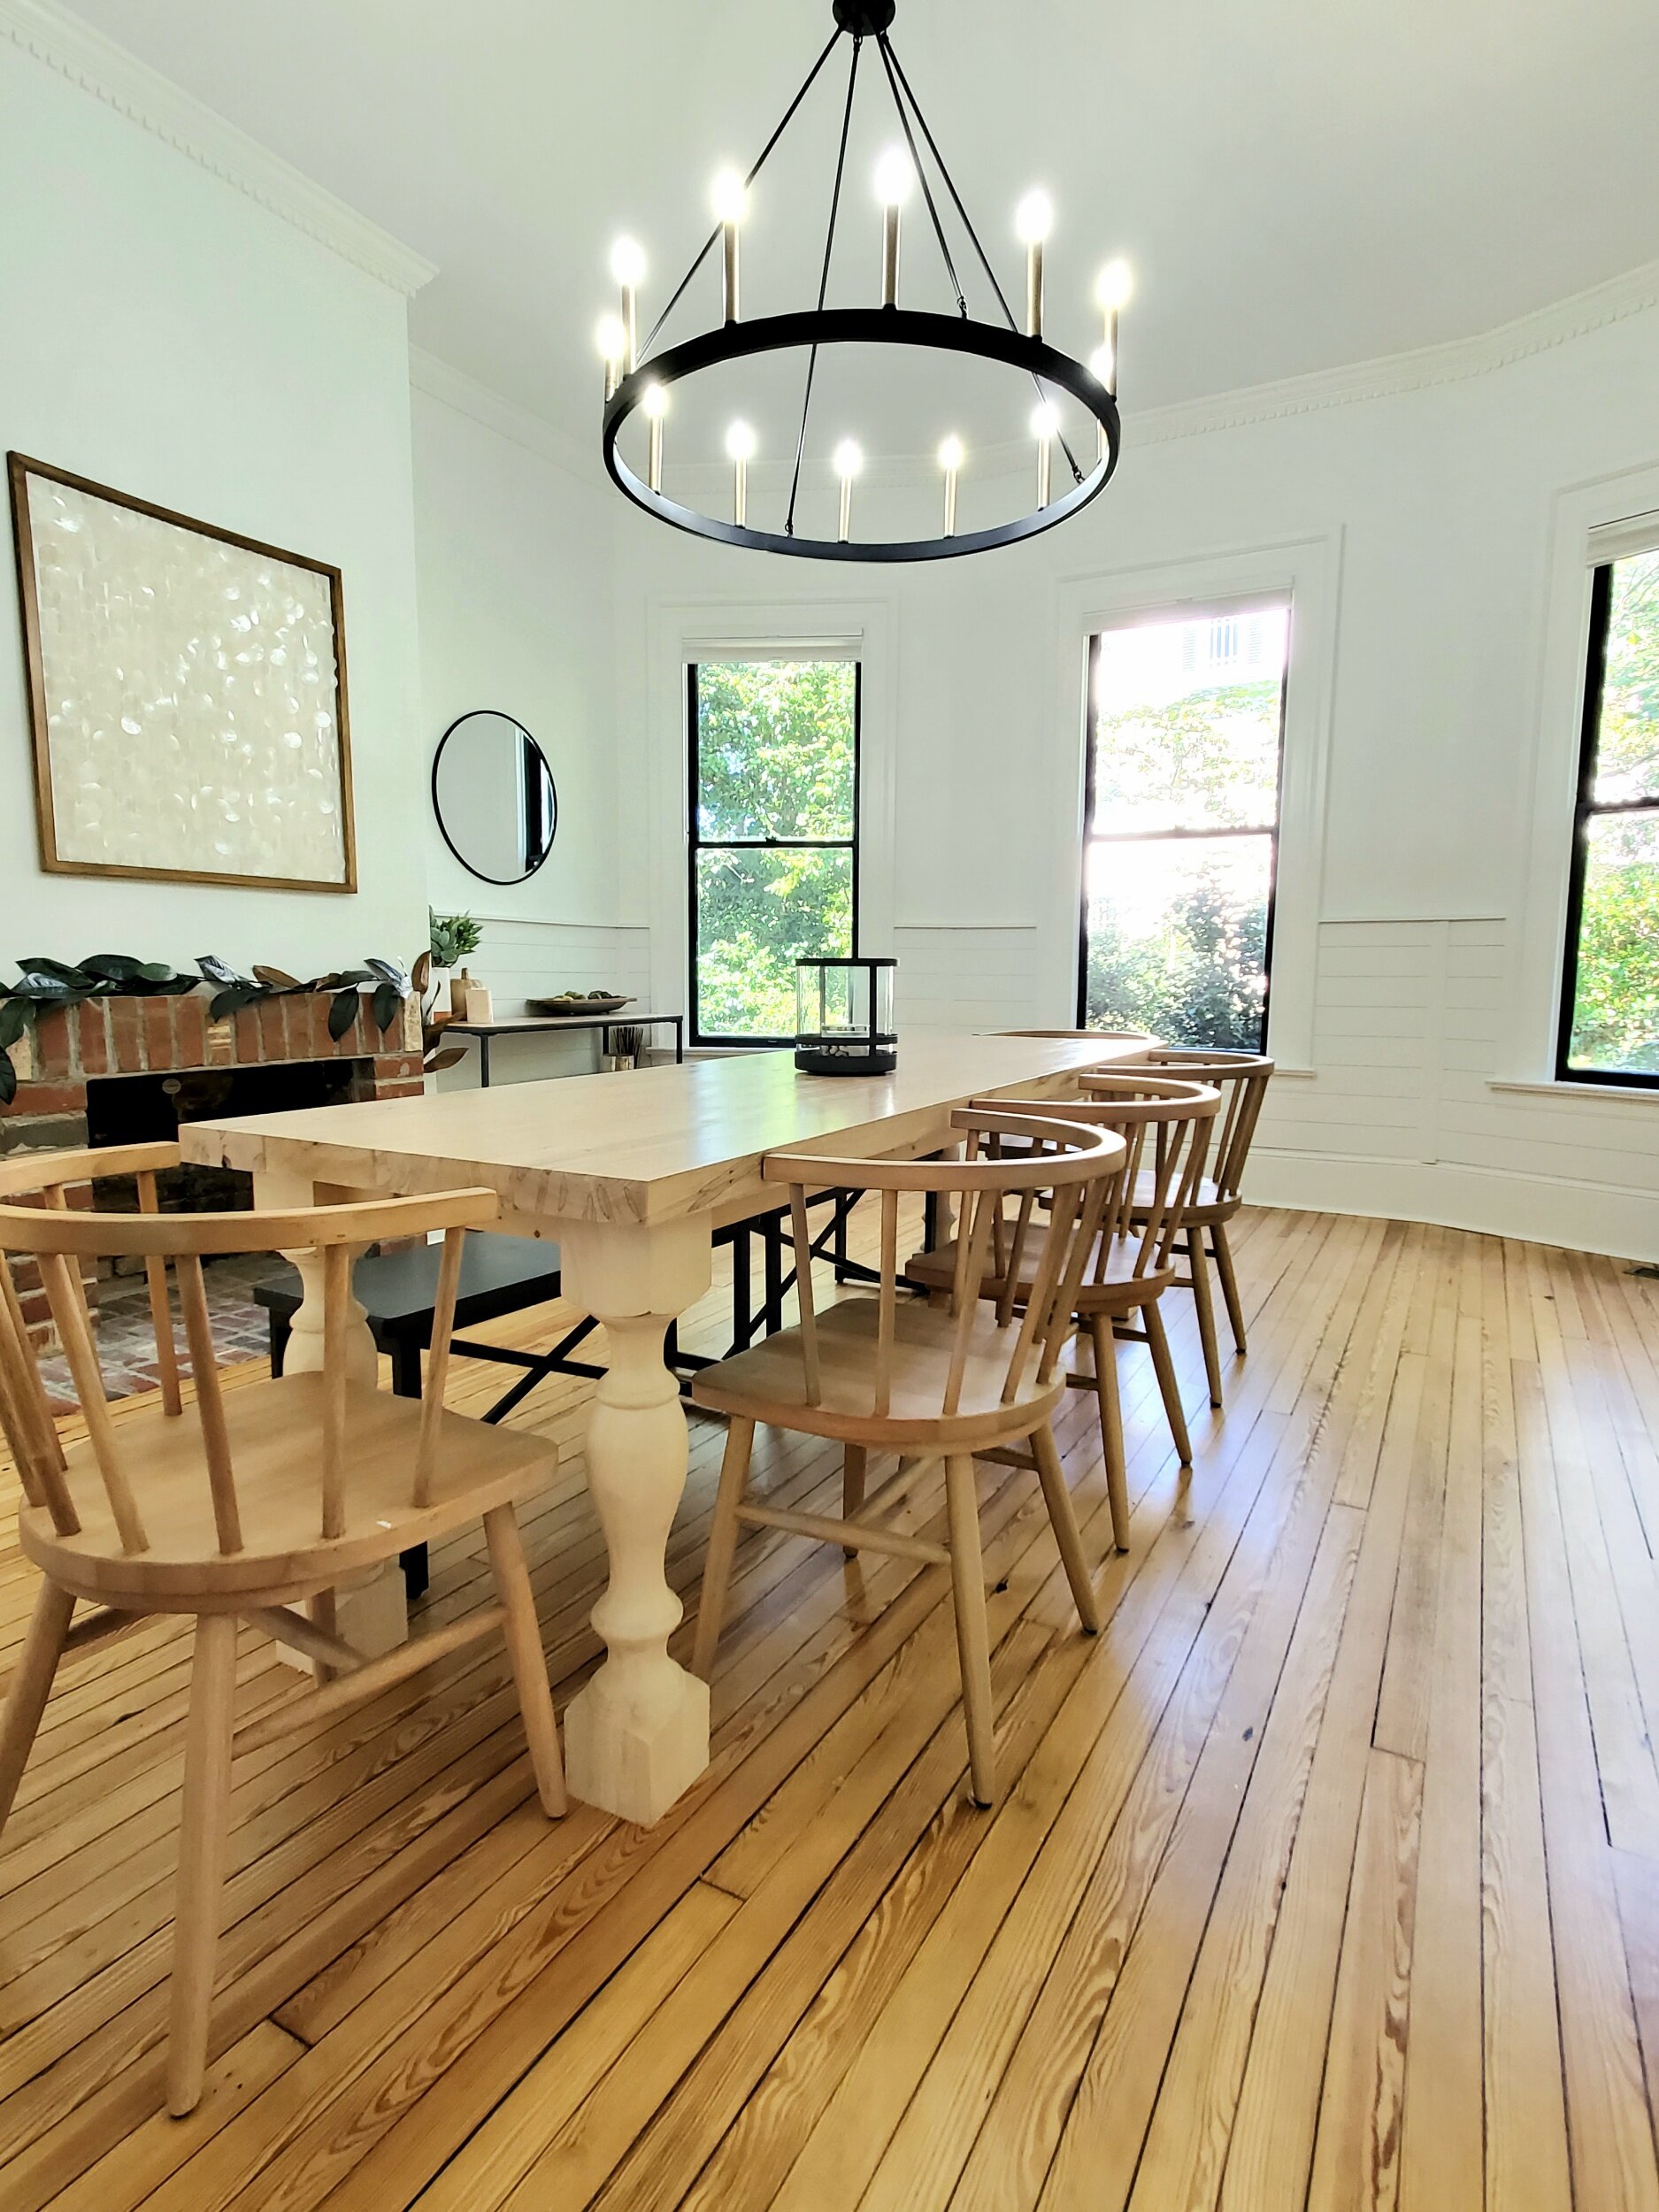
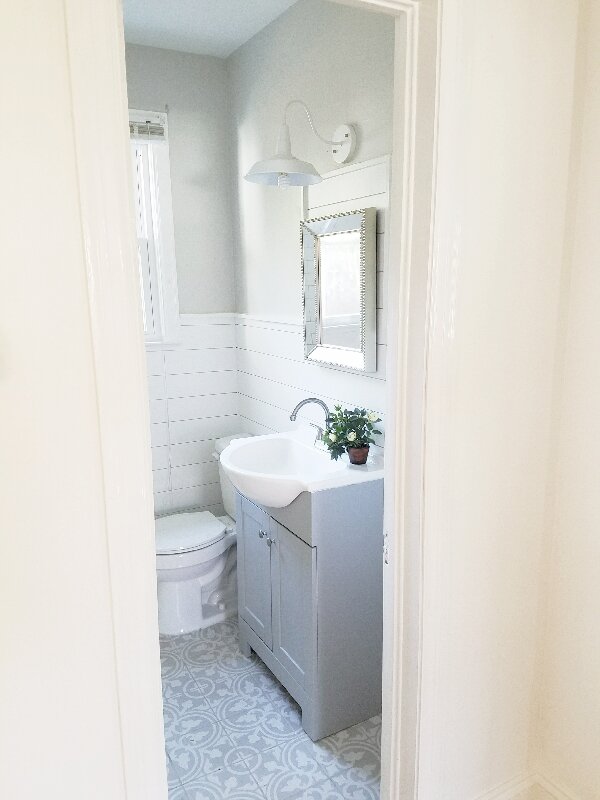
Many people have asked about the colors that we have chosen at Hillside. The white on the walls is Sherwin-Williams pure white, which is one of our favorites to use on our homes. Pure White is slightly warm but still crisp, which makes it feel cozy but not too ivory for our taste. In the bathroom, we have used Sherwin-Williams Big Chill. It has a beautiful mid-range light reflective value and is a wonderful slightly cool gray. In the dining room and entryway, you will find more Pure White and also Sherwin-Williams Tricorn Black.
We hope you enjoy the photos. If you find yourself in the neighborhood, stop by for a concert on our “new to us” grand piano. The kids play it every day and it's wonderful to listen to…
Casey and Crew
Hillside Ave - Before and After - Part One
Enjoy the preliminary before and after photos of our Hillside Ave renovation
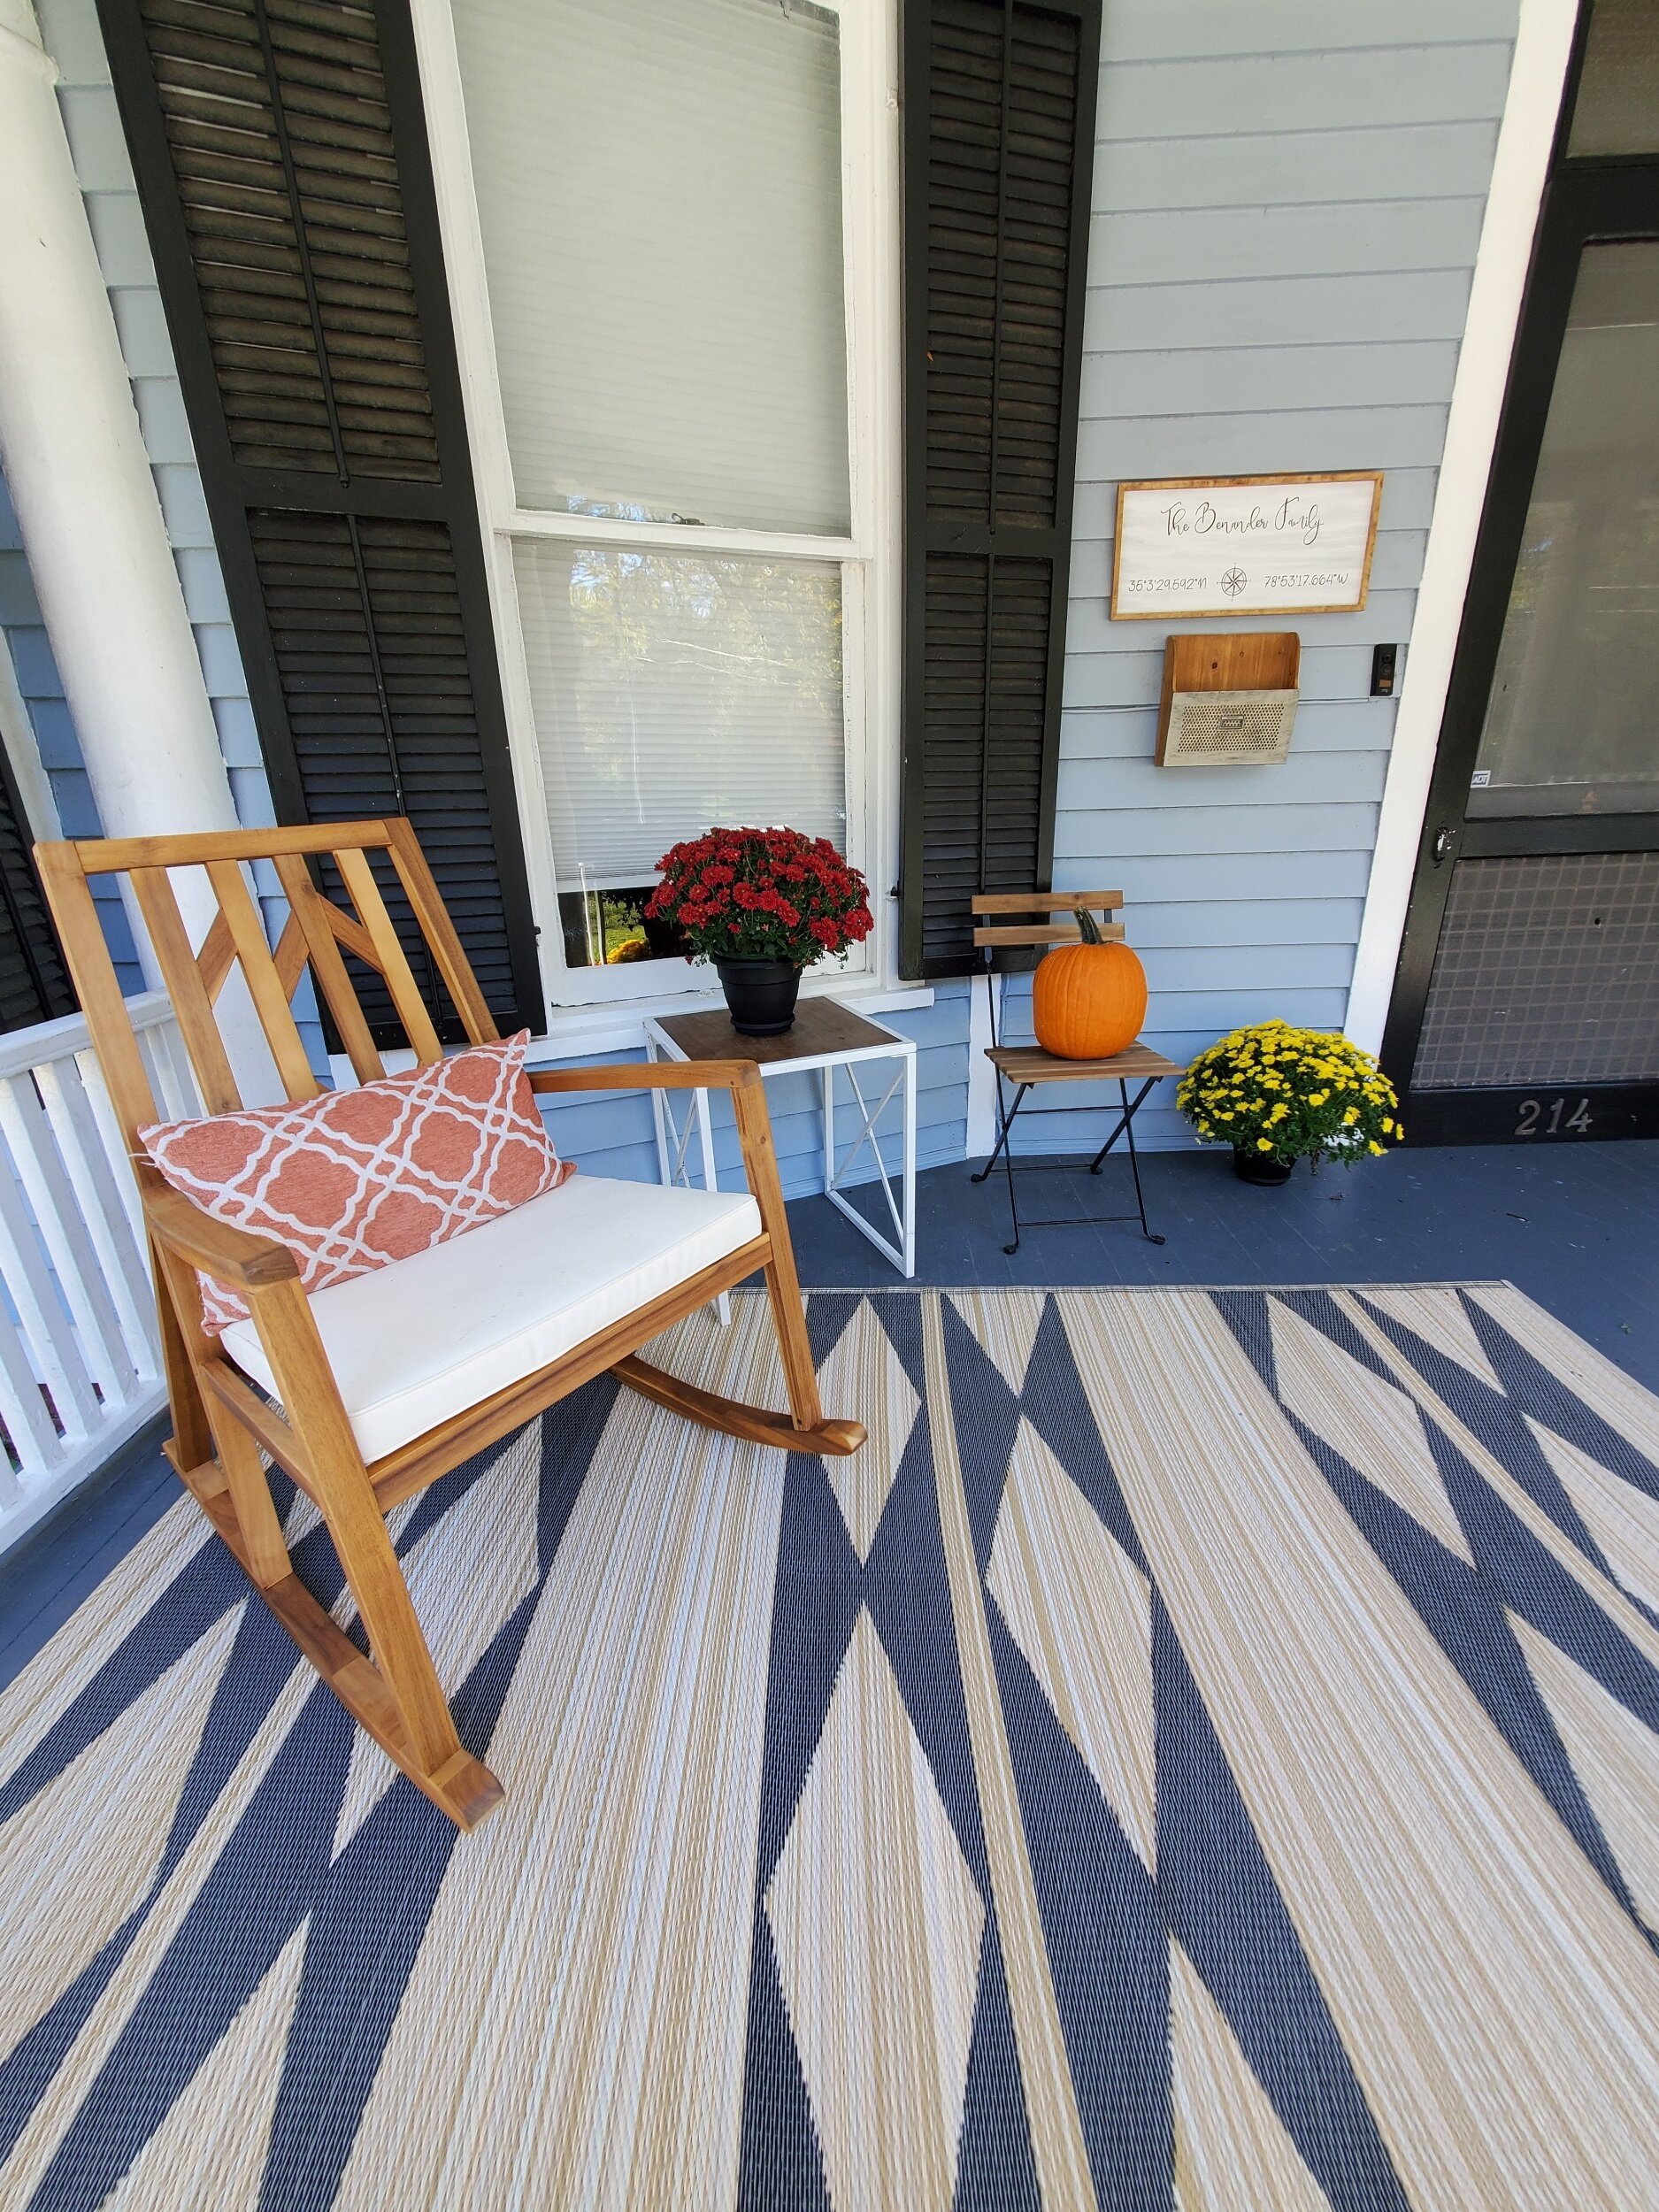
We are excited to show you our preliminary makeover at our new home on Hillside Avenue. Everything is still in transition but it's been fun to start to pull things together. Please enjoy a few before and afters of our progress so far. Here you will find the entryway, the dining room, and our front porch: a quick note about a little front porch project that we did. We found an old window up in the attic and we turned it into a herb planter!
Our home is still a work in progress, but it's been really fun! We hope you enjoy some photos. Happy Halloween!
HILLSIDE AVE - ANOTHER WEEK OF RENOVATIONS
Happy Sunday!
Here is the recap on another week of renovations!
Our neighbors from Weldon are moving after 30 years. We are all sad that they will be leaving. CJ has been their chicken keeper for about 5 years now and they have generously given our family their chickens since they cannot take them along. We are grateful and excited to keep the chicken “farm” alive. Moving the coop, however, was not easy and thankfully we had some great help to make it happen!
Hillside is pulling together. Another really great and exciting moment was the delivery of our grand piano. This was really exciting for all of us. After buying my first electric keyboard in 1999, it has served me and our family very well through countless moves from college, military life, through now. We had vowed that once the space allowed, we would invest in a “real” piano. The folks at JML music really pulled through for us and made this dream come true. For the first time since I graduated high school, I have a real piano to play and it is a dream come true. You can believe the house is already full of great sound and several guest artists have made their debut on it!
We are still waiting on some electrical work and then the painters can return to finish their end of things. Having used nearly 60 gallons of paint, Hillside is definitely getting refreshed! We are turning to the downstairs kitchen where we will start the renovation there of replacing the backsplash, hardware, lighting and replacing the tile floor. That job is exciting but DUSTY!
Things keep progressing and we have made the move over to Hillside, so if you are looking for us, we’ll be there. Living in renovation is always a challenge, but we are hanging in there with the bulk of the work behind us. Annika has been working her organization skills in the kitchen - we are loving more space - even with all the chaos of moving!
It’s a mess, but we are getting there. Hope you enjoyed the update.
Have a great week and we’ll “chat” soon!
Casey and Crew
HILLSIDE AVE - 2 more weeks of Renovations
Haymount Homes Hillside HIstoric Renovations continue - next 2 weeks!
Progress continues! Knee deep in painting - old walls need a LOT of love!! However, it is making a huge difference to the feel of our new home- exciting!
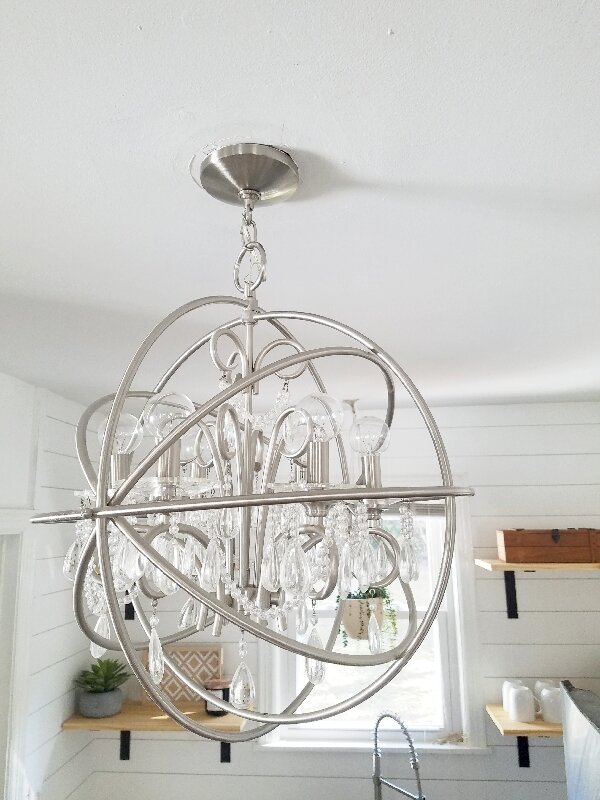
We have also been playing the light fixture game - round and round we go, trying them in different spaces to see how they fit and feel. I think we have ordered over 30….and keep UPS and local stores busy with our exchanges…however, light fixtures are like the jewelry in a room - they are the best accent and need to fit just right!
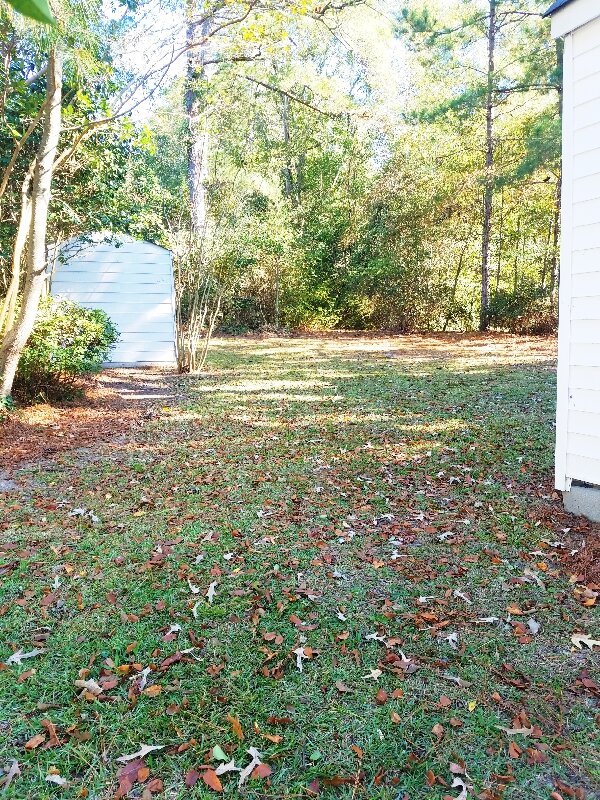
Also we are trying to find the backyard….a little at a time….
Stay tuned for more! It’s coming together!!
Casey and crew
HILLSIDE AVE - 2 WEEKS OF RENOVATIONS
Let the renovations begin!!!
Happy Weekend! It has been a whirlwind of activity over the last two weeks at Hillside and we are excited to show you the progress. The home was lovely, but just not really our style, so we are knee deep in making it our own. Forgive the rough unedited cell phone photos - we are moving quick!
The first step was to uncover the 120 year old pine flooring throughout the home. This is always one of our favorite parts because floors have so much character and clean up so well. However, the deep ebony stair treads had likely never been sanded down and hats off to Dustin Brewington who had to sand them several times and then hand scrape them four times to get down to the natural wood. AH...MAZ...ING!
We have a mix of red pine and yellow pine in the home. We love the look of the yellow pine, but the red pine was very red. In order to draw that down, we chose a deep (actually black) stain to neutralize the red in the wood for the lower level of the home. As for the upper level, we are in love with the yellow pine. We wanted a natural stain, but even an oil-based natural stain has a yellowish/orangish undertone that will deepen over time. Additionally, oil based stains are very high in VOC chemicals, which we are trying to avoid in our renovation.
You can see how the natural oil based stain on the left really made the wood a orange tone…..not what we were going for.
Same here with the upper floors - the oil based tone really yellowed up the wood - and it deepens over time, which is likely what was already on the floors to start with. Any stain will darken the floors a little, but we wanted to preserve the yellow pine color as much as possible.
As a result, we ended up choosing a natural water based stain for the first floor to really allow the floors to be at their best. We are thrilled with the results, which will be posted once all the mess is cleaned up! For downstairs, we chose a black water based stain. The wood really soaked it up and created a lovely walnut shade. Plus, the water based stain is faster and less toxic. It is a great alternative to oil based, but it does cost more so be prepared for this if you choose that path!
We are adding shiplap detail to sections of the home. It is a great way to hide some of the rough plaster and it adds character and charm to the rooms. Texture is a huge element in rooms and it really provides warmth and comfort to the spaces. Although some people like the character of rippled plaster, we opted for more clean lines and less of this look.
Painting has begun and it is a task! There are a lot of areas to try to address in the walls and to optimize their look once the paint hits them. Choosing paint is never one our favorite tasks because there are thousands of amazing colors and they all look different in each space! Total fear of better options. We are somewhat married to cool undertones in this home due to flooring choices and cabinetry that will be staying, so we had to stray from our typical warmer undertone palate. That has been an adventure, but you can see the dizziness of the ride below. We’ll be chatting more on paint later.
We have a lot more photos to come as wall repair and painting continue this week. However, this should give you an idea of the controlled chaos at our new home!
Until next time!
Casey and Carl (and crew)
HILLSIDE AVE - OUR NEWEST DESIGN PROJECT
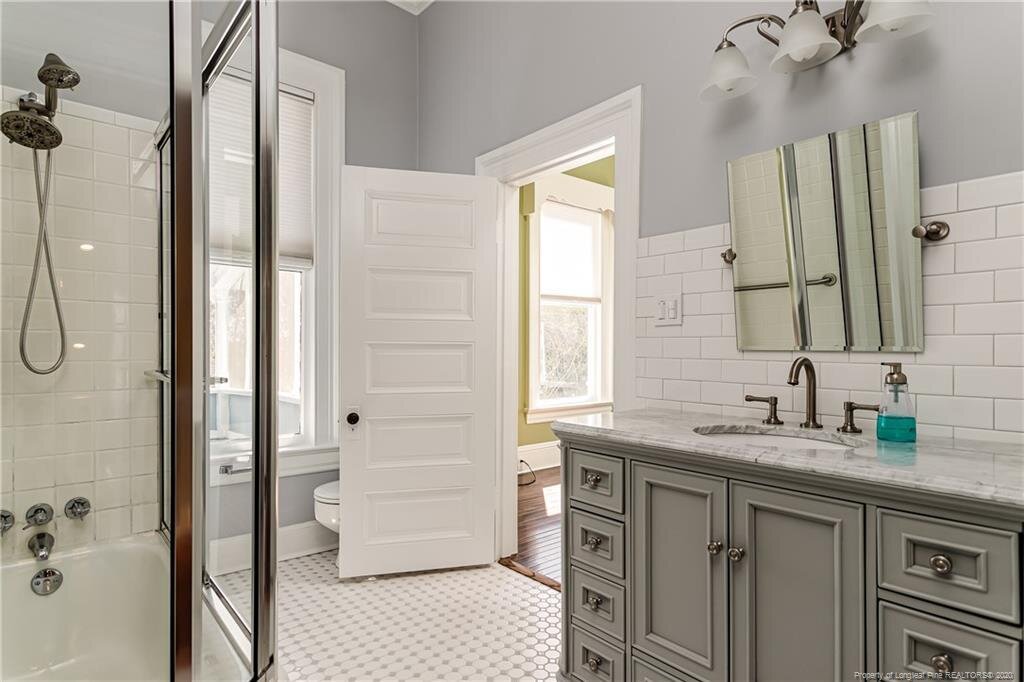
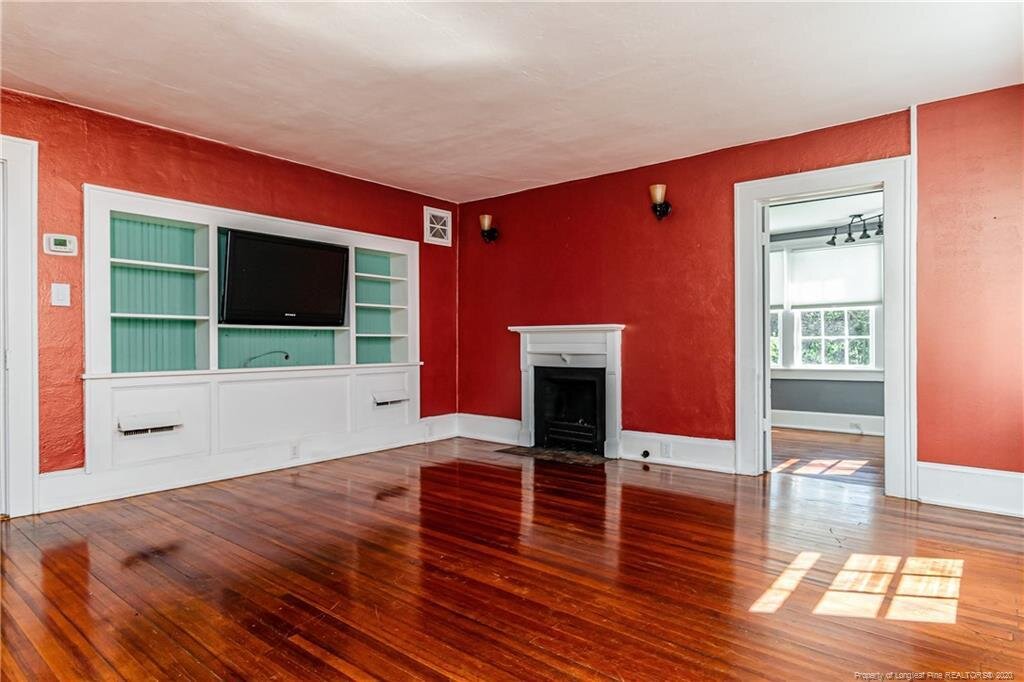
Introducing our newest design project - follow along as we complete renovations on a 120 year old historic home!
We are so excited to introduce our newest Haymount Homes design project, Hillside Ave!
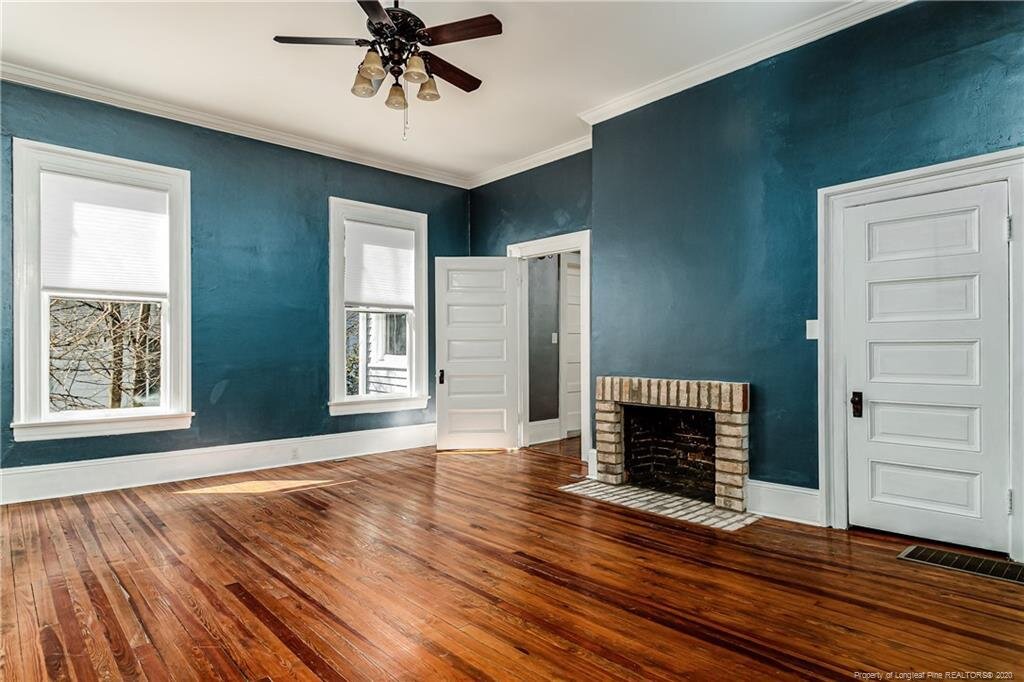
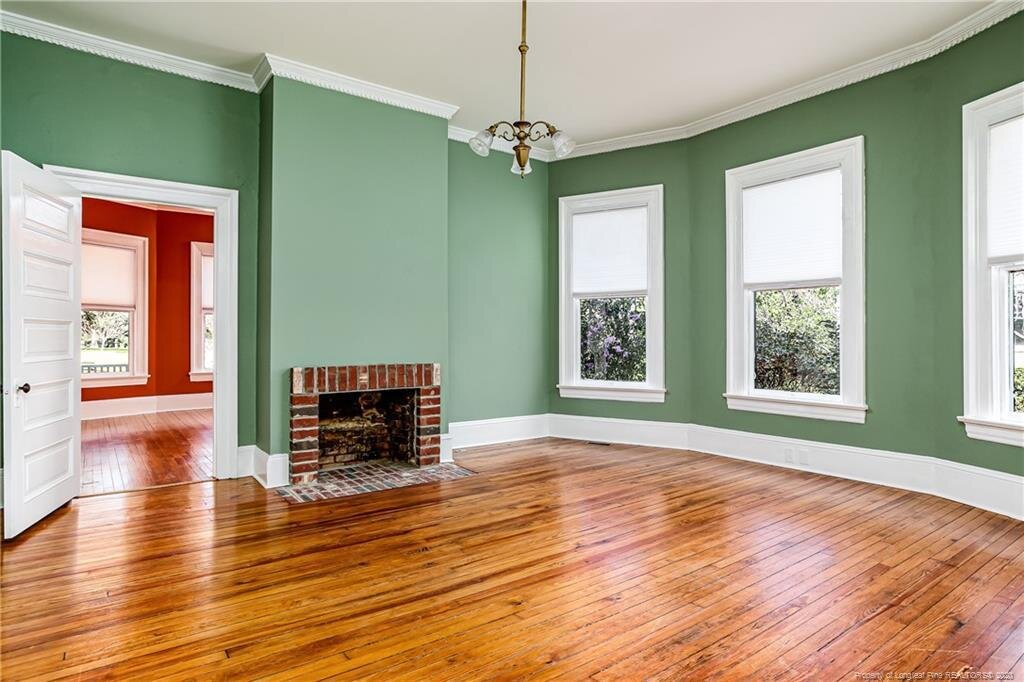
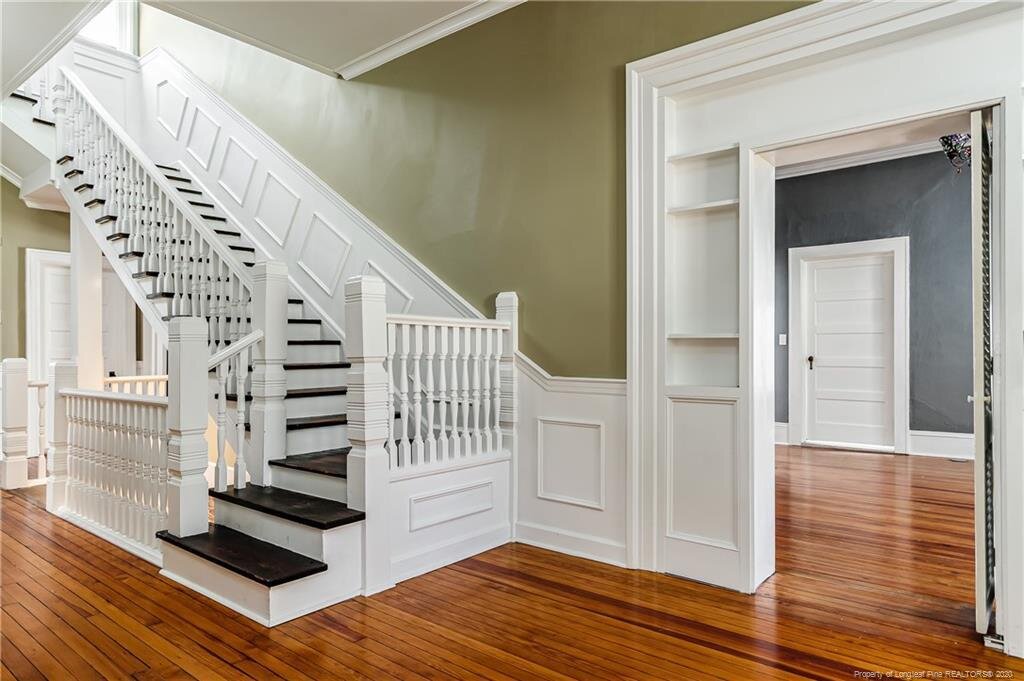
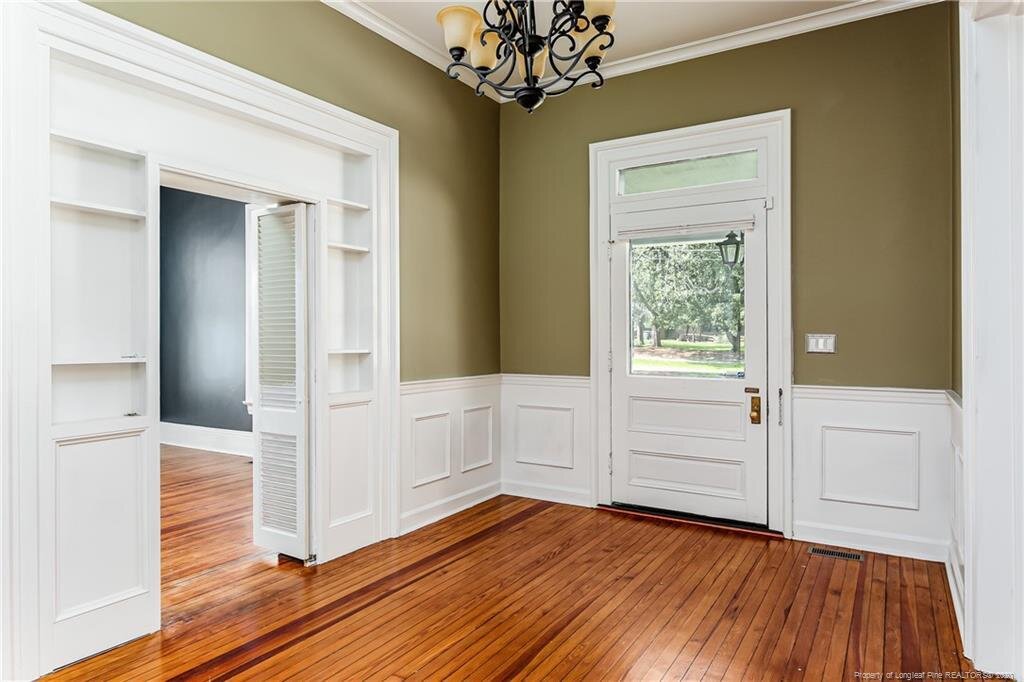
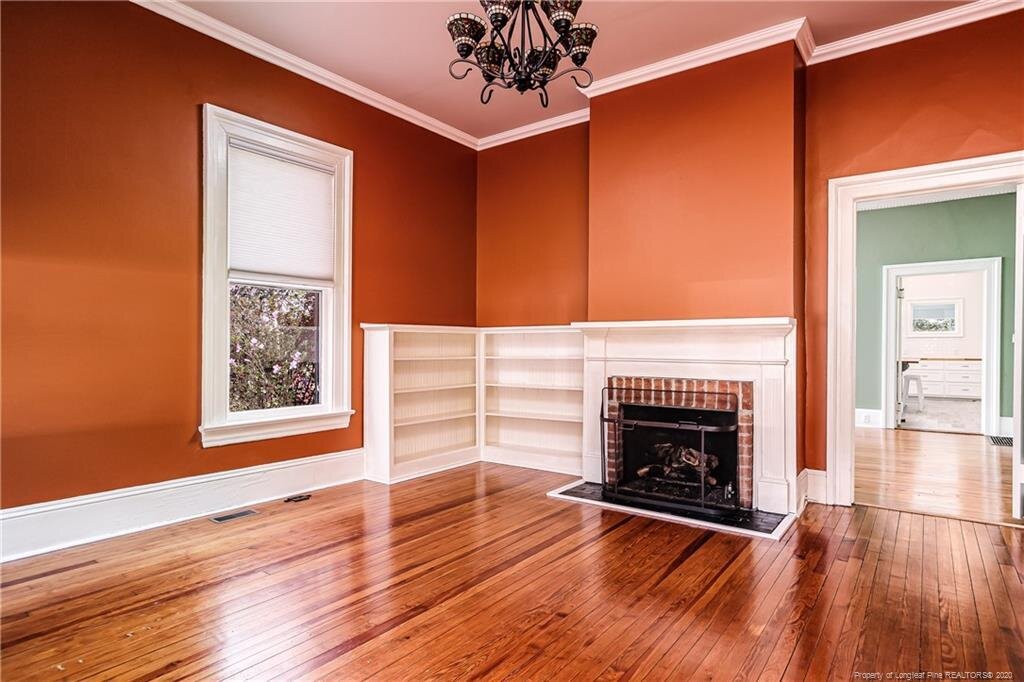
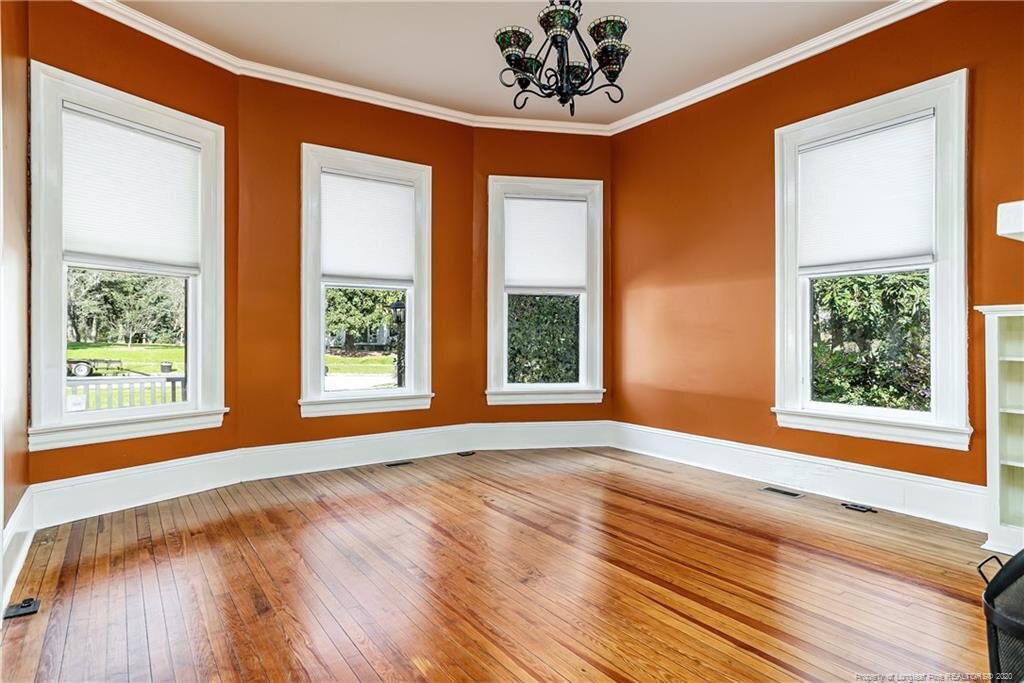
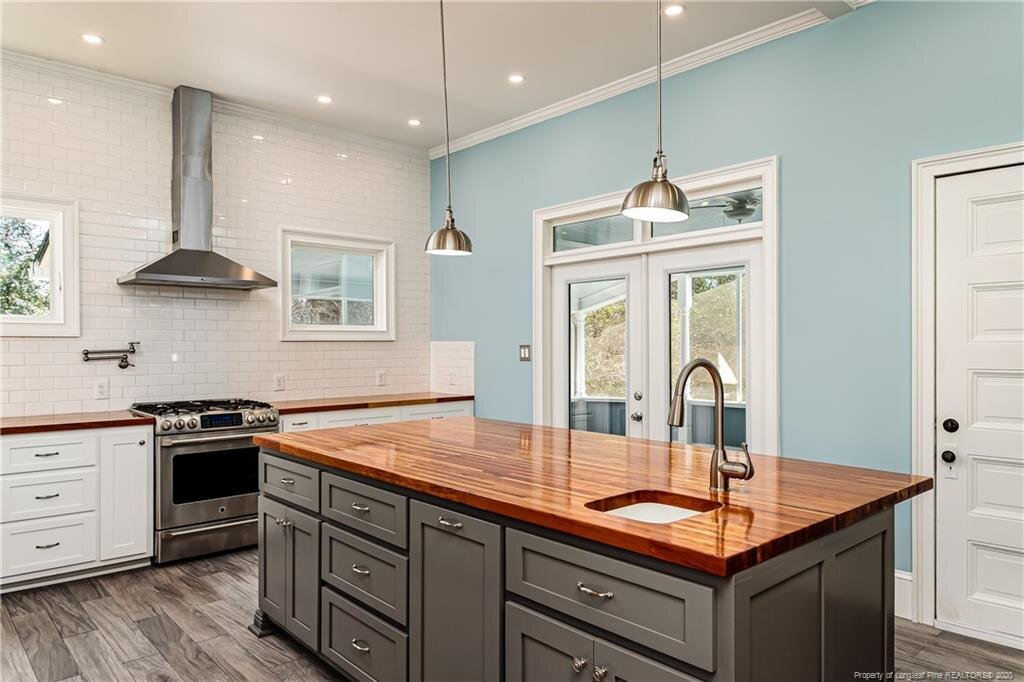
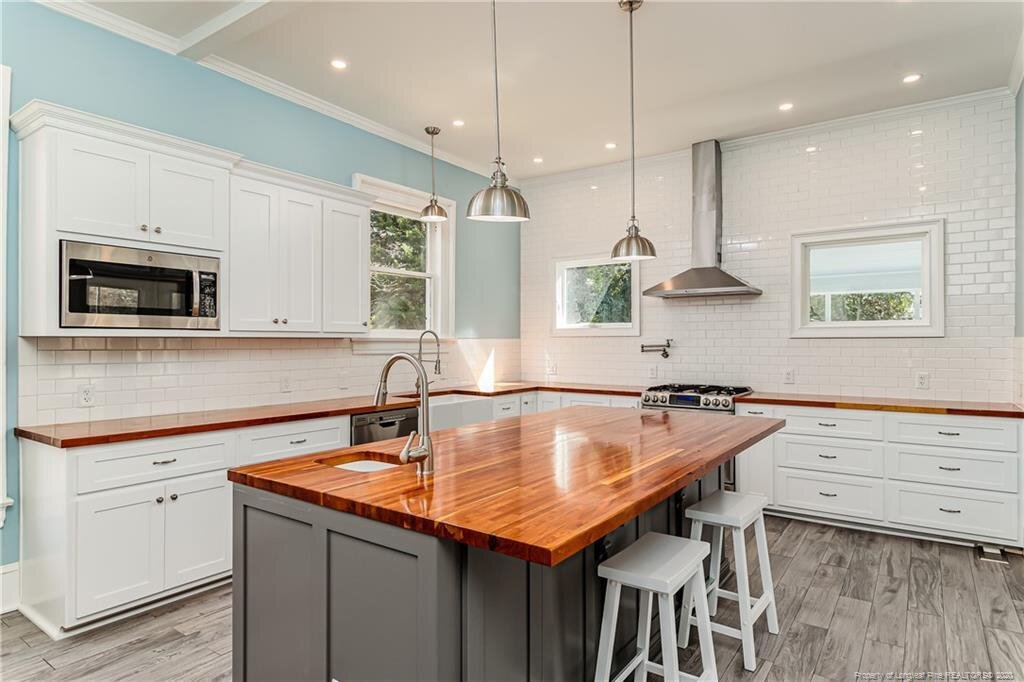
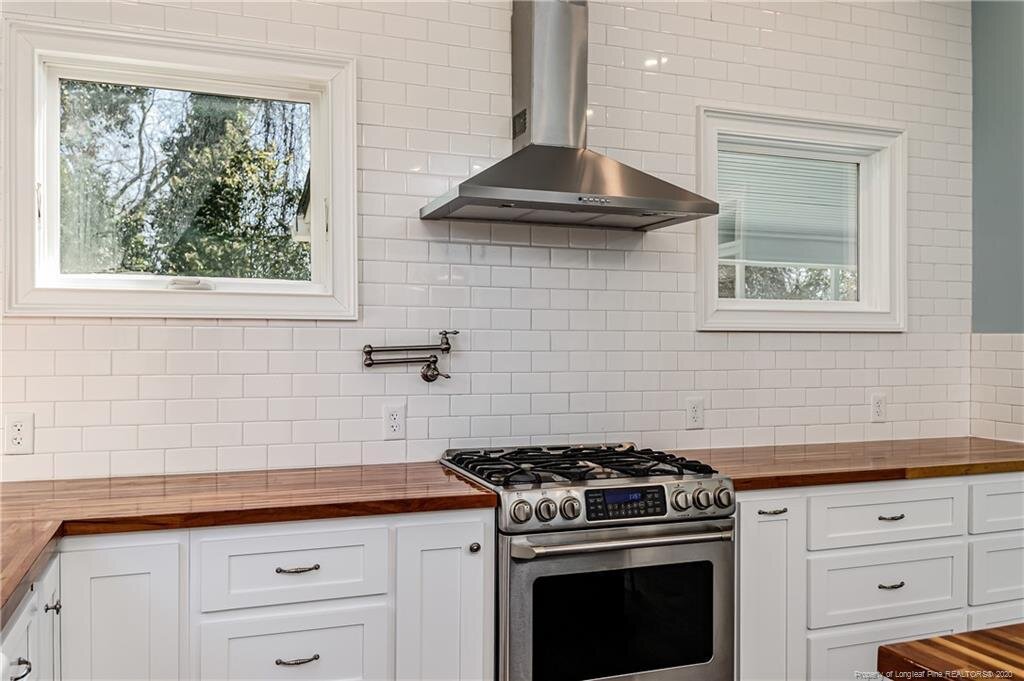
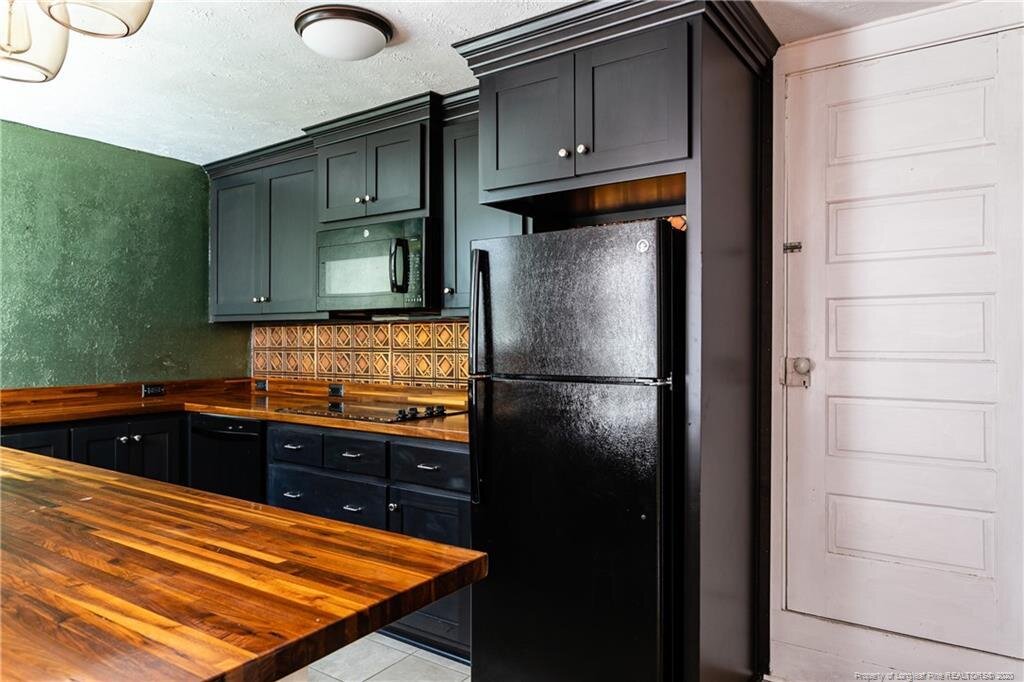
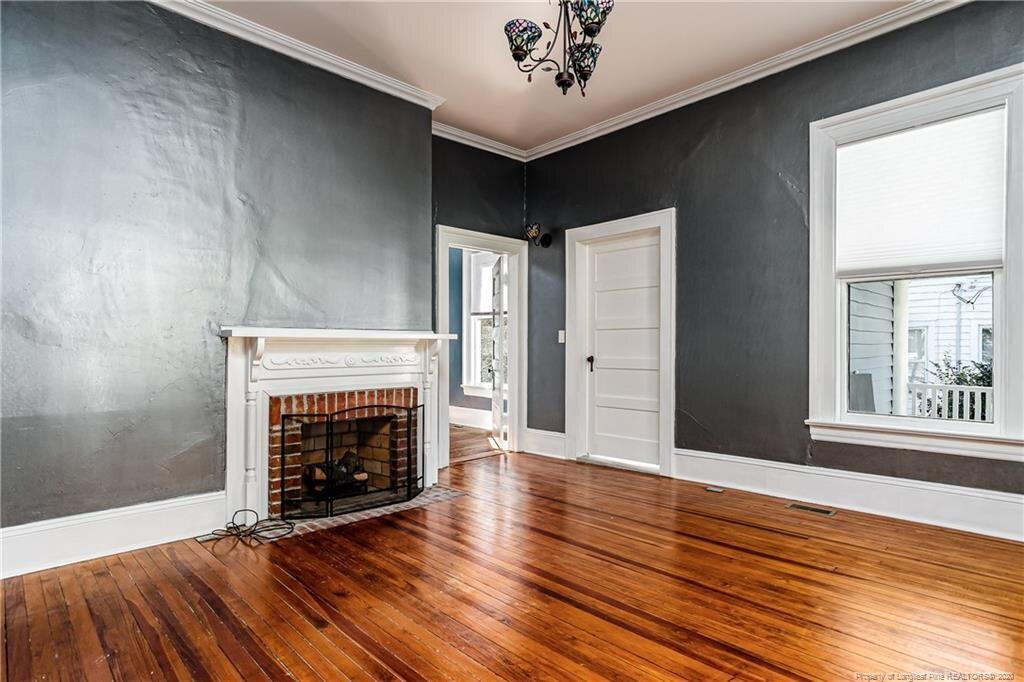
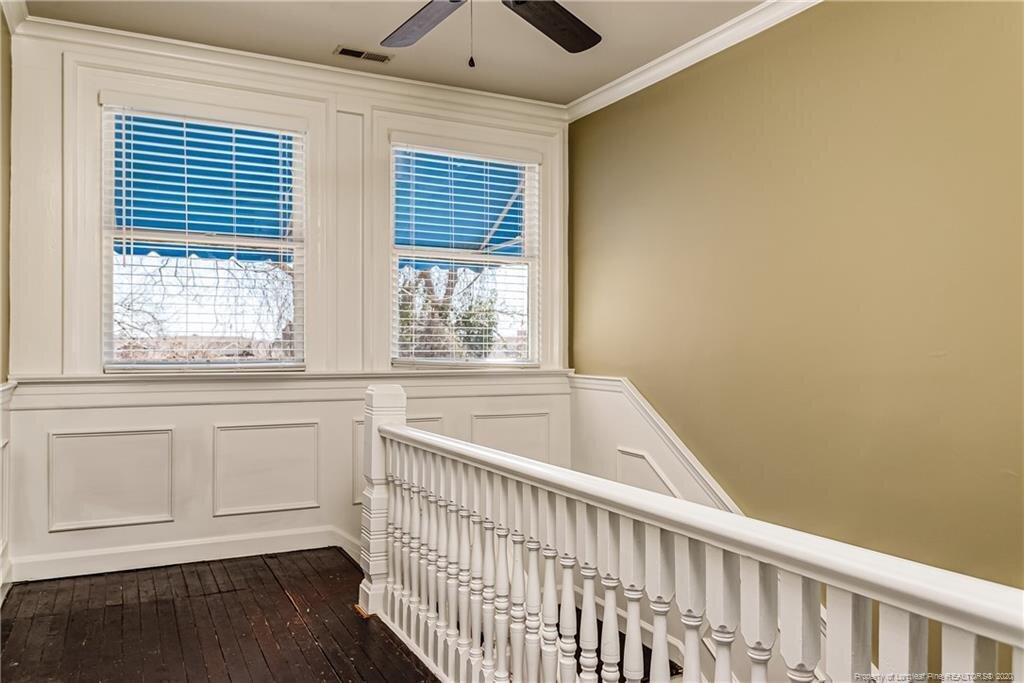
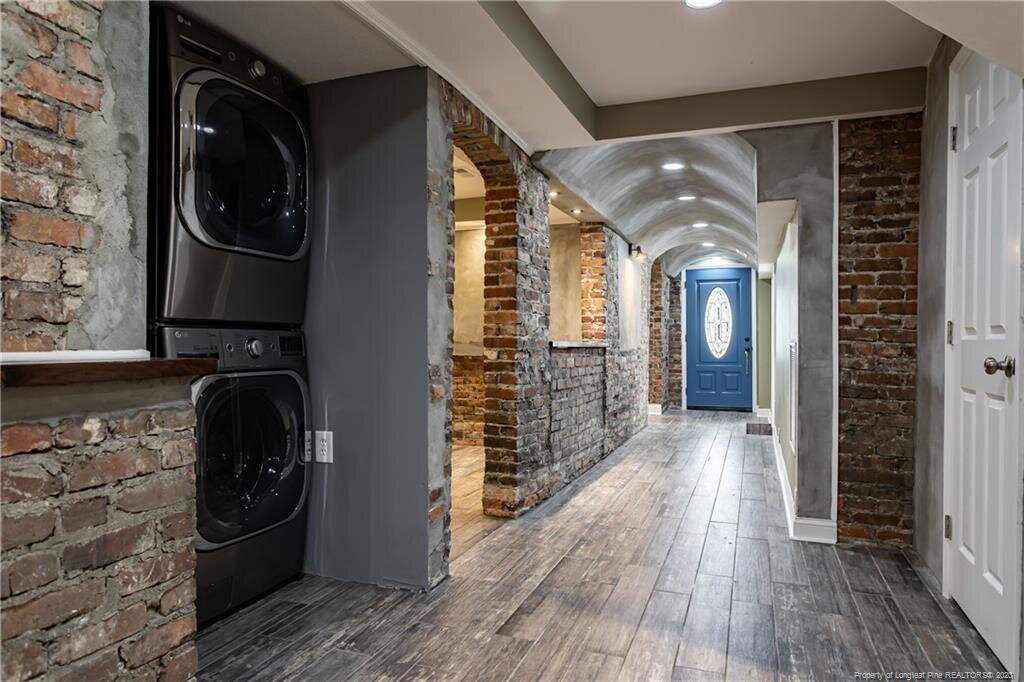
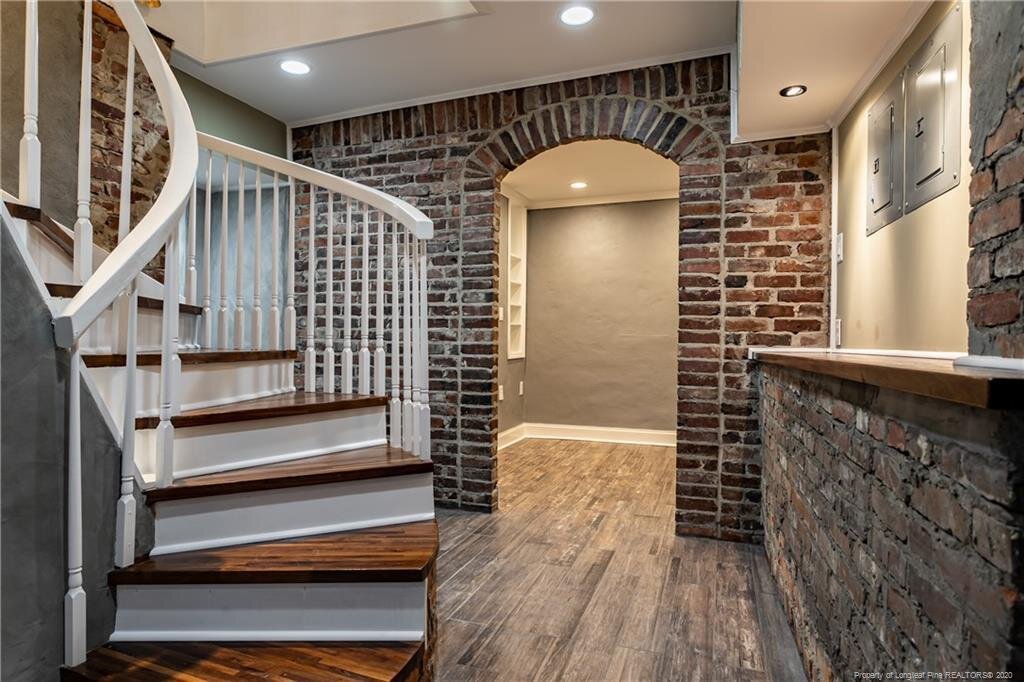
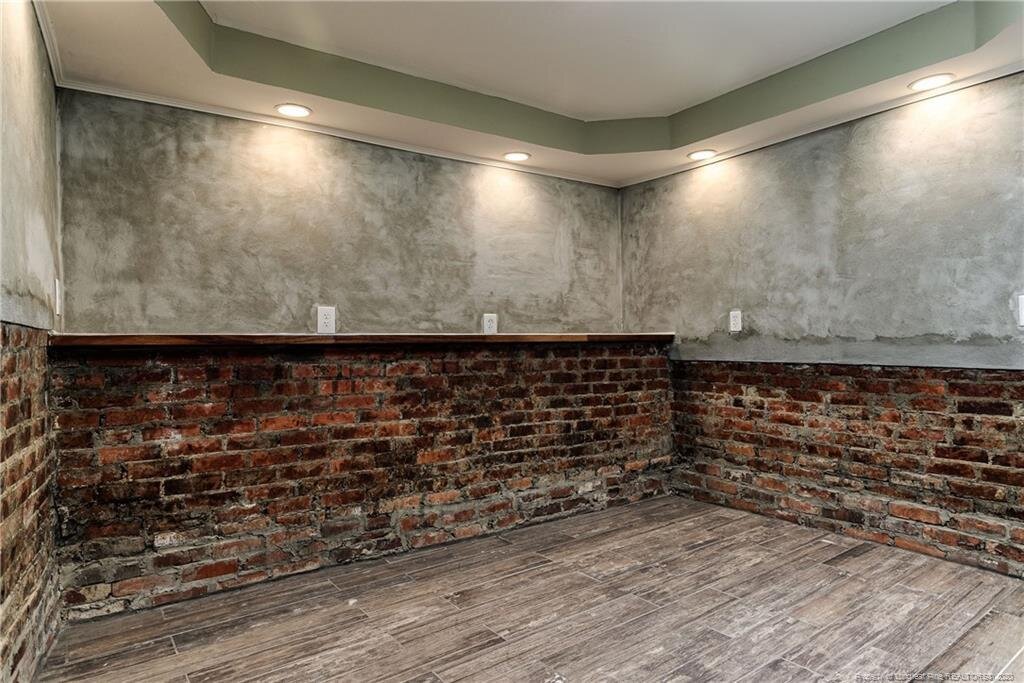
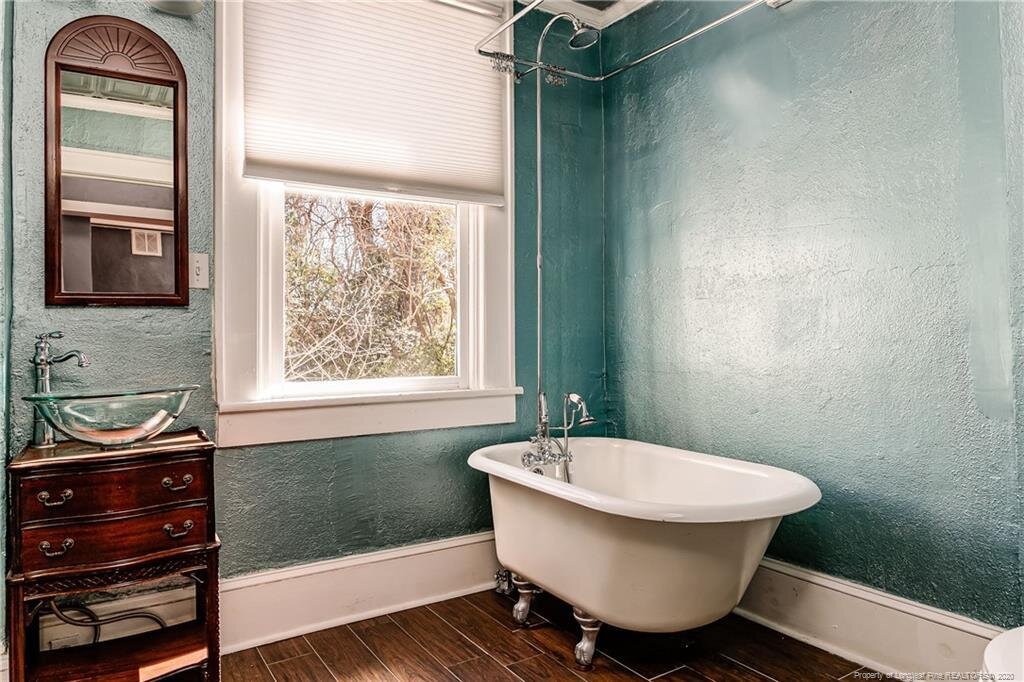
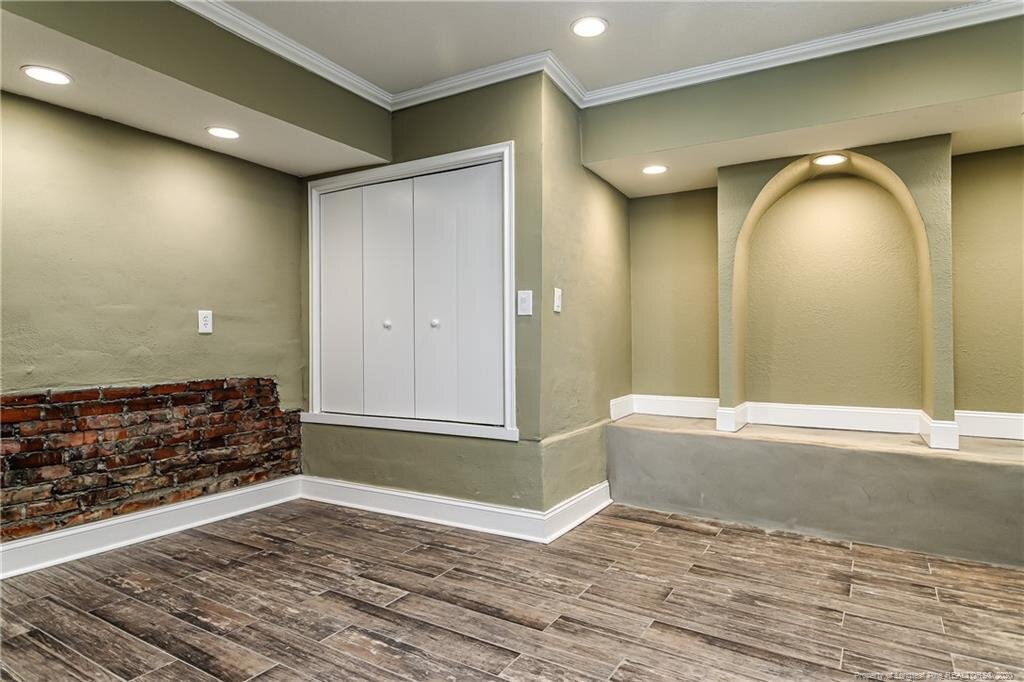
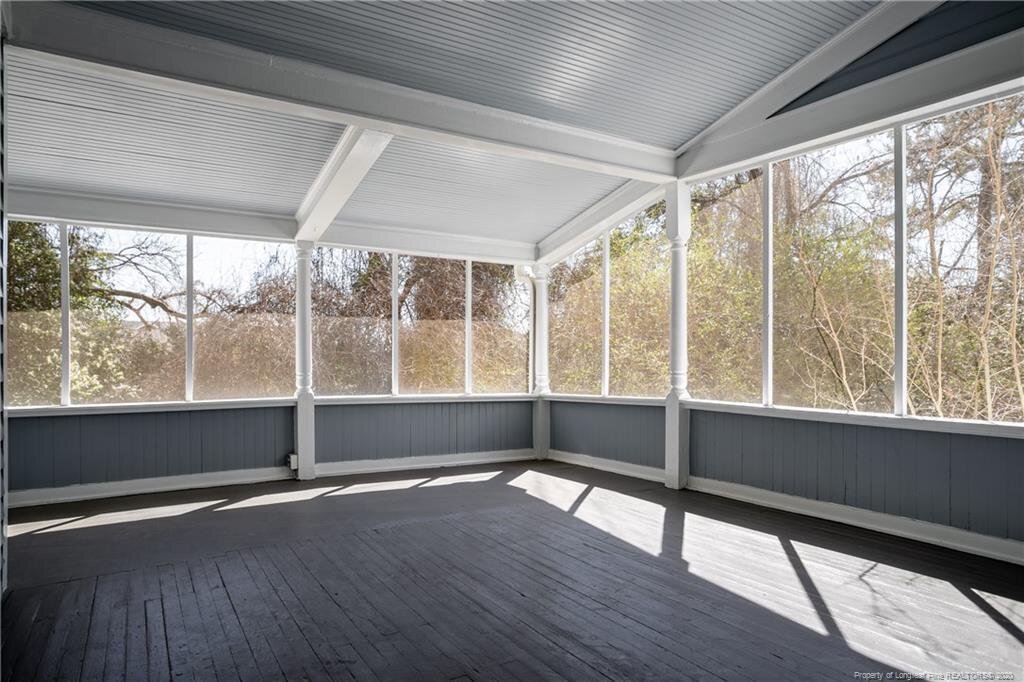
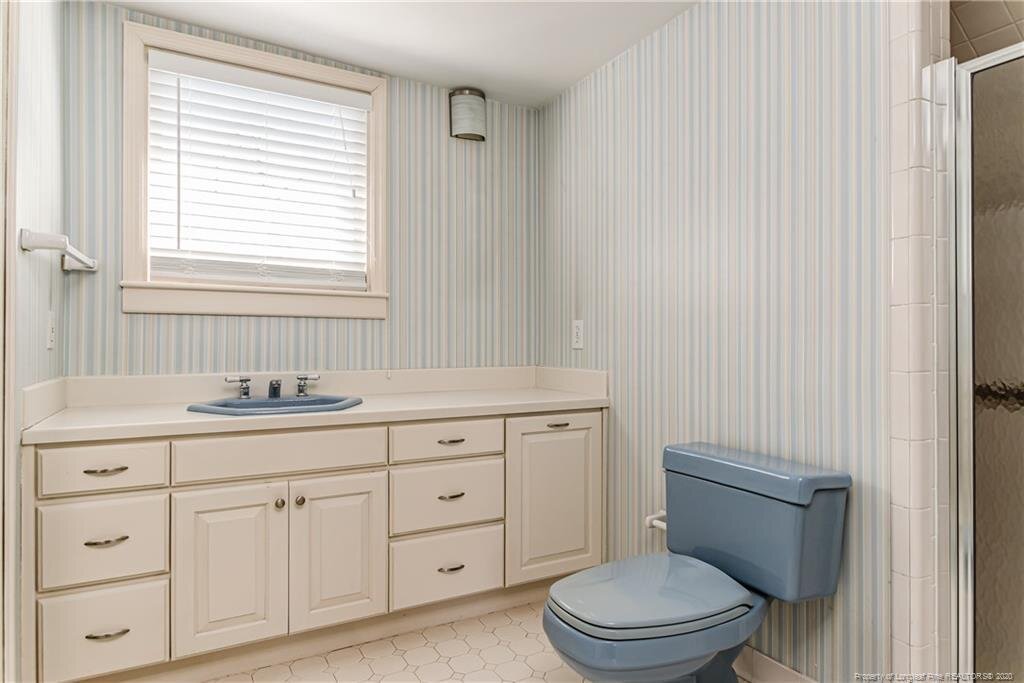
There is so much to love about Hillside. From over 600 square feet of porch living to exposed brickwork and architectural detail throughout the lower level, there is eye candy to be seen everywhere. The grand foyer welcomes you in and the beautiful 120 year old pine floors honor Southern tradition.
This home has been lovingly updated for the last six years, and we are the proud new owners. We have included a present state home tour for you and are hoping you’ll follow along as we place our Haymount Homes stamp on the design.
Stay tuned for updates and you’ll be able to follow us on Facebook and Instagram, using the hashtag, #hhhillside.
For now, enjoy the present state home tour….we are thrilled you stopped by!
- Casey and Carl




NOW AVAILABLE - OUR NEWEST HOME CAPE FEAR AVENUE
INTRODUCING THE NEWEST HAYMOUNT HOMES LLC Property - Available Now!
Hey y’all!
We are so excited to preview our next rental property! Cape Fear Avenue has finished up renovations as we speak and is ready for someone to love! We are starting to accept applications for Cape Fear Avenue now, so don’t hesitate if you are looking to snatch up our latest home!
Cape Fear Avenue features 2-3 bedrooms, and 1 bath. It has an optional dining room with a closet, that could be used as a third bedroom if desire. We have updated each and every surface of this darling home. It has a brand new front porch, all new and refinished hardwood floors throughout the home (except the bathroom which is tile and laundry room featuring luxury vinyl plank flooring). We have opened this home up to include a beautiful eat-in kitchen with island seating, downdraft range, granite counters, open shelving and stainless appliances.
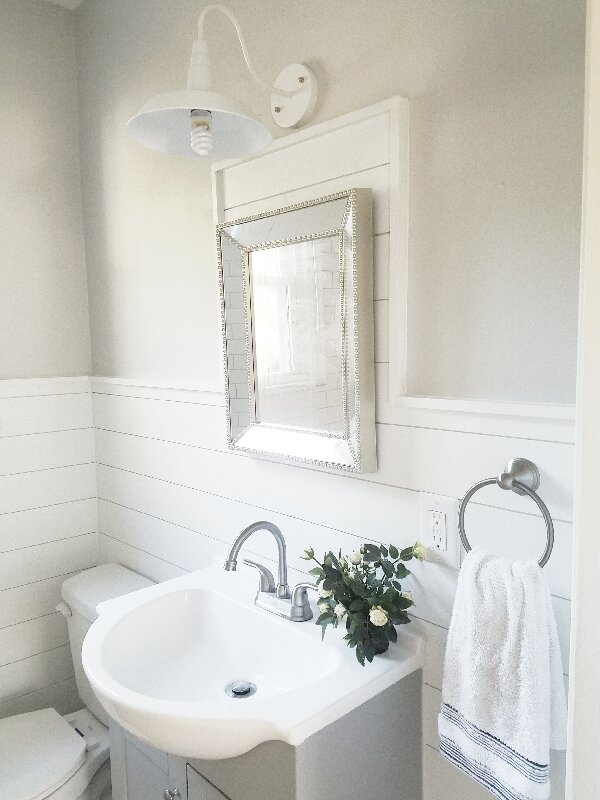
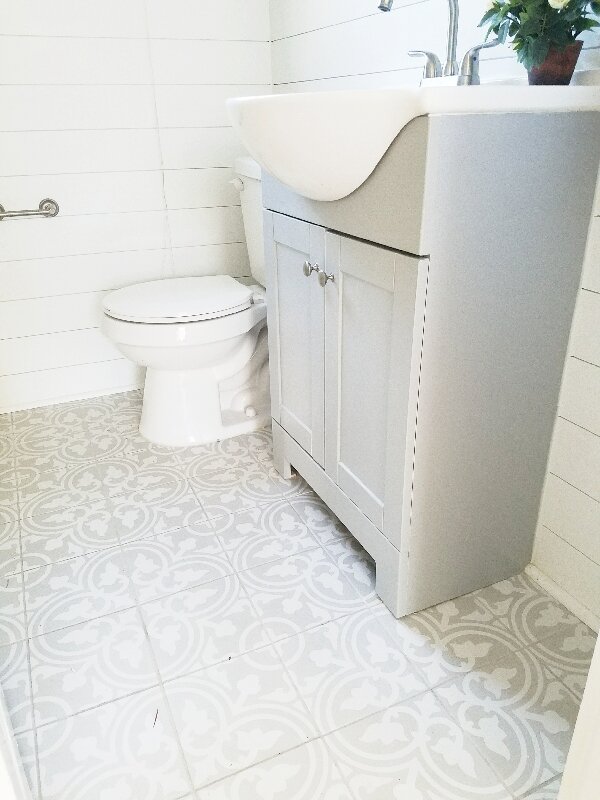
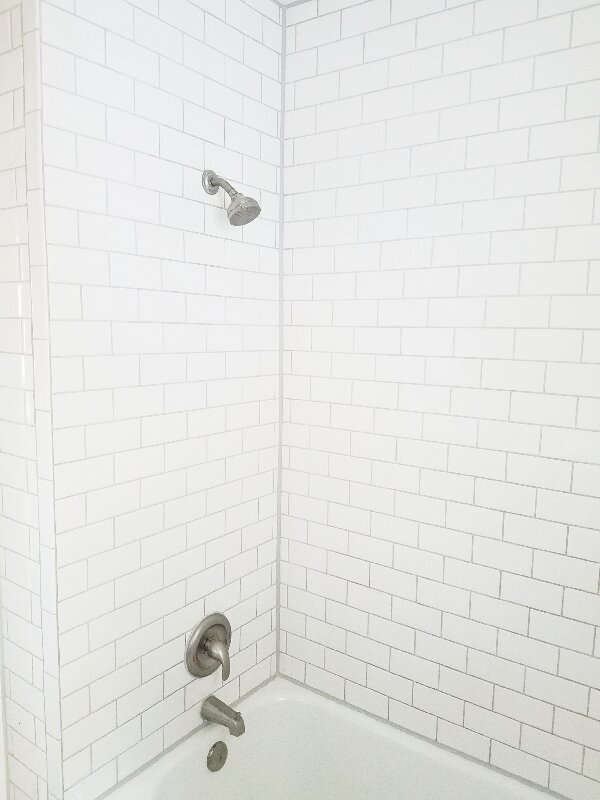
The bathroom includes the freshly restored iron tub, beautiful patterned tile flooring, and awesome subway tile shower. Our Cape Fear Home offers updated roof and all new windows and exterior doors (minus the vintage front door) to provide great efficiency.
Cape Fear Avenue offers ample storage in the fully floored attic space and the garden shed outside. Like all our Haymount Homes, it is located in Haymount and the Terry Sanford School district, near 10 five star daycares and preschools, near over a dozen churches, and just down the street from the new Segra stadium and home of the Woodpeckers.
We are excited to offer you Cape Fear Avenue and hope someone special will call it home! Let us know if you might like to be that person and contact us today!!
-Casey
Want more photos!??? Scroll down to enjoy a photo tour!
GREENLAND DRIVE - BEFORE AND AFTER
See the amazing before and after pictures of our newest rental home - Greenland Drive!
We hope you enjoyed the Greenland drive home tour. As mentioned, it was a labor of love for many people involved in the project. If you are anything like us, you love the see the before pictures to help give perspective on what has been achieved.
We are not the best at remembering to take a lot of before pictures, so we need to improve on this. However, we will give you what we have so you can see how far our Greenland home came. It had been neglected for quite some time and we are so happy it has been restored to a home you can love!
Without more chat, here are some before and after photos for you!!
As you can see, Greenland has come a loooooong way! From rotted flooring to unlevel fireplaces, from wild and uncontrolled yards and trees to long past their prime roof and windows, it has been nothing short of a job. With each part of its renovation, a little more of the home’s personality came through. It was almost as if it wanted to be loved.
“Everything has its beauty, but not everyone sees it.”
It is so much fun to restore beauty to our neighborhood and haymount continues to give back to all of us. Thanks for looking at this before and after photos. We hope you they inspire you to create beauty around you!
-Casey
INTRODUCING THE NEWEST HAYMOUNT HOME - GREENLAND DRIVE
Tour our newest Haymount Homes rental property - Greenland Drive!
We are so excited to introduce the newest Haymount Home: Greenland Drive. Greenland has an amazing front porch for your sitting pleasure. Add a chair and some sweet tea, and you’ll be ready to relax! The porch was fully replaced and is now sturdy and beautiful richly stained wood. Venture into the back yard and you will have room to roam in the fully fenced space.
Greenland Drive is a 2 bedroom, 1 bath home and has been lovingly transformed. It boasts farmhouse styling throughout, including a shiplap dining room and kitchen!
Greenland Drive has been quite a project but a labor of love. This has been the largest project we have undertaken and nearly every surface of this amazing home has been transformed. I will post more before and after photos for you in upcoming blog posts. I know everyone loves to see how far the home has come. I can promise you that we saved this little gem from years of neglect.
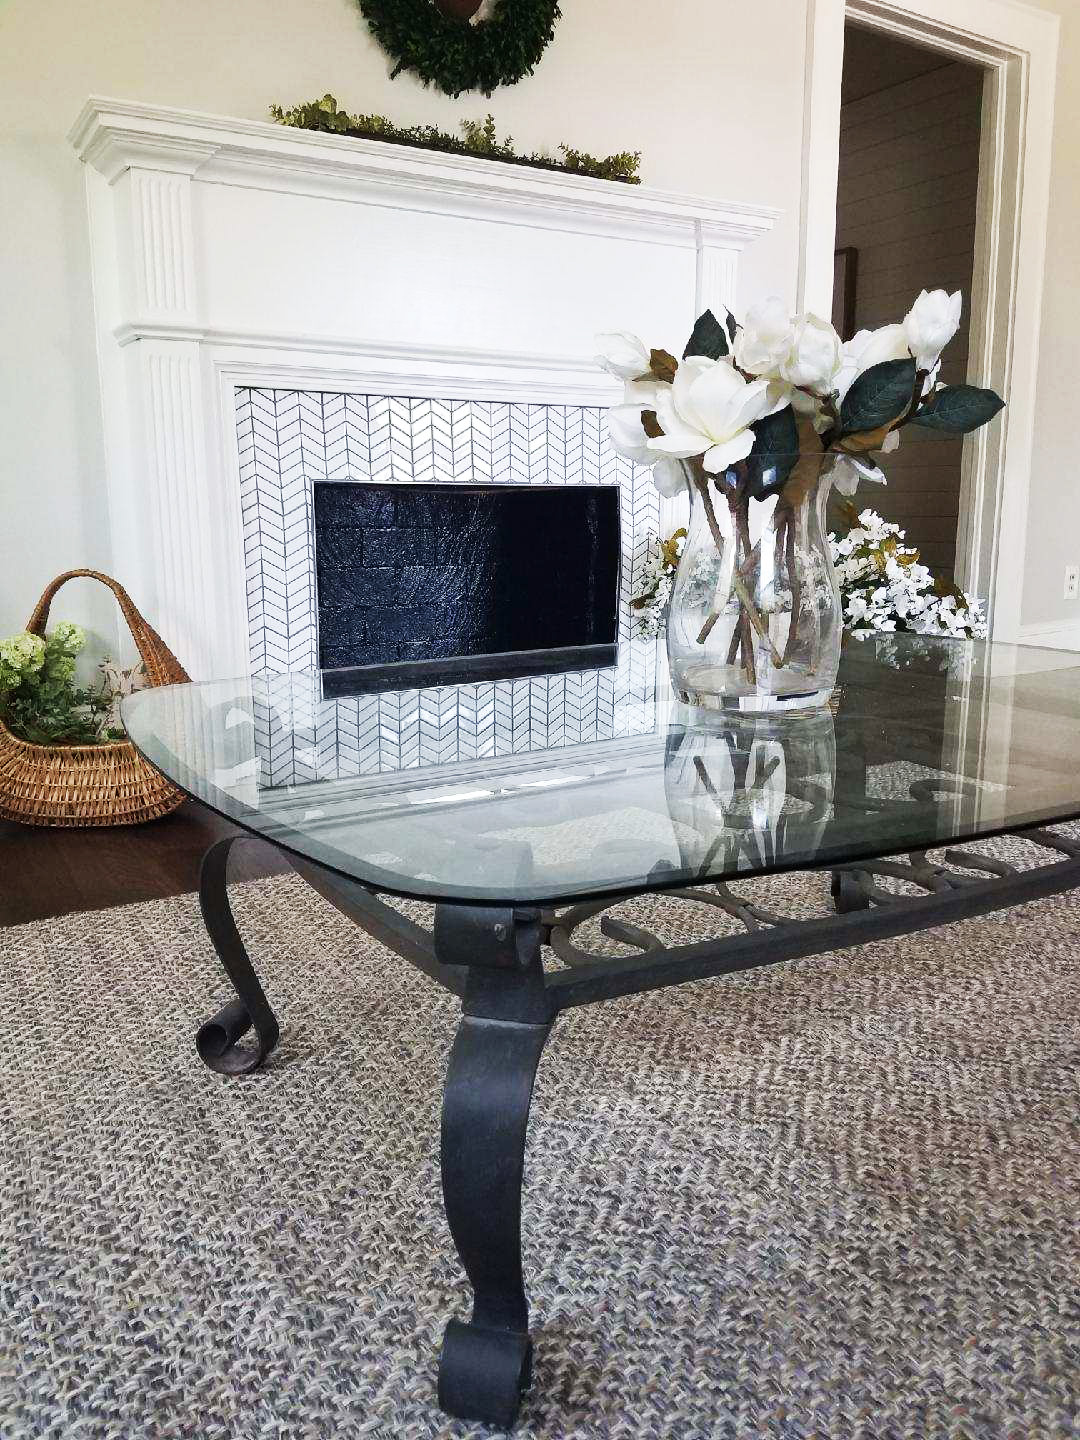
The dining room at Greenland is the hub of the home. Centrally located and accessed from the living room, kitchen, and porch, it will be a gathering space for all your friends and family. The attached living room offers ample space to relax and the gorgeous fireplace is a statement piece. We were able to retain the original mantel and add amazing herringbone tile.
Greenland Drive features hardwood floors throughout the living, dining, and bedroom spaces. The kitchen, porch, and bathroom all have ceramic tile. The brand new kitchen features wood cabinetry from our friends in Southern Pines, soft close drawers, and farmhouse style accents. The amazing black pearl granite countertops offer a honed matte finish and accent the beautiful undermount infinity edge stainless sink. Open shelving finish off the details along with beautiful stainless appliances. Did we mention a gas range? Now your culinary dreams can become reality!
Let’s talk about the porch/mudroom. It’s now beautiful - but oh my, it was not. There is now a lovely enclosed laundry closet, a beautiful tile floor, and amazing sitting area. With easy access to the kitchen and dining room, it is now part of the living space of Greenland.
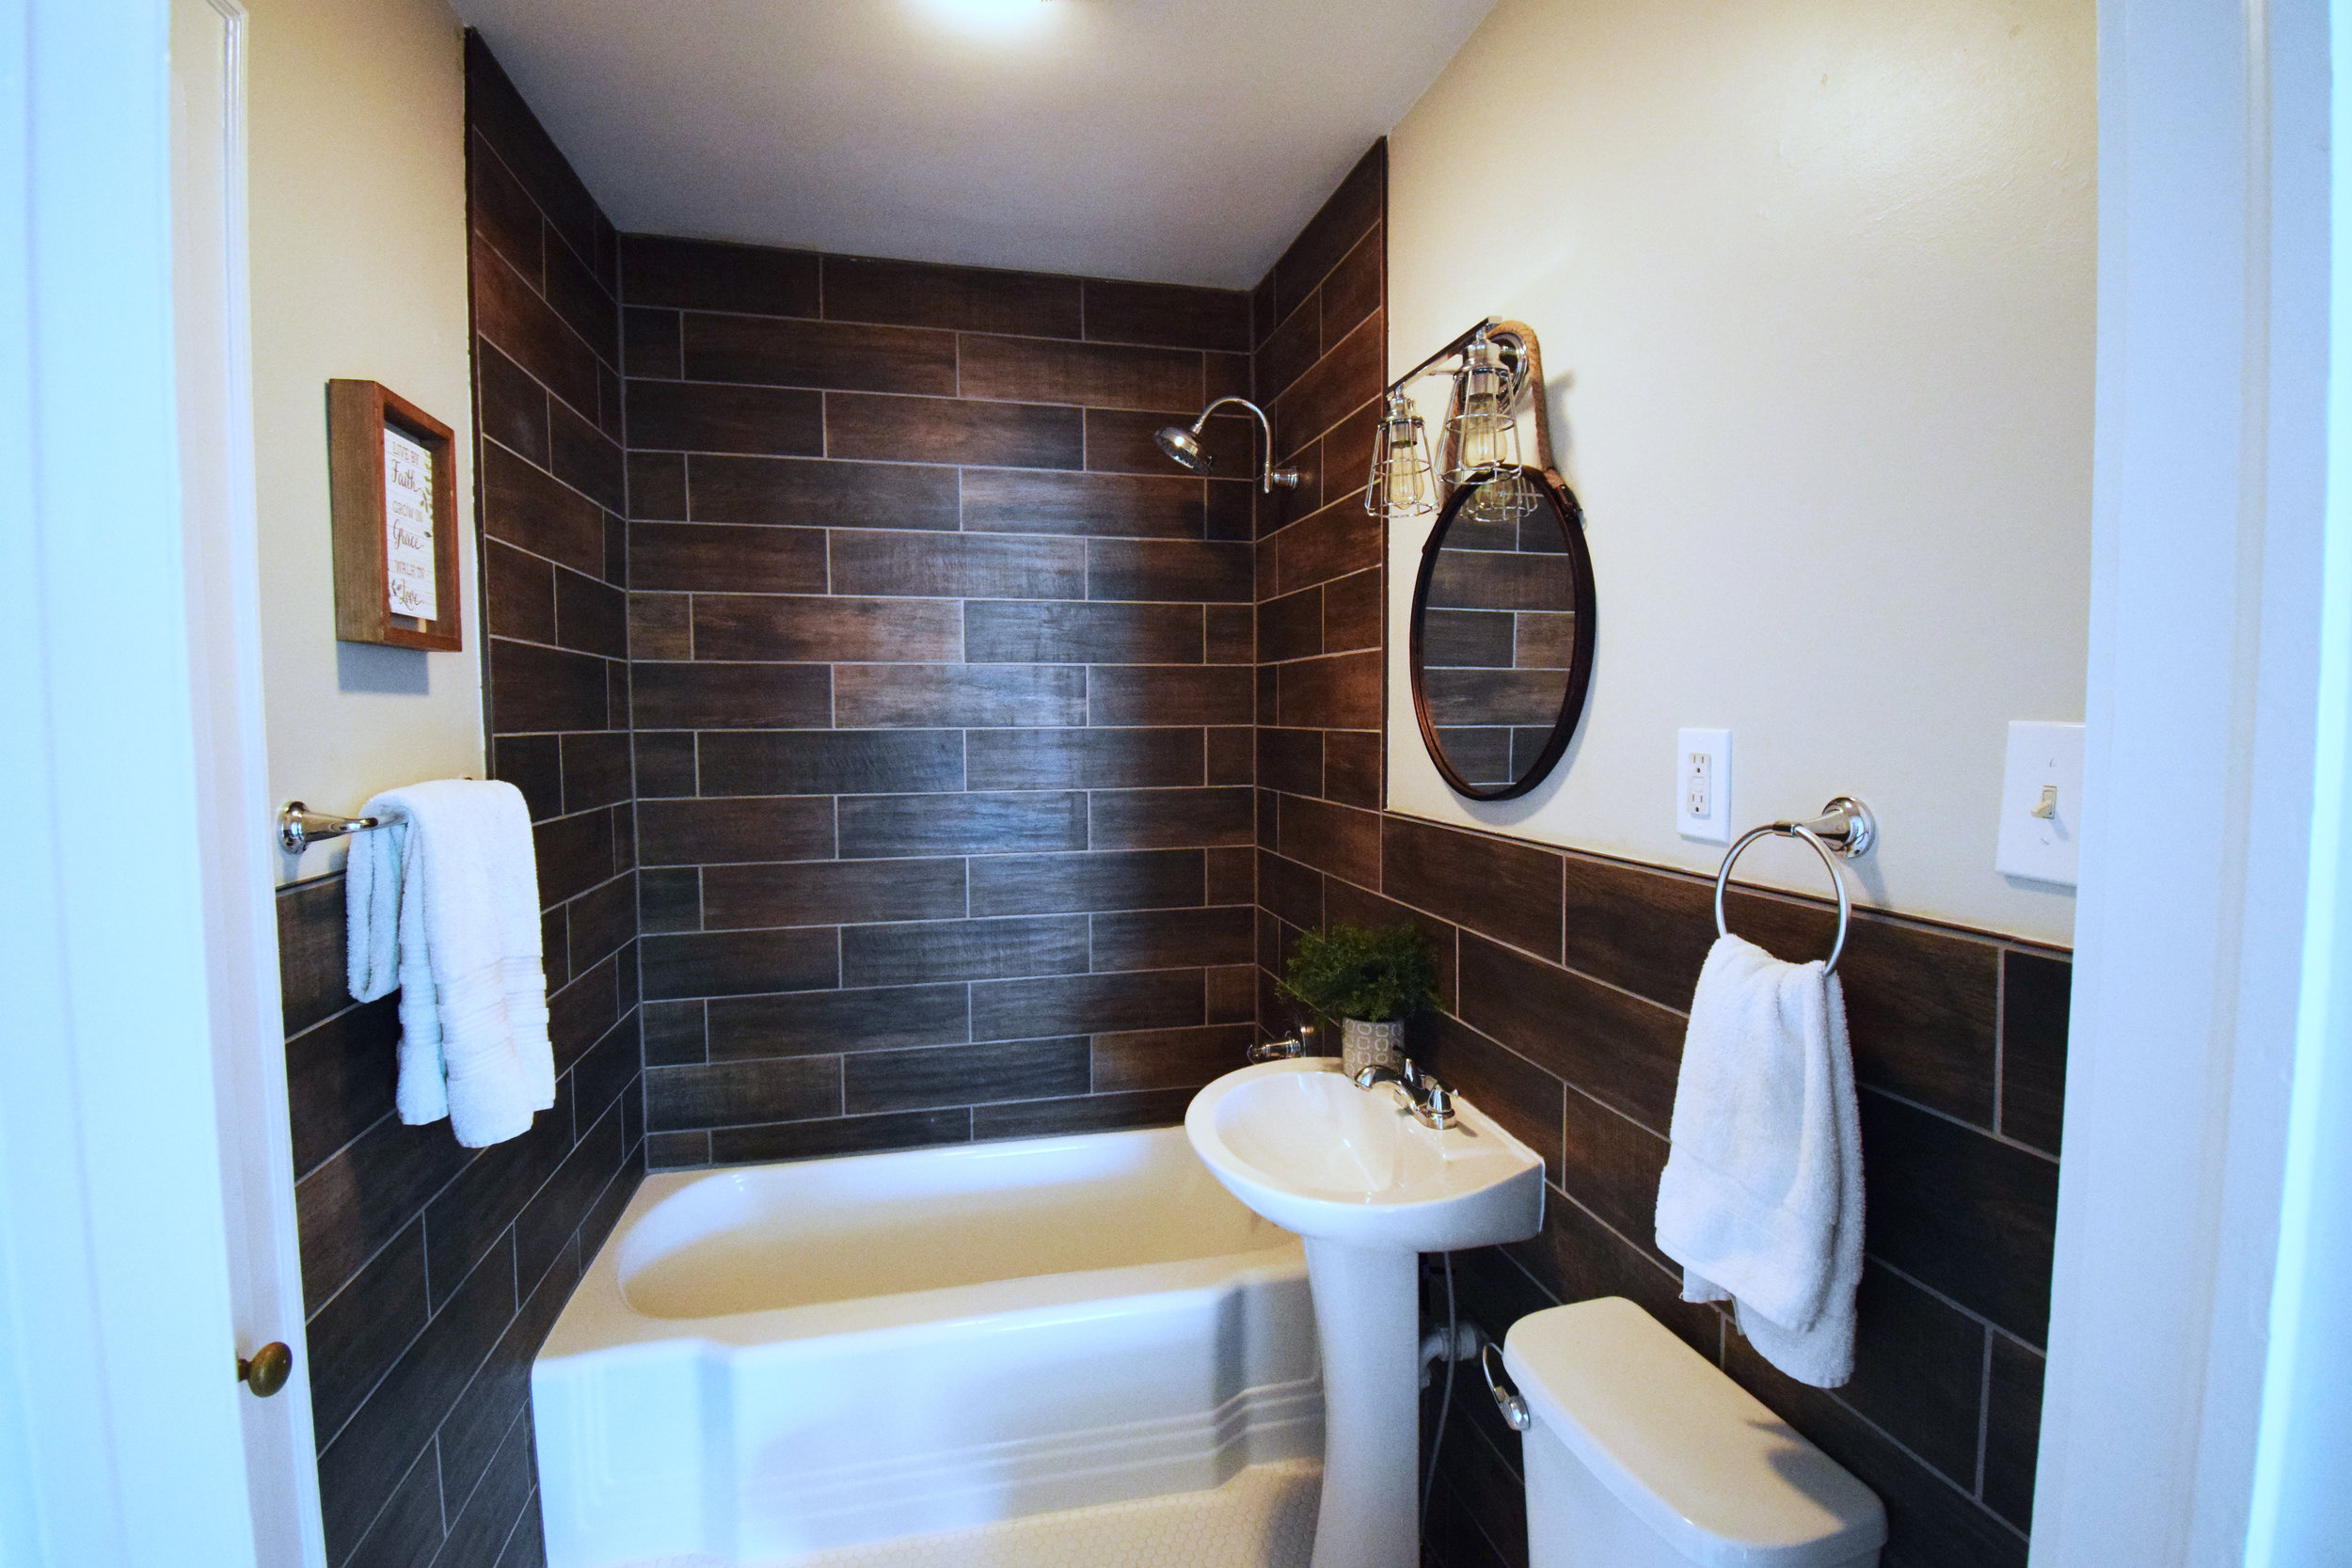
Greenland Drive features a beautiful fully tiled bathroom, complete with pedestal sink and storage closet. The vintage iron soaking tub has been restored and holds the water temperature for so much longer than a plastic tub insert!
There are two bedrooms in Greenland, both of equal size and both have a closet and two windows. Vintage hardware adornes the doors throughout the home and the doors are solid wood. The home features a new roof and windows for maximal efficiency as well.
Living is easy at Greenland and you will enjoy the vintage charm with updated design. We are so pleased with the outcome and believe it is now a home to love. We would be remiss without thanking the amazing guys that helped us with the project. If you need someone to bring your dreams so life, rest assured that they can help you achieve that goal! You can find their information in the “about us'“ tab on our home page! Special thanks especially to Geo Livingston, Darin Halford, Don Armstrong, Colin Sherrill, Justin Haire, Ricky Hair Jr., Dustin Brewington, Clint Suggs, Kevin Williamson and Ron Geddie on this project; y’all are lifesavers!
Greenland is already home to our newest client. She is a brave soul that reached out to us earlier this year and reserved Greenland as her new home - even in a state of mess and chaos. We were so thrilled that she had the confidence in us and were so delighted to find that she loved her new home as well.
“Whenever you are creating beauty around you, you are restoring your own soul.”
We hope you enjoyed this home tour. Forgive the imperfections in the photos - some day I will really know what I am doing! Don’t hesitate to leave your comments below - what did we get right? What did we miss? We love hearing from you!
Until next time, go on loving your home!
-Casey
The Best White Paint You've Never Heard Of
Discover the only white paint you’ll ever need - and figure out how to get it!
My mom recently asked me the question that I have heard (and had myself) more than once. Her question was , “Do you know of a white paint that is actually just white?”
The question is simple enough, but if any of you have had the experience of selecting a white paint, you know it is far from simple. There you sit, immersed in paint chips, each a slightly different shade of white and your head spins. You think to yourself, “This one looks yellowish; this one gray; this one looks blue; I am pretty sure this one looks like lavender, wait, maybe gray." Finally, after putting them up on the wall, against the baseboards, up by the light, and in the shady corner, you withdraw from your pile what you know to be the winning chip…only to find that it doesn’t seem white at all. You begin to second think yourself, your lighting, your walls, your life…wait, well…maybe not, but you get frustrated.
Defeat over choosing a white paint is one of my least favorite first world problems. Sure, we have bigger fish to fry with our lives, including almost anything that is more important than paint. However, you are talking about living in a space that you want to love and also spending the time and money to paint it. It can be frustrating to use your resources on poor decisions and things that don’t work well. Making a good selection is important and does matter, but we do need to keep it in perspective.
So where does that leave us? I would like to introduce you to the best white paint I know and you have probably never heard of. It’s the same white paint I told my mom to ask for at the paint store. This white paint is not something with a fancy name like “white dove”, “iced mountain”, or “creamy marshmallow.” It is not fancy, but like your favorite pair of jeans, just seems to work every time. This white paint is the secret of the contracting world. In fact, if you cannot quite seem to find the perfect white paint match to the trim that was in your house when you bought it, it’s probably because you don’t know about my favorite secret paint. That paint is B2.
B2? Yup. B2. I know - what on earth is B2, you ask? B2 is simply white paint with a drop or two of black added into it to “make it dirty”. The black paint is subtle and it takes the edge off of the white, but does not compromise the crisp white color. B2 is like a soft neutral white. It never reads “yellow” or “gray”, it doesn’t seem to take on its surrounding colors. It is not too warm, nor too cool. B2 is simply just white. It looks white, it reads white, and it is white (well, dirty white anyway).
Here’s the real life secret. When my mom walked into the paint store and asked for B2, the man helping her replied, “Welcome to the club,” when she placed her order. She was now part of the secret society, the elusive contracting club that knew about B2. They all had a good laugh, but when my mom called me later that day, she was so happy that her cabinets where just white! She wanted white and she got white…..B2 was her new best friend.
All of the photos I have listed in this post are using B2 white paint. It’s simple, it’s clean, and it’s trustworthy. You can use any brand, any sheen, and any level of paint and simply ask for B2. Find a brand/type of paint you love and trust, and then simply ask the store for B2. They should know what to do from there.
““Without black, no color has any depth. But if you mix black with everything, suddenly there’s shadow – no, not just shadow, but fullness. You’ve got to be willing to mix black into your palette if you want to create something that’s real.””
I have a lot of great shades of white that I used in my decorating. Some of my favorites are Benjamin Moore’s White Dove, Sherwin Williams Pure White, and Sherwin Williams Extra White. They are all great and have their use in certain places. However, when you just feel stuck and want to ensure you end up with a pure clean white, you can always fall back on your newest trusty friend, B2. I hope you will give B2 a try the next time you are looking for a basic white paint. It’s loved for a reason - probably because it just works. My mom is the newest big fan. I’d love to hear about your experience with B2 if you do decide to try it. Hopefully this at least helps unravel the white paint mystery and gives you focus!
- Casey
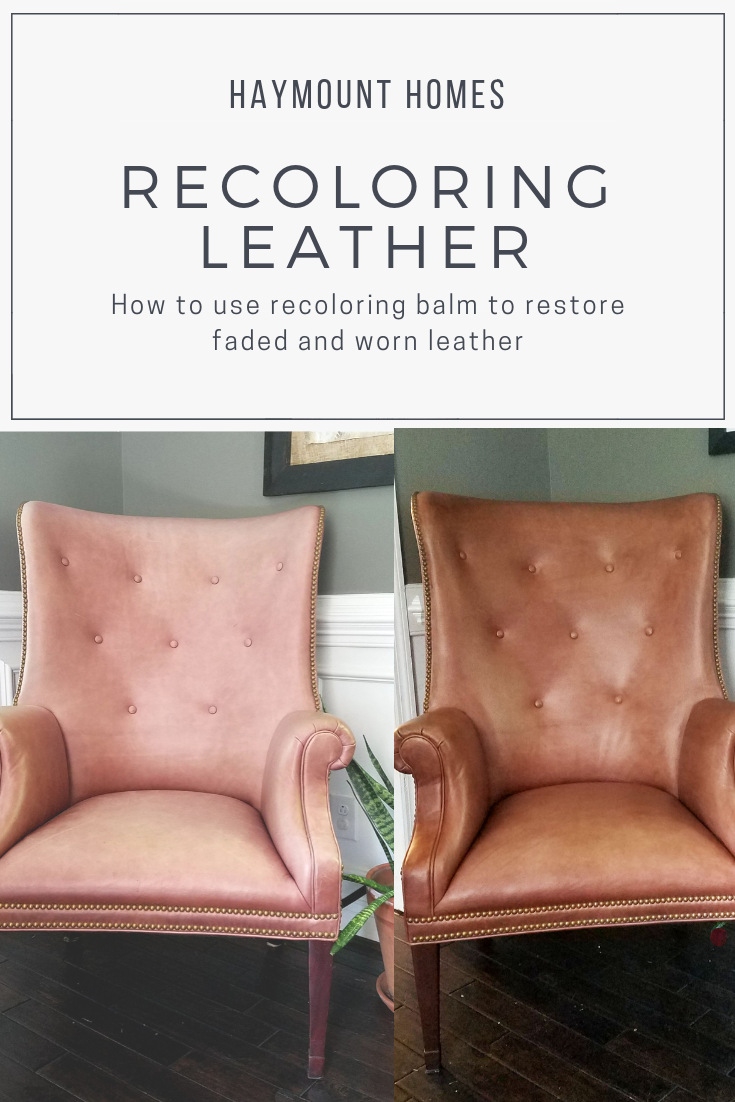
Restoring Worn and Faded Leather
How to restore faded and worn leather using recoloring balm
Hey y’all! Can you believe it is December? It seems that time flies faster each year. Last night we had a Christmas potluck and it was wonderful to see so many friends. One of the topics that came up was about our two leather chairs (that currently have no actual home) so I snuck them into the dining room. Like most things that have snuck their way into our home, these two chairs had a story behind them. Also, you have to promise to excuse my unswept floors in all my photos. Alas, it’s true….my floors get dirty and I often don’t feel like dealing with it (especially during a project).
I am a craigslist junkie. There. I said it. I love to look for furniture and other household things that someone is no longer needing and see if we can give it a new life. Just like fixing up our homes, I love to fix up something that has been worn and forgotten; it gives it a new lease on life! Not only does it keep landfills from filling, it gives me a fun project with the kids and it is a great creative outlet. The sense of pride from fixing something is really fun!
That stated, Carl is convinced I am going to die someday by meeting someone on Craigslist. Thus, I have to control my habit to the extent that I know he is going to have to get involved to participate in the exchange. This is NOT his favorite thing to do (I know, right? He just doesn’t quite understand the thrill like I do :) Therefore, I have to be picky about what I have him do.
My two leather chair babies were born onto craigslist a few months back. They were out on a horse ranch in Southern Pines (which is a good hour from us) near Pinehurst. In the photos they looked amazing and I thought they would be perfect for staging our next home. They were priced at $300 for the set. Although they were not a “cheap” craiglist buy, they looked like they were well made and actually real leather, so knew they should be worth the gamble. I tried to pretend I did not want them, but I am a poor actress in that respect. Carl sensed he was about to get roped in and offered to go get them (yes, he is awesome).
Now, the only real issue with Carl going to get something I want on craigslist, is that he doesn’t quite share the shame discerning eye that I have. Therefore, you can imagine my surprise when my two leather chair babies showed up at our house…..completely faded and PINK (like 1980s mauve pink!!!). !'?#& was the word shouting in my head the moment they arrived. Of course, Carl, who had just driven three hours to get them for me, was less than thrilled that I was less than thrilled (that is the lot of a husband, right?). He even offered to take them all the way back for me, but I could not bring myself to do that. My sunk cost of time and money was too high to just scrap all of it. $300 is not crazy high, but it was high enough that I could not just give them away.
So I had two pinkish faded leather chairs on my hands. What to do???? I could tell they were very well made, so I new that they were likely worth keeping if I could figure out how to salvage them. I considered my options
Just leave them alone. Terrified me. I did not want pink faded chairs. That was out
Recover them. Holy pricey.
Paint them. Seemed like a horrible waste of leather.
Hire someone to fix them. I had no idea who did that or what to even look for.
Stain them. This was the only thing I could figure out to do….so I went with it.
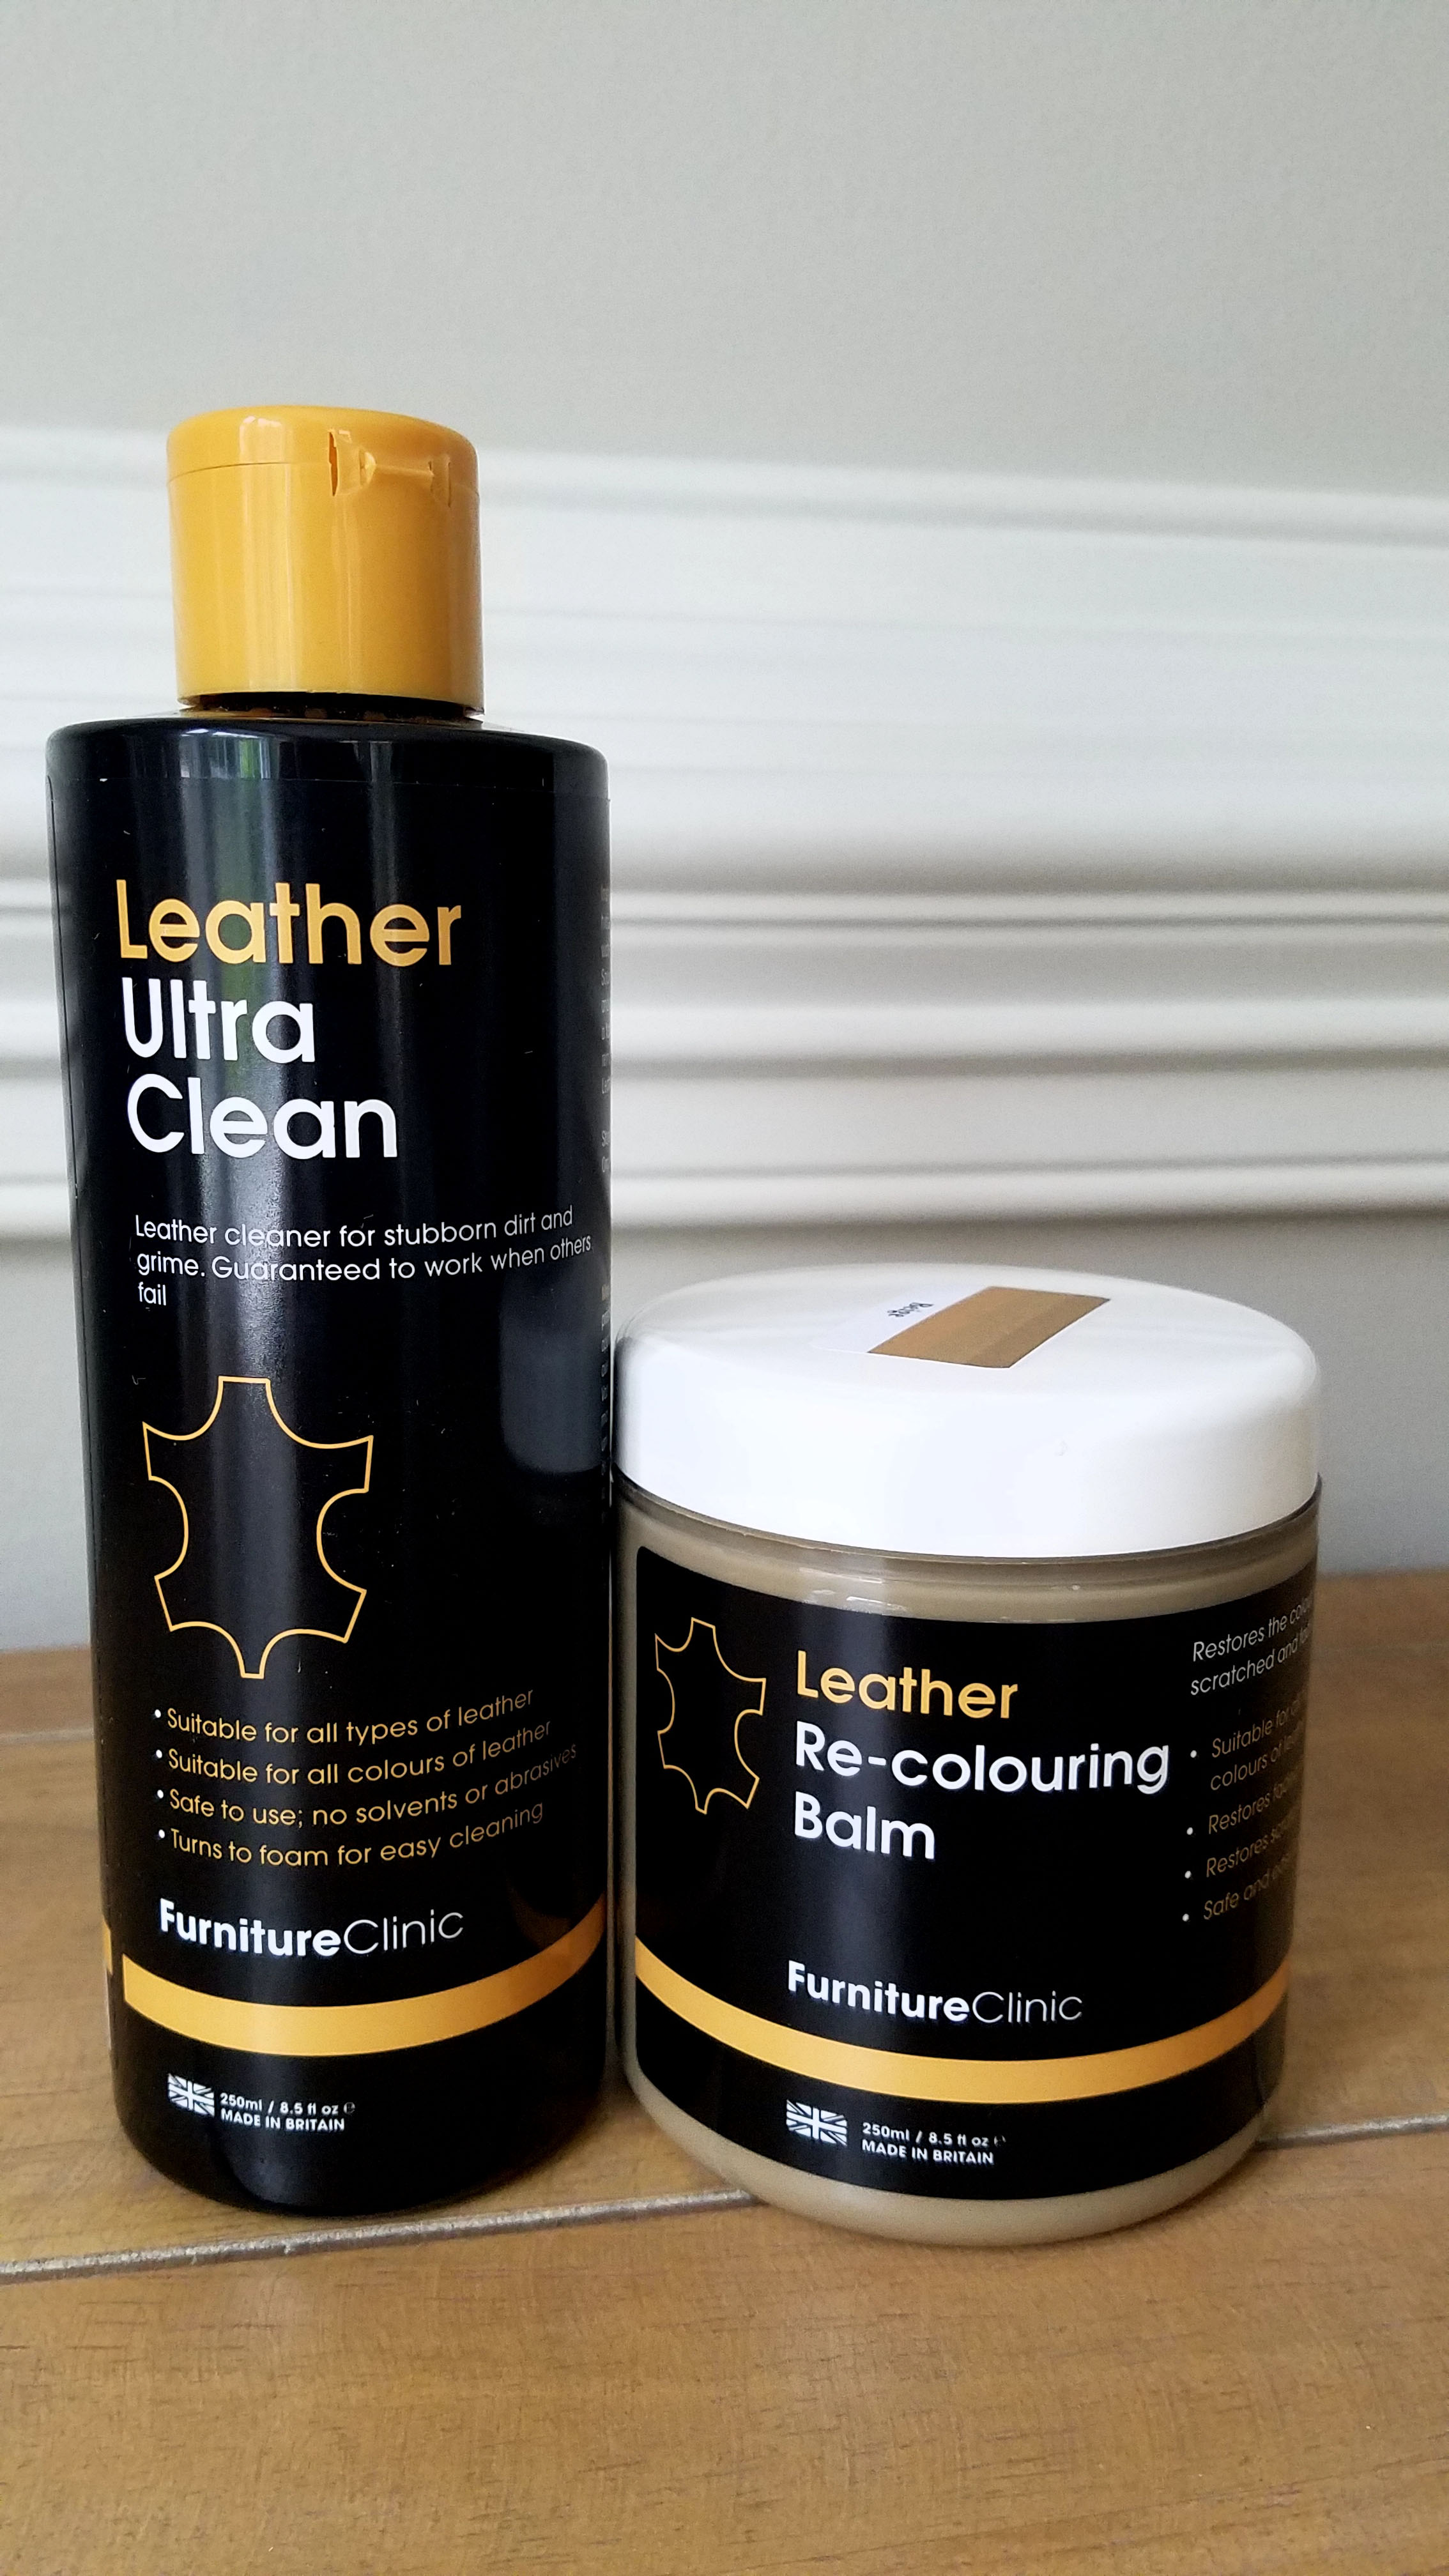
Staining leather? Yes. I figured leather was stained by manufacturers to gain its original color, so it must be the best thing I could do. I actually even considered using minwax wood stain or shoe polish, but then I stumbled across this:
I was intrigued. I figured it was a gamble worth taking. You use this balm to gradually stain back the leather colorization to the material. I did not really know what color the chairs were supposed to be, so I took a gamble on the camel color…..which ended up being wrong. Fortunately, this amazing company allowed me to order a second color free of charge. This time I nailed it with Medium Brown.
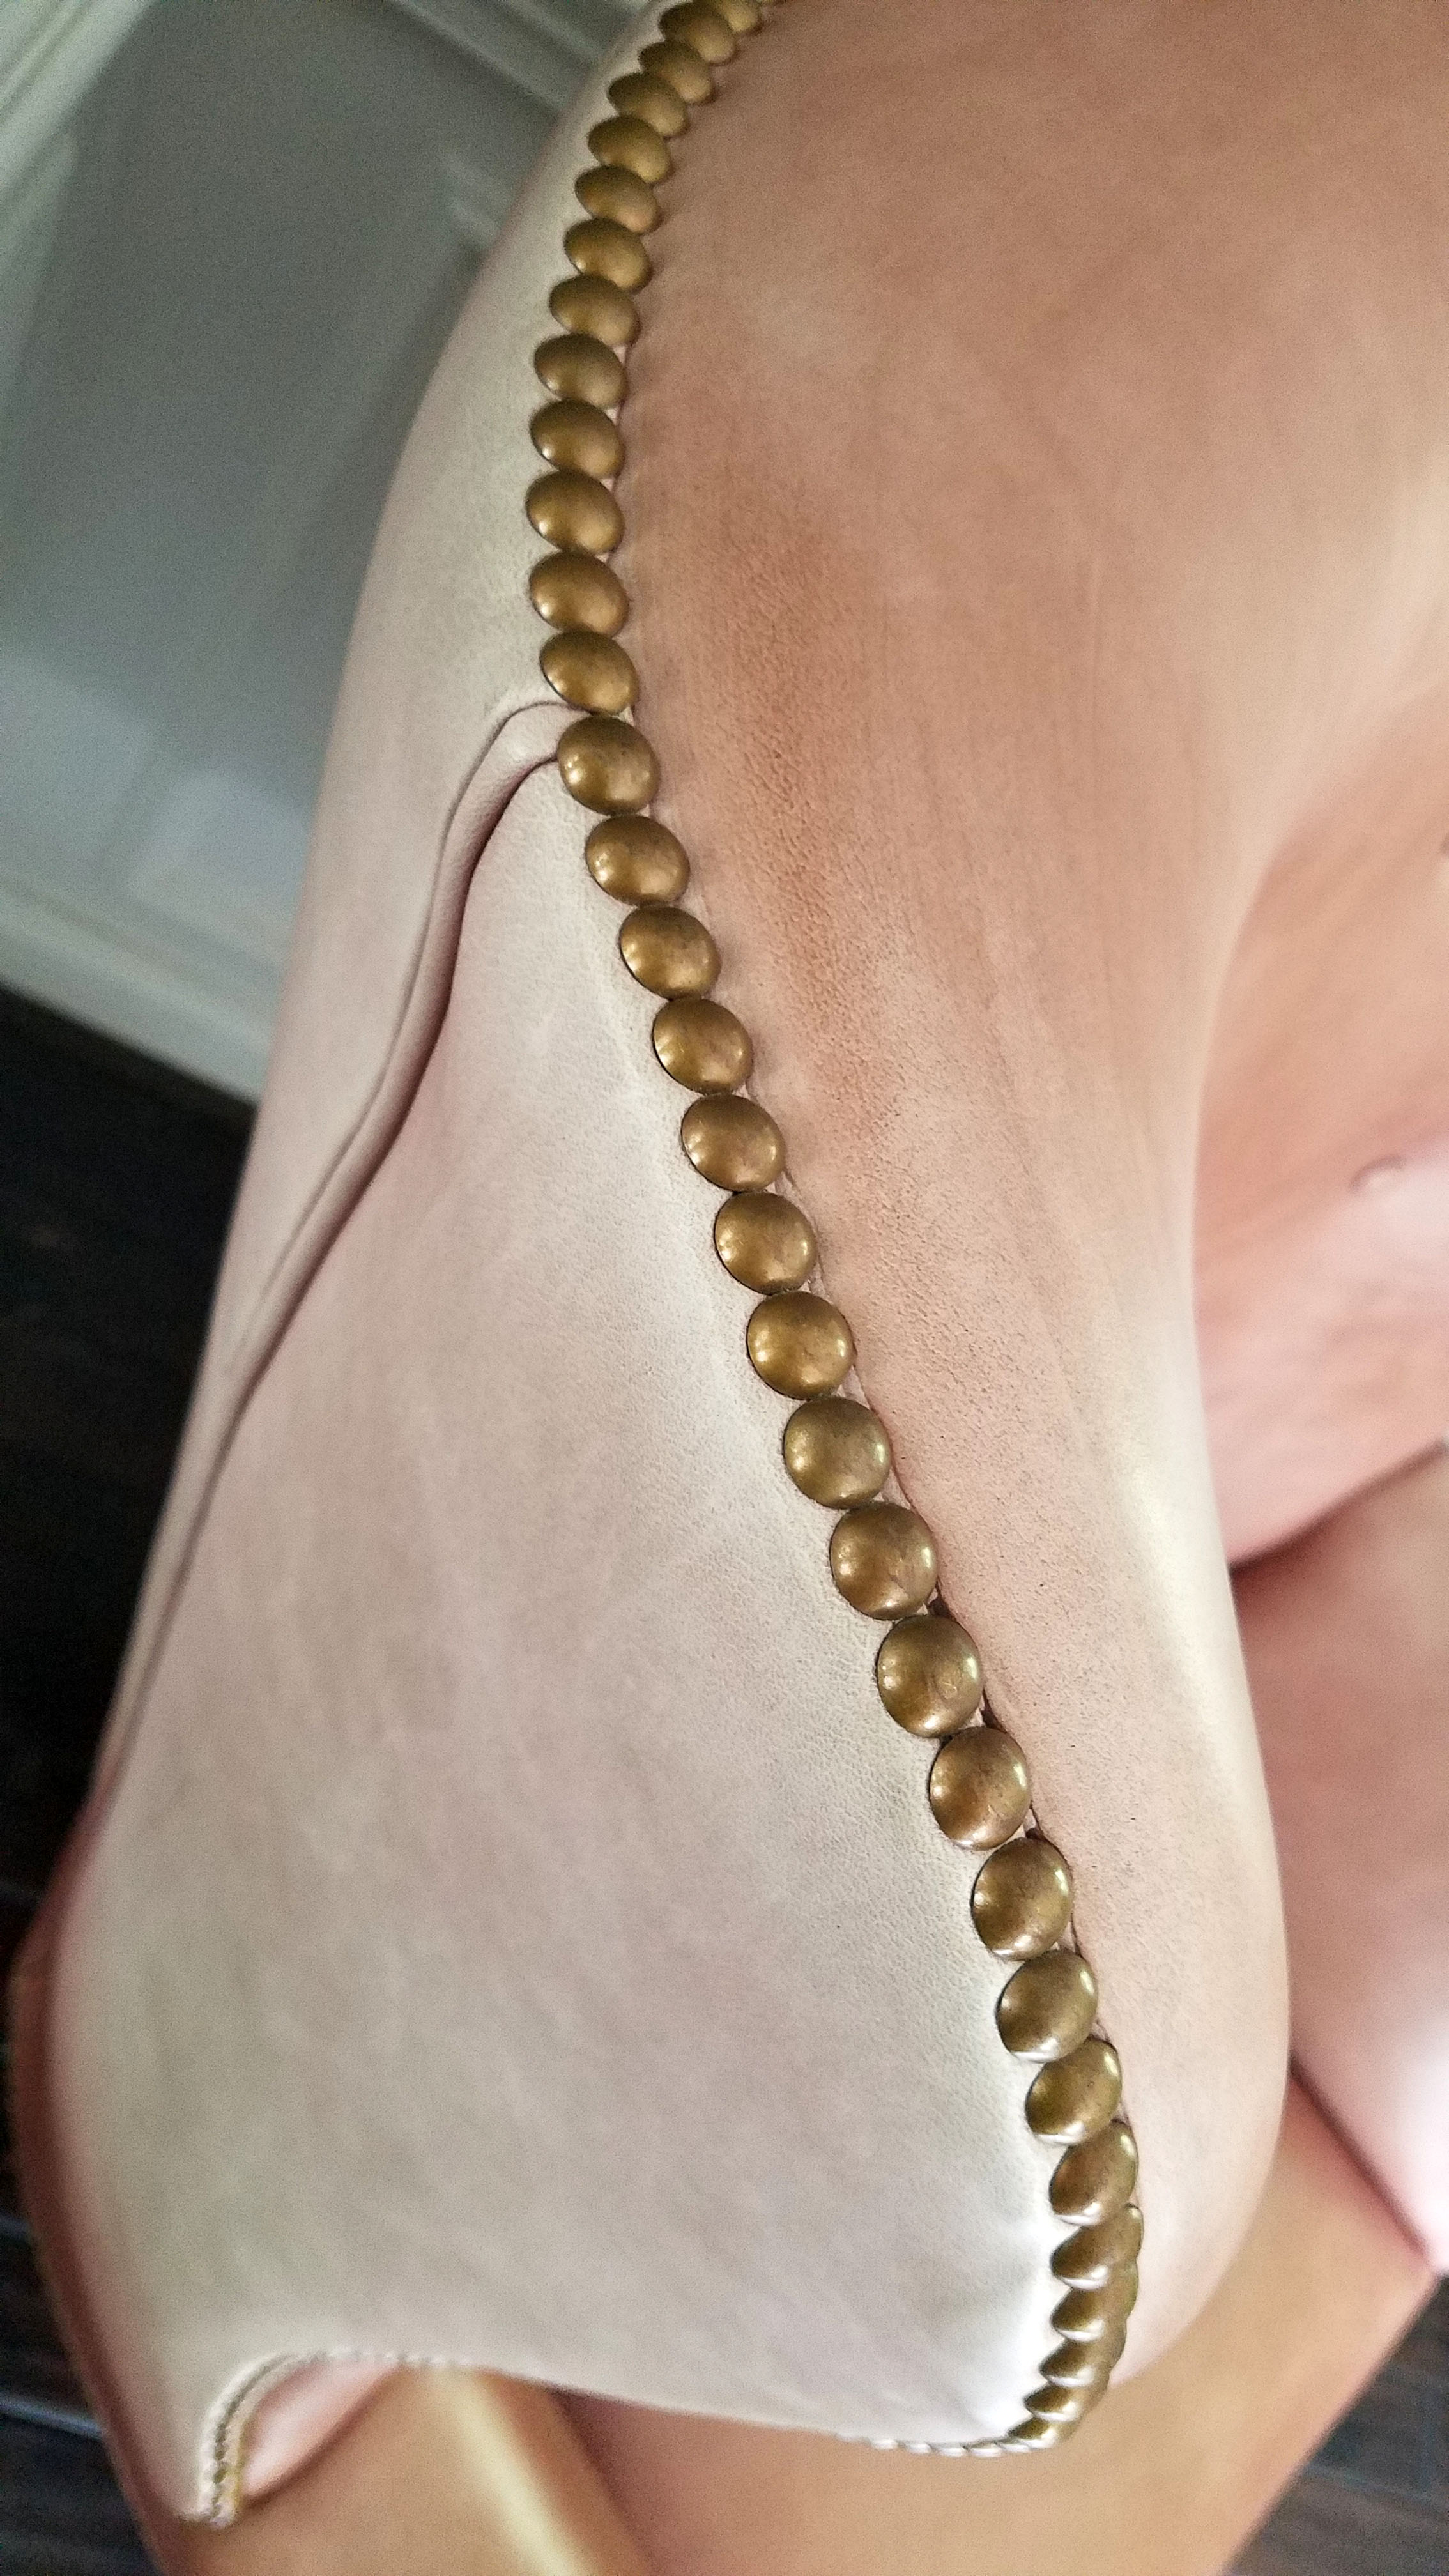
The interesting thing about the balm is that you can apply it in layers and it gradually richens in color. That was handy since some of the parts of the chair were more faded than others. It was simple to use. I also started with the leather cleaner to make sure that the leather would absorb the color properly.
Here were the steps. Pretty simple:
Test the leather for absorptive qualities (water drop on the chair and see if the leather pulls the water in. If you have a protective coating on the leather, then the balm cannot absorb)
Clean the leather and allow it to dry (took about 20 minutes)
Start rubbing in the balm. Think about polishing something. If you have ever applied a wax to furniture, it is a similar process.
Allow to dry and then repeat coats (it dries fast)
Clean the leather
Apply stain
Recruites! Even kids could do it
See the difference after a coat or two?
So my next fear was colorfastness. I just figured that the stain would transfer to clothing (and subsequently that I would have unhappy friends!). I let it dry for 24 hours and then I tested the chair by wiggling everywhere on it in a crisp white shirt (gutsy, right??) Guess what? NOT A MARK on my shirt! I could not believe it.
Now, let’s talk cons. This is not perfect. There are some areas that are a bit streaky and imperfect, but leather does sort of lend itself to imperfections. Also, when you consider the fact that the chairs would have been well over $1000 each to recover, I think I can handle my $40 dollar fix.
Are you ready for the fun part? I found out that the chairs were made in Hickory, NC. For those of you that are unfamiliar with that, High Point/Hickory NC and the surrounding area is one of the most high end furniture markets in the world. They manufacture some of the best made furniture you can find. I managed to find out that each of these chairs can still be ordered from Hickory…..to the tune of nearly $3000 per chair! My all in cost on these chairs was $340. I will take that.
I was now hooked. I started to think about shoes and purses in my closet and when I get around to it, I will likely stain those as well. The balm refreshes the leather and brings it back shining!
Also, for note, this tutorial is just from me. I was not paid or given anything by Furniture Clinic. When I was looking at the product, I was hoping that there would be an in depth review or blog post that had used it, but I could not find one. I figured I would post one to help out the next panicked craiglister!! This post does contain affiliate links to the products so you can find them and try them on your next project!
Are you going to try it? I think you should! It was fun and easy, and it really worked pretty well. That is NOT good news for Carl; it opens up waaaaaay too many more options on Criagslist!
We’ll talk soon!
- Casey
GLENVILLE RENOVATIONS - THE KITCHEN
How to maximize the space of your galley kitchen
Welcome to the kitchen renovation for Glenville!
This kitchen was a pretty big mess. We had a fuse box from 1941 complete with cylindrical circuits that I had never seen before, a water heater in the corner (typical of this era of home to have the water heater in the kitchen because it is next to the plumbing), and plenty of outdated everything. This kitchen lacked appliances and the layout was awkward. The floor doesn’t look that bad in the photos, but it was sheet vinyl and it had holes throughout. Long story short, this kitchen needed help!
We also wanted to work to optimize the space, so we decided to move this layout to a galley style kitchen. Sometimes galley kitchens can feel tight, so we made decisions that would help reduce that feeling and still make the kitchen functional. More on that throughout the post.
The nuts and bolts to work on:
Trim and Wall Repair
Floor Replacement
Cabinets and Countertops
Door Fixing
Removal of debris
Appliances
Relocation of the Water Heater (it was in the kitchen - we moved it to open up space in the kitchen for cabinets; this is typical of the 1940’s homes)
Replaced all windows
Replaced sheet vinyl flooring in the laundry room with luxury vinyl tile
Ceiling repair and paint
Light Fixture replacement
New sink and faucet
Relocation of the sink for improved layout
Addition of a dishwasher
Gas conversion
Wiring Update and removal of outdated panel box
Paint, paint, and paint!
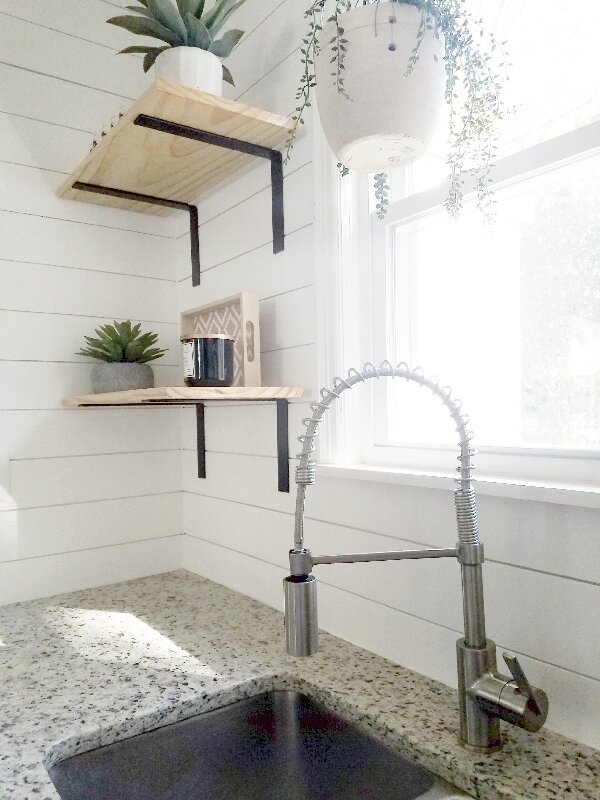
The final product was clean and simple. We used Sherwin Williams Extra White in eggshell which is one of my favorite crisp whites . It is pretty neutral white and doesn’t read as warm yellow or too cool. Also, it looked good against the subway tile from Home Depot. The trim is nearly Sherwin Williams Extra White in a semi-gloss. The kitchen flooring is by Shaw Matrix in Franklin Hickory.
There are a lot of repair work that had to happen first, as well as plenty of problems to solve. Once we got things removed it became a game of how to repair all the different holes in the wall. Our contractor had to get pretty creative with some of the repairs as old plaster walls are not as easy to work with as sheetrock!
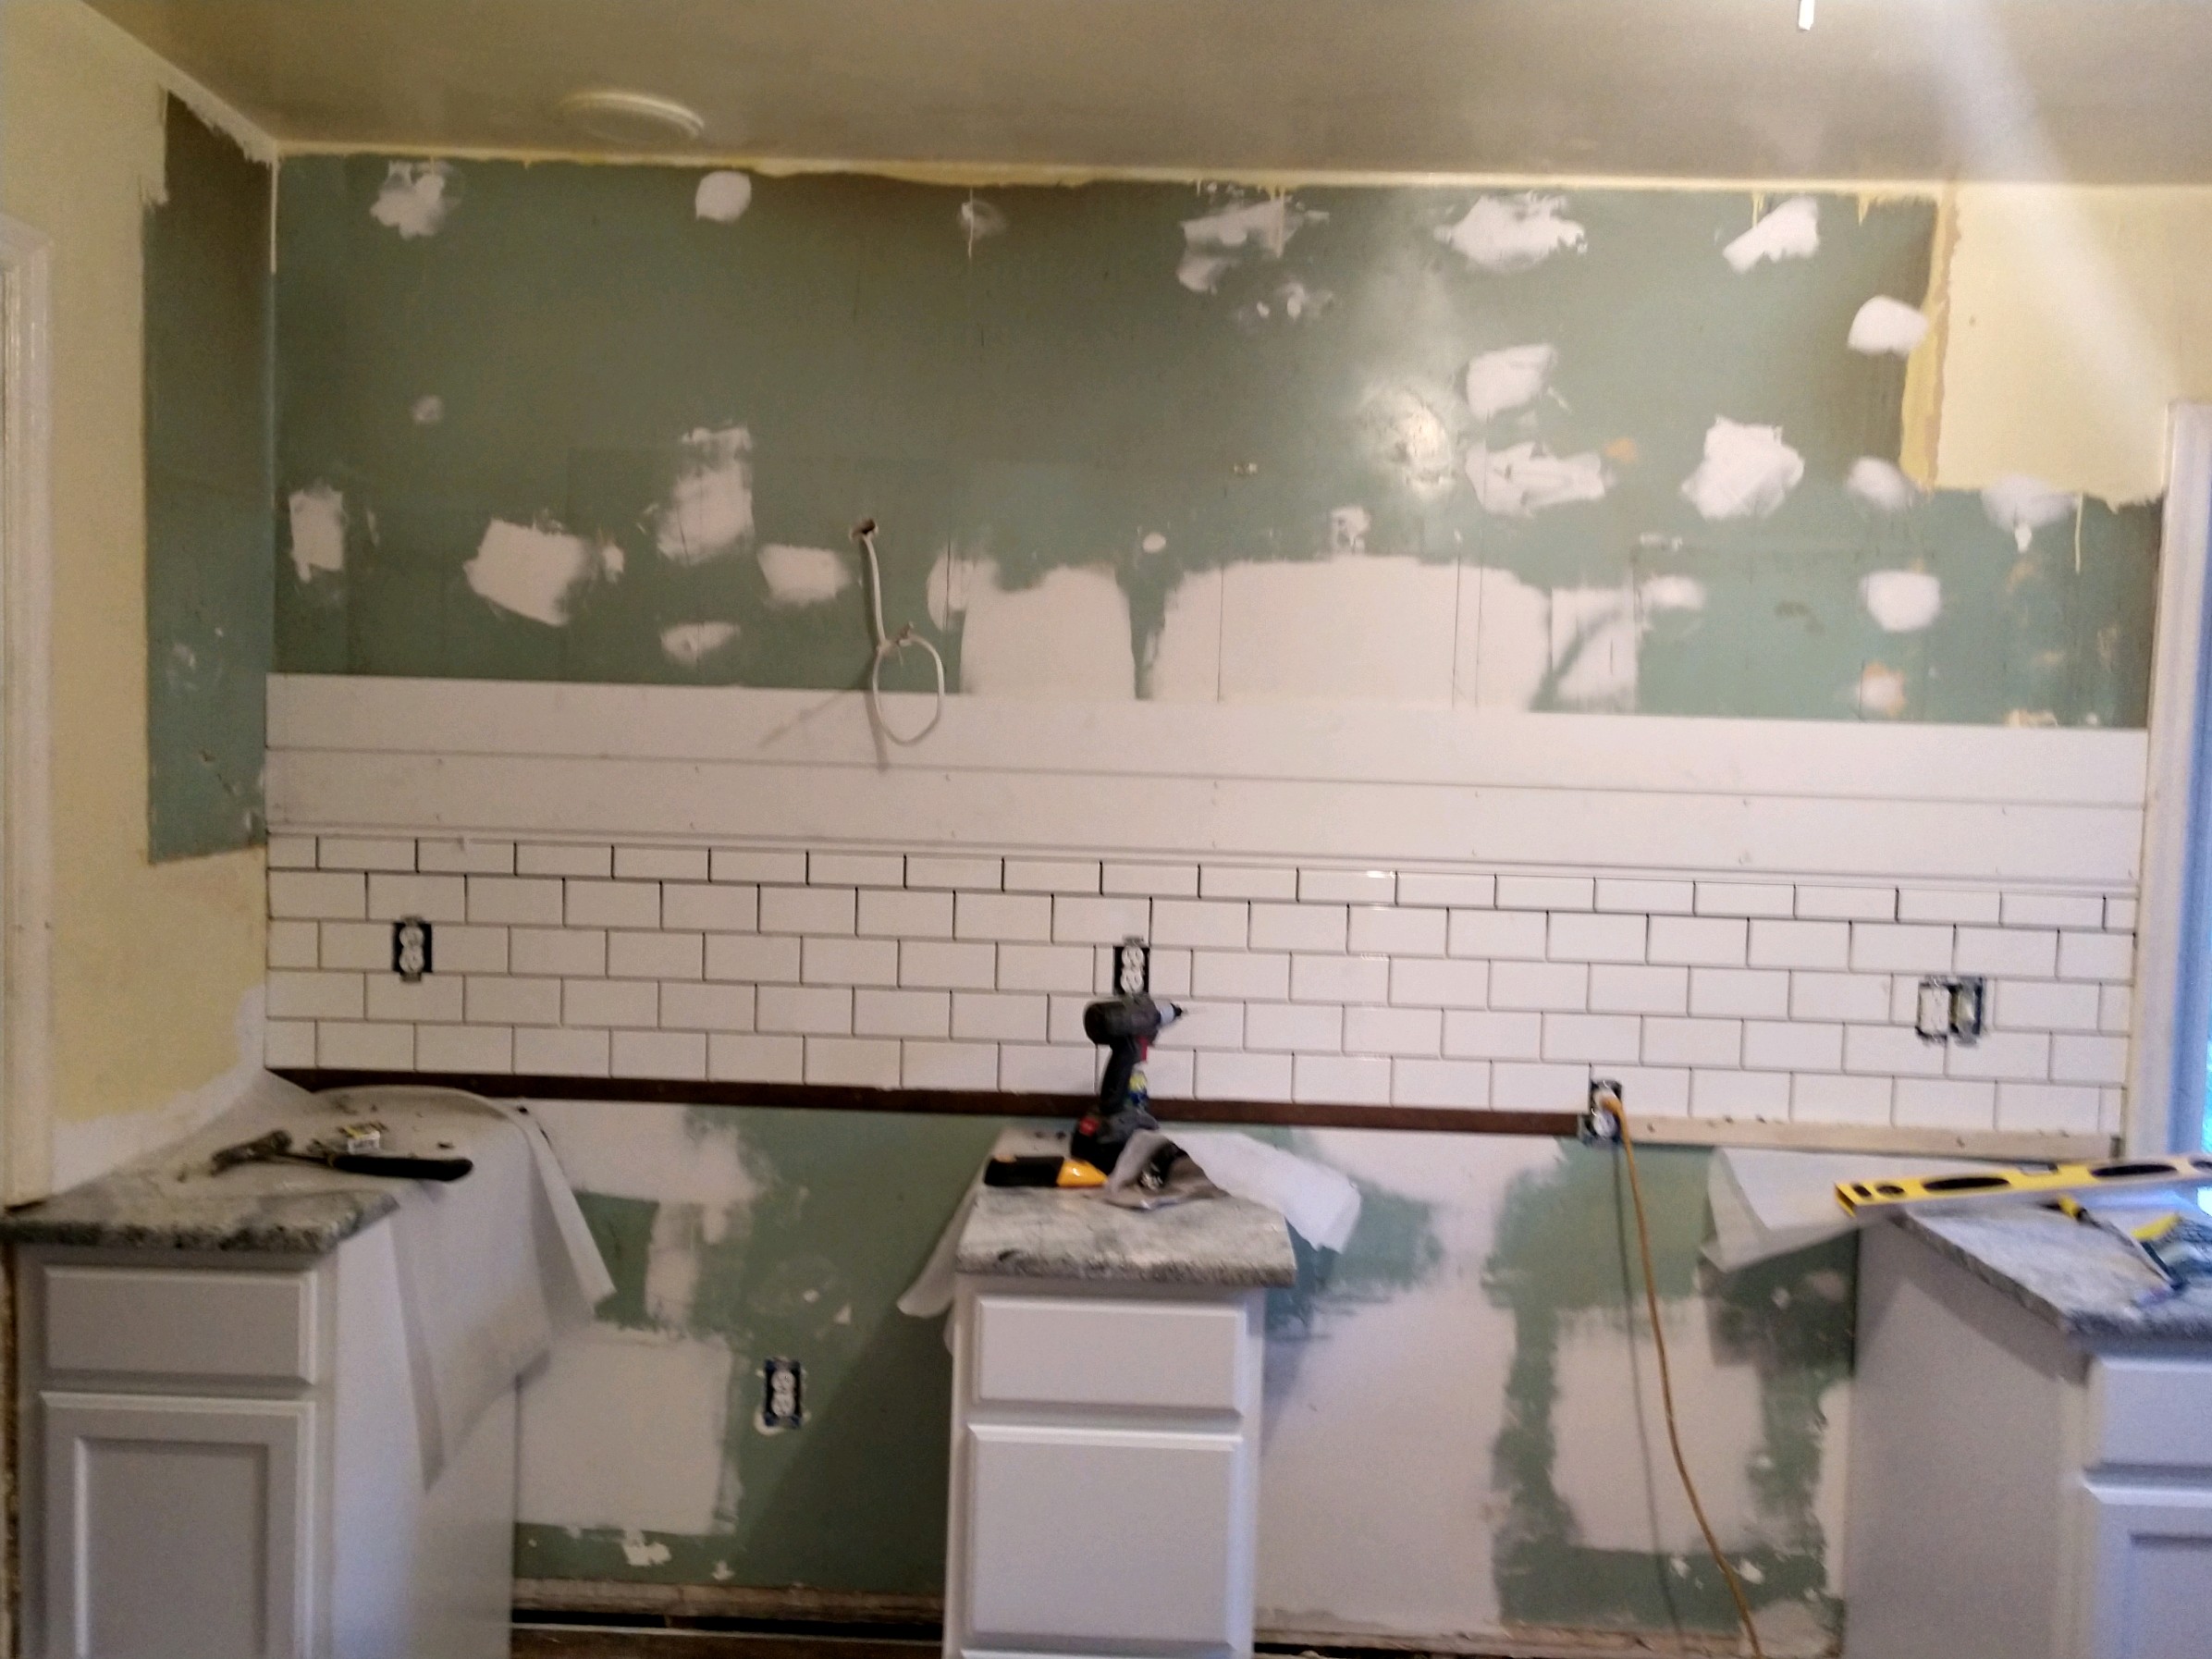
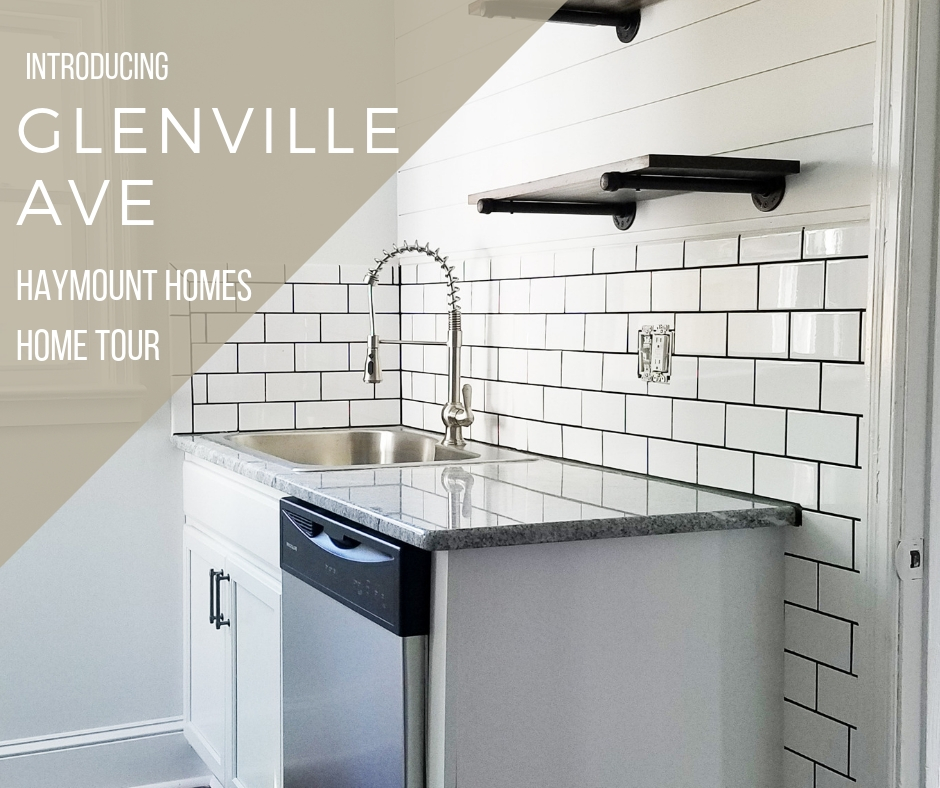
We debated doing a wall of subway tile as the backsplash, simply because we love the vintage look of that. However, we had already done so much tile in the bathroom, we felt that it might be time to add some visual and textural interest in the kitchen. Thus, we went with the shiplap and subway tile combination; we think that the end result was great. We chose Charcoal grout to really accentuate the subway tile and provide contrast to the shiplap. The shiplap was painted in Sherwin Williams Extra White and we used Primed Pine Nickel Gap Ship Lap Board from Home Depot. The subway tile we chose was also from Home Depot and it was by Daltile in Finesse Bright White.
The photo tour that follows does pretty much walk you through the process. If you have questions about anything specific, please ask!
The new flooring has gone in and the sink and base cabinet were removed. That exposed a giant hole in the wall!
Once the backer board was removed from the other wall, we had a wall with scattered holes throughout! Surprise lol :(
An ancient fuse box was present and had to be shut off and removed.
Walls repaired and cabinets arrived!
Granite counters for beauty, texture, and durability.
We ended up subway tiling to the floor simply because the finished product looks better and is more durable. This does cost more but the quality in the final product is worth the additional cost in our opinion.
To optimize space in a galley kitchen, we chose a counter depth refrigerator. Again, this typically does increase the cost of the appliance, but the end result is more floor space to work with and a more seamless presentation for the kitchen. In our opinion, money well spent.
The vent hood was a lovely addition to this kitchen. It brought it up a notch and also helped break up the shiplap wall behind it. Our electrician was pleased with the ease of install and it had a self venting option, meaning you did not have to vent it to the attic and out of the house. That is a win for time and money.
We chose the 30 in. Convertible Wall Mount Range Hood in Stainless Steel with Aluminum Mesh Filters LED lights, Push Button Control and the self venting filters: Range Hood Carbon/Charcoal Filters for Ductless/Ventless Recirculating Installation and Replacement
Another way we improved the functionality of the space is that we added overhang to the countertop granite. Giving the counter an extra 1.5” inch of space off the cabinet, gives just a bit more counter space in an already tight galley kitchen. Even better, it did not cost anything extra since you already buy the granite for the square footage of the project. It is a marginal change and doesn’t increase the cost.
This kitchen is small, and that allowed us additional savings on the granite. We were able to choose a remnant piece of stone since we did not have a great deal of counter space. This saved us on the cost per square foot. Finally, we also paid in cash, which gave us an additional discount. All we did was ask if they could discount it further for cash, and they were able to because it saved them the credit card processing fees. In a renovation, any little savings helps!
Speaking of savings, let’s talk hardware. We have found Amazon to be an excellent source for cabinet hardware. They offer great savings, even compared to Lowes or Home Depot. We chose Heirloom Silver Francisco Kitchen by Franklin Brass for hardware because we’d used it at the Pearl House and we loved the result.
You can find that here:
Like those open shelves? We did too. Another space saving idea in a galley kitchen is open shelving. When you block in every available surface with cabinets, the end result is very tight. Choosing open shelving does cause some level of sacrifice with space, but it is usually worth pairing down what we actually do use and need in a kitchen to have the space feel better. While you can fashion your own pipe brackets and have pieces cut at the store to save you some money over a premade it, the savings were very small and the additional time invested simply was not worth it. We recommend the kit as time is money! They even have different length pipe available.
You can find the shelf brackets here:
We used poplar wood to create the shelves and the brackets were another find on Amazon. They did not arrive with a protective coating and our contractor insisted we coat them to protect them from rust, as they were so close to the sink. We had liked the finish they arrived in, but we agreed long term wear was more important. He won that battle!
Another great area that Amazon can help is with fixture purchases. The faucet and sink were both Amazon purchases. It is a little risky to buy something without personally seeing it, but sometimes the payoff is worth it. The first faucet we bought, however, did not work and had to be returned. That was not a fun delay and our plumber was less than thrilled after installing a dud. The next one ended up being even better and the sink was amazing!
You can find the faucet here:
You can also find the sink here:
We chose simple lighting for the kitchen as there was a lot going on in a small space. This caged flush mount was a great little piece and is available at Lowes. You can find it here: allen + roth 8.4-in W Antique Nickel Metal Semi-Flush Mount Light
All in all, we think the kitchen turned out great! We love the functionality of it and the fact that we were able to optimize the space for a galley kitchen. We’d love to hear your thoughts. What did we get right? What should we have done instead?
Thanks for looking! More renovations to come!
Casey
GLENVILLE RENOVATIONS - LIVING ROOM AND LAUNDRY
Before and after photos of the living room and laundry room
So with the approaching hurricane, I am looking for a distraction. I figured I would start highlighting some of the renovation before and after photos from our Glenville Ave Project. I never did complete that with Hull Rd (our last project), and I had regretted it. I did not want to make that mistake again!
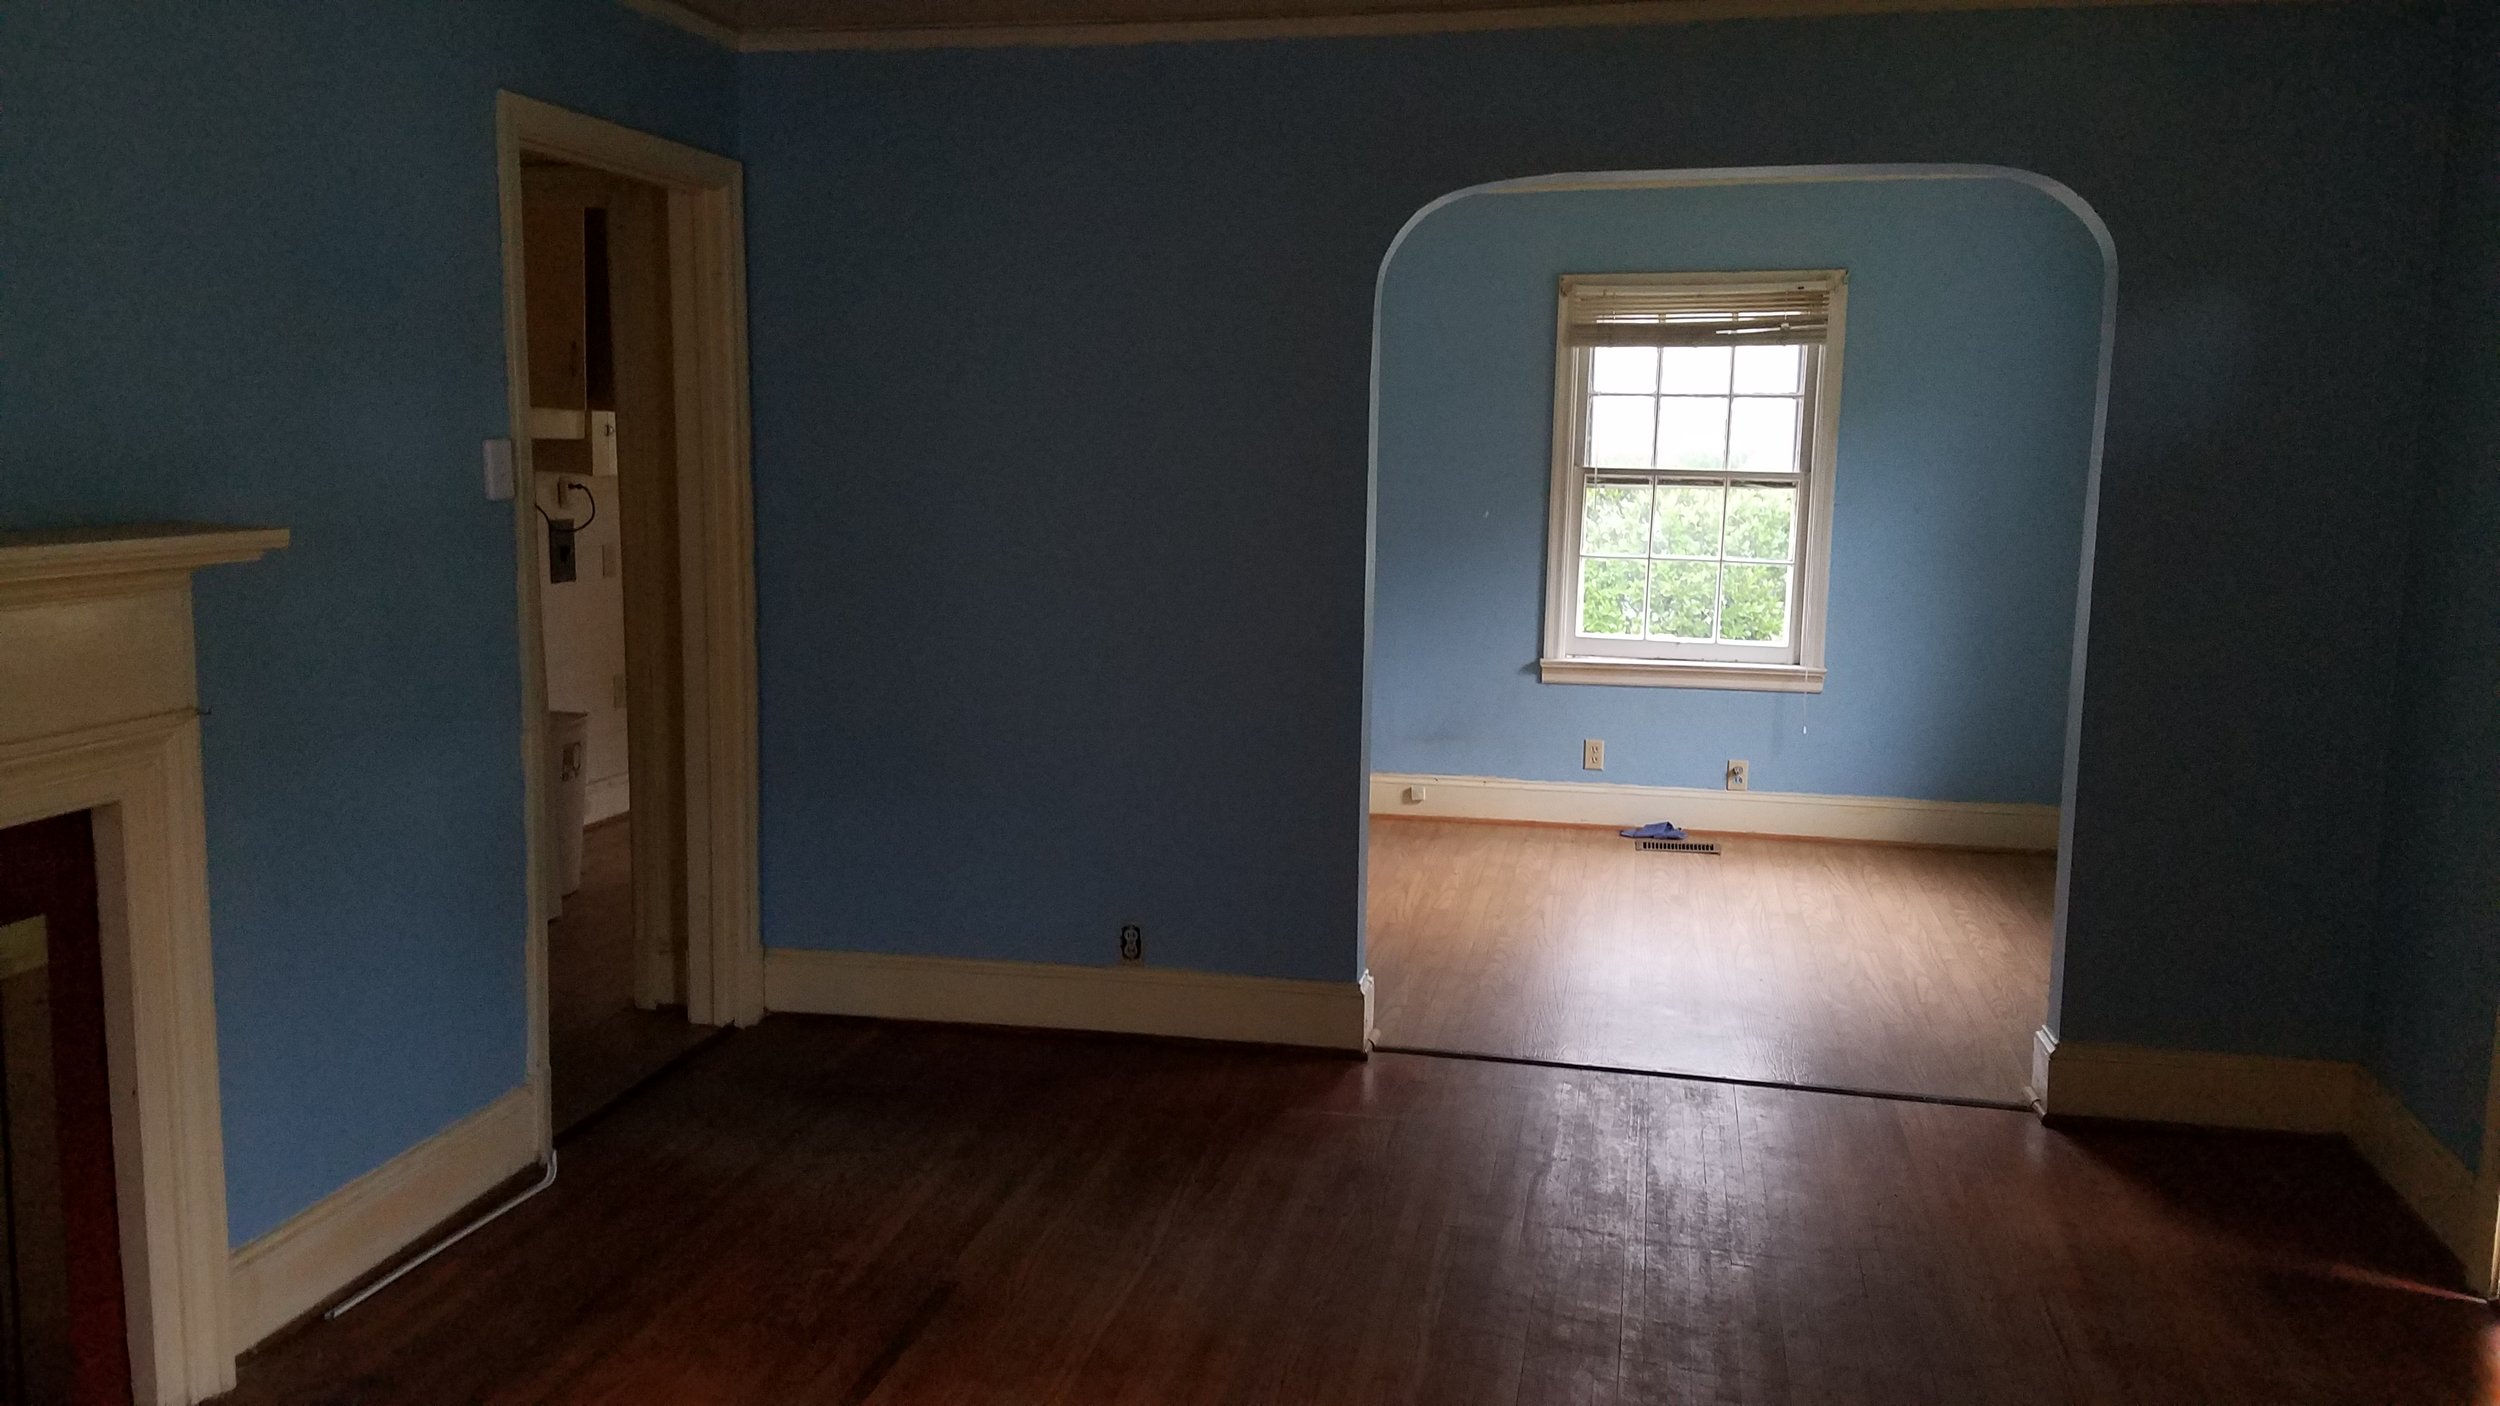
We had a lot to work on with Glenville. The house was built in 1941 and had gone through minimal updates. We began with the living room and laundry. There was a lot to do including:
Trim and Wall Repair
Floor Refinshing
Bookcase repair
Door Fixing
Removal of debris
Fireplace insert removal
Relocation of the Water Heater (it was in the kitchen - we moved it to open up space in the kitchen for cabinets; this is typical of the 1940’s homes)
Replaced all windows
Replaced sheet vinyl flooring in the laundry room with luxury vinyl tile
Ceiling repair and paint
Paint, paint, and paint!
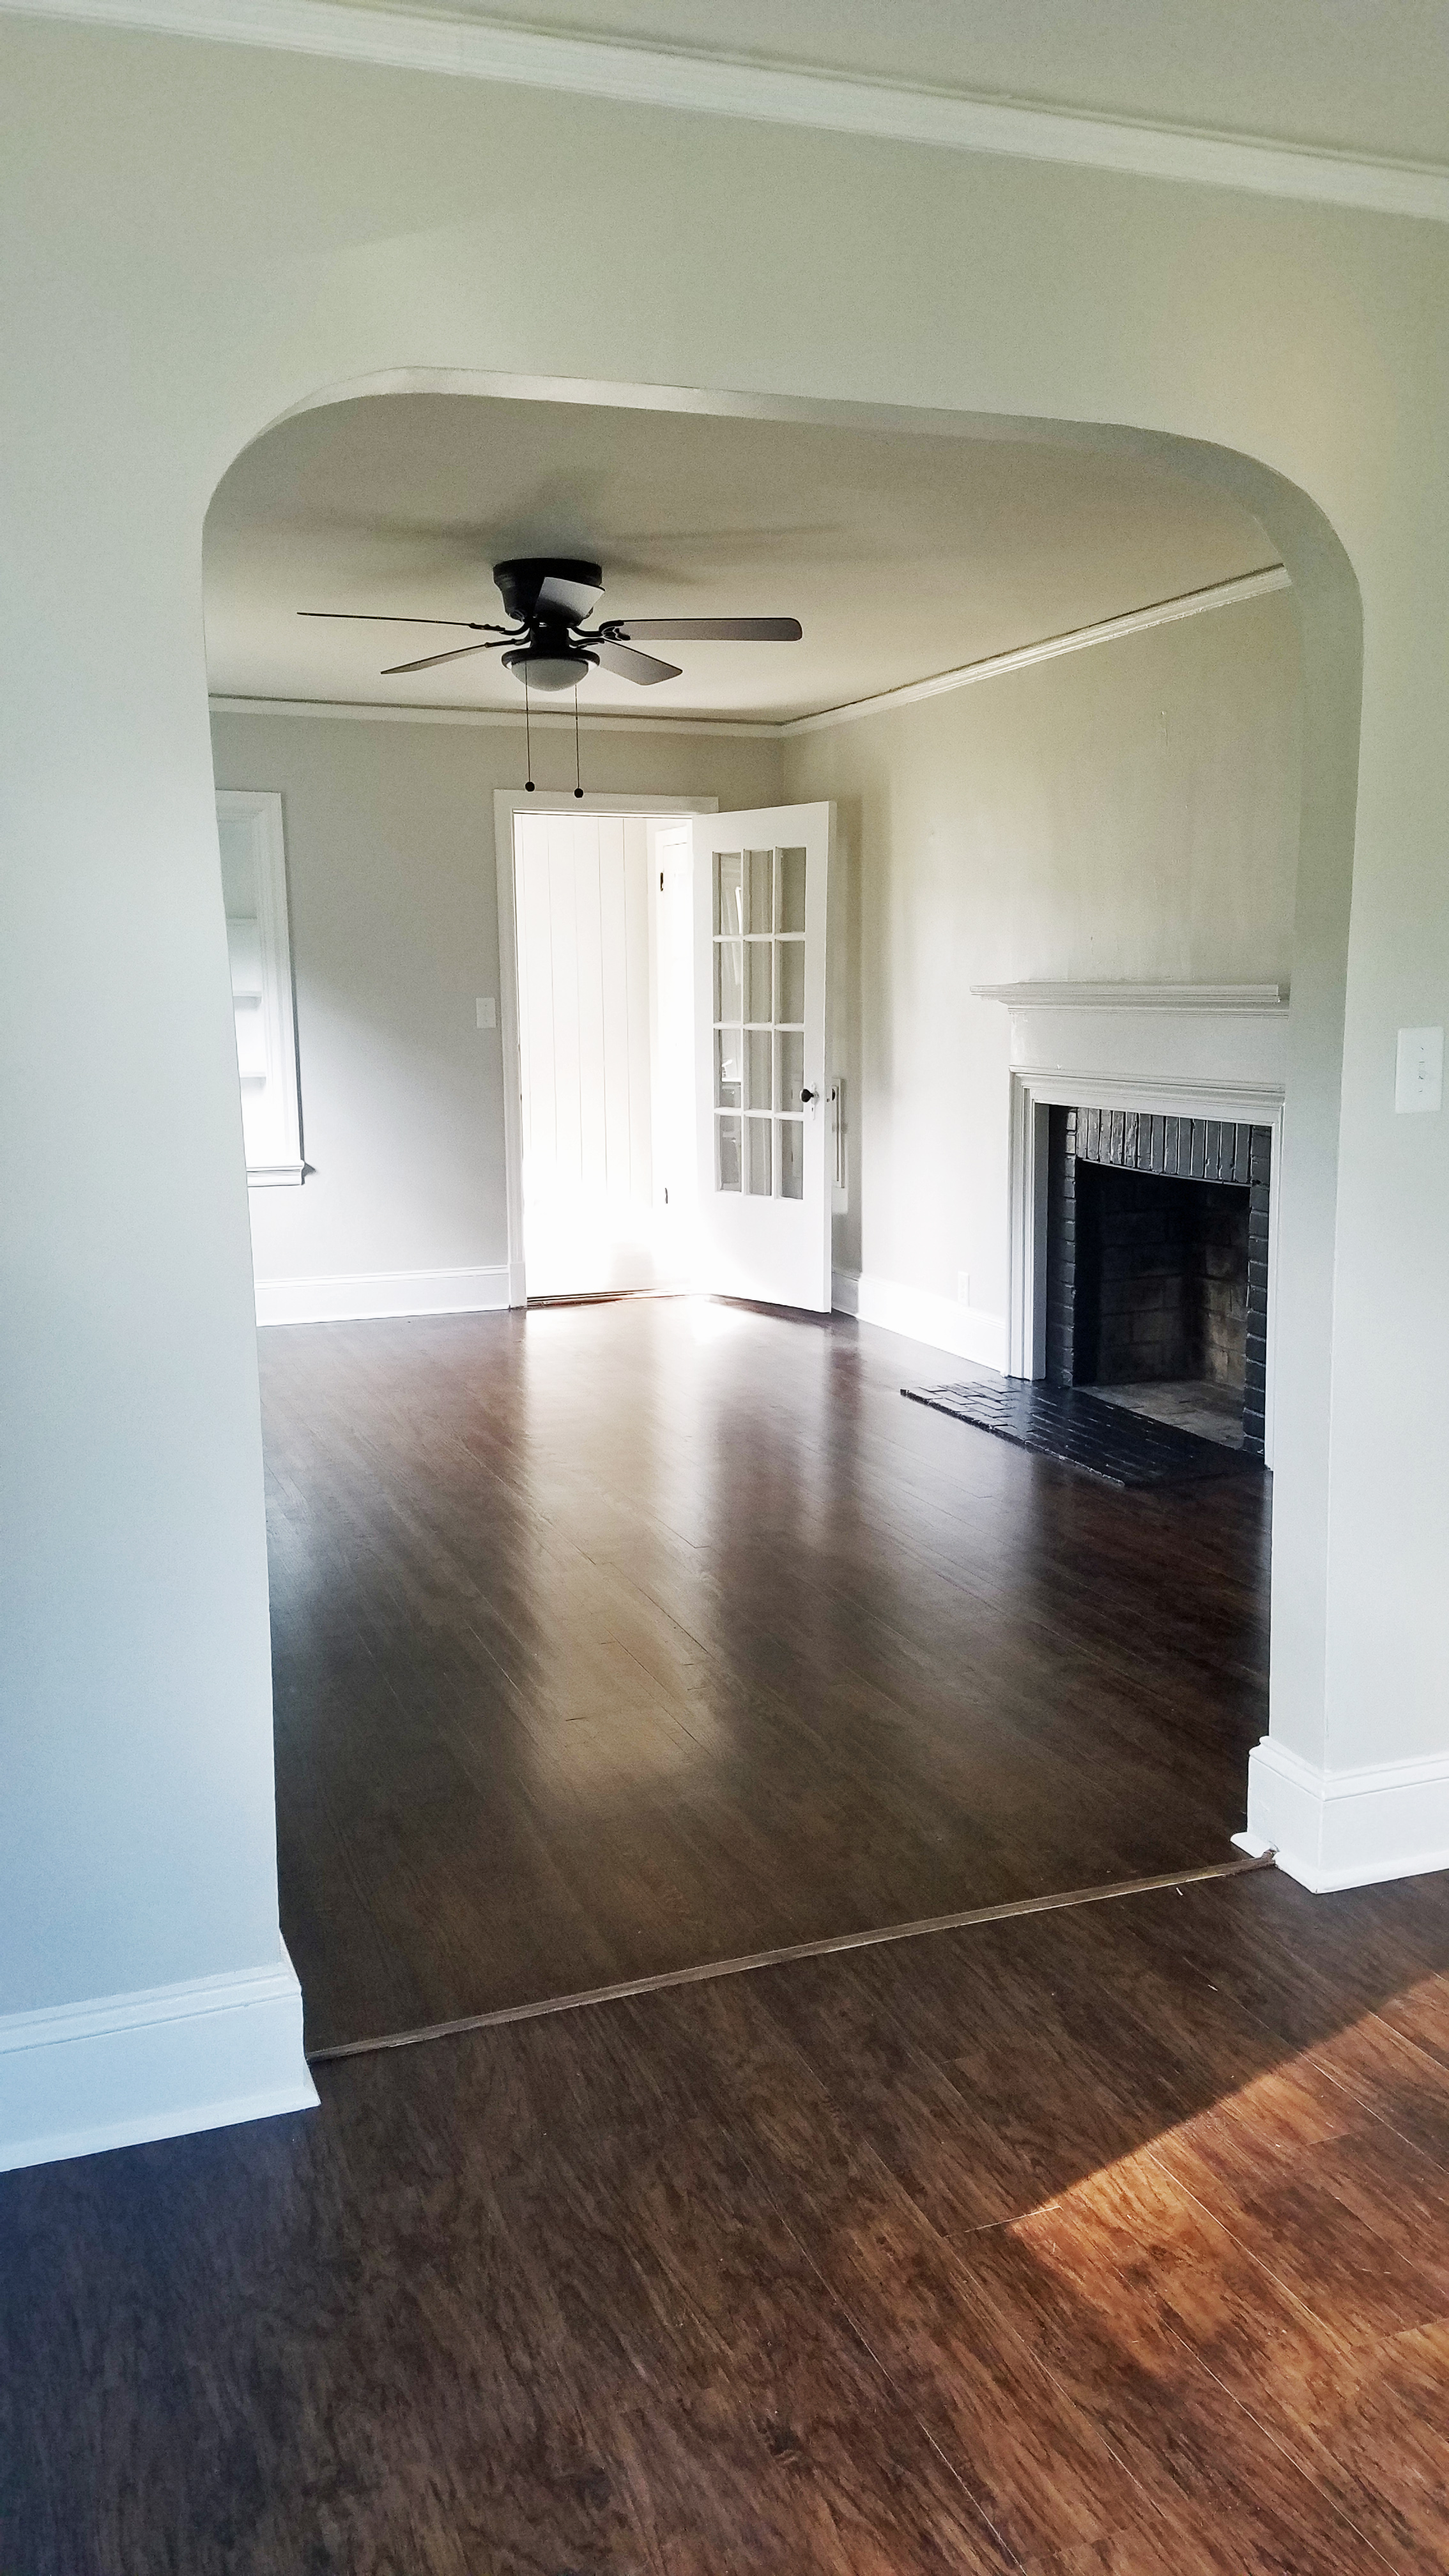
The final product was clean and simple. We used Sherwin Williams Agreeable Gray in eggshell which is one of my favorite greiges/grays . it has enough warmth in it to be cozy, but not so much that it turns something beige. The trim is nearly Sherwin Williams Extra White in a semi-gloss. The laundry room flooring is by Shaw Matrix in Franklin Hickory.
I will talk about the floor staining in another post, so for now, enjoy the befores and afters!
I hope you enjoyed the before and afters of the living room! Stay tuned for the rest of the series! Stay safe during the hurricane please!
Casey
INTRODUCING GLENVILLE AVE - OUR NEWEST HAYMOUNT HOME
Welcome to the home tour of our newest Haymount Home!
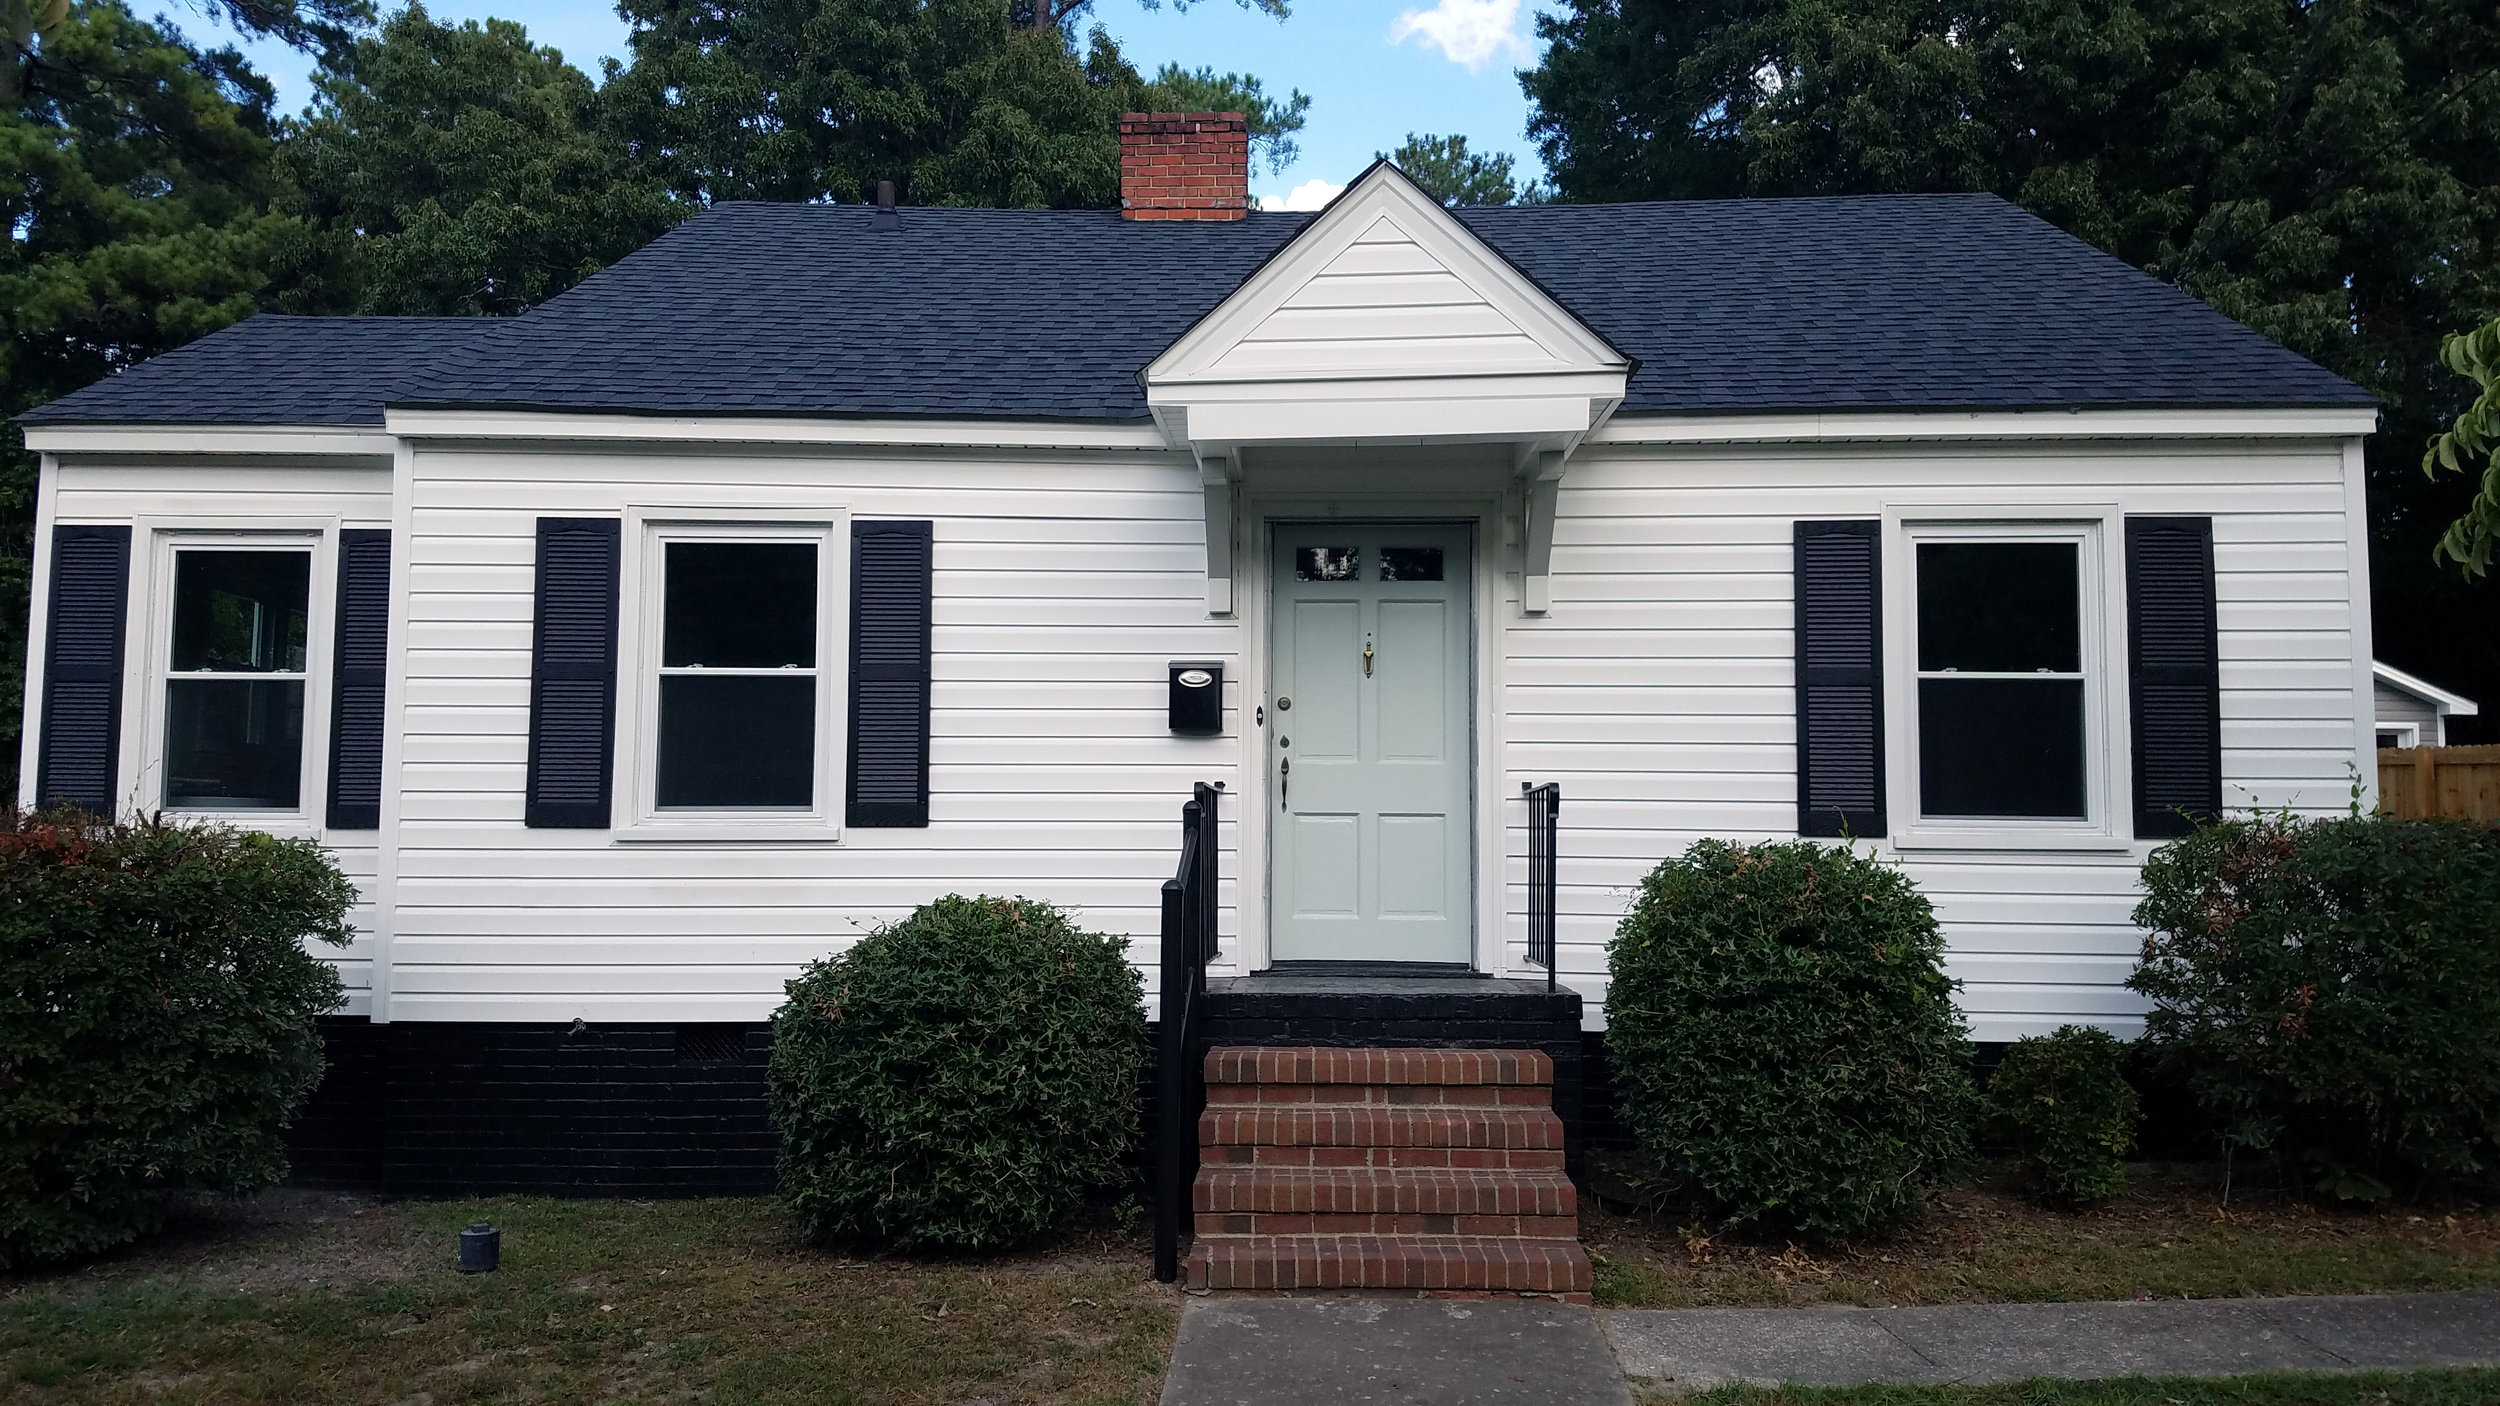
We are delighted to announce the completion (or near completion anyway) of the newest Haymount Home: Glenville Ave. This 1941 beauty features 2 bedrooms and 1 one bathroom and is on a wonderful street in the heart of Haymount.
This project was a shotgun renovation, featuring top to bottom renovations throughout, and it was completed in less than 8 weeks. We discovered this home and realized that it needed to be brought back to its full potential and could not wait to get moving on making it shine!
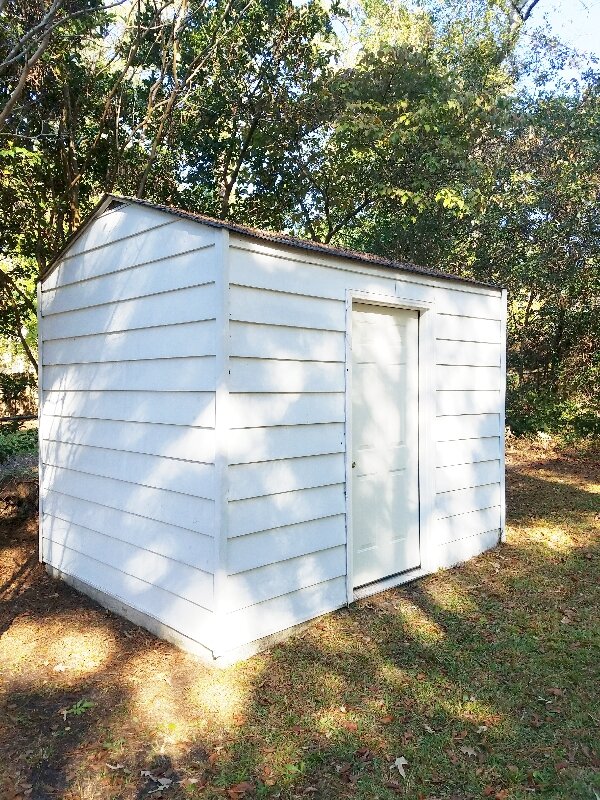
Please enjoy this home tour. Forgive the fact that everything was not perfectly cleaned up (floors still need cleaning and there are a few little things missing like the smoke detectors that are not in and a few missing outlet covers :) They will be finalized this week. There is also a shed that is still under construction and will be renovated as well. Our focus was on the house for now. Don't worry - over the next few weeks we will be featuring a bunch of blog posts with before and after photos for your enjoyment.
Normally we stage all our homes to highlight their beautiful potential, but we were not able to do that for Glenville....because we already have clients moving in! They contacted us prior to finishing the renovations and fell in love with Glenville. We could not turn them away and they promised to decorate it beautifully and let us come back for pictures; we are excited to see how they make it their home!
We welcome your feedback on Glenville. Please drop us a line and let us know your thoughts. What did we get right? What did we miss? Though Glenville was rented before it even hit the market, there is good news in store: we start our next project at the end of the month, so stay tuned!
“House + Love = HOME”
Hope you enjoyed our tour! Drop me a line and let me know what you think! Have a great week!
- Casey and Carl
COMING SOON - THE NEWEST HAYMOUNT HOME!
Get ready to meet the newest Haymount Home!
Hey y'all! We are so excited to be introducing our next Haymount Home! It has been a busy summer managing the renovations, but we are nearly complete with the process and cannot wait to update the blog with all the renovation details.
I will be walking you through our home's transformation and you will be able to see all the fun changes that bring this home back to its glory! The posts will highlight all sorts of fun before and after photos, as well as give you links to what we used so you can find all the materials for your home renovation!
We are anxious to show you! Stay tuned and enjoy your last few days of summer!!
Check it out!
DUE DILIGENCE PERIOD - WHAT TO LOOK FOR
How to conduct your own mini-inspection to make sure you've got a home worth dealing with
Hey everyone! We are in the due diligence period on our new rental home on Greenland Dr. I realized today that some of you might benefit from a breakdown on how we go about this process and what it even means, so allow me to explain. Also, I wanted to update you that I will start using #HAYMOUNTHOMESGREENLAND for those of you that want to follow the updates on social media.
Have you ever bought a home? If you have, you know that it can be overwhelming because there are so many things to look when trying to determine if you have made a safe investment. You have a lot of moving parts during this process including but not limited to: two realtors, the sellers, lawyers, loan officers, inspectors, appraisers and more. There can be a lot of companies or groups involved, including home owners associations, managers, utilities, county tax offices and more. Seeing that list can be enough to make you decide to rent forever!
WHAT IS DUE DILIGENCE?
Because things can get a bit complicated with all those people involved, typically written into a contract is a due diligence period. The due diligence period is a protected time designed to allow you the chance to inspect the home and determine that you do indeed want to proceed with the contract for the home you are purchasing. During this time, you can decide to pull out of the contract if you find out something more major is wrong with the home.
Let's give you an example. Pretend you have found your dream home and have signed a contract for purchase. You receive an inspection report and it identifies that the home will need an entirely new foundation. You receive the estimate for the repair and it will be $40,000. Yikes. You might decide to change your offer price or you might decide to move on to a different house. You have inspected the home (and done your due diligence) and have determined that this home is not for you.
If you have a great realtor, he or she will likely guide you through the process of due diligence. That stated, this post can serve as a guideline for anyone looking to purchase a home. This is how I go about looking at things on a potential rental home. Disclaimer: I am not a home inspector, nor are my contractors. I don't recommend you skip the inspection if you want a more complete picture of your home). Sometimes it takes a bit of time for an inspection to happen and I get antsy....so this guide is intended to be used as an overview of what to look for while you wait.
DUE DILIGENCE CHECKLIST
When looking at a home, I don't get too bogged down in the smaller details of a home. I know that much of that can add up, but I know that a lot of small things will likely be addressed as we remodel. This is especially true of property in a rough condition. I will just add additional money into my figure planning to cover several minor things (ie, floor treads, replace and outlet, change a light fixture, etc). What I am looking for during due diligence are the "big guns" that are going to really change the matrix of my situation - aka, a deal breaker.
CRAWLSPACE
Ready to get down and dirty? It's time. With my contractor, I inspect the outside of home home, looking for cracks, instability, and any signs of decreased function. Then I get my trusted 'nasty clothes' on and head under the house. So far, I have not encountered any creatures or dead bodies under houses (though I will admit, I wonder every time...) I get under there and he points out anything of concern. I see the trusses, the floors, the support, any areas of improvement or water damage, or any signs of termites. I look for mold, moisture or entry points that are open. While we are there, we consider the electrical, plumbing and insulation under the house. I am not an expert, which is why I rely on my contractors (who I love!!). I go with them under the house so I can visualize what really needs to happen. If you want to understand, you need to see. If there is any suspected mold, I call my water mitigation people for testing. If there is any question of termite damage, I call my pest people for their opinion.
HEATING AND AIR "HVAC" unit
Here is another area for an expert. I call in my HVAC guy in an have him inspect the unit. We test the functionality and note the age of the unit. Most units can be considered "good" for 15 years, "might consider planning replacement" at 15-20 years. After that point, you are lucky to have it going but better be sure that you plan for an upcoming replacement soon. I also have him look at duct work and any additional venting that I might have to change in the house.
ELECTRICAL
I look at the electrical panel. If that has been updated, you'll know that you are at least in decent shape. If anything in your plan is considering space addition or renovation, you might need to adjust the panel size and that can cost a bit of money. Additionally, I find that the panels are often in less than desirable locations. Sometimes I am considering moving them or flipping them to a new wall to make my renovations. I want to be sure that can be done, and at what cost.
FIREPLACE
Look for damage and functionality. Has it been cared for? Is it safe?
ROOF
Don't miss this. You'll want to have a roofer estimate the age of the roof and condition. Fortunately, my contractor also does roofs, so he is easily available. Flat shingles have about a 20 year life, architectural shingles about 30, metal Roofs about 50, and asbestos roofs can last 80 years. You'll want to see what you might be getting into with the roof as far as any repairs or replacements.
WINDOWS
These can be costly. Look at the seals, seams and any frame damage that might have been caused by water entry. If they are painted shut, old or dysfunctional, you might need to consider replacement. This can get pricey. Know what you are in for.
SIDING
Check condition and type. Look for damaged sections that might need repair. Look for any wood rot as well.
PLUMBING
Check that the water works, toilets flush, fixtures turn on and off. Simple, but easy. If you see a back up, you might want to investigate that. I simply call my plumber and have him go after it and let me know what the issues might be. In older homes, I am often relocating things like washers or hot water heaters. That is the time to ask the plumber about my plans to make sure they are feasible.
LANDSCAPE/OUTDOOR
Don't overlook this. Cracked patios, broken steps, decks, walkways, pools, garages, sheds and other buildings can rather quickly add up in additional costs. Note any issues you see and be sure you don't have any huge corrections to make. Also note any yard maintenance issues that might need to be addressed. Additionally, you will need to look at the trees - do they hit the house? Do they need trimming? Are any of them at risk for being too close to the house? Take a good inventory of what needs to be done.
ASSESSMENT OF FINDINGS
Now it is time to look at everything and determine if the amount of repair or changes to the property that you have in mind is going to fit in your budget and keep the home in the end price range that you anticipated. If the repair list is very long, you might consider asking the sellers to make repairs - or adjust the asking price. If it isn't too high or you are getting the house at a good deal, you are doing well. If the house is sold 'as-is', that means there are no repairs by the seller and you'll be stuck with all of them!
HOW DOES OUR NEW GREENLAND HOME STACK UP?
Great question. We are ending our due diligence period soon. Here are some things that I have called in my "people" for and this is the plan:
1. CRAWLSPACE: Floors have settled which is not uncommon in the historic homes and in the south's sandy and clay based soil. I wanted to be sure that things were not unstable underneath the house. Fortunately, we are in luck. There has already been work underneath the house to reinforce the issue. Perfect. Some of the floors will need repair on the inside of the home, but that is better than all the joists and foundation under the house too!
2. HVAC: HVAC system is 30 years old and somehow STILL working. It's good...for now anyway, but we know a new one is on the horizon. Might have to move a few floor duct vents. No biggie.
3. ELECTRICAL: Kitchen needs a new layout and possibly need to move an electrical panel. I am going to created a laundry area and that will also move the water heater and washing machine. My contractor, plumber, and electrician are all on board for changes.
4. FIREPLACE: Fireplace has a lot of settling, but is stable. I don't think it is safe for use - still need to find that out, but we usually don't allow them to be used in our leases due to safety.
5. ROOF: We will replace the roof. Too many small areas need repair. The roof is not that big on this 1000 square foot house, so we might as well replace it all.
6. WINDOWS: It's time for new windows. The original windows are lead weight windows, which are harder to remove. This will be a J.O.B. Sorry contractors :(
7. SIDING: Good condition with minor issues. We'll probably leave it alone but make sure it gets a REALLY good bath! Some areas of damage will need to be replaced.
8. PLUMBING: Ours sound for the most part, some newer updates, some are older, so we might need to make a few changes here and there. The bathroom is a gut job. The floor has water damage, but fortunately the joists below are still solid (THANK YOU OLD WOOD!!!) and there doesn't appear to be any mold growth or anything.
9. EXTERIOR: Still awaiting an estimate from my tree guy about trimming several trees and removing some dead trees. This won't be anything too intense. Mostly, just clean up here!
“Diligence is the mother of good fortune”
We are moving forward with our new home and will continue to plan on closing in a week. There are repairs to make, but we knew that when making our offer.
What do you think? Have you ever had to pull out of a home purchase during the due diligence period? What was your deal breaker? I'd love to know!
- Casey
OUR NEW PROJECT
We are under contract for the next Haymount Home!
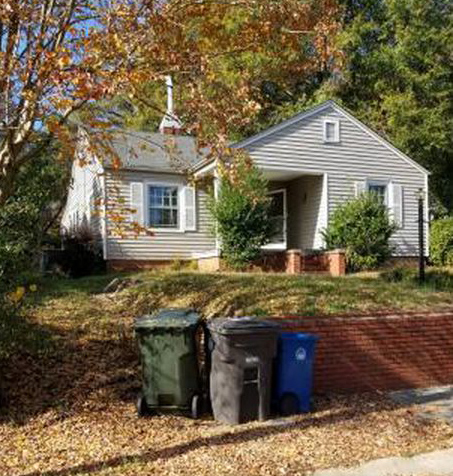
YIPPEE!! I am happy to announce that our next project is underway! We are under contract for our next Haymount Home and could not be more excited to get the ball rolling on this historic charmer. This home will be our smallest home, but we are planning to pack it full of charm and make a wonderful happy home!
There is a LOT to do with this home, so I figured I would give you all a little glimpse on my planning process at this stage in the game. We are conducting our due diligence on this home (meaning we have a week to determine if it is more than we want to handle). Once that window is complete, we are going forward with the contract. Currently, we are set to close 2/1/18.
The rehab work on this little gem is going to be slow and steady because we plan to save up money and pay for everything in cash as we go along. In our efforts to avoid too much debt, we figured that it'd be better to take this approach with this darling little home. Though it will take a little longer, it will be fun to have the time to really think through the decisions and try to optimize this home for it's next occupant.
During this time period of due diligence, I usually do several things to determine what potential work is required for a home. I figured illustrating my thought process might be helpful to someone in the same situation or looking to get into the rental market. However, my brain tends to go all over the place, so just strap-in and take the ride! One disclaimer: Pictures are deceptive. Although adorable, this little home home needs quite a bit of help. The pictures don't fully illustrate that. Once we have the home closed, I will be going through to take more detailed photographs for our projects and repairs needed. For now, you'll have to trust me on these things!
Let's begin.
EXTERIOR
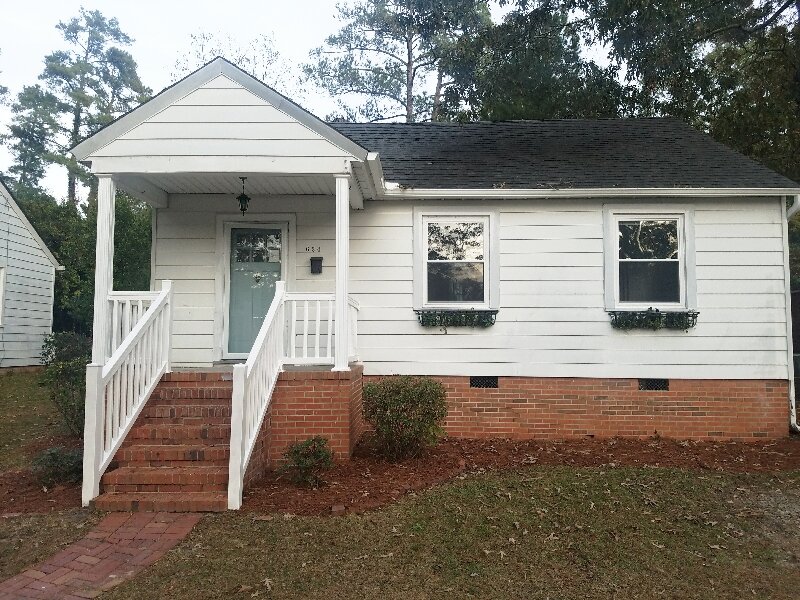
Siding - Pretty good shape. A couple of holes (repairable I hope)
Roof - Time for a new one
Front Porch - some rot - will either repair or replace
Front Porch Trim - damaged - needs replacing
Screen Door - rough. either will clean up or it will get a new one
Front Door - hoping to preserve this with paint
Windows - yikes. Old and charming with pulley systems still in place. Super cool, but not that efficient and difficult to operate overall. Poor painting in the past. We'll see. Either clean them up well and see what we have left, or replace.
Shutters - probably will paint. If need be, we'll replace.
Mailbox - Missing - needs one!
Porch Light - functional, so that will probably stay
Foundation - so far so good, but there are some soft spots inside the home, so I question some of the joists below. I am going under the house on Sunday to inspect everything with a contractor friend.
Backyard is awesome - private and cute - needs some clean up (cannot really see from this photo)
Back Door - Jam is rotting out. Will probably just replace the whole thing. This house is on a hill and water likely heads that way. We are going to have to consider some options for controlling that issue.
Rear Door Light - ugly and needs a new one
LIVING ROOM
Check out those hardwoods! They are lovely however someone did a really bad patch on the side of the room. I will photograph it later, but I am going to see if magic can happen and they can be repaired...then the entire house is desperately in need of refinishing. I wonder what stain we should go with??
Replace Shoe Molding - for some reason, it was removed in this room. Needs to go back!!
Fireplace - no clue if it works. It is also sunken a bit on the right. Not sure it is still sinking, but need to find out. Back to under the house. Either way, it is still charming.
How about that awesome window trim? Love the thickness and detail. probably will loose the window cornices though.
Walls all need some addressing. Ceilings need some crack repair. Work.....
KITCHEN
Yikes. Lots to do here. This is just one side of it. There is actually quite a bit of space for such a small home. Normally you find a lot of galley kitchens in homes like these, so I am excited to have a little room for play here.
Flooring - going to be getting new flooring (unless the budget gets too tight)
Cabinets - replace. We need to add more and these have seen their time. Time to go.
Sink - double stainless steel. Will likely keep unless I find a great deal on something amazing!
Faucet - old and boring. Could work but I would like a better one.
Appliances - time to replace. They are actually nice functionally, but they are unattractive and I would like better ones. Unless something gets crazy on the budget, I plan to replace.
Walls and Ceiling need some work.
This is going to add up in this room, but I cannot wait to see it happen!
DINING ROOM
Floors - again, refinish
Wall and Ceiling repair
Definitely a new light fixture (something beautiful needs to happen here - it will be gorgeous then!)
Loose the window cornices
BEDROOM ONE
Refinish Floors
Repair walls/ceilings
Clean up the closet
New Light fixture or Ceiling Fan
BEDROOM TWO
Same thing, clean it all up by doing the floors, cleaning up the closet, fix walls and ceiling, and then get a new light fixture or fan
BATHROOM
This has to be great for a one bathroom house to work well for anyone. This one is going to be a bit pricey with all the needed work.
Tub - lovely original porcelain tub. Might need a reglaze, but mostly it looks like it needs its own deep cleaning bath first. We'll see. It stays for sure.
Tub surround - this is less appealing. If the budge allows for all new tile in the bathroom (walls and tub included), then I will go for it. We'll have to see what the money looks like. At a minimum, some things need repair.
Vanity - functional, not that old. Might be repainted, but ideally, I will replace this. I love pedestal sinks for beauty, but they do lack storage. We'll see.
Toilet - seems okay, but house is winterized so there is no plumbing to check. It's not ugly though! Needs to be re-grouted at the base.
Mirror - dull. We can do better.
Light - rusted. time for a new one.
Closet - small inside but there - yay storage! Needs repainting.
Floor - OH MY. Mostly rotted out. Not good - needs complete repair and replacement.
BACK PORCH
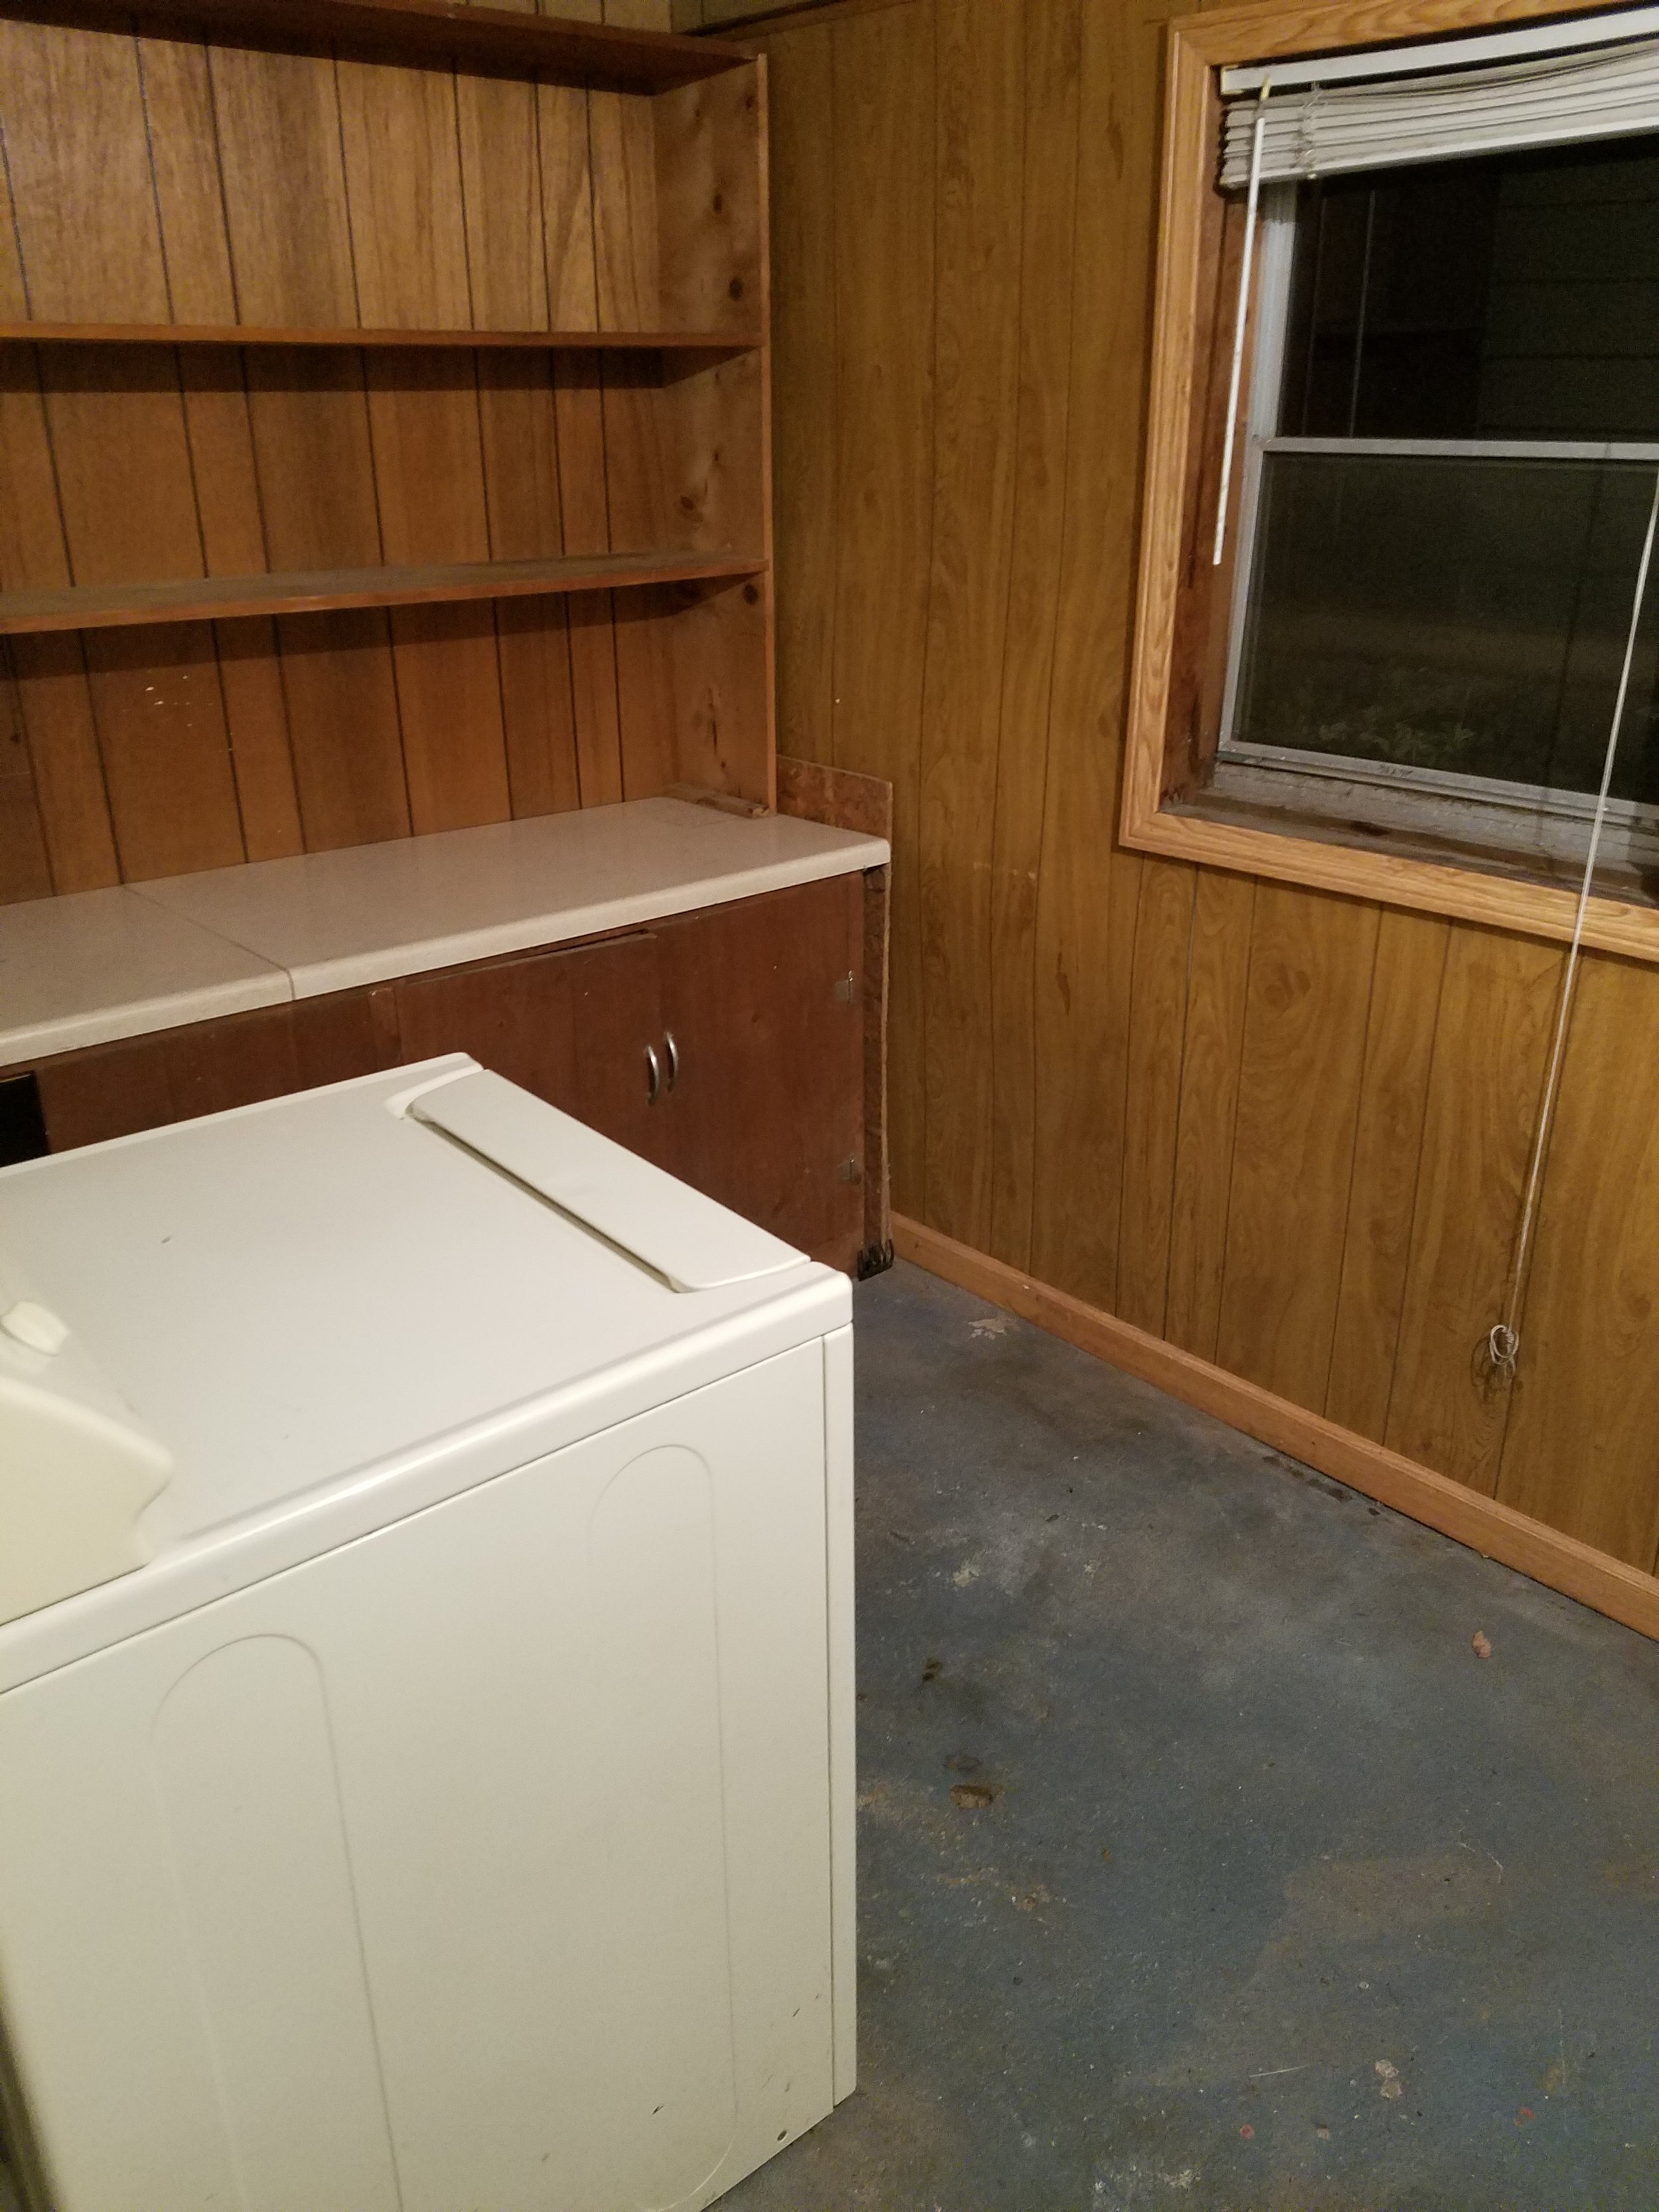
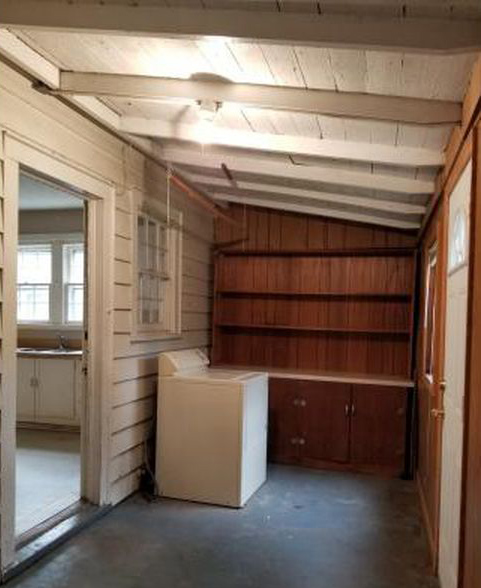
Enclosed back porch. Loving that ceiling actually. Hating the paneling (what's new?)
Lots of potential on this, but needs to be thought through. I am not sure it is wired and vented for heating and air, so I am meeting with my HVAC man on Sunday to look at options.
If we can get this space heated and cooled, I want to make it an awesome laundry and mud room. I know it has great potential, but at what cost? That is the question. The floor is a little angled away from the house to prevent water being an issue (remember the rotting door - that is at the back of this room). I am wondering if we level the floor with concrete leveler (expensive) if it would elevate the floor more and prevent water issues. Not sure. I need to discuss the options with my contractors.
This would also require re-routing water lines. I would like the water heater and the washing machine (both currently in the kitchen), to find a new home out here. That will require a new plumbing. It will also require my electrician to complete some changes too.
However, if we can finish off this space and make it "finished square footage", we will add nearly $10,000 or more to the value of the house. Not bad, but it could cost a bit in the process. We'll see.
OTHER CONSIDERATIONS
Hallway has need for floor repair and refinishing
Attic access is difficult and small. I have no clue what shape it is in. This house also lacks any storage building or garage, so my easiest place to claim the storage would be the attic. I need to install an attic pull down and stairs in the hallway.
Attic storage - going to likely have to floor part of the attic for storage and I anticipate there being almost no insulation left up there. I am just hoping it is not a disaster up there as who knows when it was last looked at.
Access to wiring. The house looks like it has been somewhat updated for wiring, but getting up to the attic will help further determine that. It will also help create the ability to adjust the wiring in the future. Clearly, we need to get into that attic!!
“Everything has beauty, but not everyone sees it.”
SHARE YOUR THOUGHTS!
Thanks for joining my home tour. What are you thoughts? Have we lost or minds or does this little home have potential to be great? Would you take on a project like this? Does the idea scare you? I would love to hear your thoughts!
I will keep you posted......
- Casey
