UNDERSTANDING PAINT SHEEN
Understanding the different sheens of paint - and where and when to use them!
Happy Spring! There is something about spring weather that inspires change. I think it is the season turning over and the new life of spring replacing the dreariness of winter. Don’t get me wrong - I love the coziness of the winter season, but there is a turning point where I am ready to move beyond the dark nights and into the fresh air and sunshine of spring.
Spring brings the energy of change…and with it comes spring fever. For me, that means cleaning house. The funny part is, once my house cleaning train begins, suddenly I am inspired to do more. I see a transformation of decluttering and a space seems new all over again. So, I start thinking about refreshing the space, which usually leads me to my most economical and high impact solution - paint. It’s kind of like the “if you give a mouse a cookie” book. If you give me an hour and a trash bag, I will eventually want to paint a room :) It’s a small disease I have; unfortunately, it’s a chronic illness!
Paint means a lot of things - you find that out the minute you step foot in a paint store. Once you have chosen your paint color, the next question is going to be about what paint sheen you will choose.
There are lot of reasons to choose certain sheens, but I wanted to provide a quick overview on what benefits each each provides, how it is most often used, and when to use each type. Hopefully that will be helpful to anyone out there that is having this question themselves.
Most often, paint can be found in the following sheens:
Flat
Eggshell
Satin
Semi-gloss
Gloss
This can get more complicated by each brand. For example, Sherwin Williams adds additional names to their sheens like Low-Lustre, Pearl, flat Enamel and Matte. Understanding the type of sheen you need will allow you to enter any paint store and ask for the sheen you want and they can provide you with their brand’s equivalent. While there are variations on each type of sheen, this should give you a basic overview. Let’s begin!
FLAT
Flat paint is your most inexpensive paint. It is the most basic of the bunch and is the most economical. For this reason, flat paint is often used in new construction. It costs less, covers easily and is easy to use. Flat paint also tends to hide imperfections and flaws in surfaces. Flat paint is often popular in older homes because walls are imperfect and the paint does not have a reflective quality that highlights flaws.
The drawbacks to flat paint is mostly durability and sheen. It is exactly what it says it is - flat. There is no luster or warmth to the paint, and there is also very little durability. In fact, you can scrub the paint right off the walls if you use water and a rag (or we found out with Mr. Clean magic erasers!). Thus, if you have a low traffic area with some imperfect walls and are on a tight budget, flat paint will likely get your job done. As for me, I almost never use flat paint. If I am going to spend the time and money painting, I am going to do something that will be more durable and warm.
The only place I do consistently use flat paint is on the ceiling. It is almost never touched and I don’t usually need the reflective quality of the paint there. There are times i have made exceptions to this, but typically, you can do flat paint there with little difficulty.
EGGSHELL
Your next step up in paint is Eggshell. Eggshell is like flat paint with a hint of sheen. Eggshell paint has about 10-25"% sheen in it, depending on the brand. The sheen adds a touch of warmth and durability, without being super glossy. It can handle a bit more scrubbing and traffic, but is still not considered a high durability paint. Because it is not super glossy, it still hides imperfections fairly well.
If your budget allows, I would make this your basic minimum paint level for most walls in your home. If you have a high traffic area, then I would upgrade to satin and here’s why….
SATIN
Satin paints are usually about 25-35% sheen. That is a great combination of durability and warmth, without being high reflective and shiny. A satin finish allows a great level of durability (think good solid scrub on the wall), and will not fade as easily. Satin finishes will show imperfections a bit more, but they offer forgiveness for marks and spots which can be removed.
If you have higher traffic areas, pets, or kids (or maybe you are just rough on your living space!), then satin paint is a great happy medium. It does cost more than its little sister Eggshell, but usually lasts longer, can be cleaned, and offers great warmth to a space.
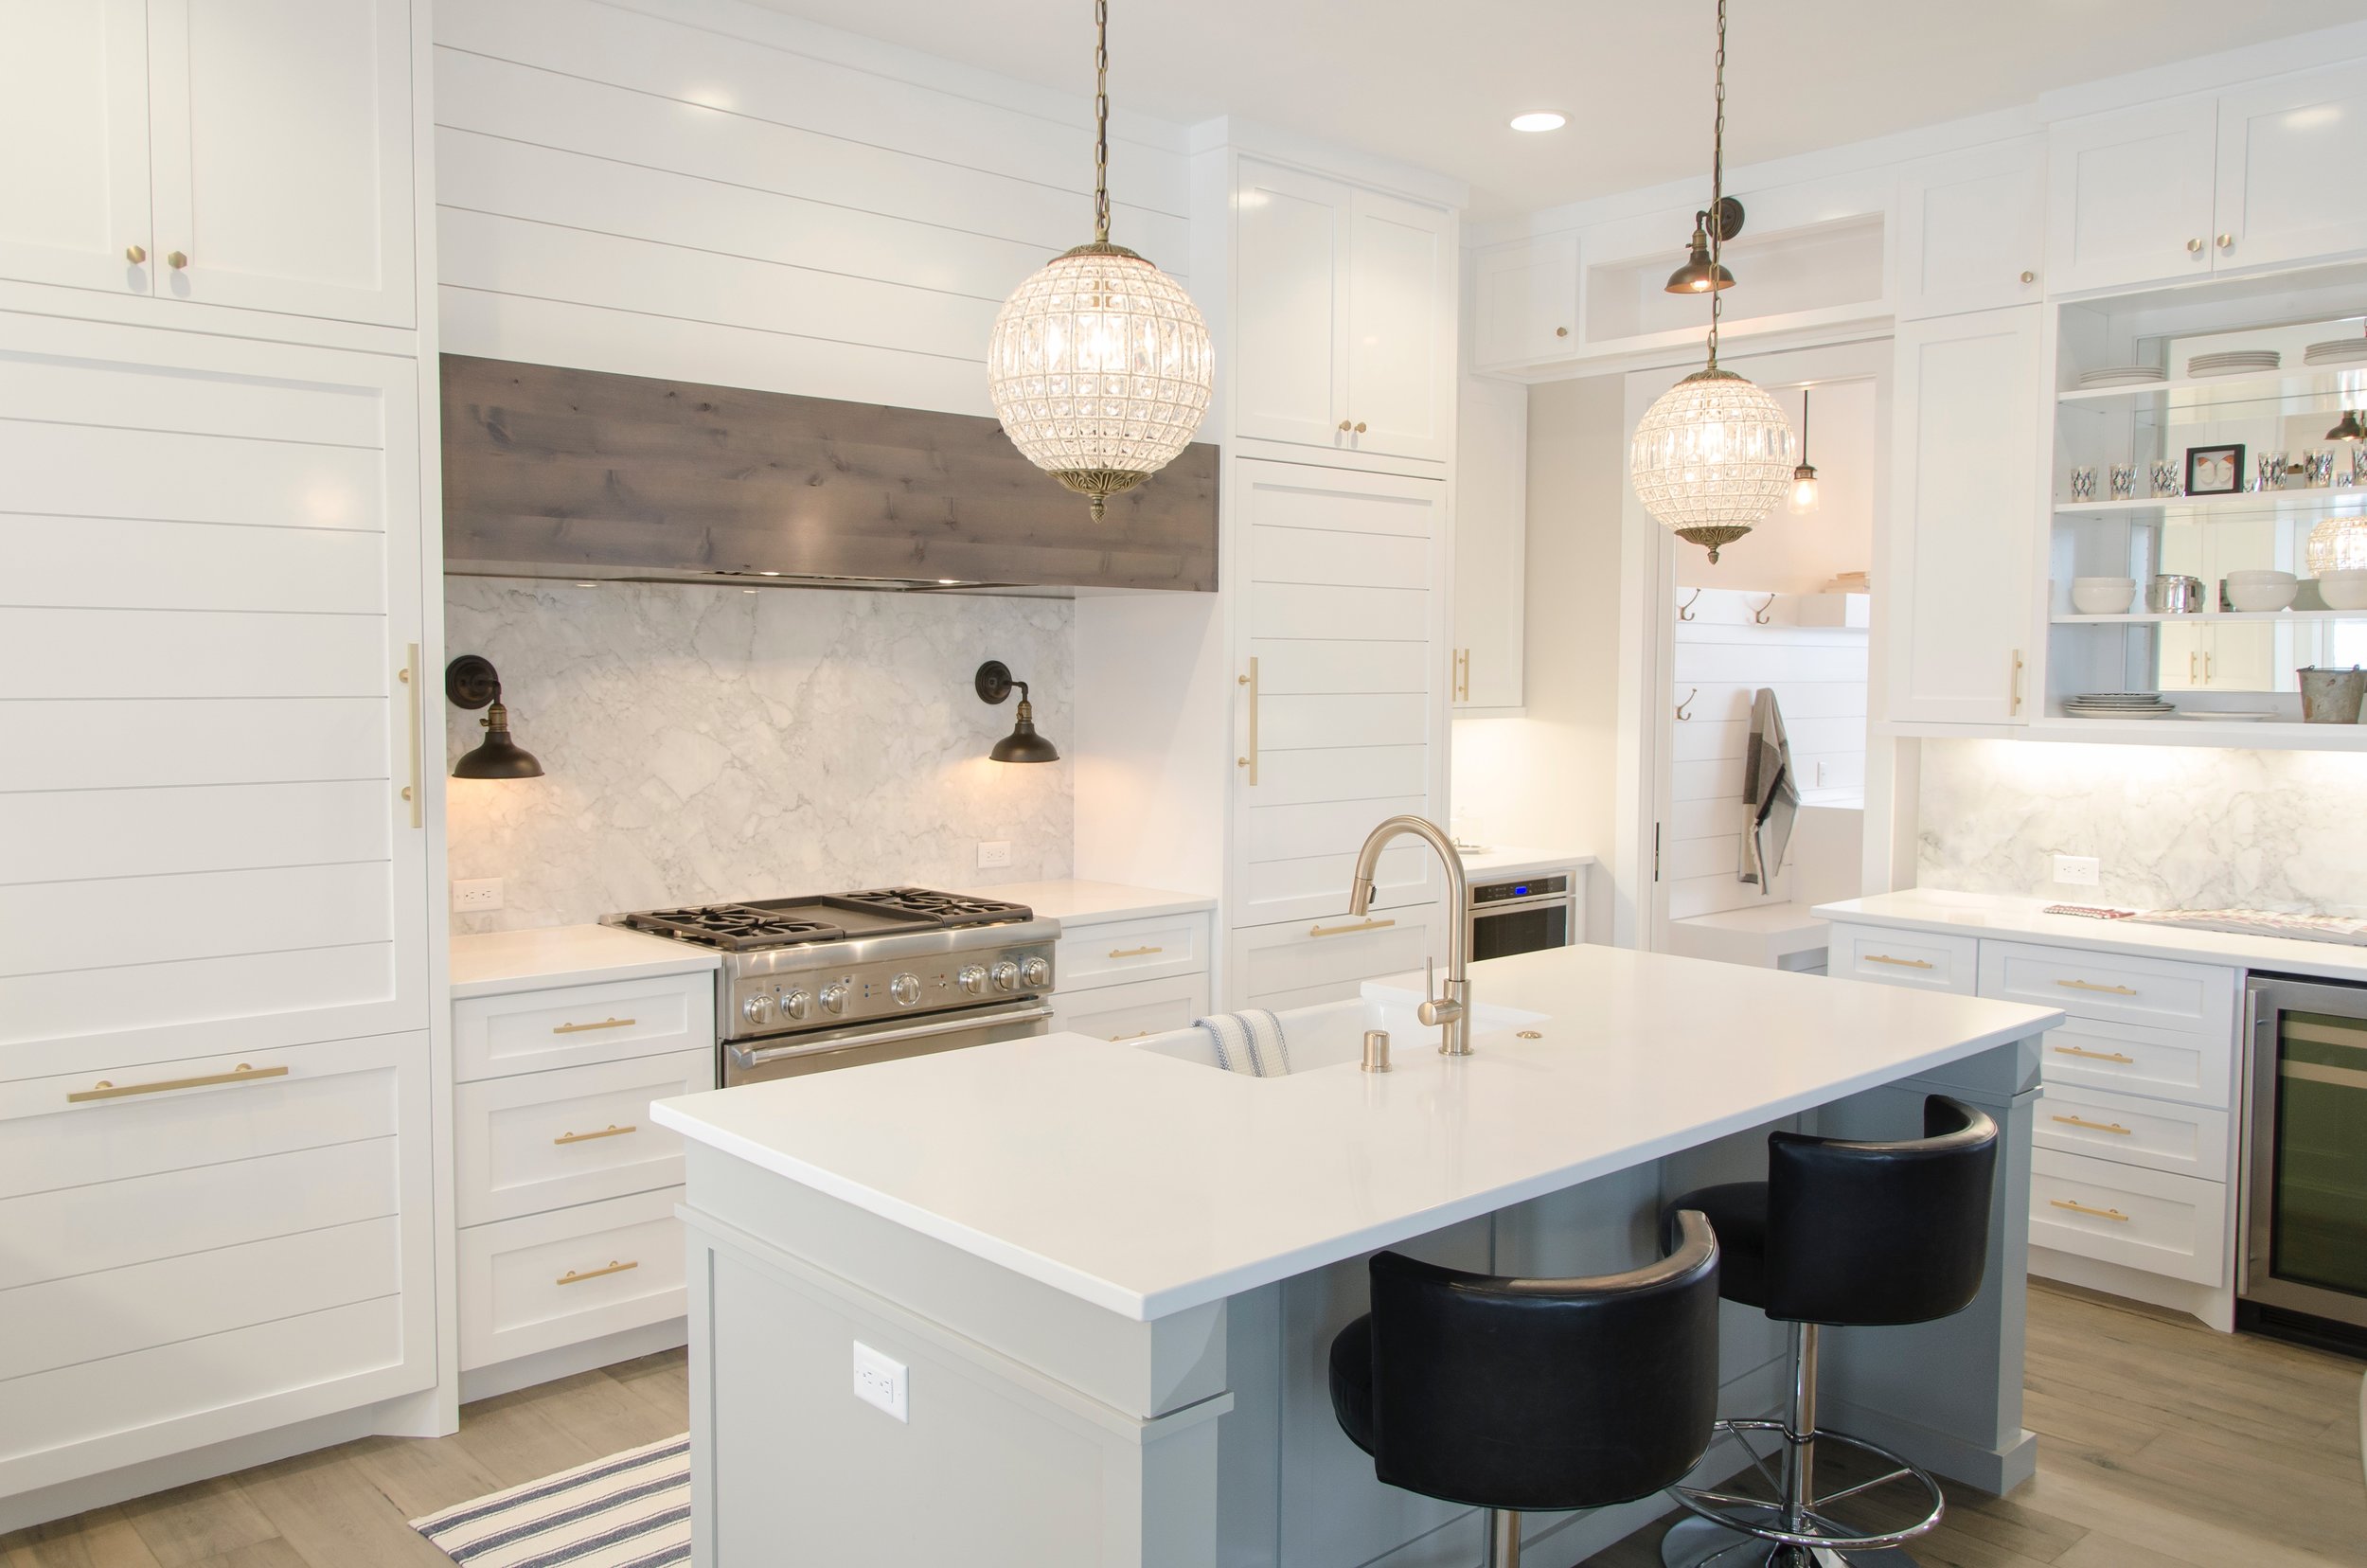
If you are painting a kitchen or a bathroom, this should be your minimum level of sheen. You can also incorporate some anti-bacterial paints into satin for these areas, that is often a good idea since these types of room seen a higher level of moisture.
SEMI-GLOSS
Anytime you see gloss in the title, we have moved into “shine” zone. Gloss paints have more gloss in them. Like in our other paints, more gloss means more durability, but also higher sheen. Now you are going to see more flaws in whatever surface is covered in semi-gloss paint because the gloss will reflect the imperfection when light hits it.
Though it does highlight imperfections, the trade-off is great durability. I like to use semi-gloss paint on cabinets, trim and baseboards because they see heavier wear.
Semi-gloss paint can come in a variety of sheen percentages - anywhere from 35-70%. The higher the sheen, the more durable and shiny the surface will be. There is a recent trend to paint semi-gloss on walls, but for me, it is too reflective.
GLOSS
Gloss paint is glossy (shocking, right?). When you open a can of gloss paint, you’ll know it. Even in the can, gloss paint is thick and shiny; it’s actually quite beautiful. Gloss paint is my favorite for a front door - bright, shiny, and thick. High gloss paint is durable and can be scrubbed and scrubbed. It is also the most expensive since you are paying for that gloss. Some people really believe in high gloss for all cabinets and trim, but I prefer a slightly more matte look. High gloss will highlight any type of surface flaw, so remember that when applying. It is also a little more difficult to paint with as it is very thick.
OTHER CONSIDERATIONS
Room Position
Natural light and also the size of the room can help you decide on your paint sheen. Rooms that are filled with natural light will tend to throw more sheen and color throughout the room. You can safely choose a lower sheen paint (like eggshell) and probably have the same level of warmth as a satin painted room. The inverse is true as well. Poorly lit rooms often benefit from a higher sheen. What little light there is in the room, can more heavily bounce off the sheen and warm up the space.
Wall Texture
Walls that are textured or imperfect will look better in a flatter sheen; it will help smooth them out. Just remember your trade off for the sheen is lack of durability.
Moisture Level
Rooms suspect to higher moisture often benefit from a higher sheen paint as it is more durable and less suspect to moisture retention. The sheen can help reflect moisture.
Room Size
Higher sheen paints allow light to bounce and help make rooms feel larger. It sounds crazy, but can really help ‘open up’ a room visually.
Same Tone, Different Sheen
One of the most popular trends right now is painting the trim and the walls the same color. This look is seamless and really can open up a room, giving a larger visual appearance. The best way to achieve this look is to paint the walls in a lower sheen paint, and then paint the trim in a higher sheen. You want a nice level of contrast here.
Depending on your taste, you might consider an eggshell wall with a semi-gloss trim. If you don’t mind spending a bit more and having a bit more light bounce in the room, then going to a satin finish wall and high gloss trim can work as well. The result is really stunning! The picture above this section with the fireplace illustrates this technique.
“All you need to paint is a few tools, a little instruction, and a vision in your mind.”
I hope that this helps you determine what type of paint sheen is best for your space. Remember to consider cost, lighting, room size, and surface texture when choosing your sheen. Again, my catch-all favorite is satin for walls and semi-gloss for trim, but you should feel free to experiment and find out what appeals to you!
Happy painting!!
-Casey
CUSTOM WALLPAPER FOR FREE
Free DIY Custom Wallpaper wall using materials you probably already have!
YIPPEE!! I love free things (and I cannot imagine I am alone on this!) There is nothing more satisfying than getting a large bang for your buck and this project has such a great return that I just had to give you the inside scoop. I am going to give you a quick run down on a project that I did a bit back. I should have made an actual tutorial about it, but I had no idea how many people would ask me about it back then. Oh well. I think you can catch on fast, right?!
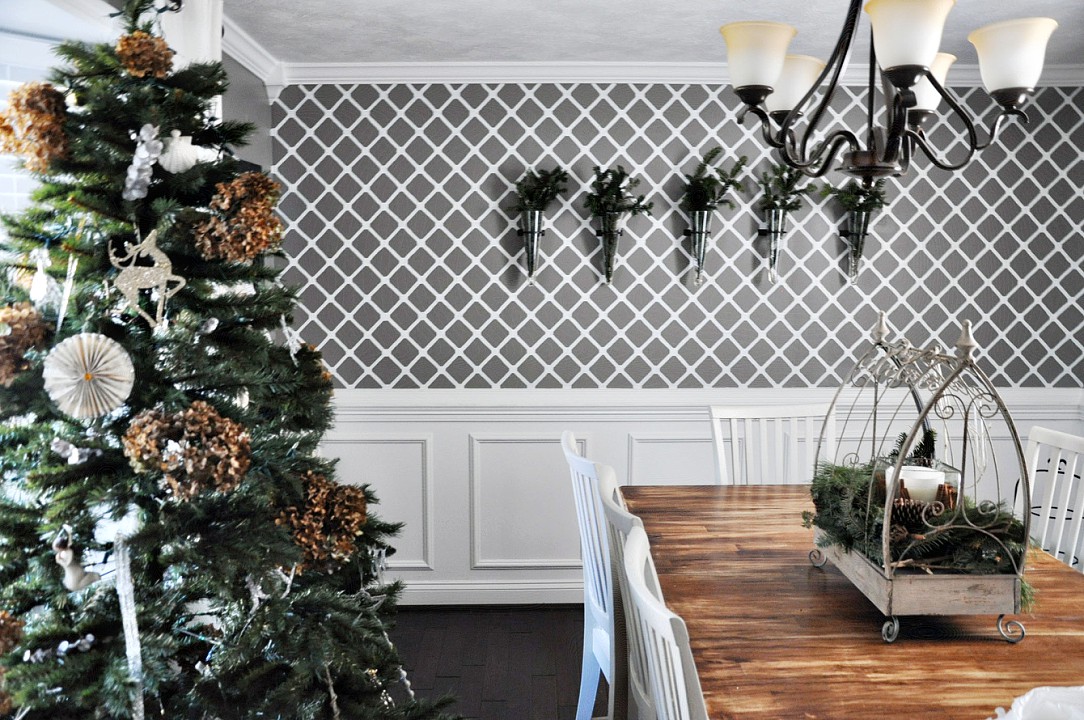
This wall in my home is painted, not wallpapered. I did not want the hassle and commitment of wallpaper when I decided to add a feature wall to this room, but I knew I wanted some level of impact beyond just paint. So, I figured I would paint my own wallpaper.
To do this, there are several sites that sell laser cut patterns and graphics, but most of them are $20-80 dollars each for the pattern and I could not find the diamond pattern I was dreaming up. Plus, I did not want to commit to the money or the shipping time and wait for the pattern (when I get an idea, I become QUITE impatient).
So while I was contemplating a lot of things (like making my own stencil...probably a bad idea), I also realized it had been awhile since I changed the air filters in our home (I know this is scattered, but this is how my brain works). As I got the filters out, I noticed a hidden gem....my pattern! Yup. I was so excited! There it was, perfectly thick, laser cut and uniform, the back side of my air filter contained just the pattern I was looking for! Even better, I was about to throw the gross part of the filter out, so I just quickly cut the back of the filter off and there was my pattern. SUCCESS!
You can buy this here from Walmart
I knew I could just tape the pattern to the wall with painter's tape, trace the pattern, reposition it again, trace again, and so on until I finished tracing the pattern on the wall. Then I would just use a little tiny paint brush to fill in the gaps with paint that I already had from doing the trim in that room. Brilliant! I figured this project would take me about four hours.
This is where the story comes to a screeching halt. Enter my husband. He asks me what my plan is, and I explain my brilliant idea. He likes the idea, and then asks me how long I think it will take (which, by the way, he always does because he has an incredible sense that can identify when I have completely lost touch with reality). I promptly reply it will take me four hours. He replies, "Four hours today? How many tomorrow?" I was shocked that he would doubt my timeline. I was certain that this project would possibly take me more than four hours.
You know where this is going. In my defense, the project did take me four hours, three times :) It was a little (LOT) more time intensive than I realized (score yet another point for my husband), but oh my, have I loved the results. A couple of points that I learned in doing this:
1. Your walls might not be fully level, so I had to fudge some areas to make sure they were good enough.
2. Plan for two coats of paint. After the first coat of paint, I realized it was going to require a second to really look right (that was a depressing moment).
3. Imperfection is part of this project. Accept it (or potentially go crazy as an alternative...although when you see the doctor and you start explaining what you are doing, you will probably get that diagnosis anyway). Most people tell me I am crazy for a lot of reasons, though, so that is nothing new for me.
In the end, the 12 hours was totally worth it. Not only did I not have to mess with trying to wallpaper old and uneven walls, but there has been no seam weakening or peeling like you can get with wallpaper over time. Plus, the project did not cost me a dime. Even if you have to buy everything new, you can pick up all the materials for less than ten bucks. Not bad for a lot of impact.
Remember, it seems a little crazy for some, but this project is super forgiving. You don't have to be perfect for it to look nice. No one is going to stick there face right up into and see if you have a little shaky hand brush stroke someplace (and If they do, then maybe they are not really your friend :) People will think it looks amazing, even if imperfect!
Perfectly imperfect
It was truly that simple. I wish I had more "how to" photos to show you, but it honestly was just taping the pattern to the wall, tracing with a pencil, and then painting it in.....plus a whole lot of patience.
Will you give it a try??
Casey


