GLENVILLE RENOVATIONS - THE KITCHEN
How to maximize the space of your galley kitchen
Welcome to the kitchen renovation for Glenville!
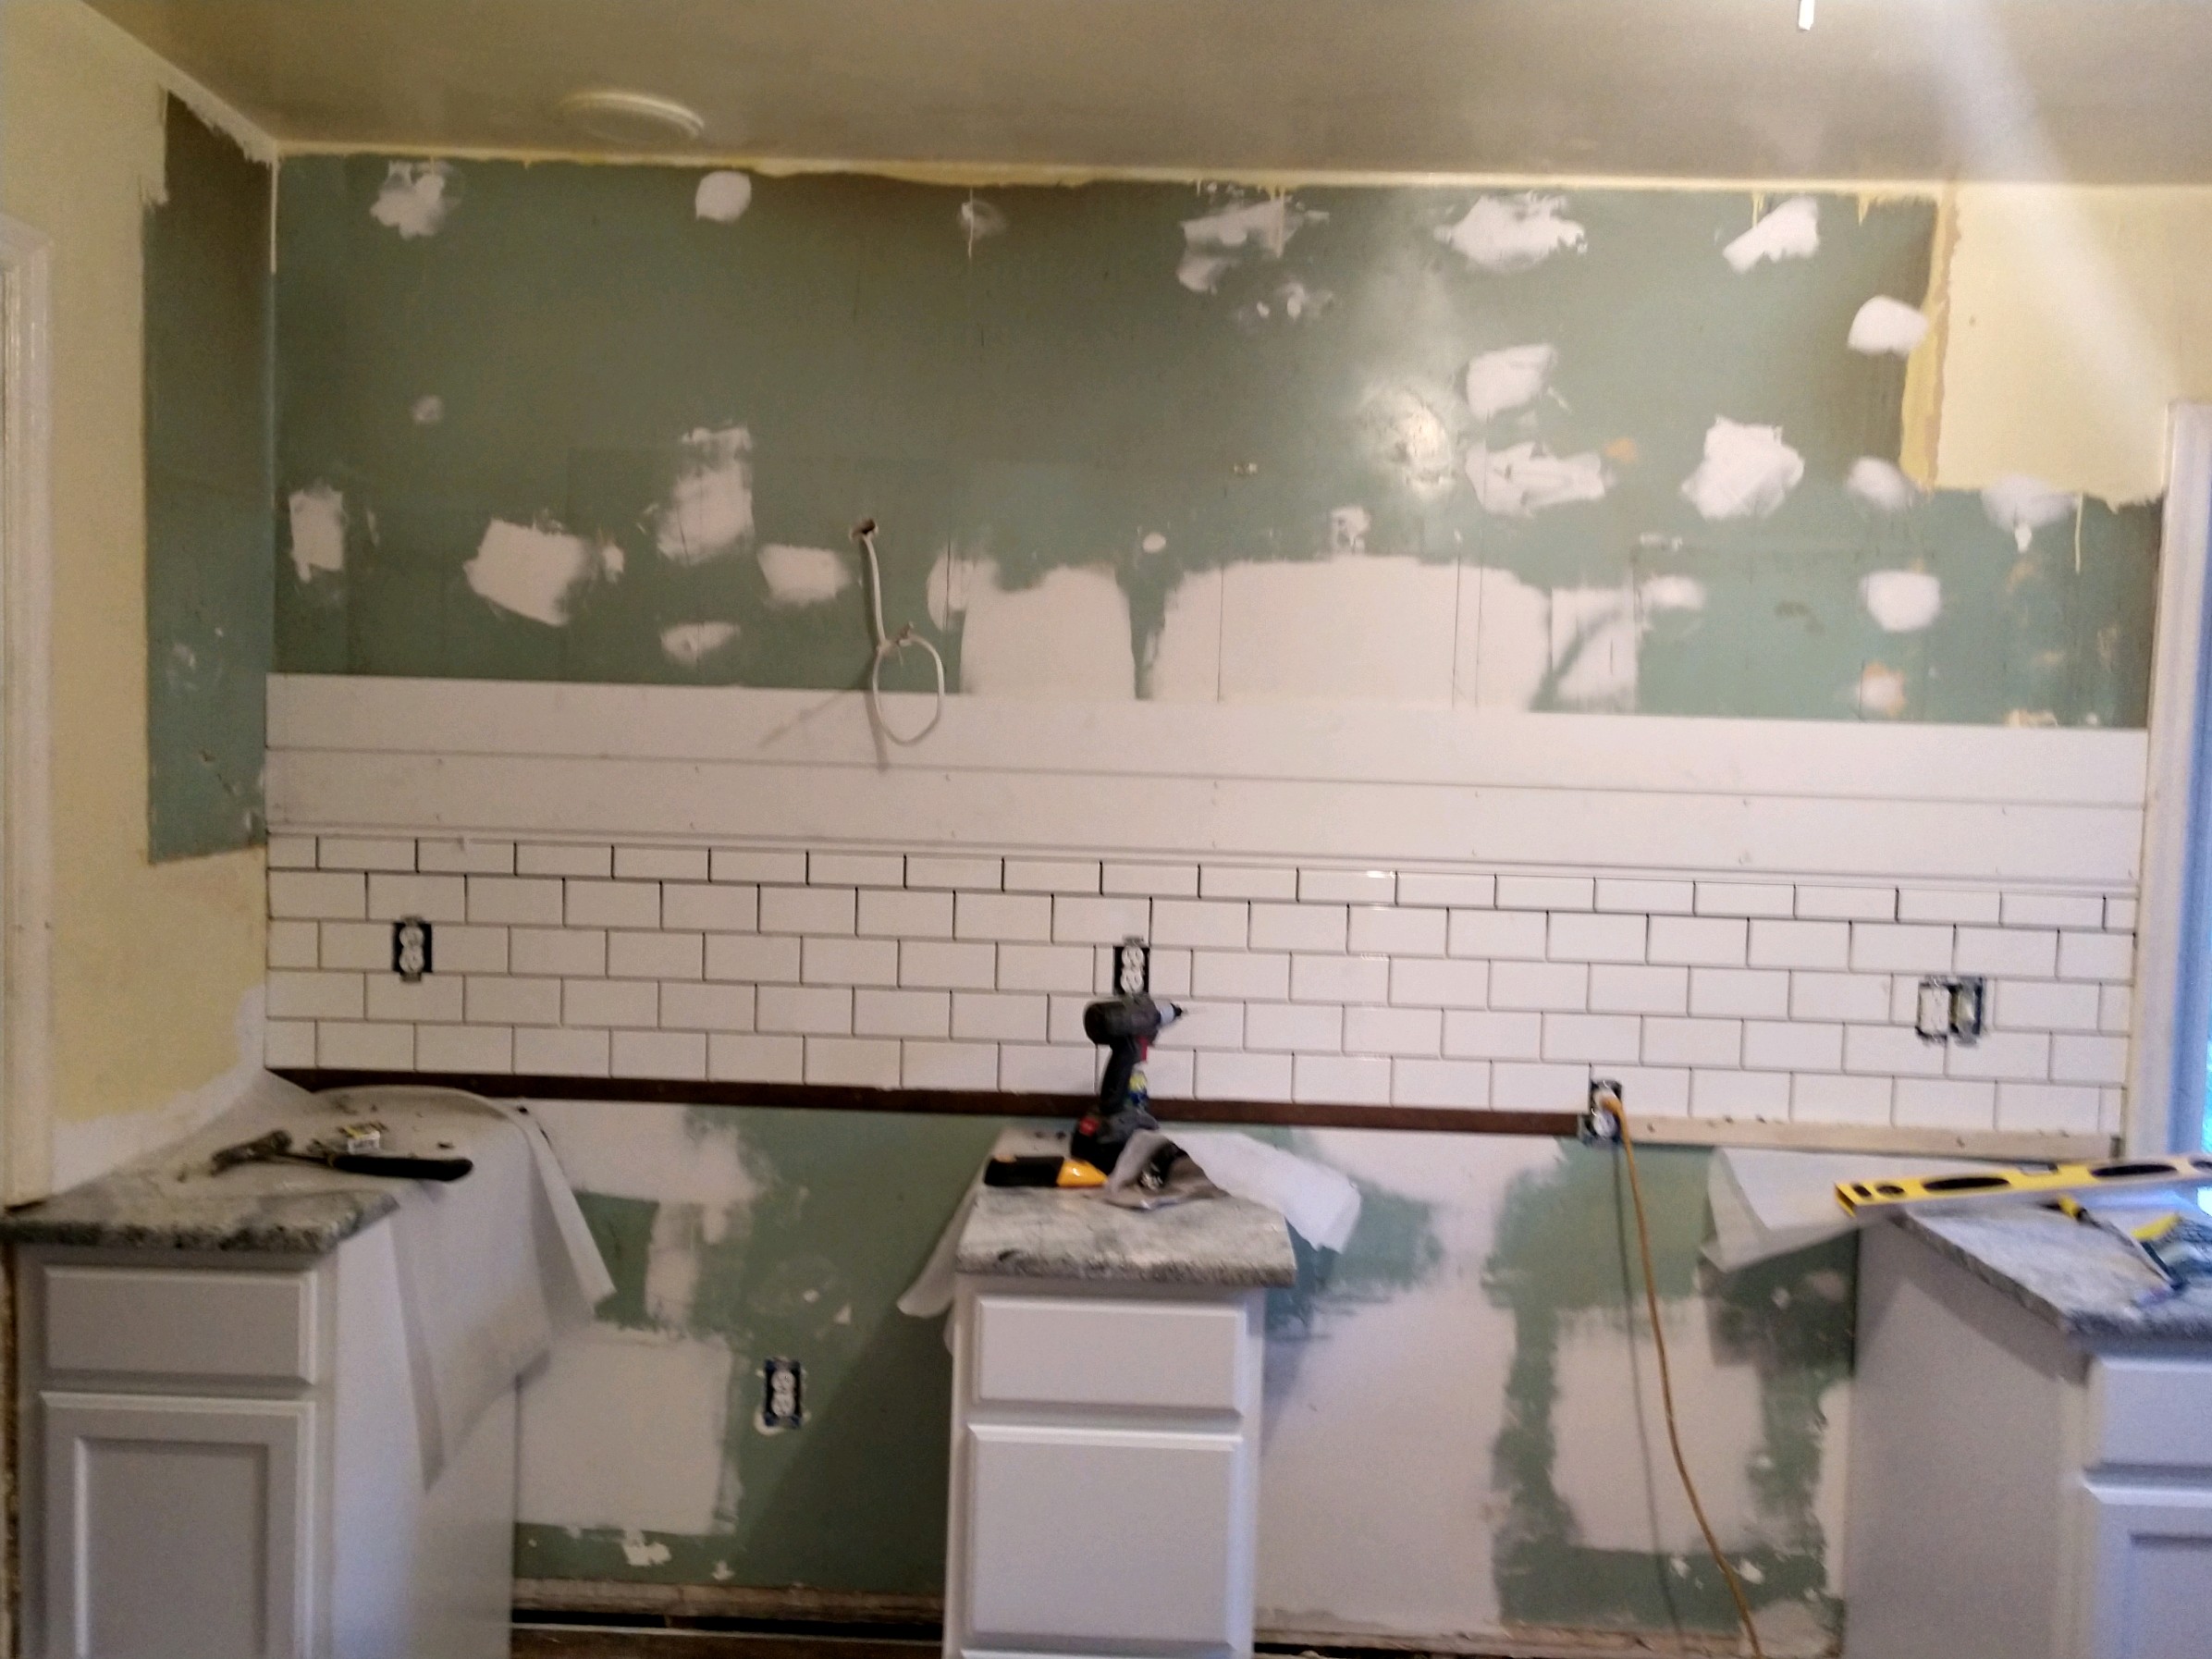
This kitchen was a pretty big mess. We had a fuse box from 1941 complete with cylindrical circuits that I had never seen before, a water heater in the corner (typical of this era of home to have the water heater in the kitchen because it is next to the plumbing), and plenty of outdated everything. This kitchen lacked appliances and the layout was awkward. The floor doesn’t look that bad in the photos, but it was sheet vinyl and it had holes throughout. Long story short, this kitchen needed help!
We also wanted to work to optimize the space, so we decided to move this layout to a galley style kitchen. Sometimes galley kitchens can feel tight, so we made decisions that would help reduce that feeling and still make the kitchen functional. More on that throughout the post.
The nuts and bolts to work on:
Trim and Wall Repair
Floor Replacement
Cabinets and Countertops
Door Fixing
Removal of debris
Appliances
Relocation of the Water Heater (it was in the kitchen - we moved it to open up space in the kitchen for cabinets; this is typical of the 1940’s homes)
Replaced all windows
Replaced sheet vinyl flooring in the laundry room with luxury vinyl tile
Ceiling repair and paint
Light Fixture replacement
New sink and faucet
Relocation of the sink for improved layout
Addition of a dishwasher
Gas conversion
Wiring Update and removal of outdated panel box
Paint, paint, and paint!
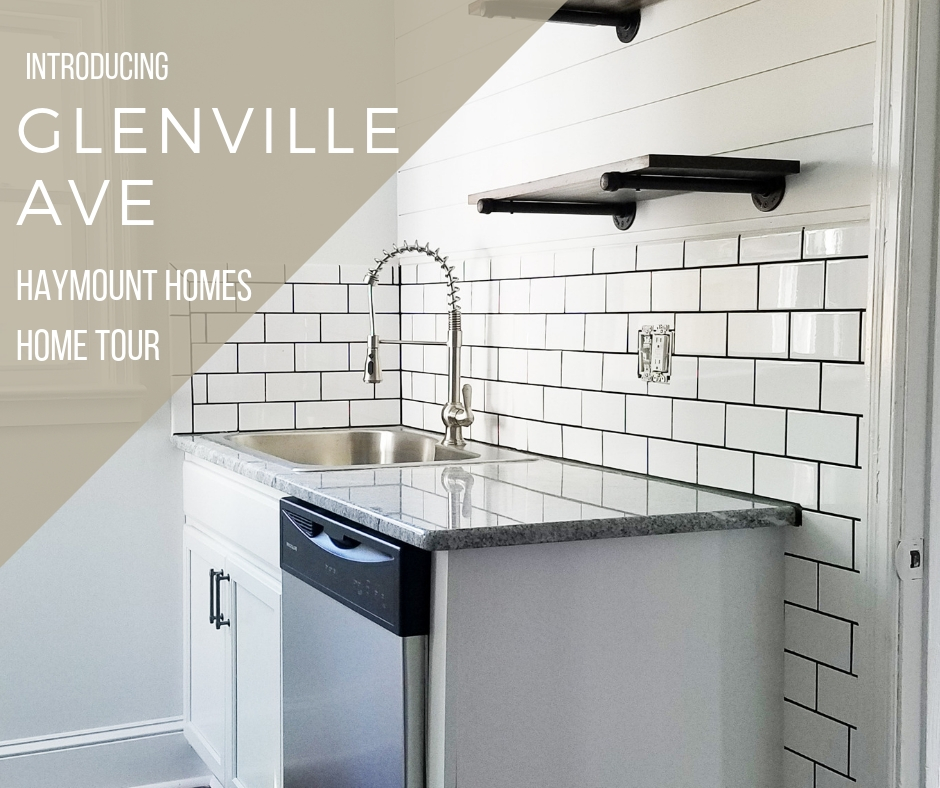
The final product was clean and simple. We used Sherwin Williams Extra White in eggshell which is one of my favorite crisp whites . It is pretty neutral white and doesn’t read as warm yellow or too cool. Also, it looked good against the subway tile from Home Depot. The trim is nearly Sherwin Williams Extra White in a semi-gloss. The kitchen flooring is by Shaw Matrix in Franklin Hickory.
There are a lot of repair work that had to happen first, as well as plenty of problems to solve. Once we got things removed it became a game of how to repair all the different holes in the wall. Our contractor had to get pretty creative with some of the repairs as old plaster walls are not as easy to work with as sheetrock!
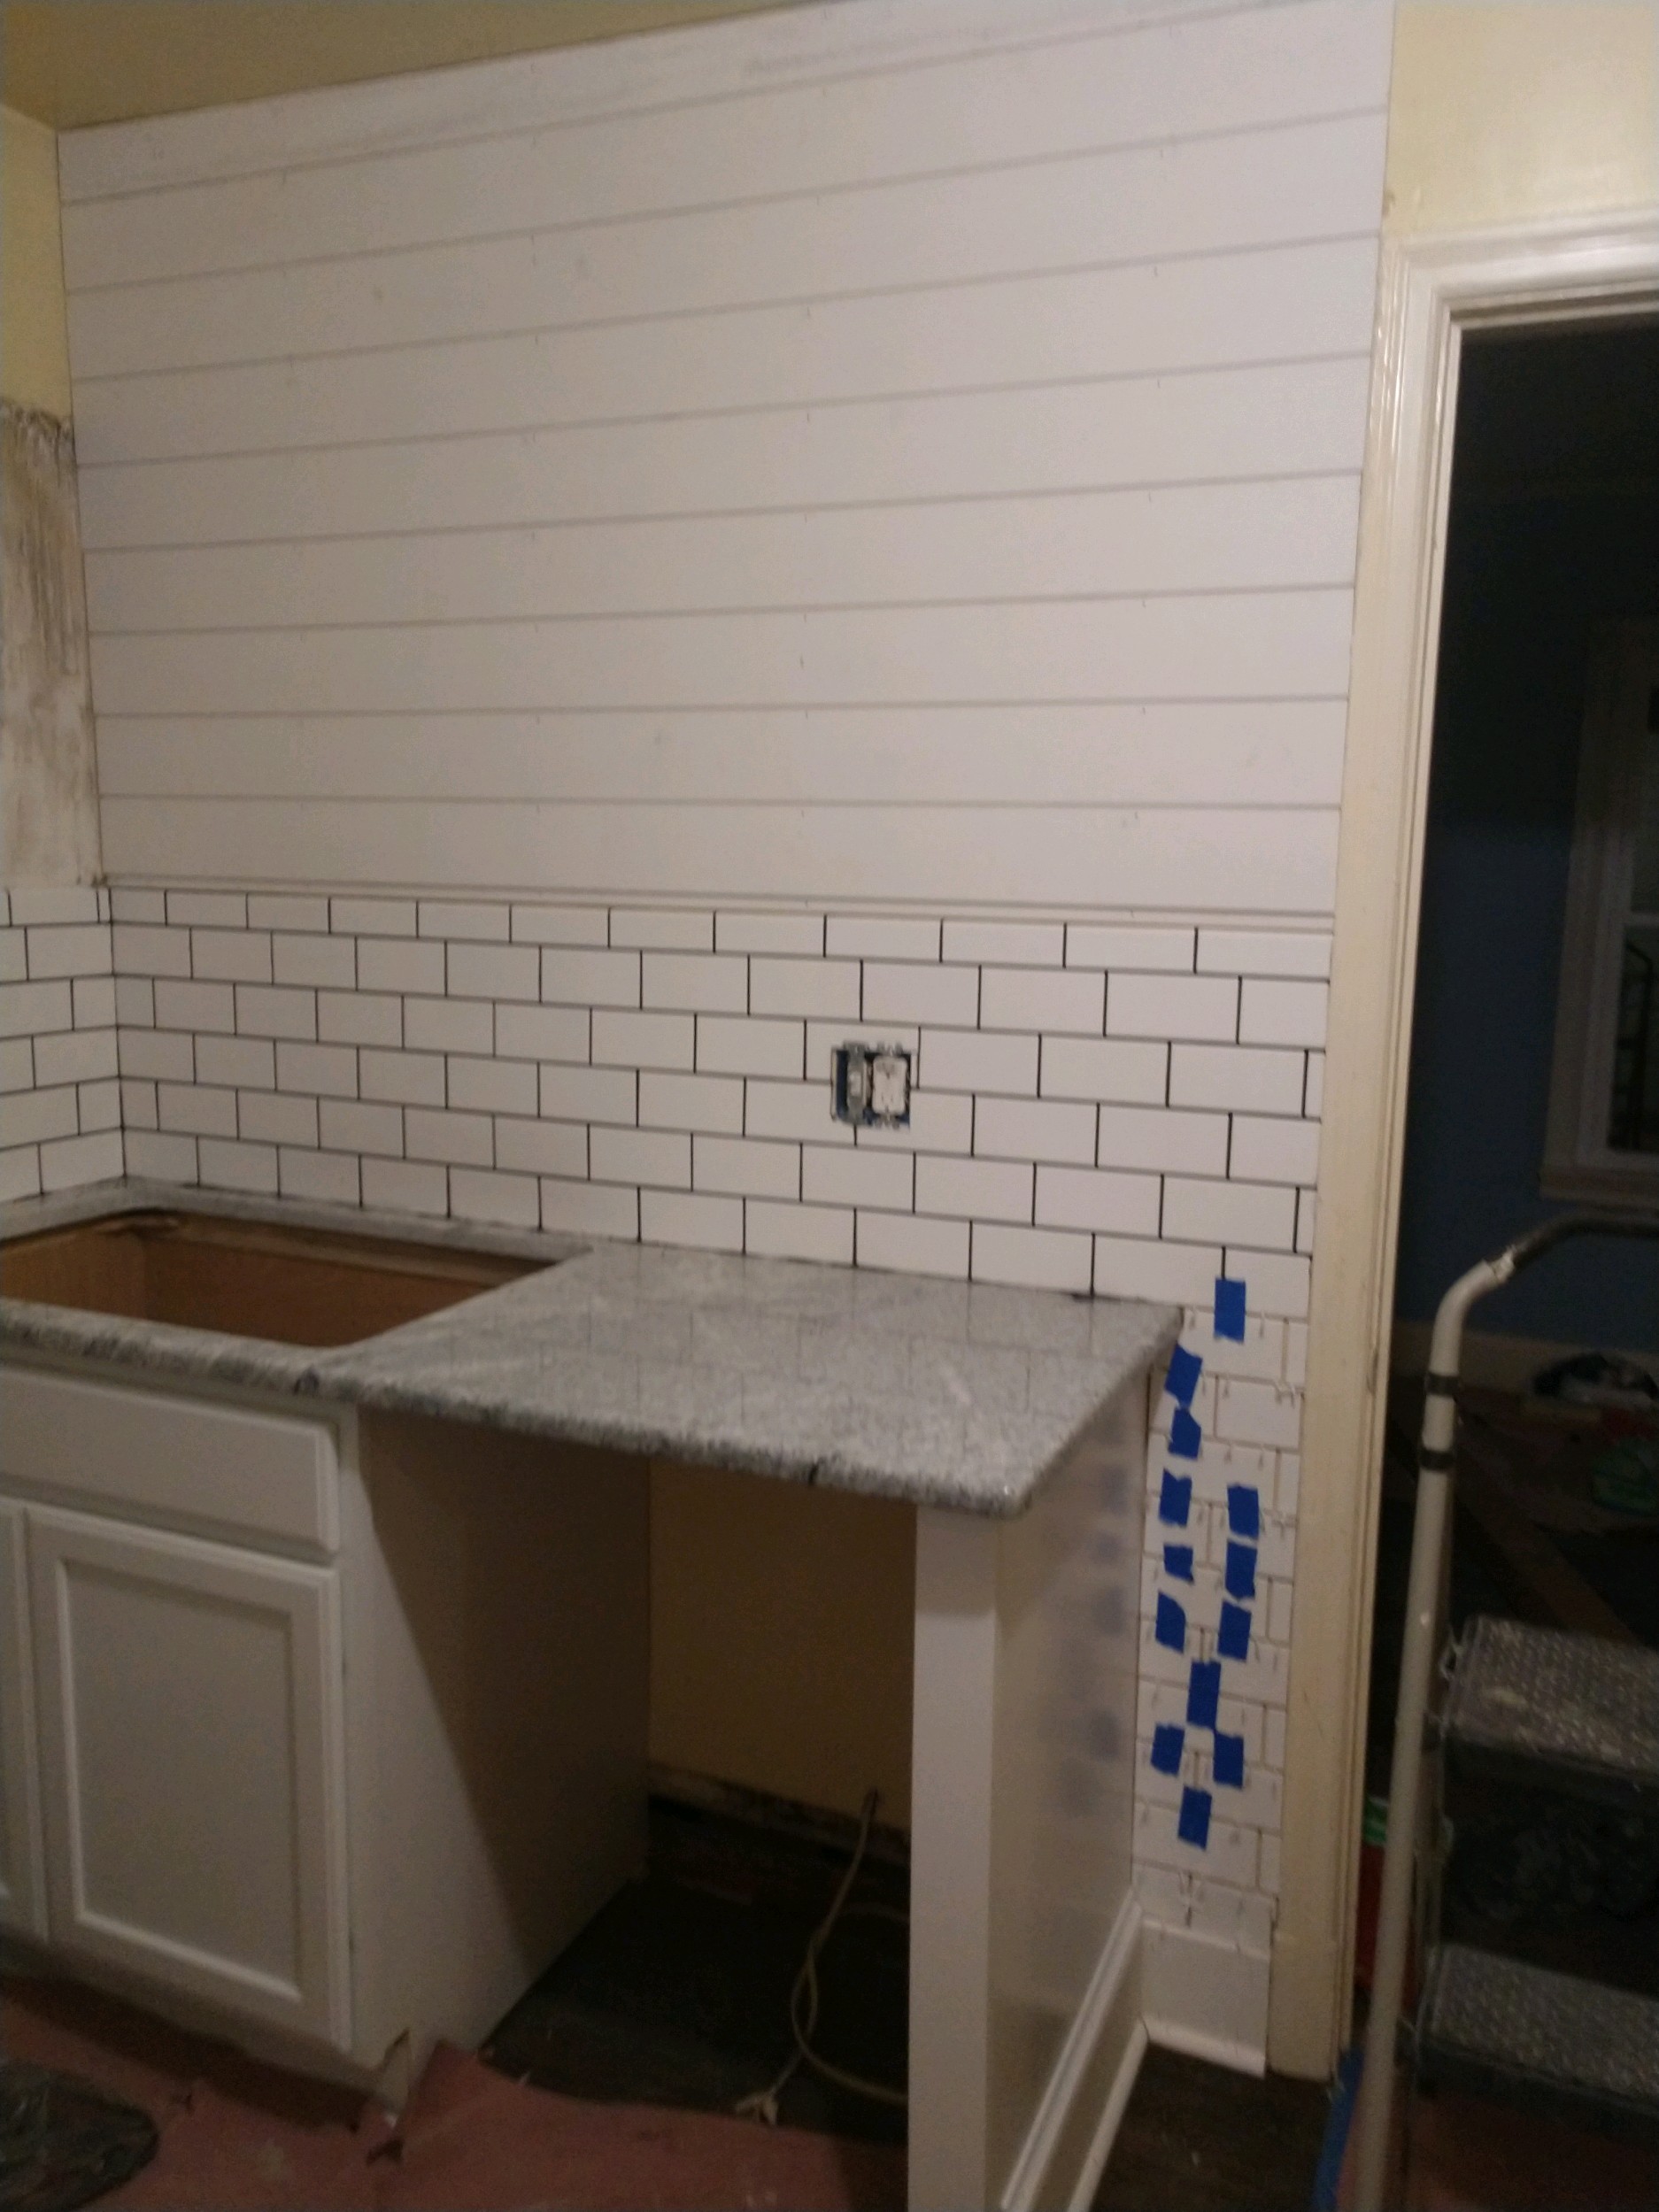
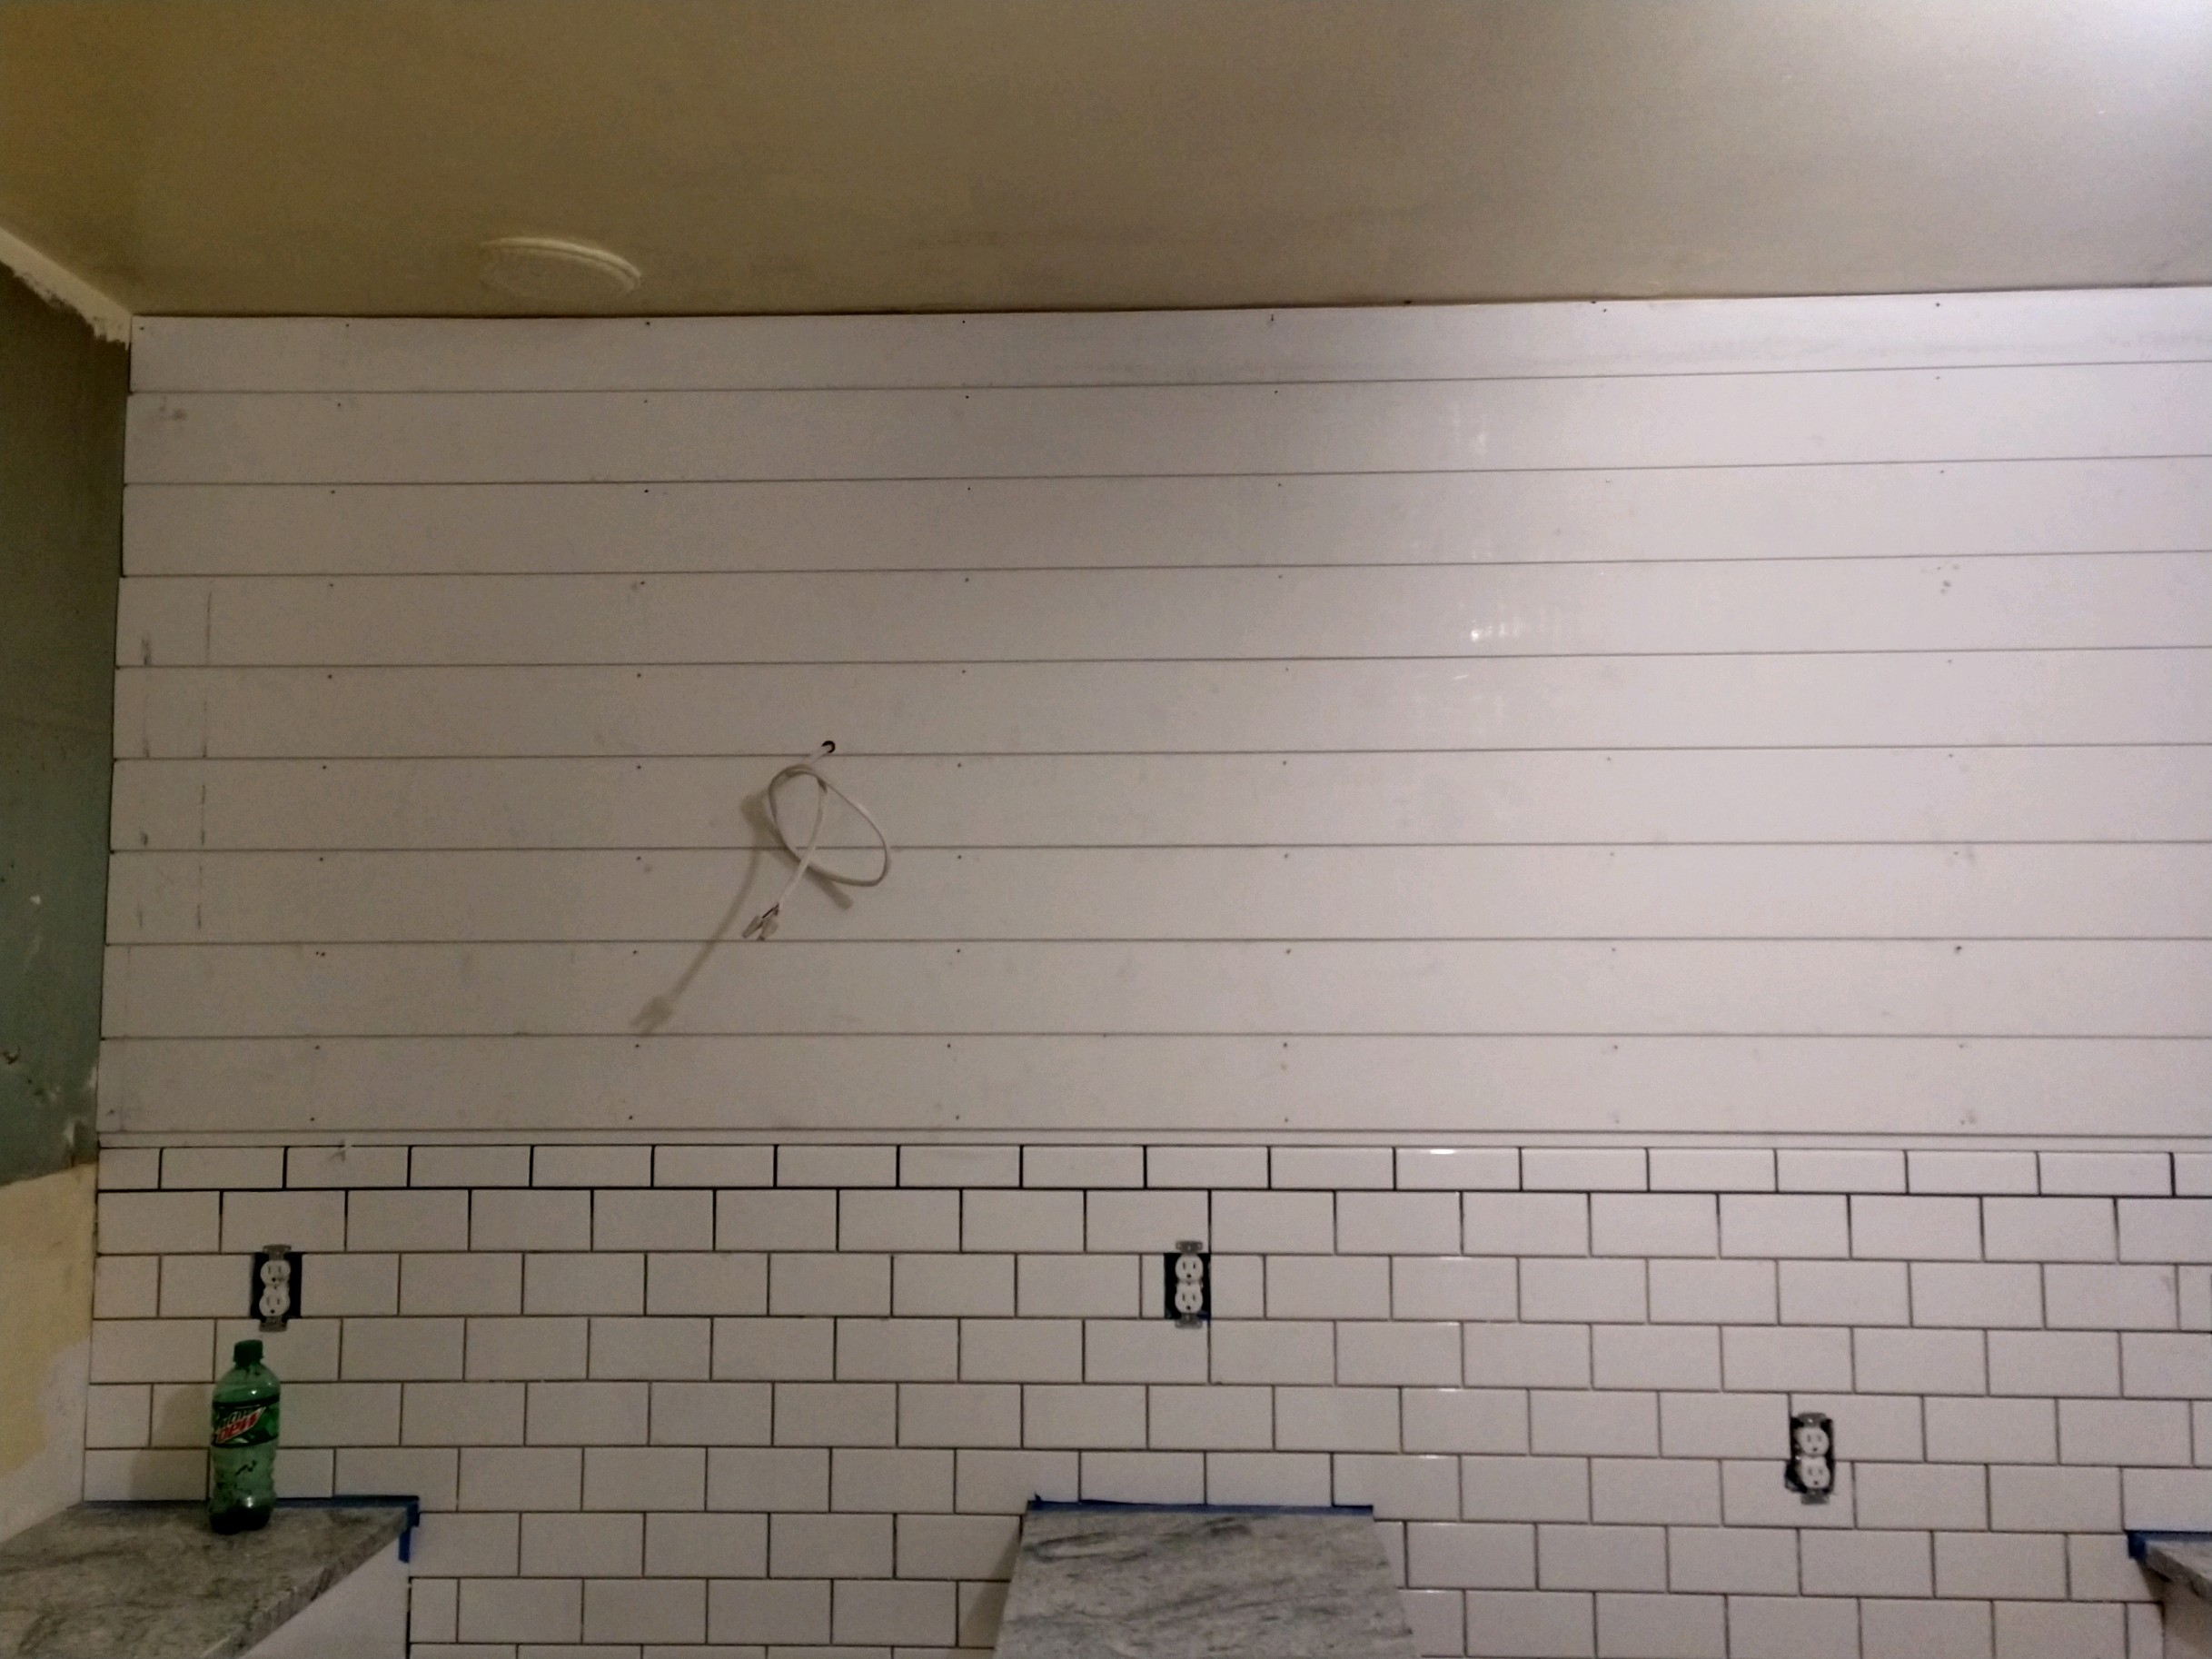
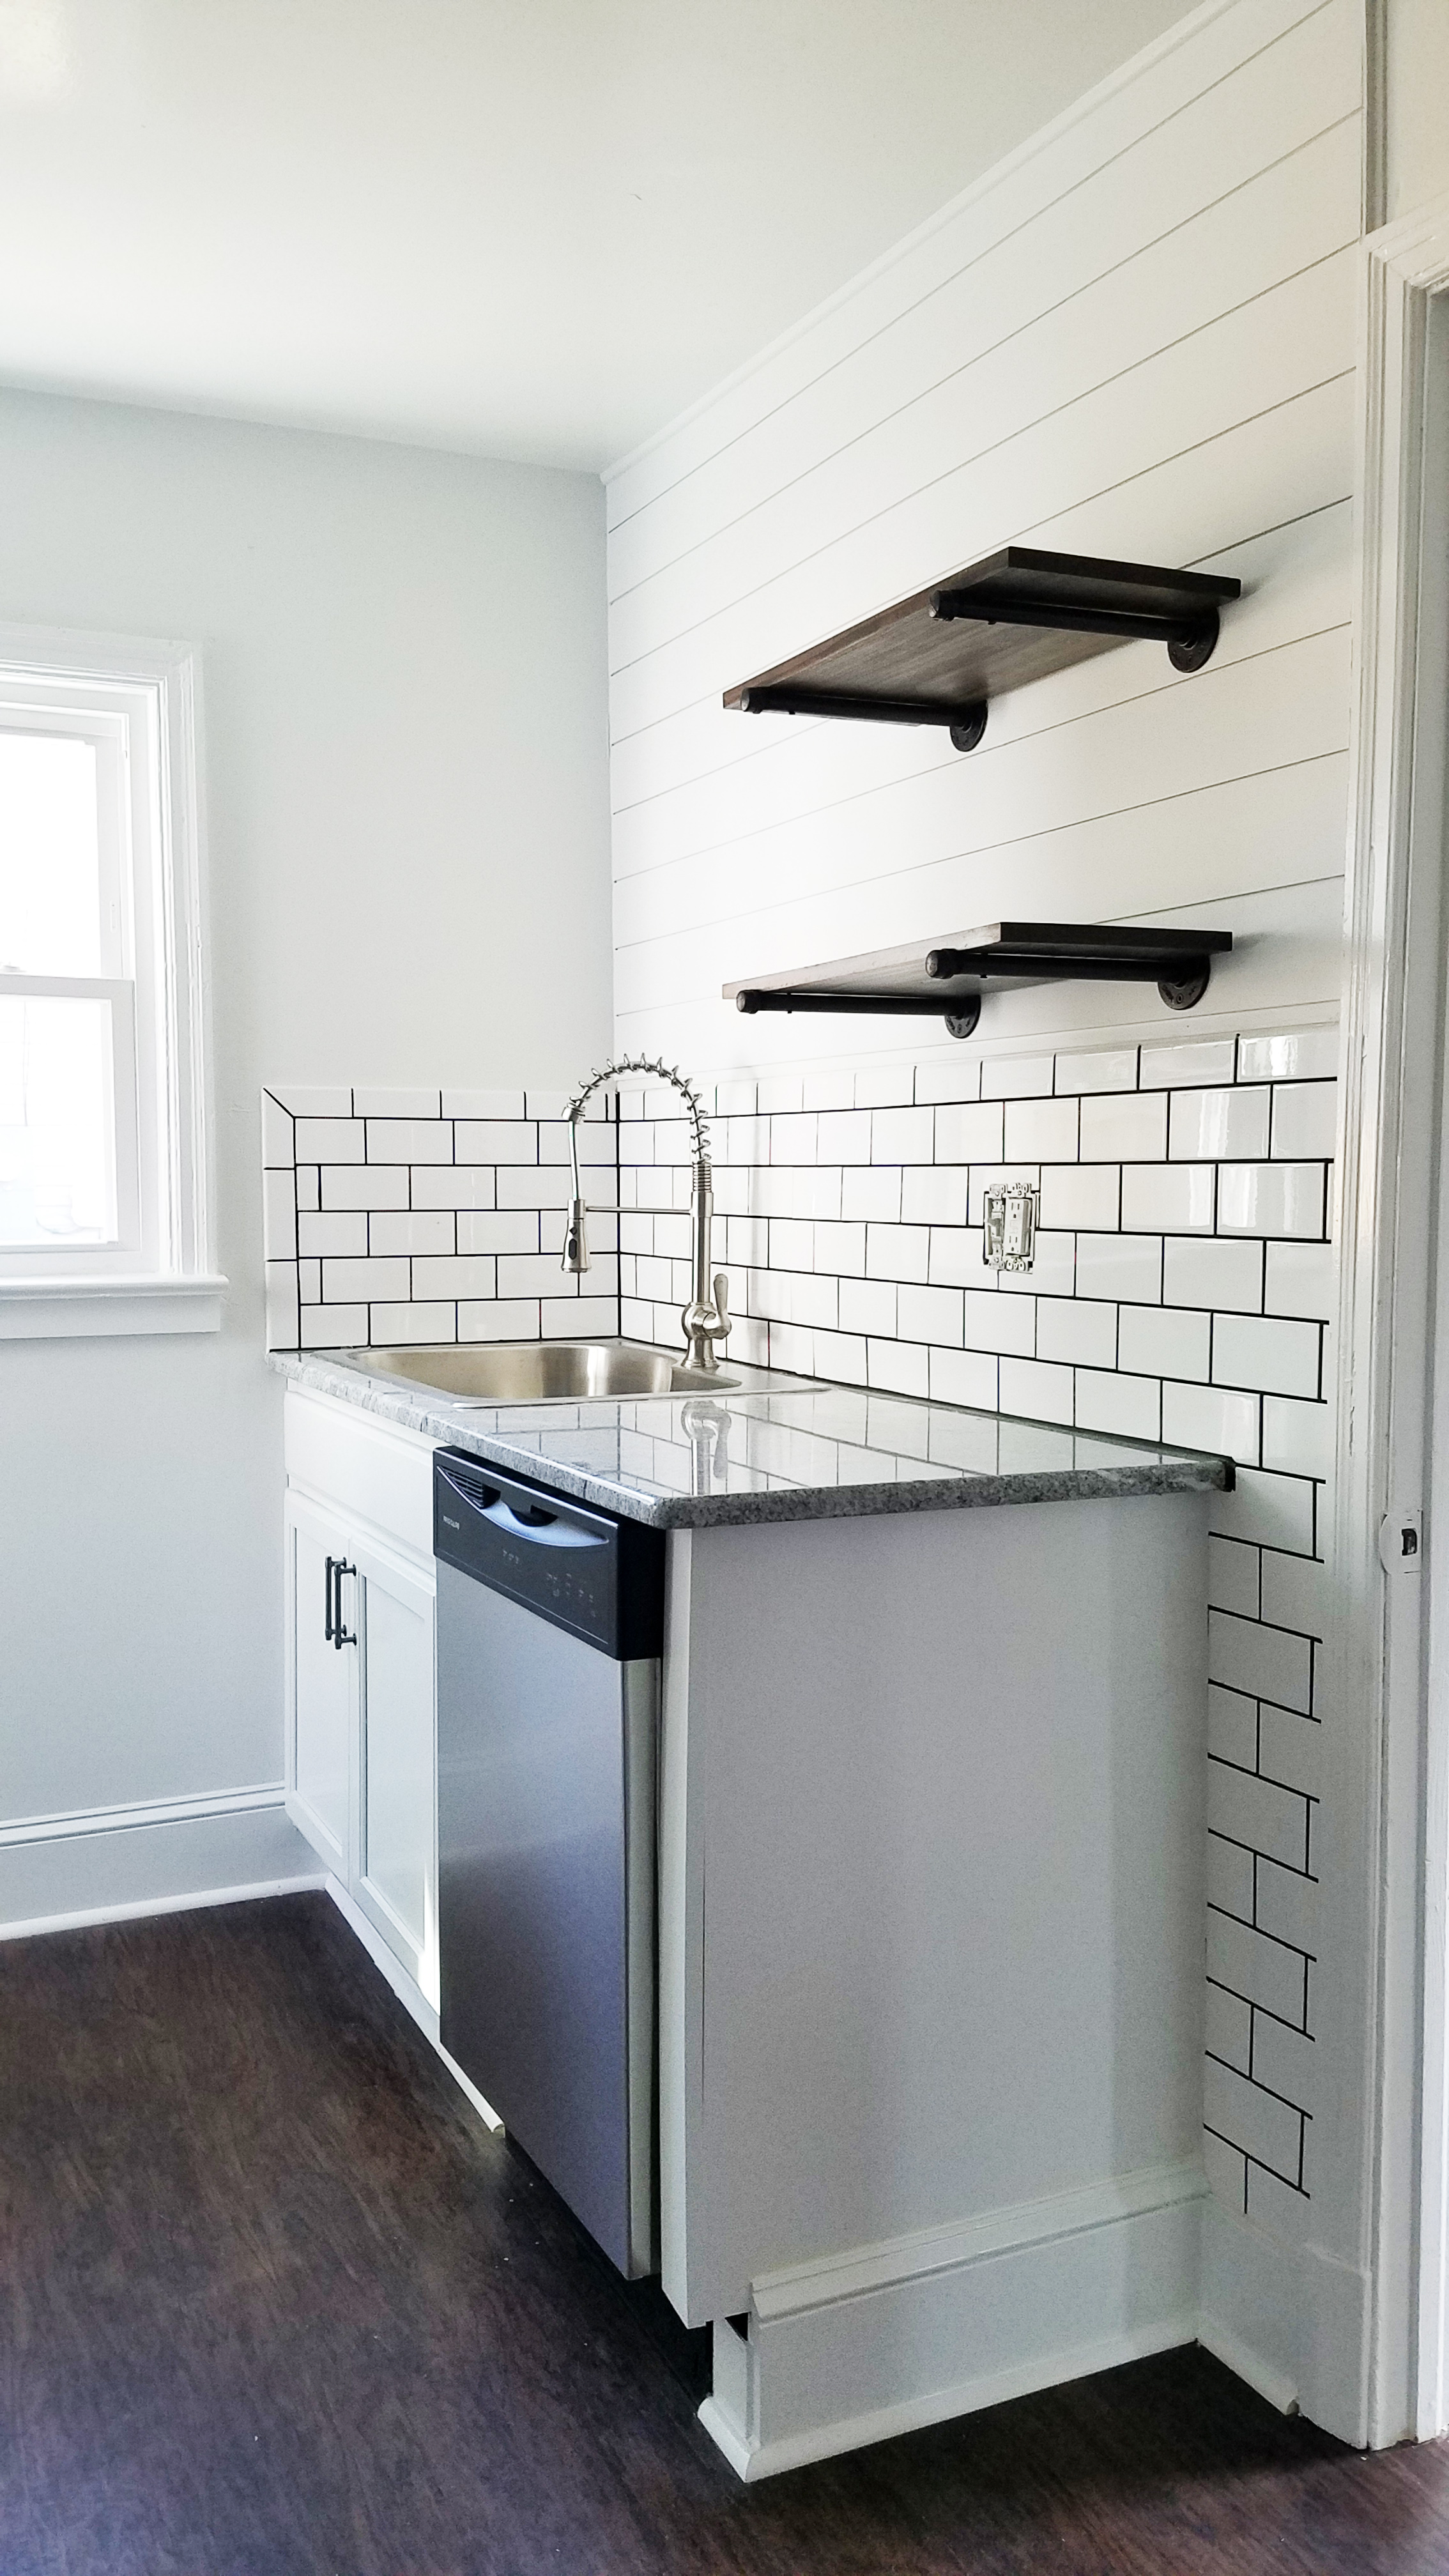
We debated doing a wall of subway tile as the backsplash, simply because we love the vintage look of that. However, we had already done so much tile in the bathroom, we felt that it might be time to add some visual and textural interest in the kitchen. Thus, we went with the shiplap and subway tile combination; we think that the end result was great. We chose Charcoal grout to really accentuate the subway tile and provide contrast to the shiplap. The shiplap was painted in Sherwin Williams Extra White and we used Primed Pine Nickel Gap Ship Lap Board from Home Depot. The subway tile we chose was also from Home Depot and it was by Daltile in Finesse Bright White.
The photo tour that follows does pretty much walk you through the process. If you have questions about anything specific, please ask!
The new flooring has gone in and the sink and base cabinet were removed. That exposed a giant hole in the wall!
Once the backer board was removed from the other wall, we had a wall with scattered holes throughout! Surprise lol :(
An ancient fuse box was present and had to be shut off and removed.
Walls repaired and cabinets arrived!
Granite counters for beauty, texture, and durability.
We ended up subway tiling to the floor simply because the finished product looks better and is more durable. This does cost more but the quality in the final product is worth the additional cost in our opinion.
To optimize space in a galley kitchen, we chose a counter depth refrigerator. Again, this typically does increase the cost of the appliance, but the end result is more floor space to work with and a more seamless presentation for the kitchen. In our opinion, money well spent.
The vent hood was a lovely addition to this kitchen. It brought it up a notch and also helped break up the shiplap wall behind it. Our electrician was pleased with the ease of install and it had a self venting option, meaning you did not have to vent it to the attic and out of the house. That is a win for time and money.
We chose the 30 in. Convertible Wall Mount Range Hood in Stainless Steel with Aluminum Mesh Filters LED lights, Push Button Control and the self venting filters: Range Hood Carbon/Charcoal Filters for Ductless/Ventless Recirculating Installation and Replacement
Another way we improved the functionality of the space is that we added overhang to the countertop granite. Giving the counter an extra 1.5” inch of space off the cabinet, gives just a bit more counter space in an already tight galley kitchen. Even better, it did not cost anything extra since you already buy the granite for the square footage of the project. It is a marginal change and doesn’t increase the cost.
This kitchen is small, and that allowed us additional savings on the granite. We were able to choose a remnant piece of stone since we did not have a great deal of counter space. This saved us on the cost per square foot. Finally, we also paid in cash, which gave us an additional discount. All we did was ask if they could discount it further for cash, and they were able to because it saved them the credit card processing fees. In a renovation, any little savings helps!
Speaking of savings, let’s talk hardware. We have found Amazon to be an excellent source for cabinet hardware. They offer great savings, even compared to Lowes or Home Depot. We chose Heirloom Silver Francisco Kitchen by Franklin Brass for hardware because we’d used it at the Pearl House and we loved the result.
You can find that here:
Like those open shelves? We did too. Another space saving idea in a galley kitchen is open shelving. When you block in every available surface with cabinets, the end result is very tight. Choosing open shelving does cause some level of sacrifice with space, but it is usually worth pairing down what we actually do use and need in a kitchen to have the space feel better. While you can fashion your own pipe brackets and have pieces cut at the store to save you some money over a premade it, the savings were very small and the additional time invested simply was not worth it. We recommend the kit as time is money! They even have different length pipe available.
You can find the shelf brackets here:
We used poplar wood to create the shelves and the brackets were another find on Amazon. They did not arrive with a protective coating and our contractor insisted we coat them to protect them from rust, as they were so close to the sink. We had liked the finish they arrived in, but we agreed long term wear was more important. He won that battle!
Another great area that Amazon can help is with fixture purchases. The faucet and sink were both Amazon purchases. It is a little risky to buy something without personally seeing it, but sometimes the payoff is worth it. The first faucet we bought, however, did not work and had to be returned. That was not a fun delay and our plumber was less than thrilled after installing a dud. The next one ended up being even better and the sink was amazing!
You can find the faucet here:
You can also find the sink here:
We chose simple lighting for the kitchen as there was a lot going on in a small space. This caged flush mount was a great little piece and is available at Lowes. You can find it here: allen + roth 8.4-in W Antique Nickel Metal Semi-Flush Mount Light
All in all, we think the kitchen turned out great! We love the functionality of it and the fact that we were able to optimize the space for a galley kitchen. We’d love to hear your thoughts. What did we get right? What should we have done instead?
Thanks for looking! More renovations to come!
Casey
GLENVILLE RENOVATIONS - LIVING ROOM AND LAUNDRY
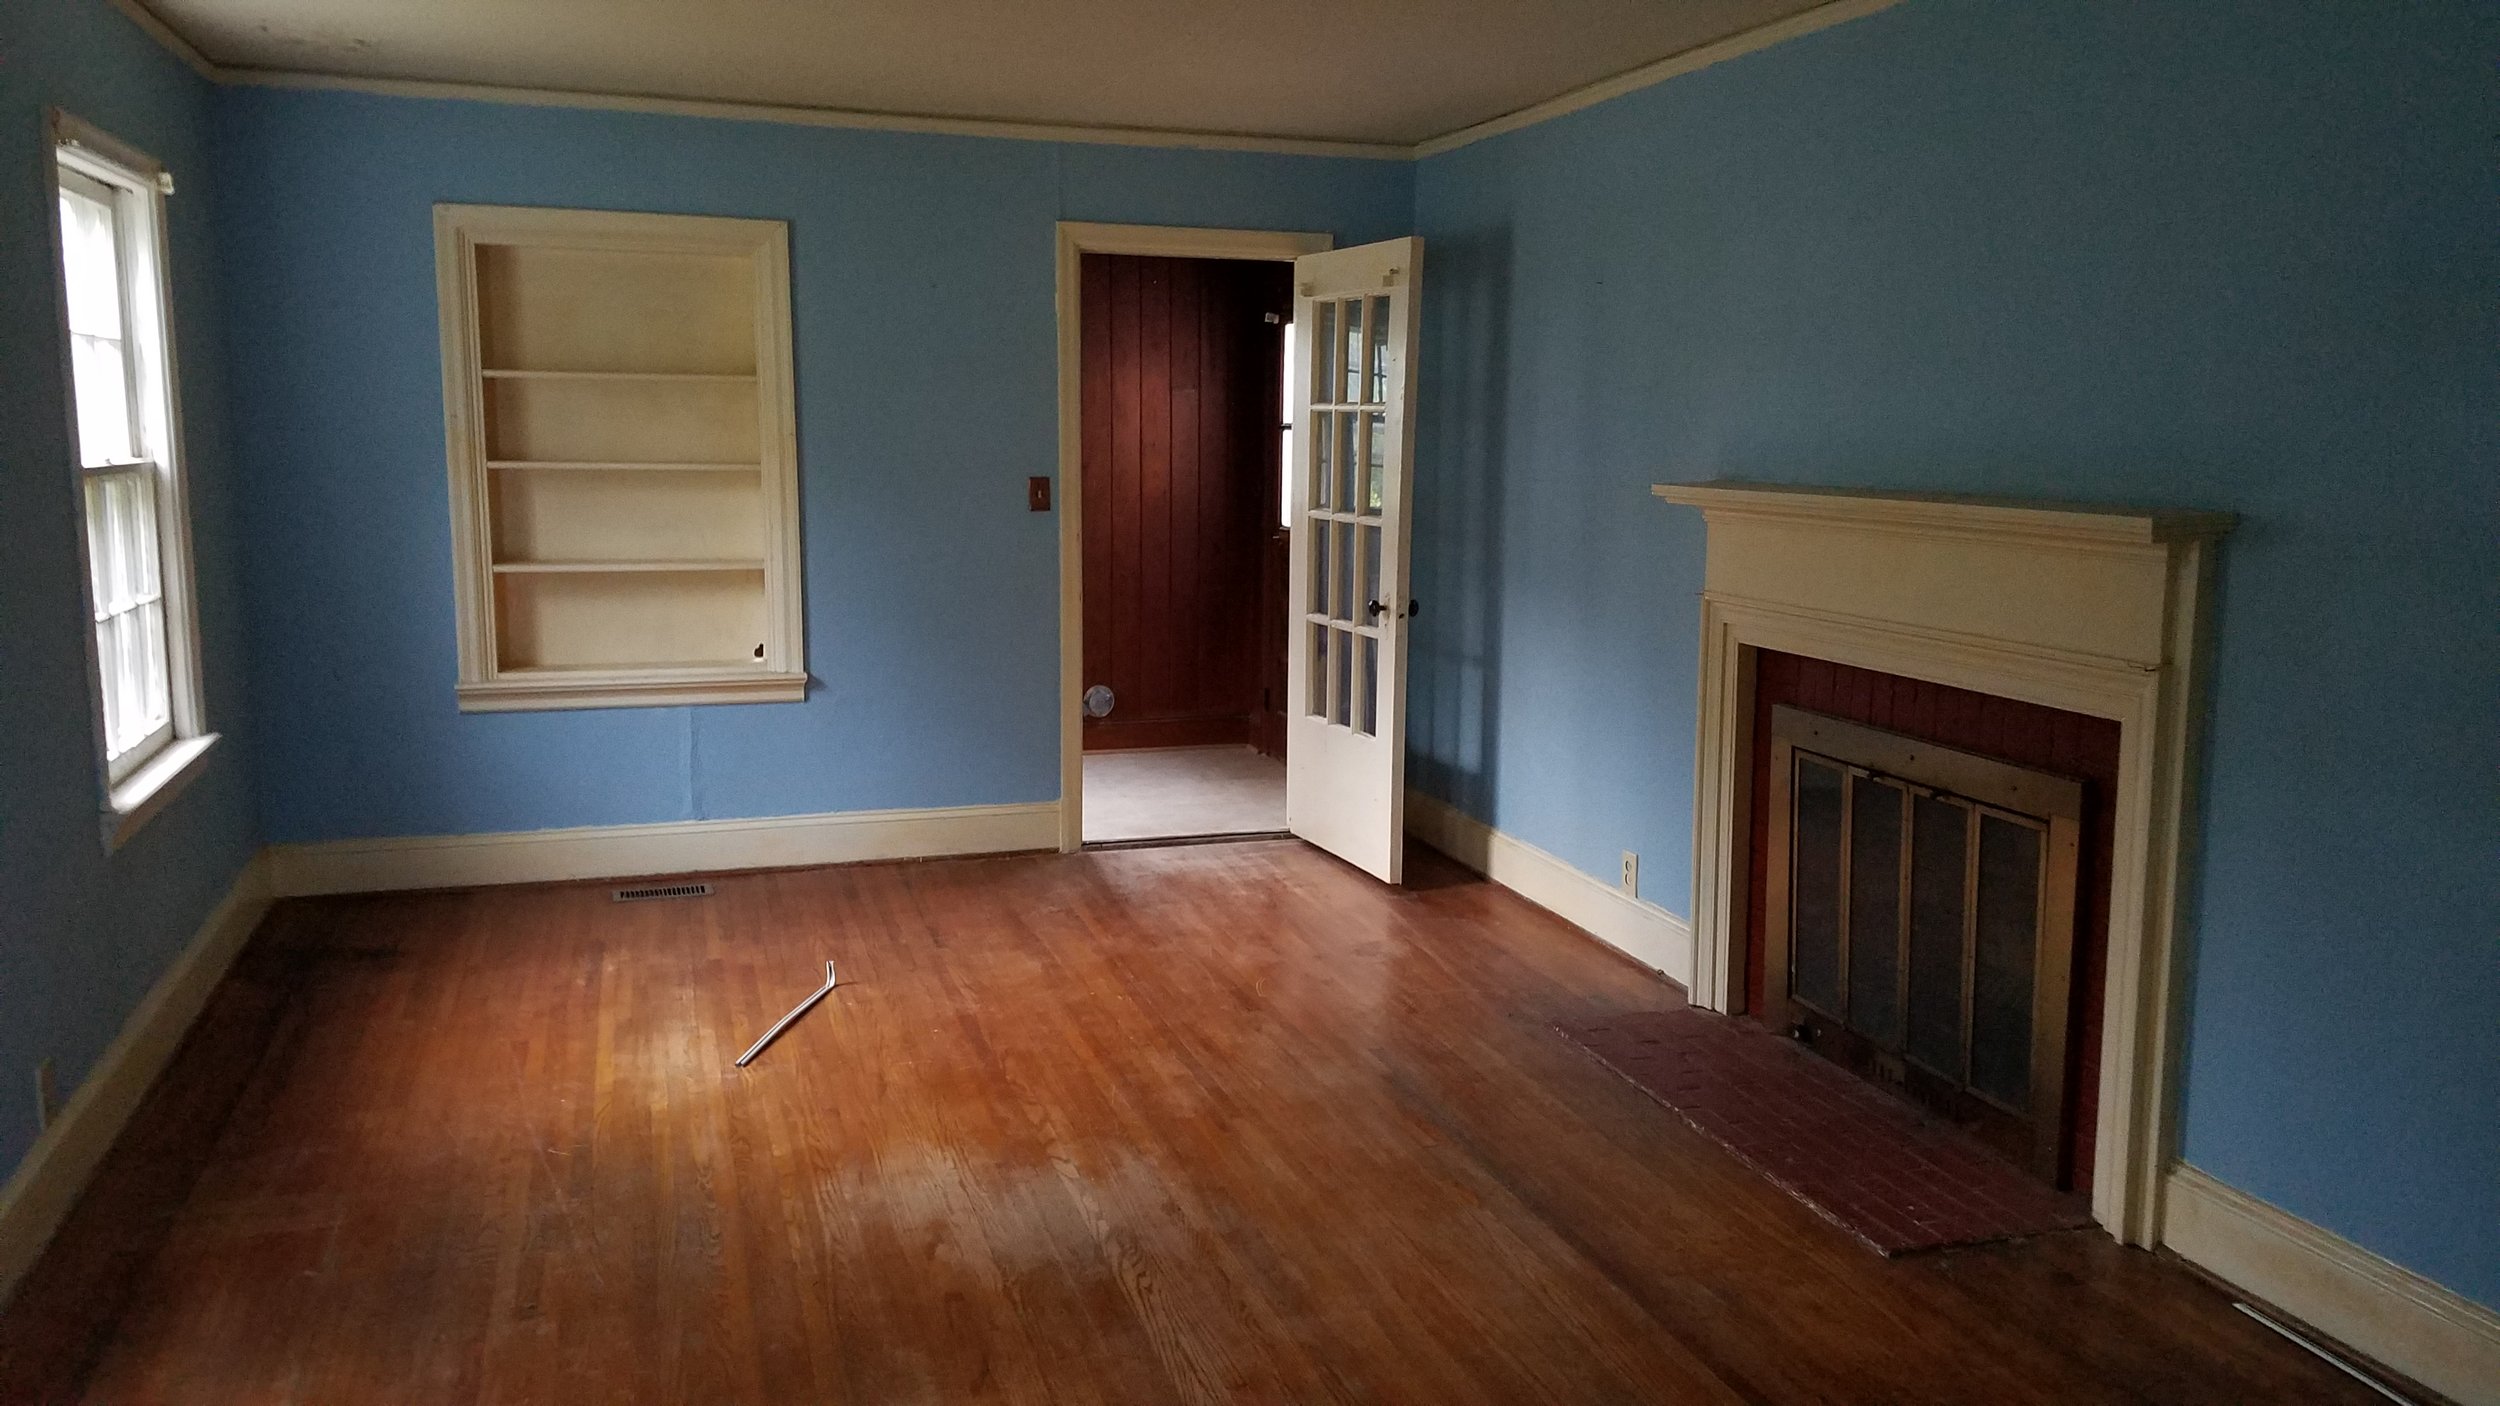
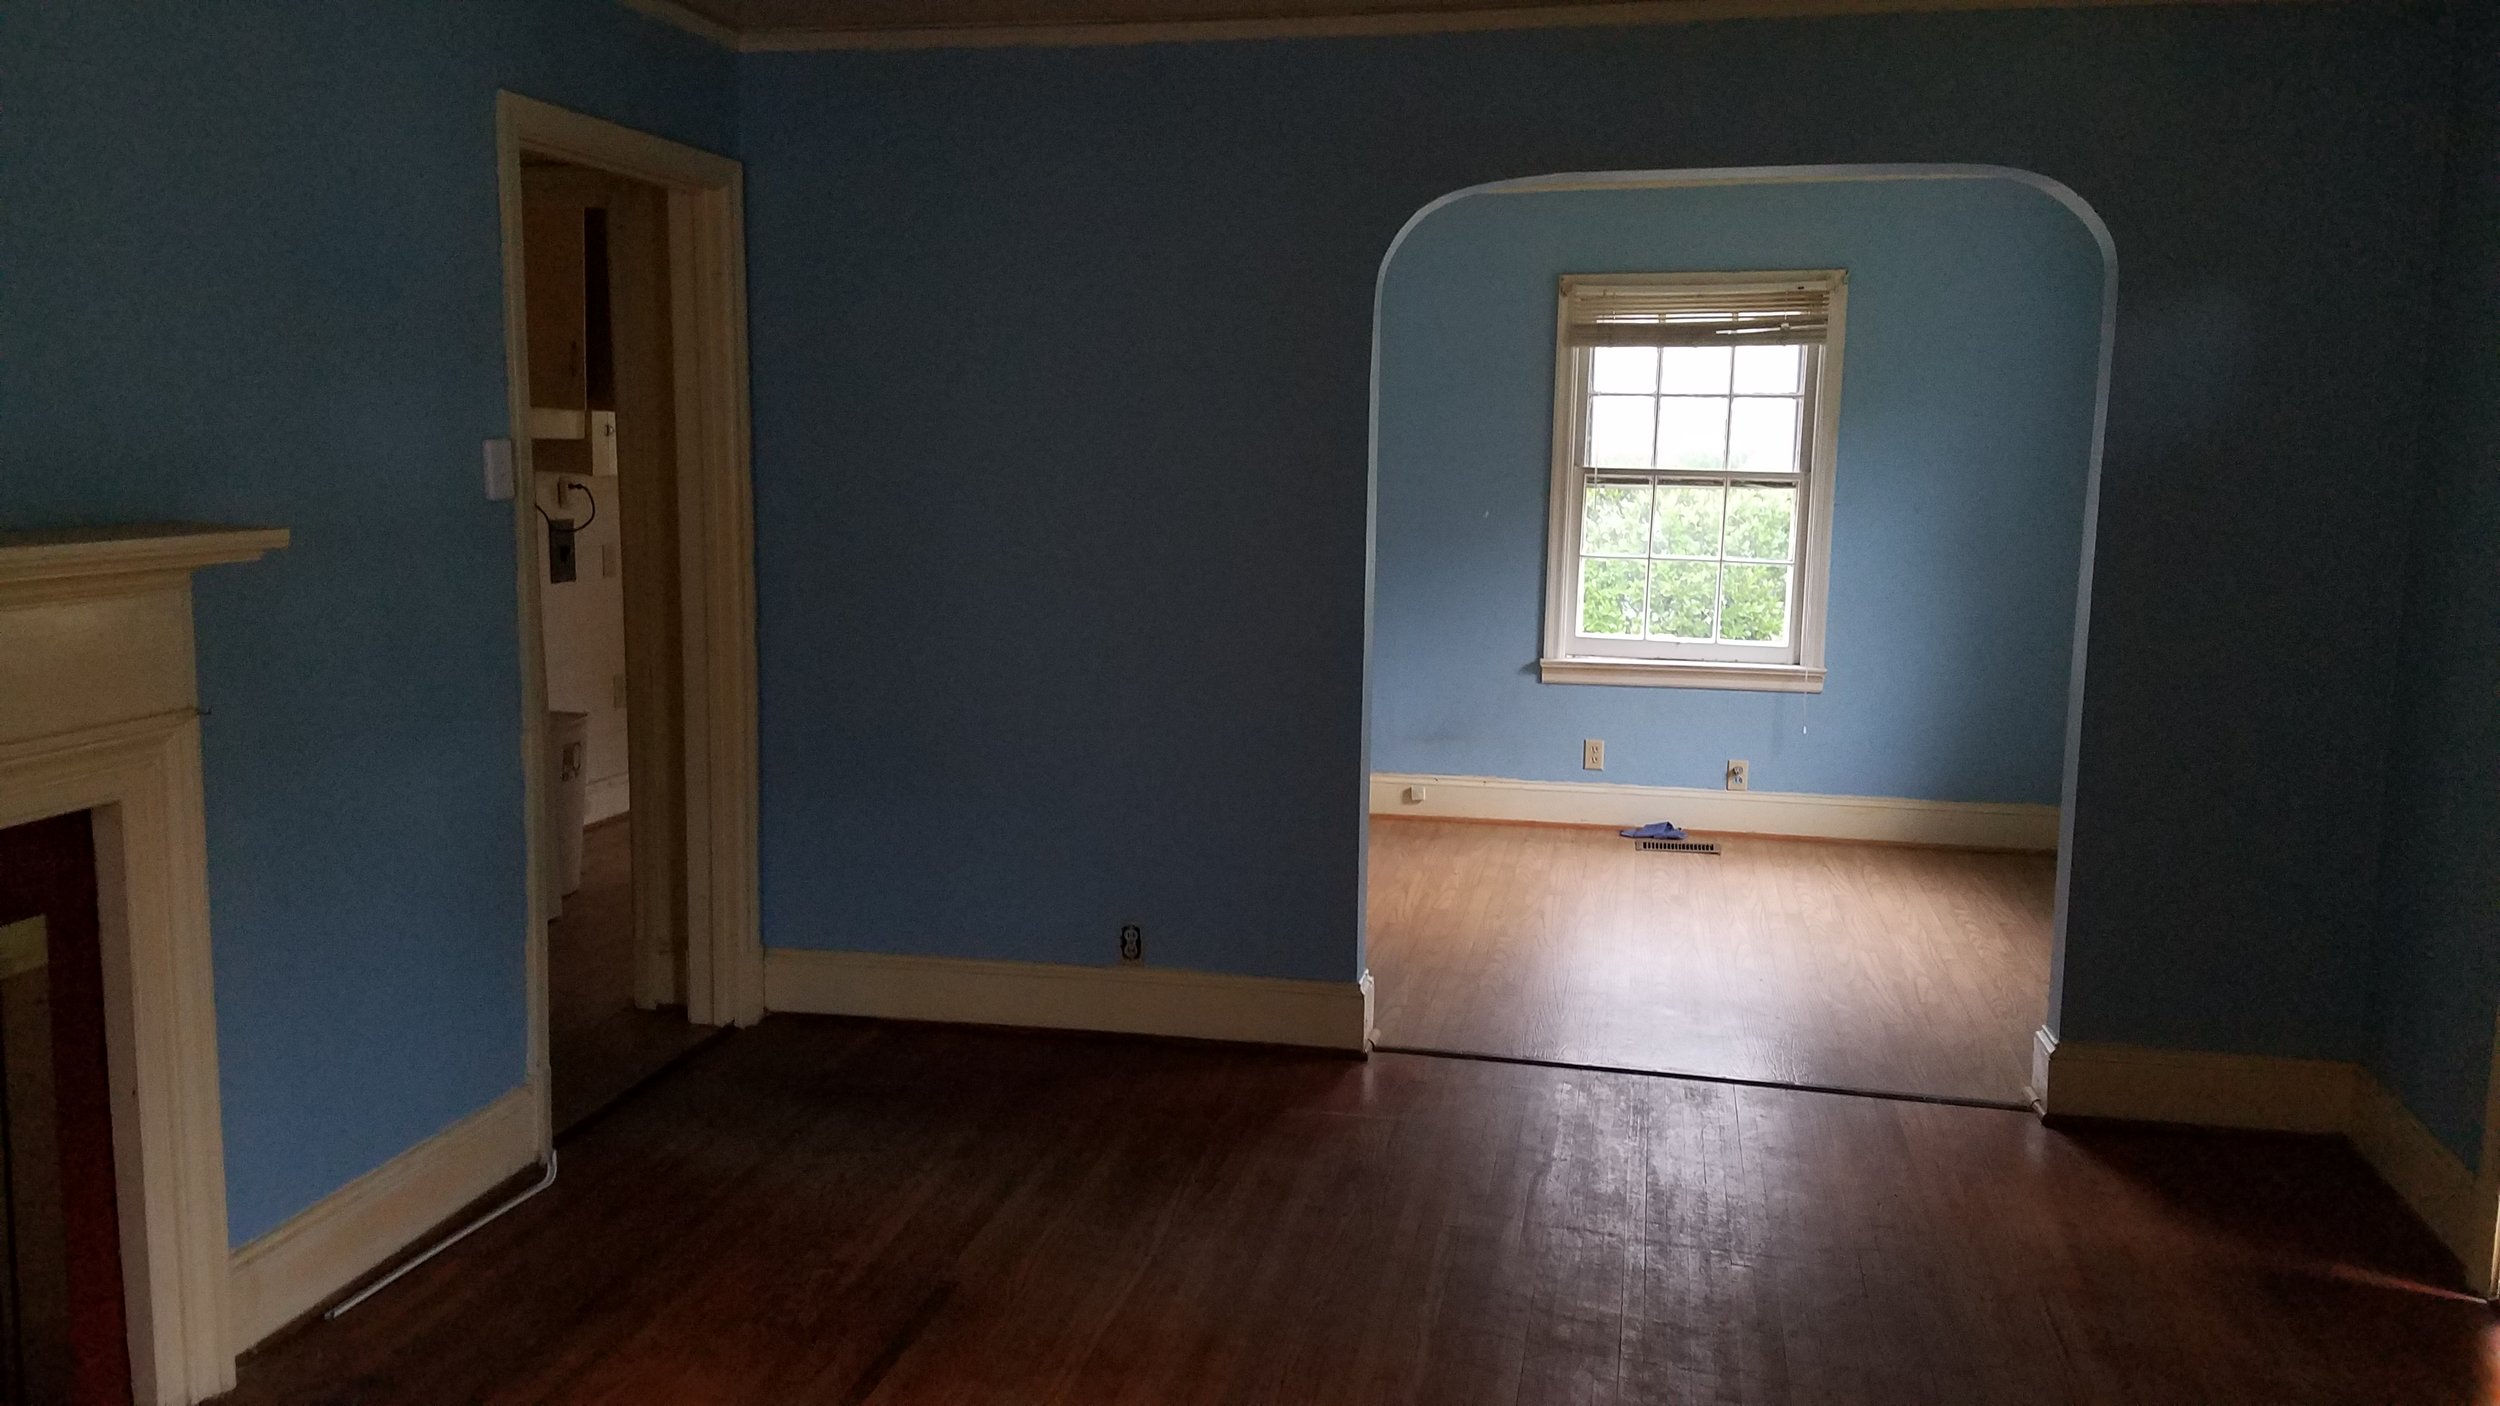
Before and after photos of the living room and laundry room
So with the approaching hurricane, I am looking for a distraction. I figured I would start highlighting some of the renovation before and after photos from our Glenville Ave Project. I never did complete that with Hull Rd (our last project), and I had regretted it. I did not want to make that mistake again!
We had a lot to work on with Glenville. The house was built in 1941 and had gone through minimal updates. We began with the living room and laundry. There was a lot to do including:
Trim and Wall Repair
Floor Refinshing
Bookcase repair
Door Fixing
Removal of debris
Fireplace insert removal
Relocation of the Water Heater (it was in the kitchen - we moved it to open up space in the kitchen for cabinets; this is typical of the 1940’s homes)
Replaced all windows
Replaced sheet vinyl flooring in the laundry room with luxury vinyl tile
Ceiling repair and paint
Paint, paint, and paint!
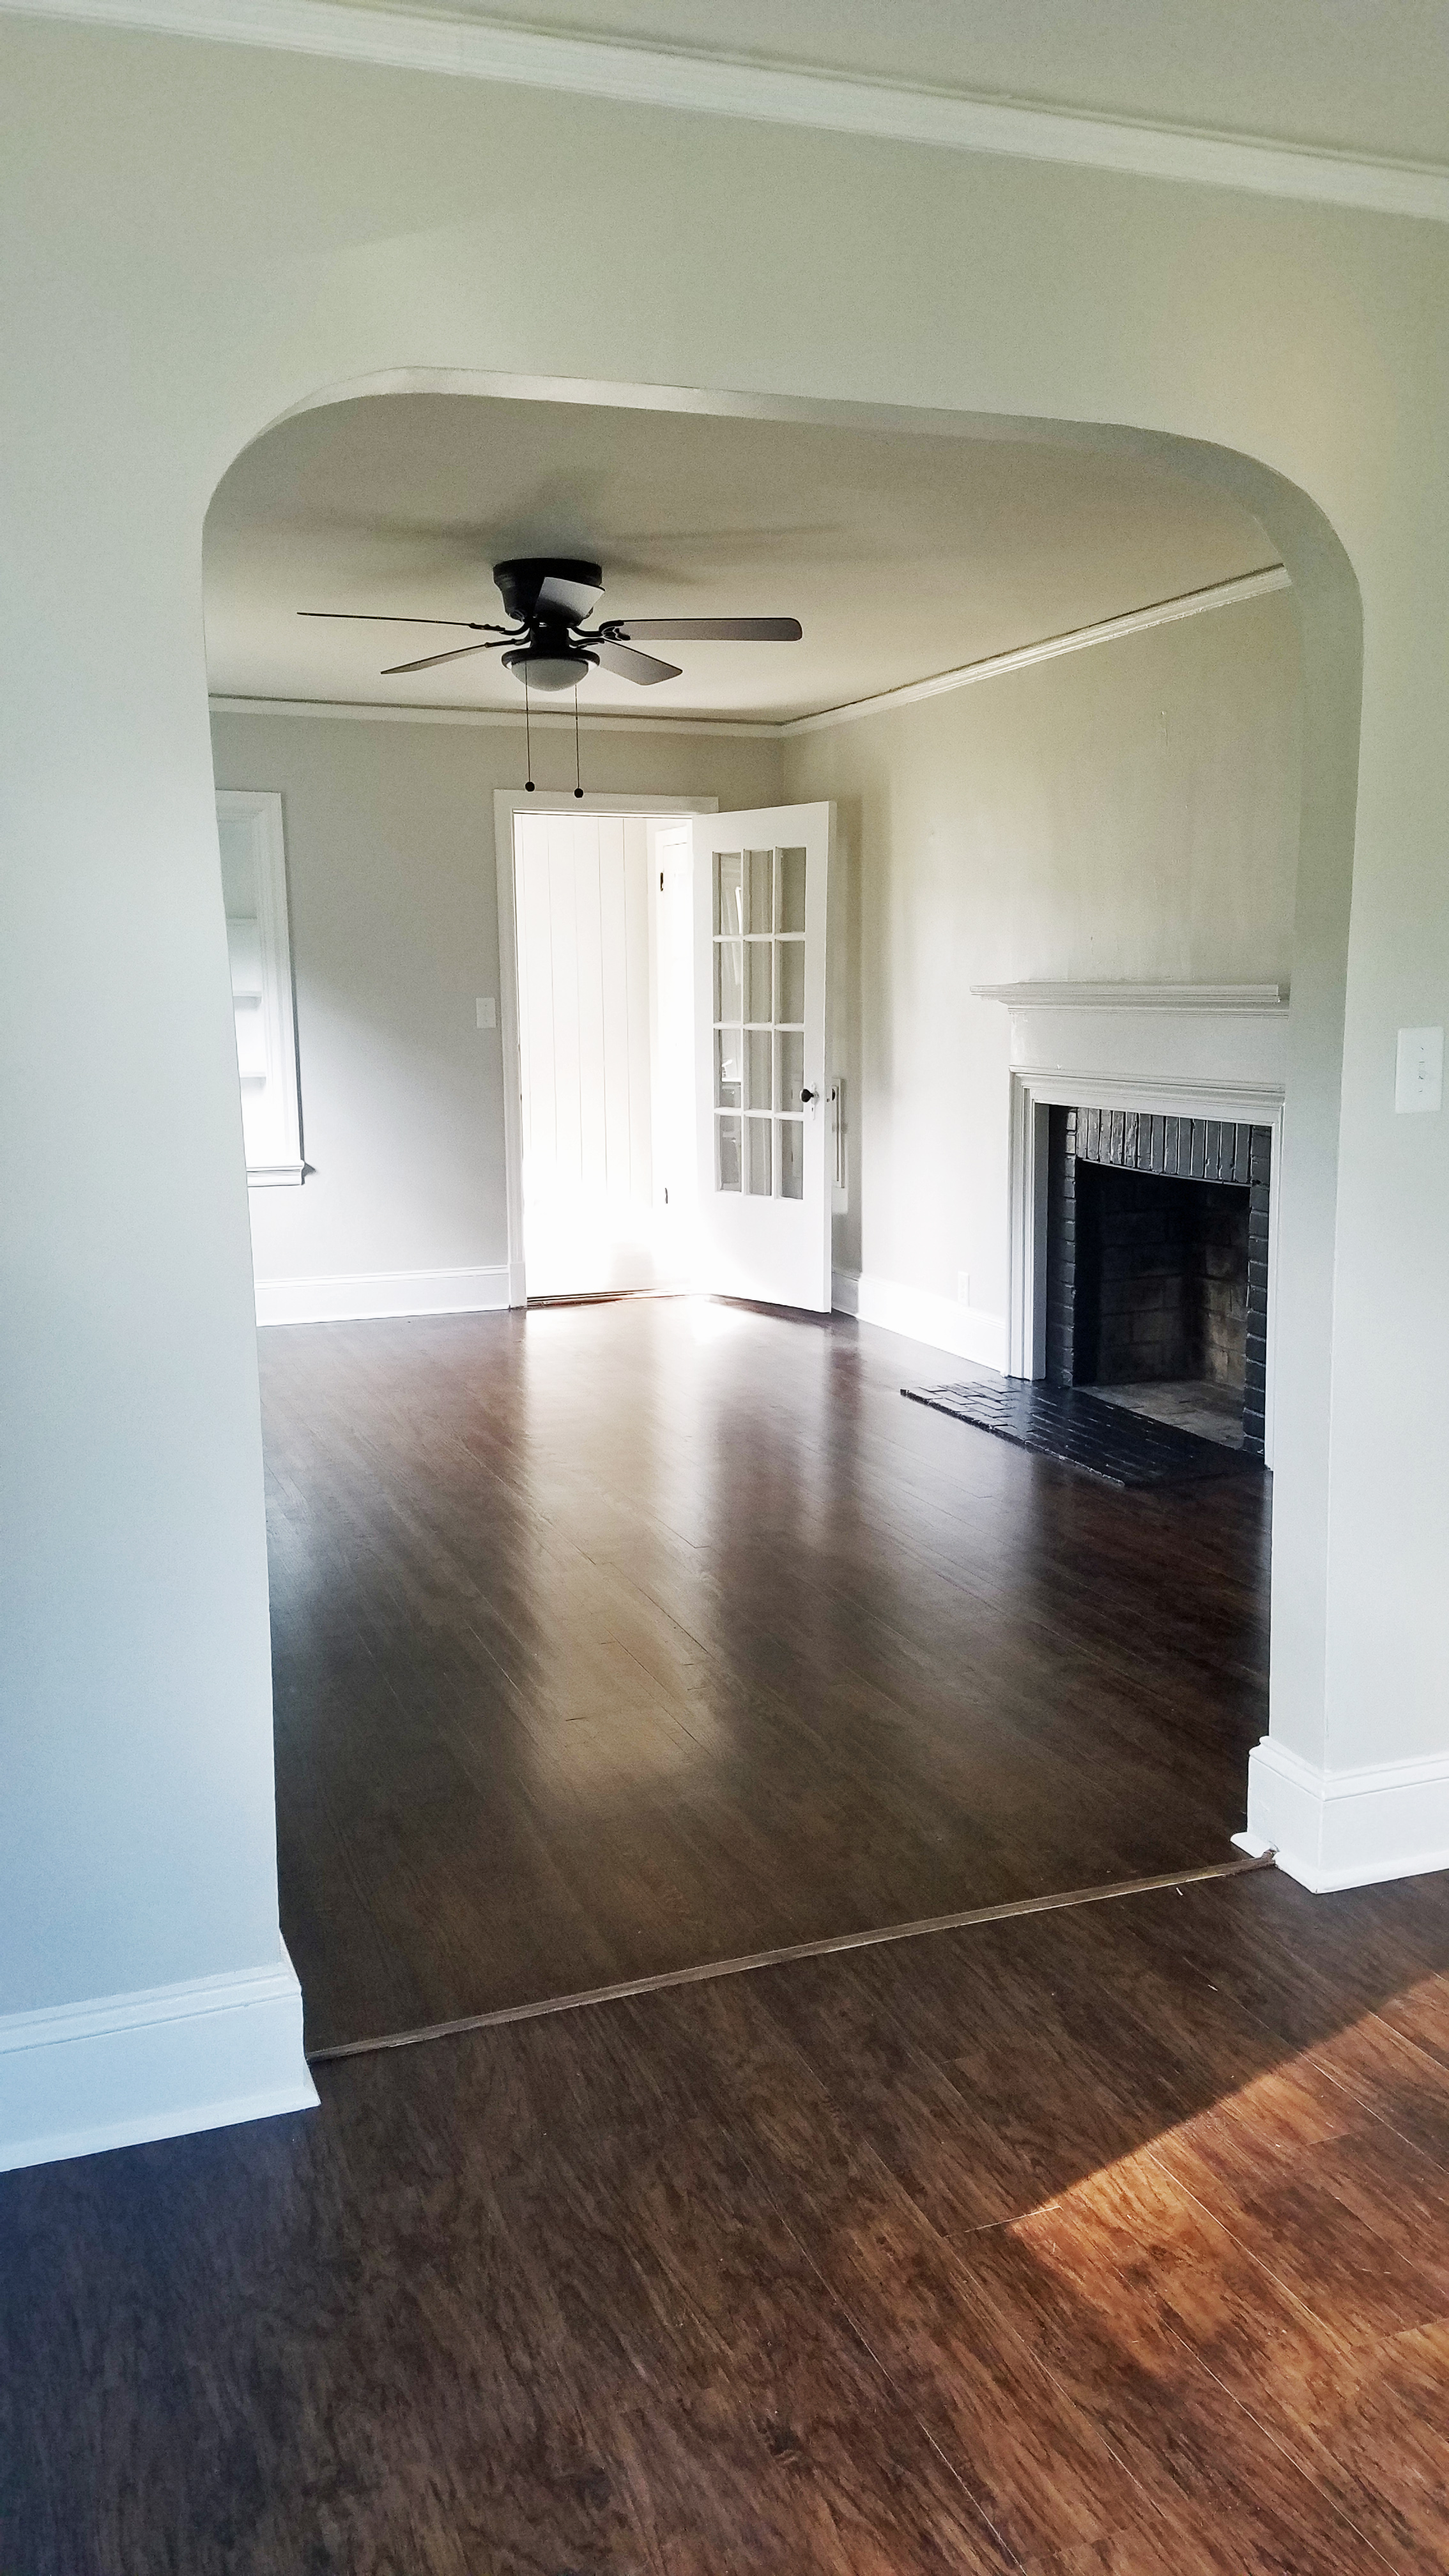
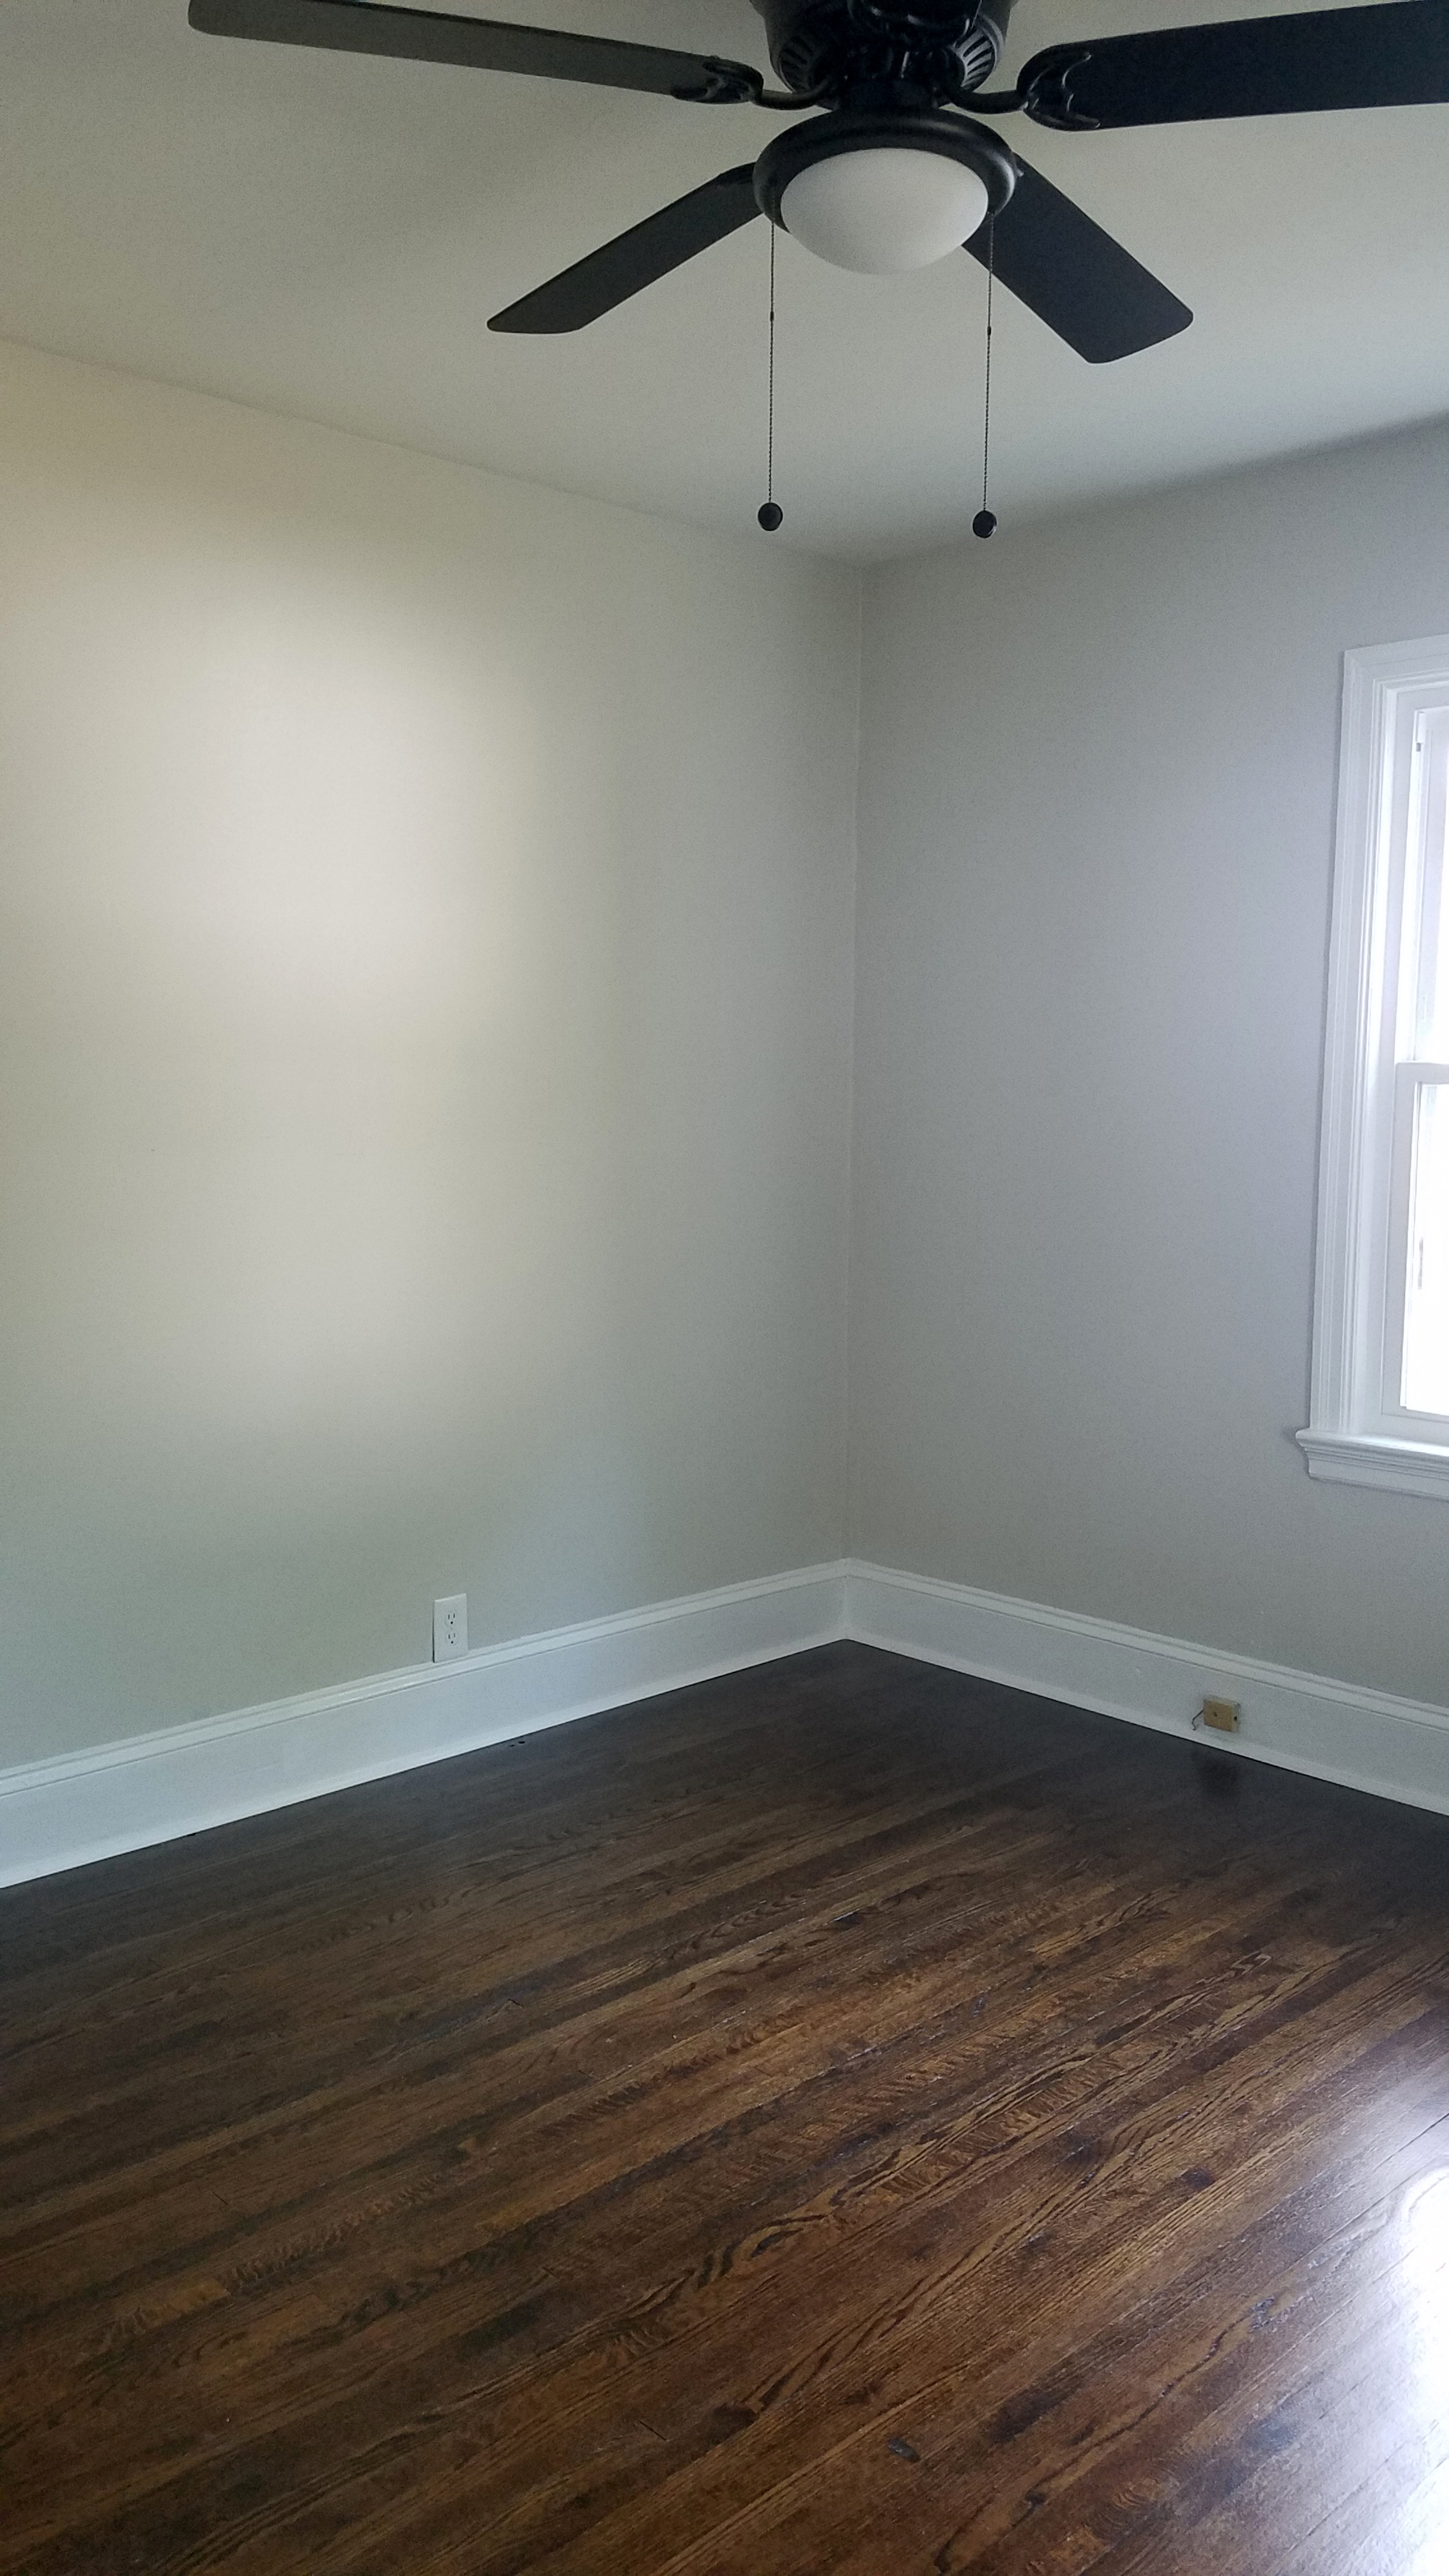
The final product was clean and simple. We used Sherwin Williams Agreeable Gray in eggshell which is one of my favorite greiges/grays . it has enough warmth in it to be cozy, but not so much that it turns something beige. The trim is nearly Sherwin Williams Extra White in a semi-gloss. The laundry room flooring is by Shaw Matrix in Franklin Hickory.
I will talk about the floor staining in another post, so for now, enjoy the befores and afters!
I hope you enjoyed the before and afters of the living room! Stay tuned for the rest of the series! Stay safe during the hurricane please!
Casey
INTRODUCING GLENVILLE AVE - OUR NEWEST HAYMOUNT HOME
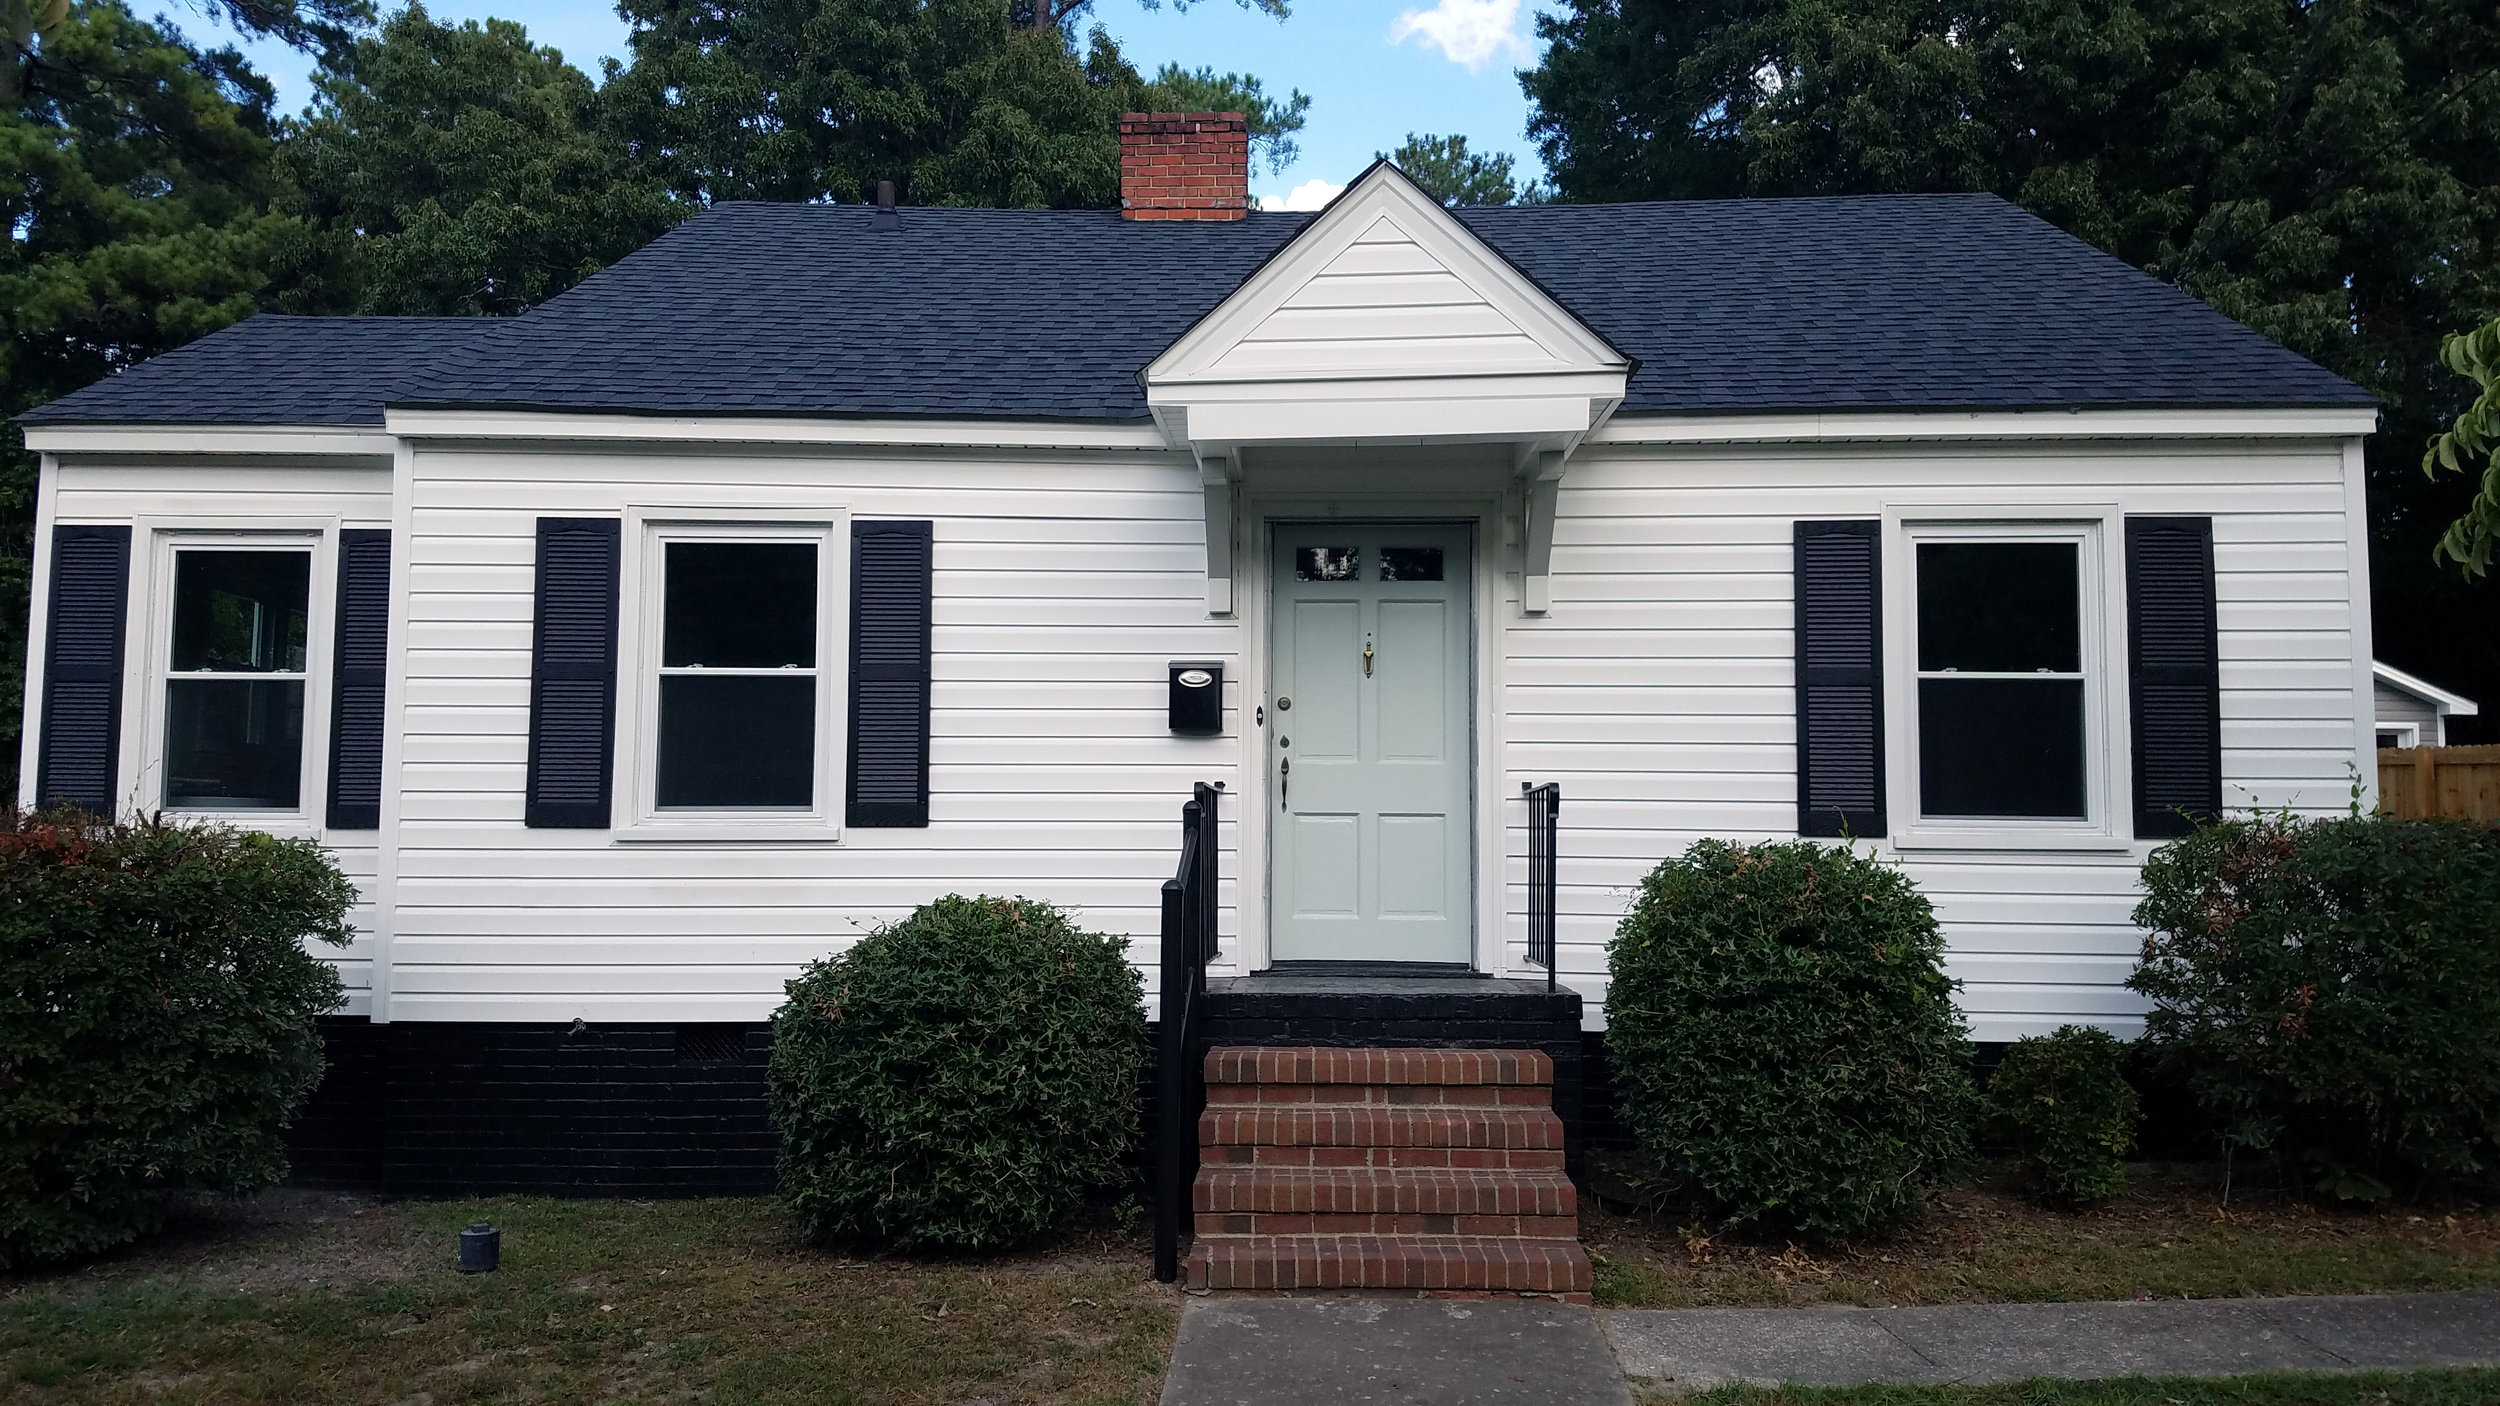
Welcome to the home tour of our newest Haymount Home!
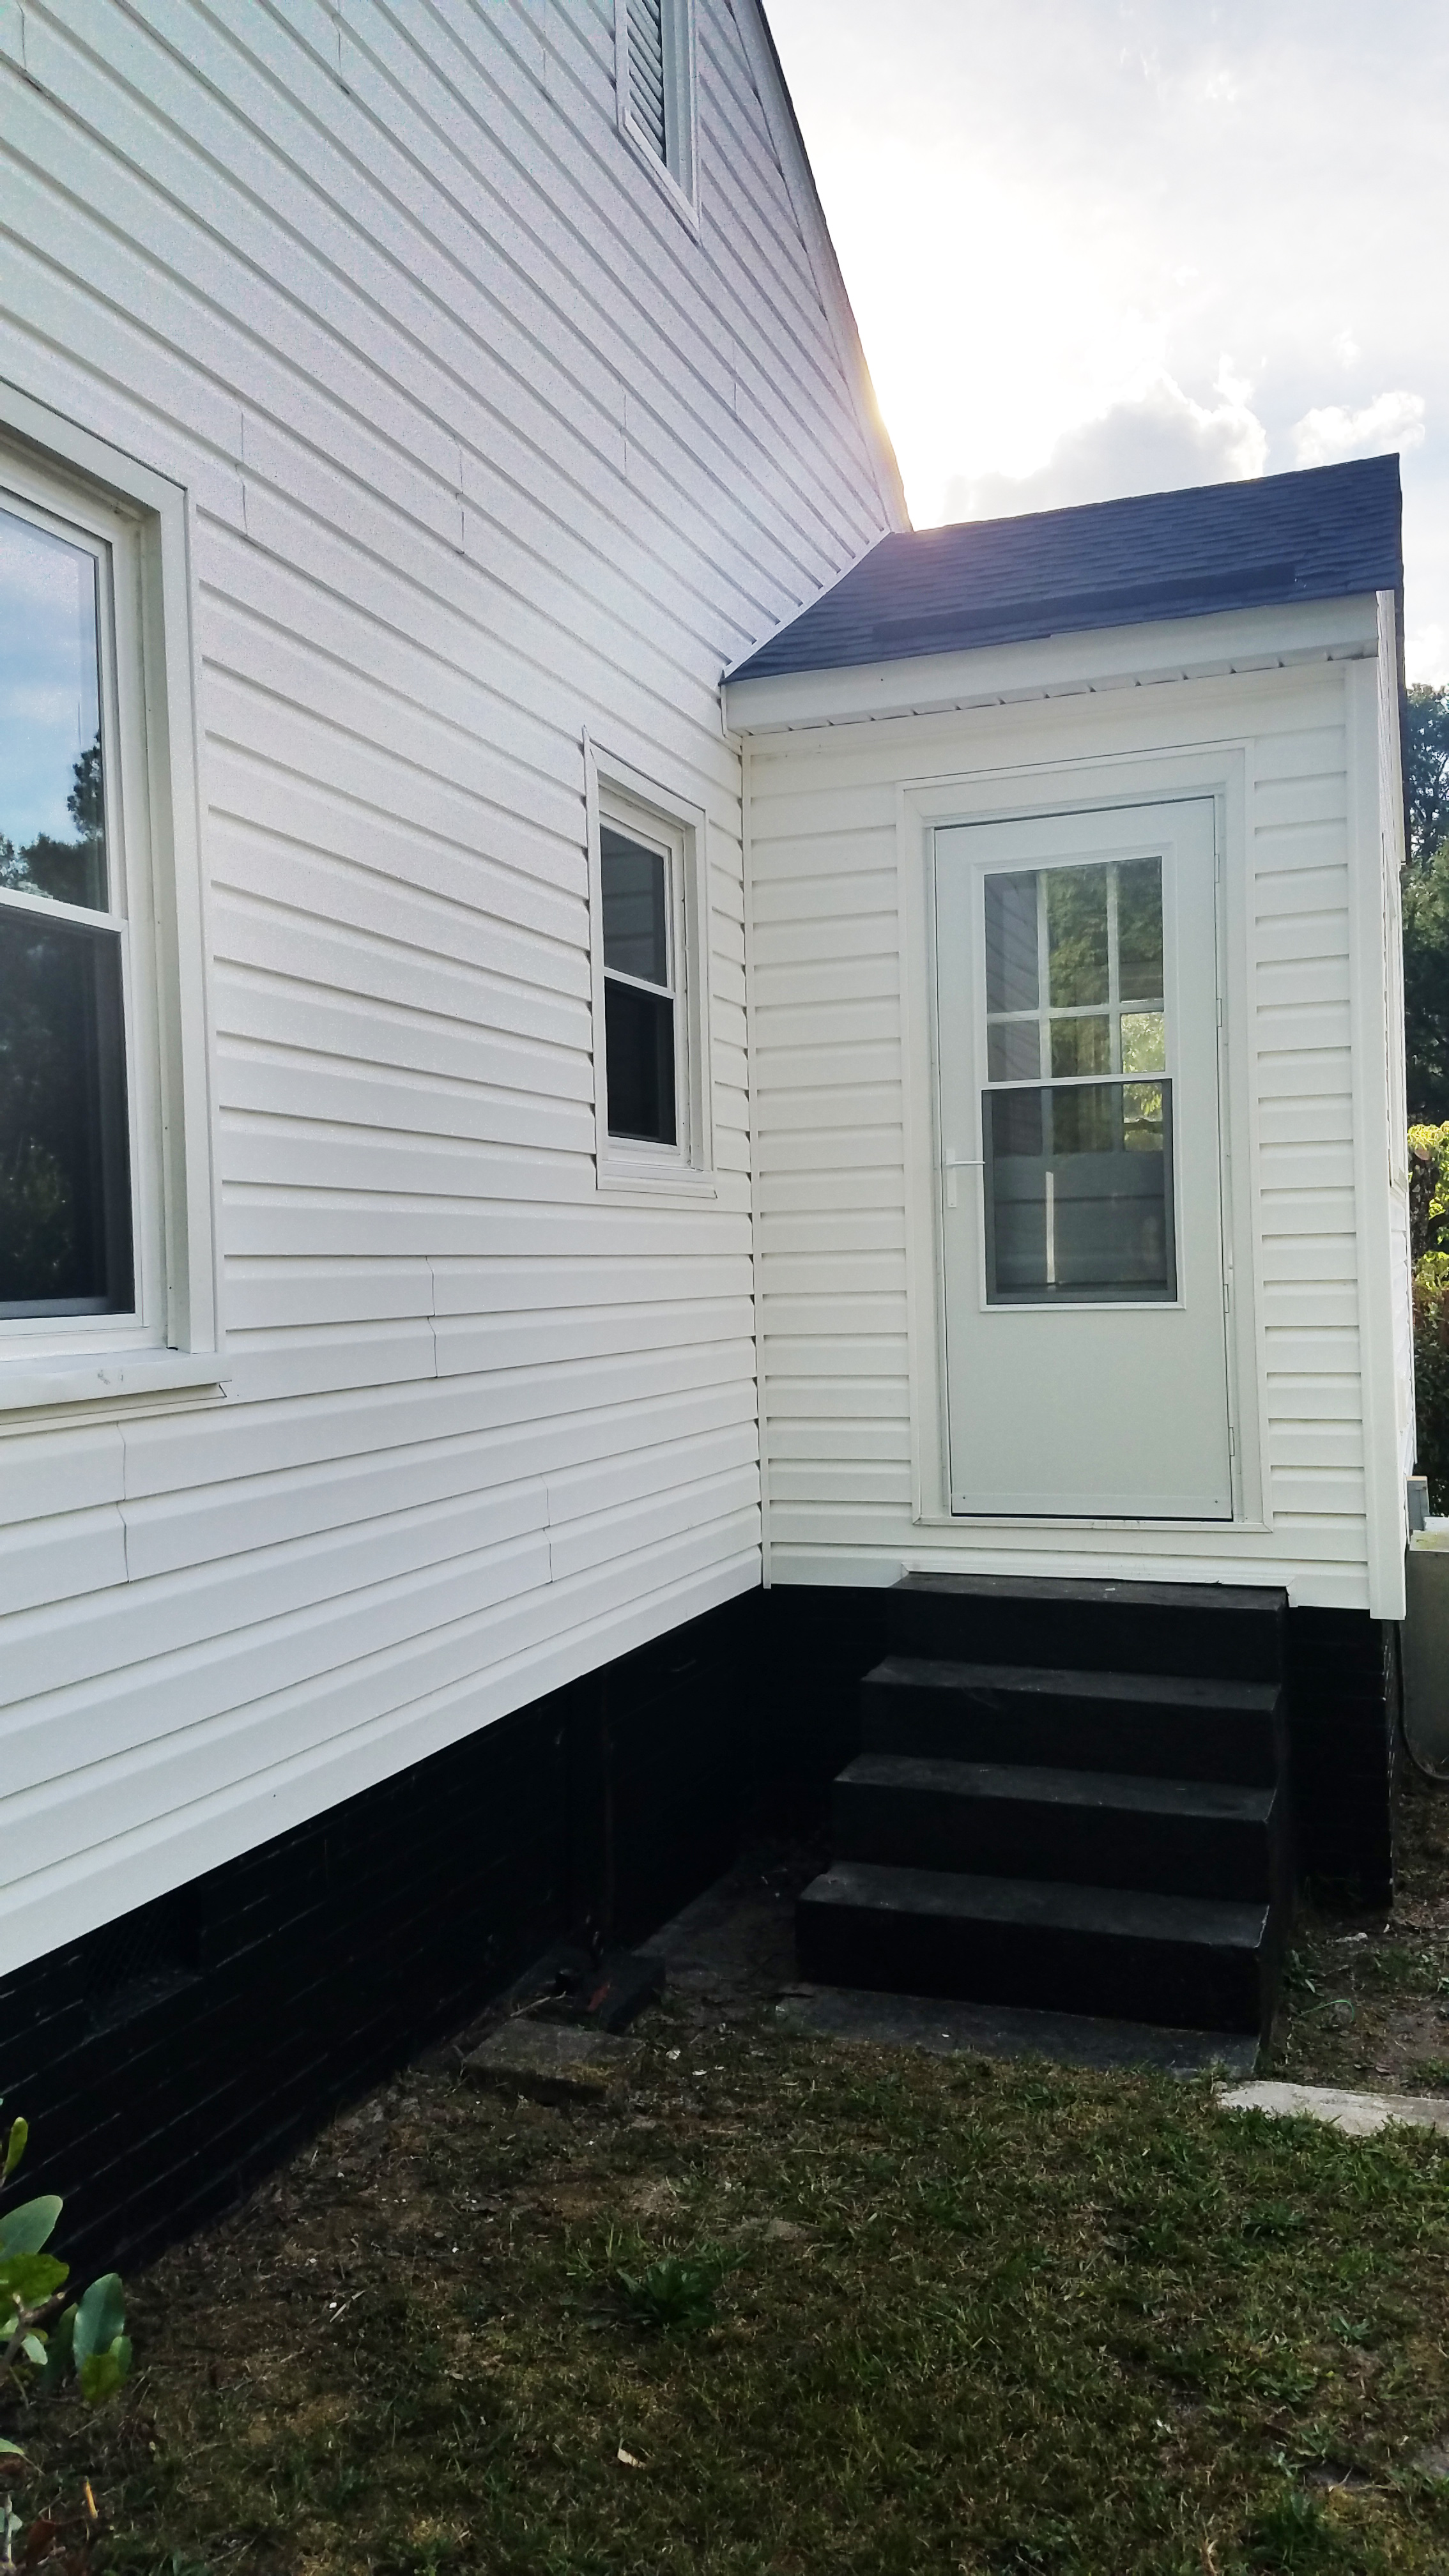
We are delighted to announce the completion (or near completion anyway) of the newest Haymount Home: Glenville Ave. This 1941 beauty features 2 bedrooms and 1 one bathroom and is on a wonderful street in the heart of Haymount.
This project was a shotgun renovation, featuring top to bottom renovations throughout, and it was completed in less than 8 weeks. We discovered this home and realized that it needed to be brought back to its full potential and could not wait to get moving on making it shine!
Please enjoy this home tour. Forgive the fact that everything was not perfectly cleaned up (floors still need cleaning and there are a few little things missing like the smoke detectors that are not in and a few missing outlet covers :) They will be finalized this week. There is also a shed that is still under construction and will be renovated as well. Our focus was on the house for now. Don't worry - over the next few weeks we will be featuring a bunch of blog posts with before and after photos for your enjoyment.
Normally we stage all our homes to highlight their beautiful potential, but we were not able to do that for Glenville....because we already have clients moving in! They contacted us prior to finishing the renovations and fell in love with Glenville. We could not turn them away and they promised to decorate it beautifully and let us come back for pictures; we are excited to see how they make it their home!
We welcome your feedback on Glenville. Please drop us a line and let us know your thoughts. What did we get right? What did we miss? Though Glenville was rented before it even hit the market, there is good news in store: we start our next project at the end of the month, so stay tuned!
“House + Love = HOME”
Hope you enjoyed our tour! Drop me a line and let me know what you think! Have a great week!
- Casey and Carl
