INTRODUCING THE NEWEST HAYMOUNT HOME - GREENLAND DRIVE
Tour our newest Haymount Homes rental property - Greenland Drive!
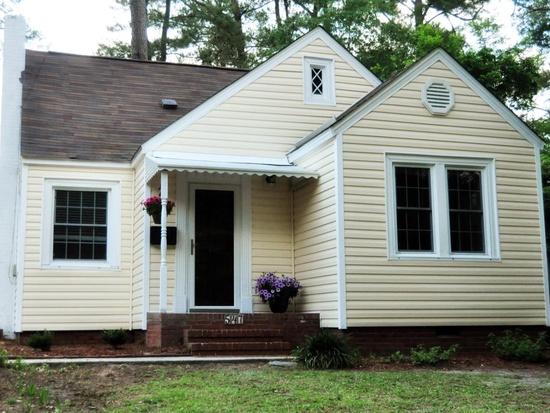
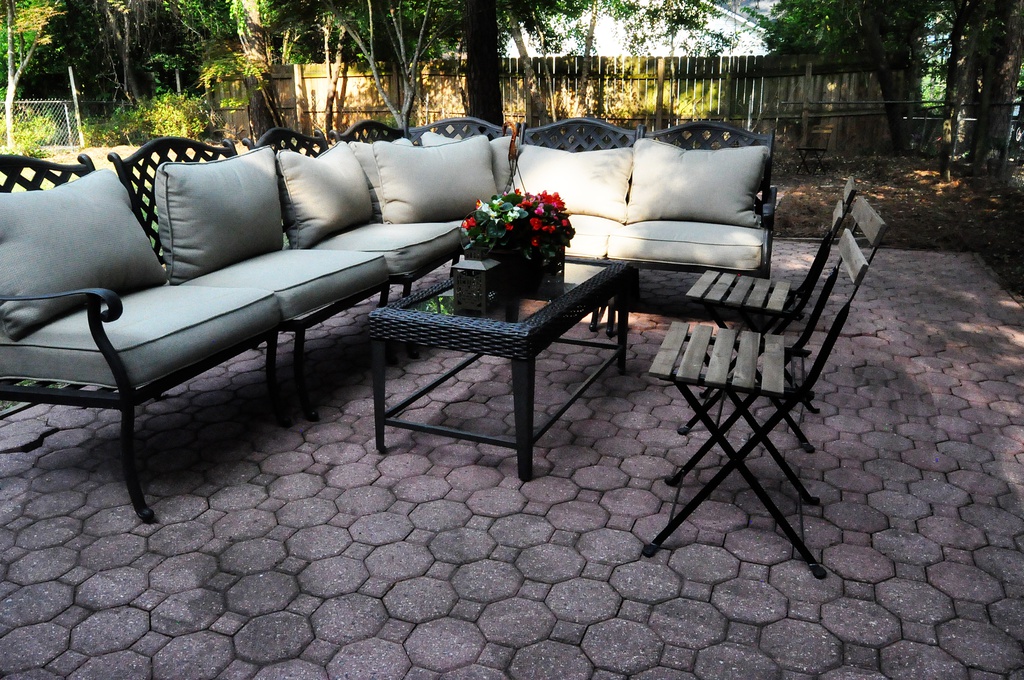
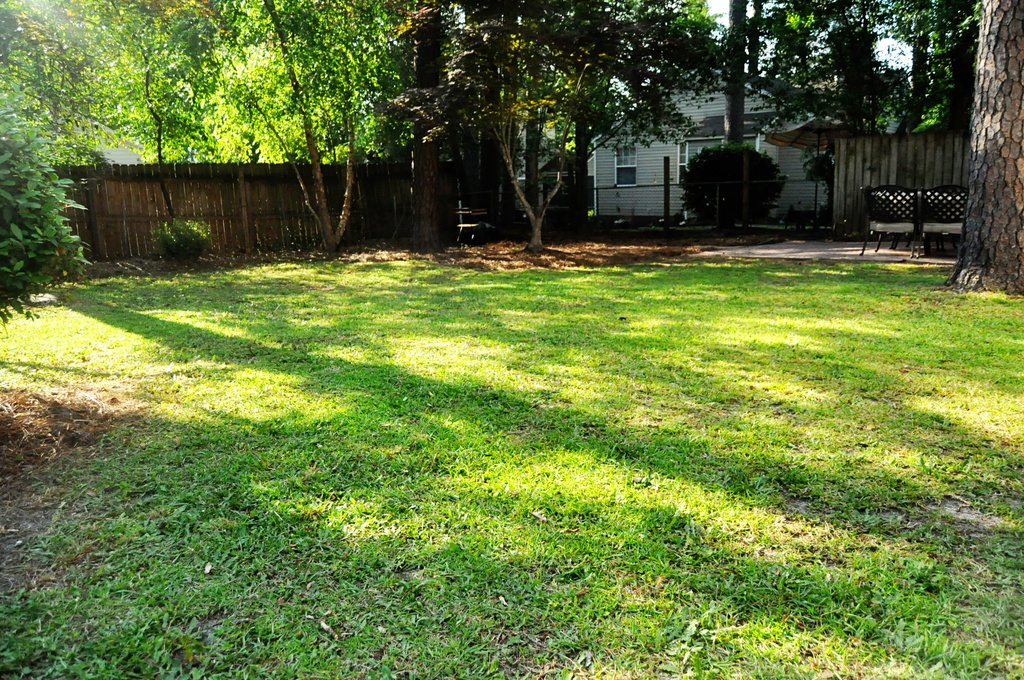
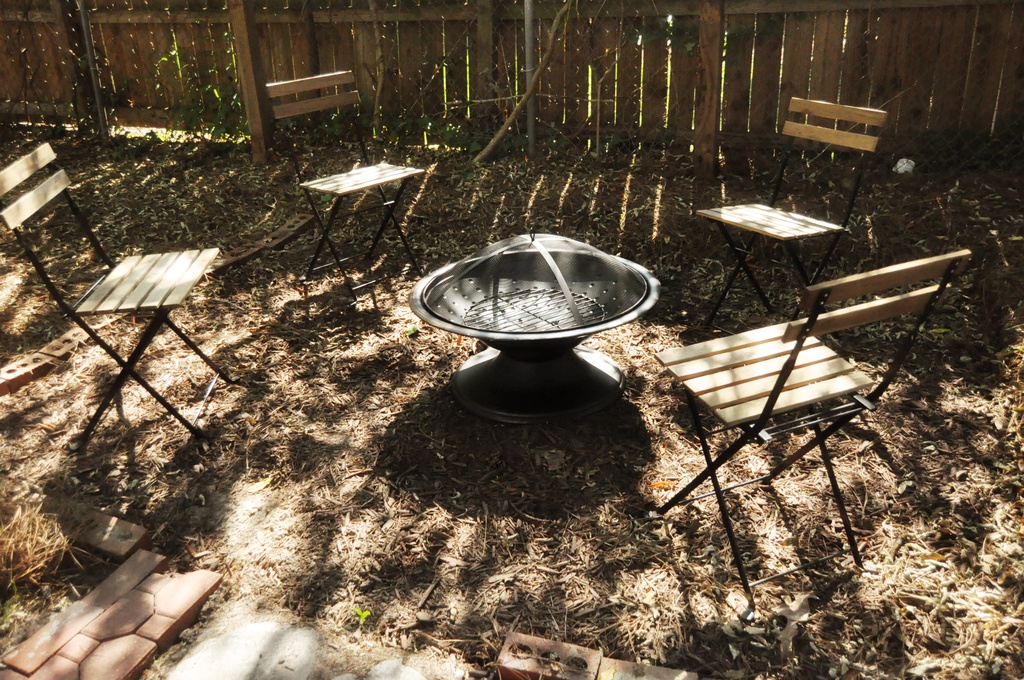
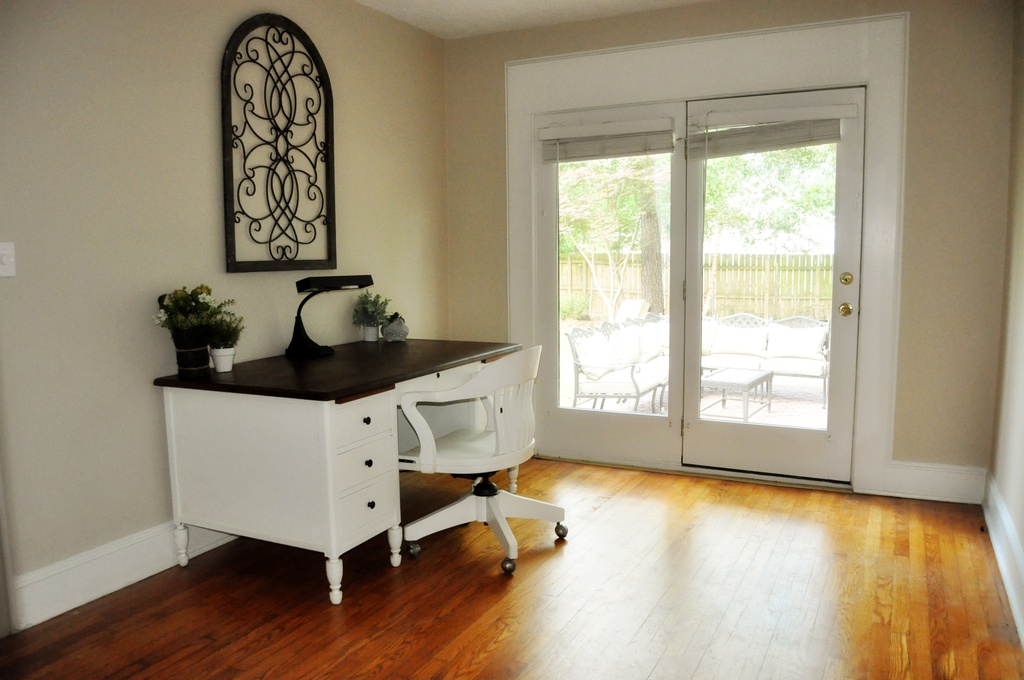
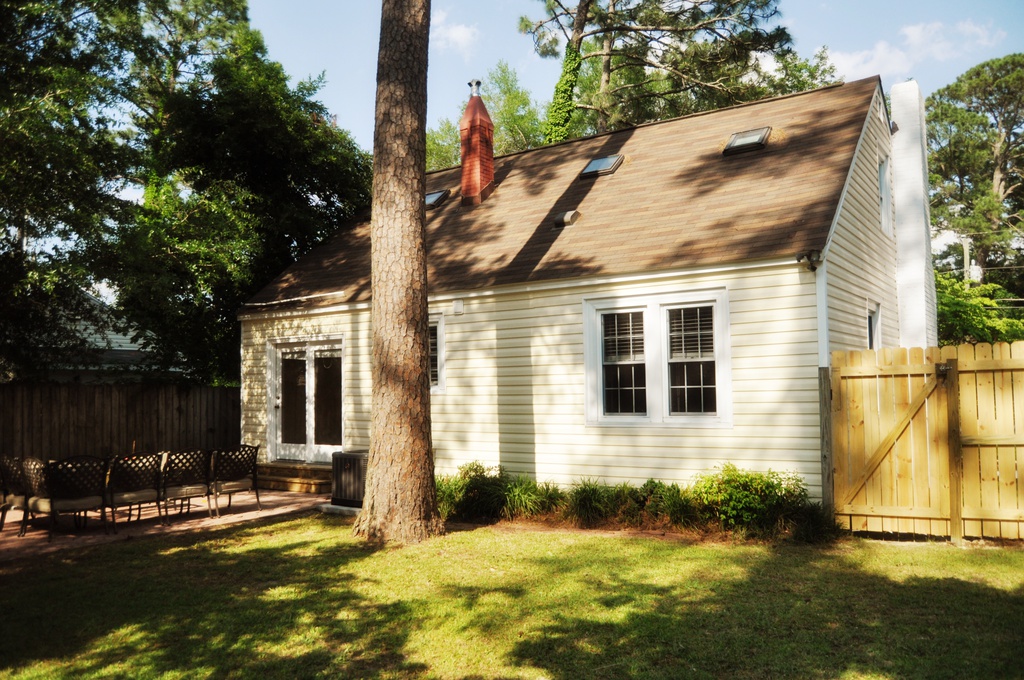
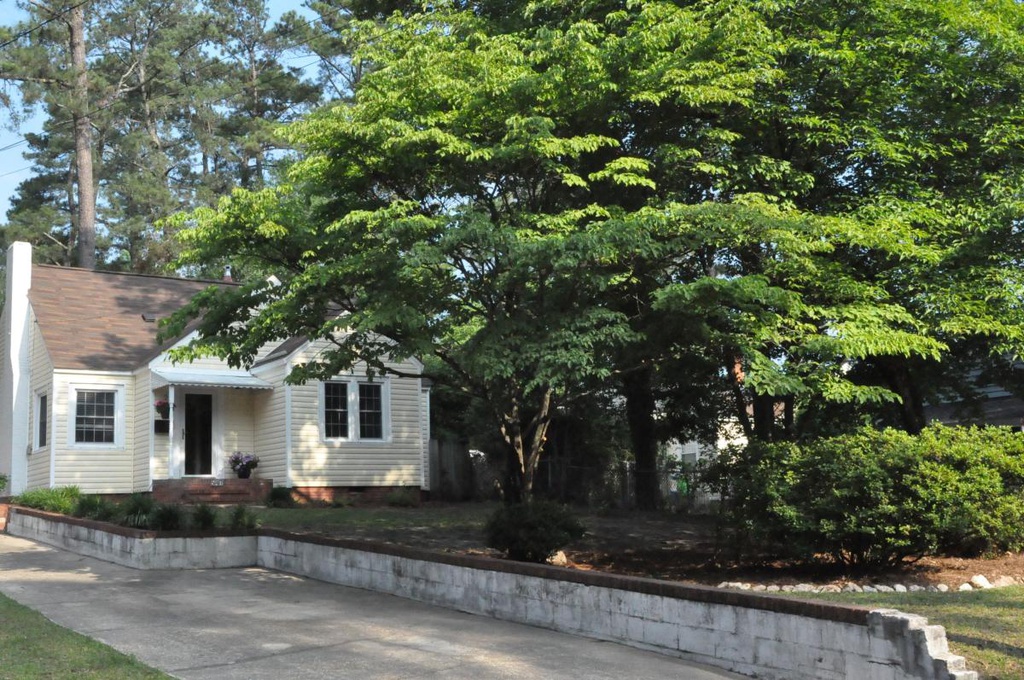
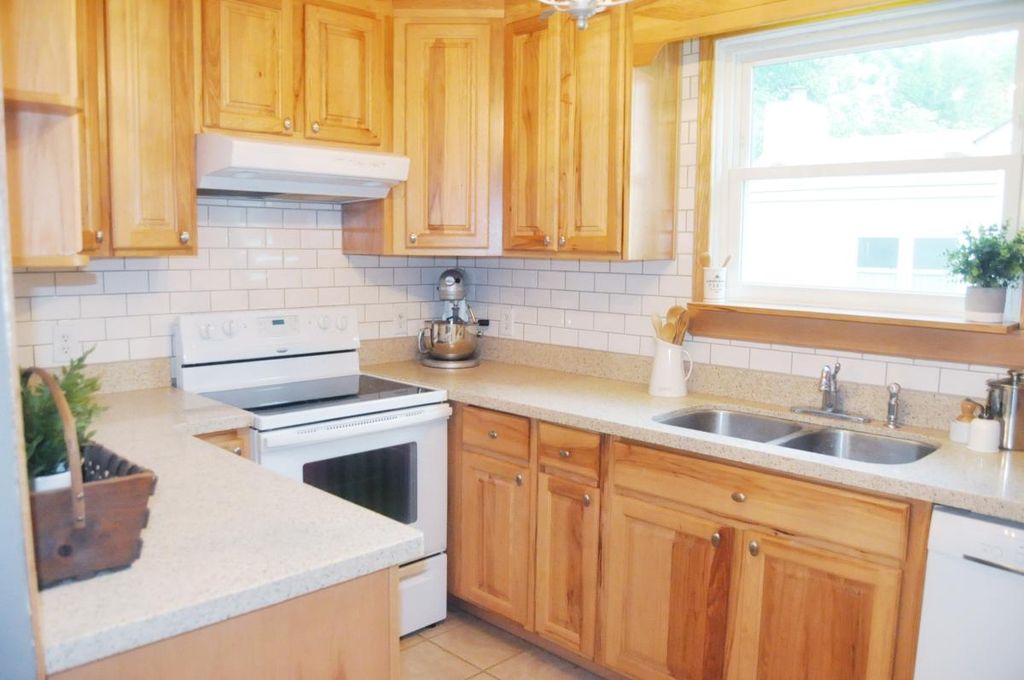
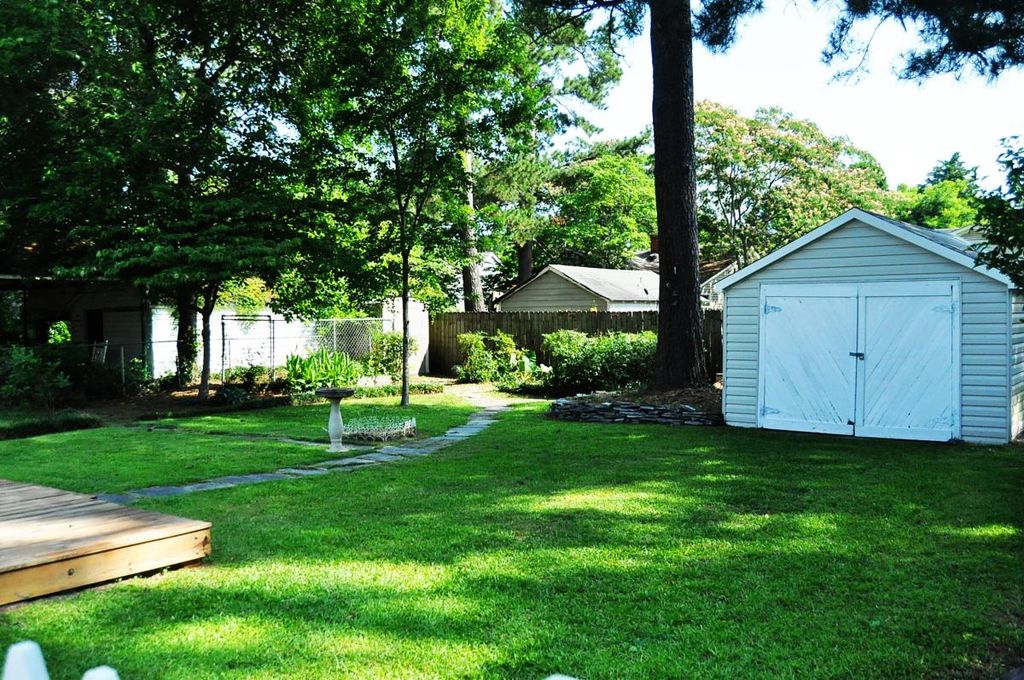
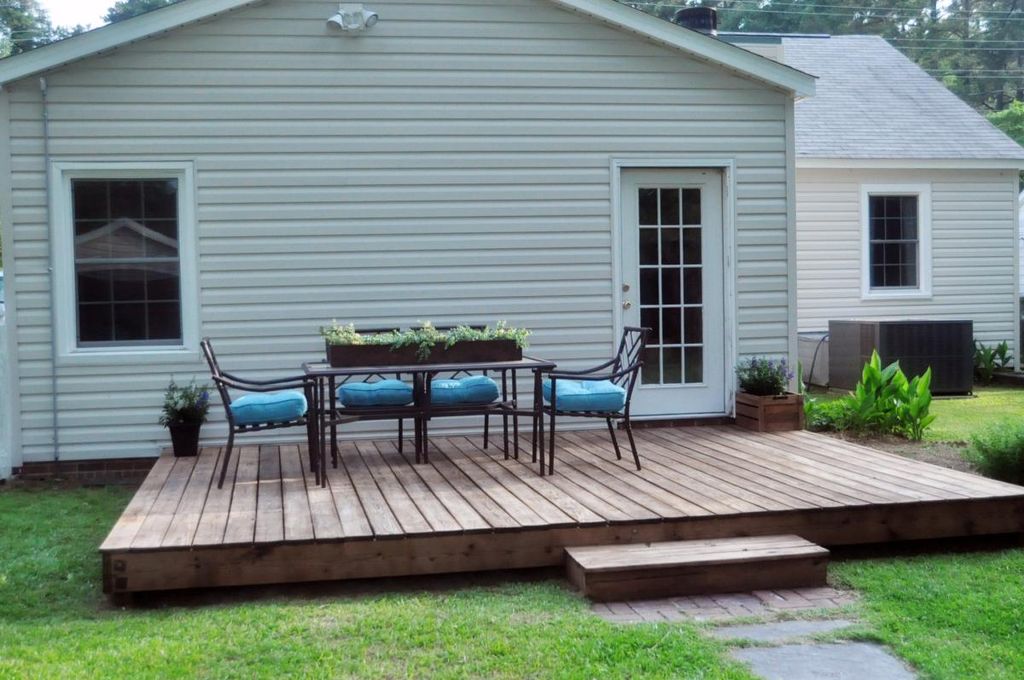
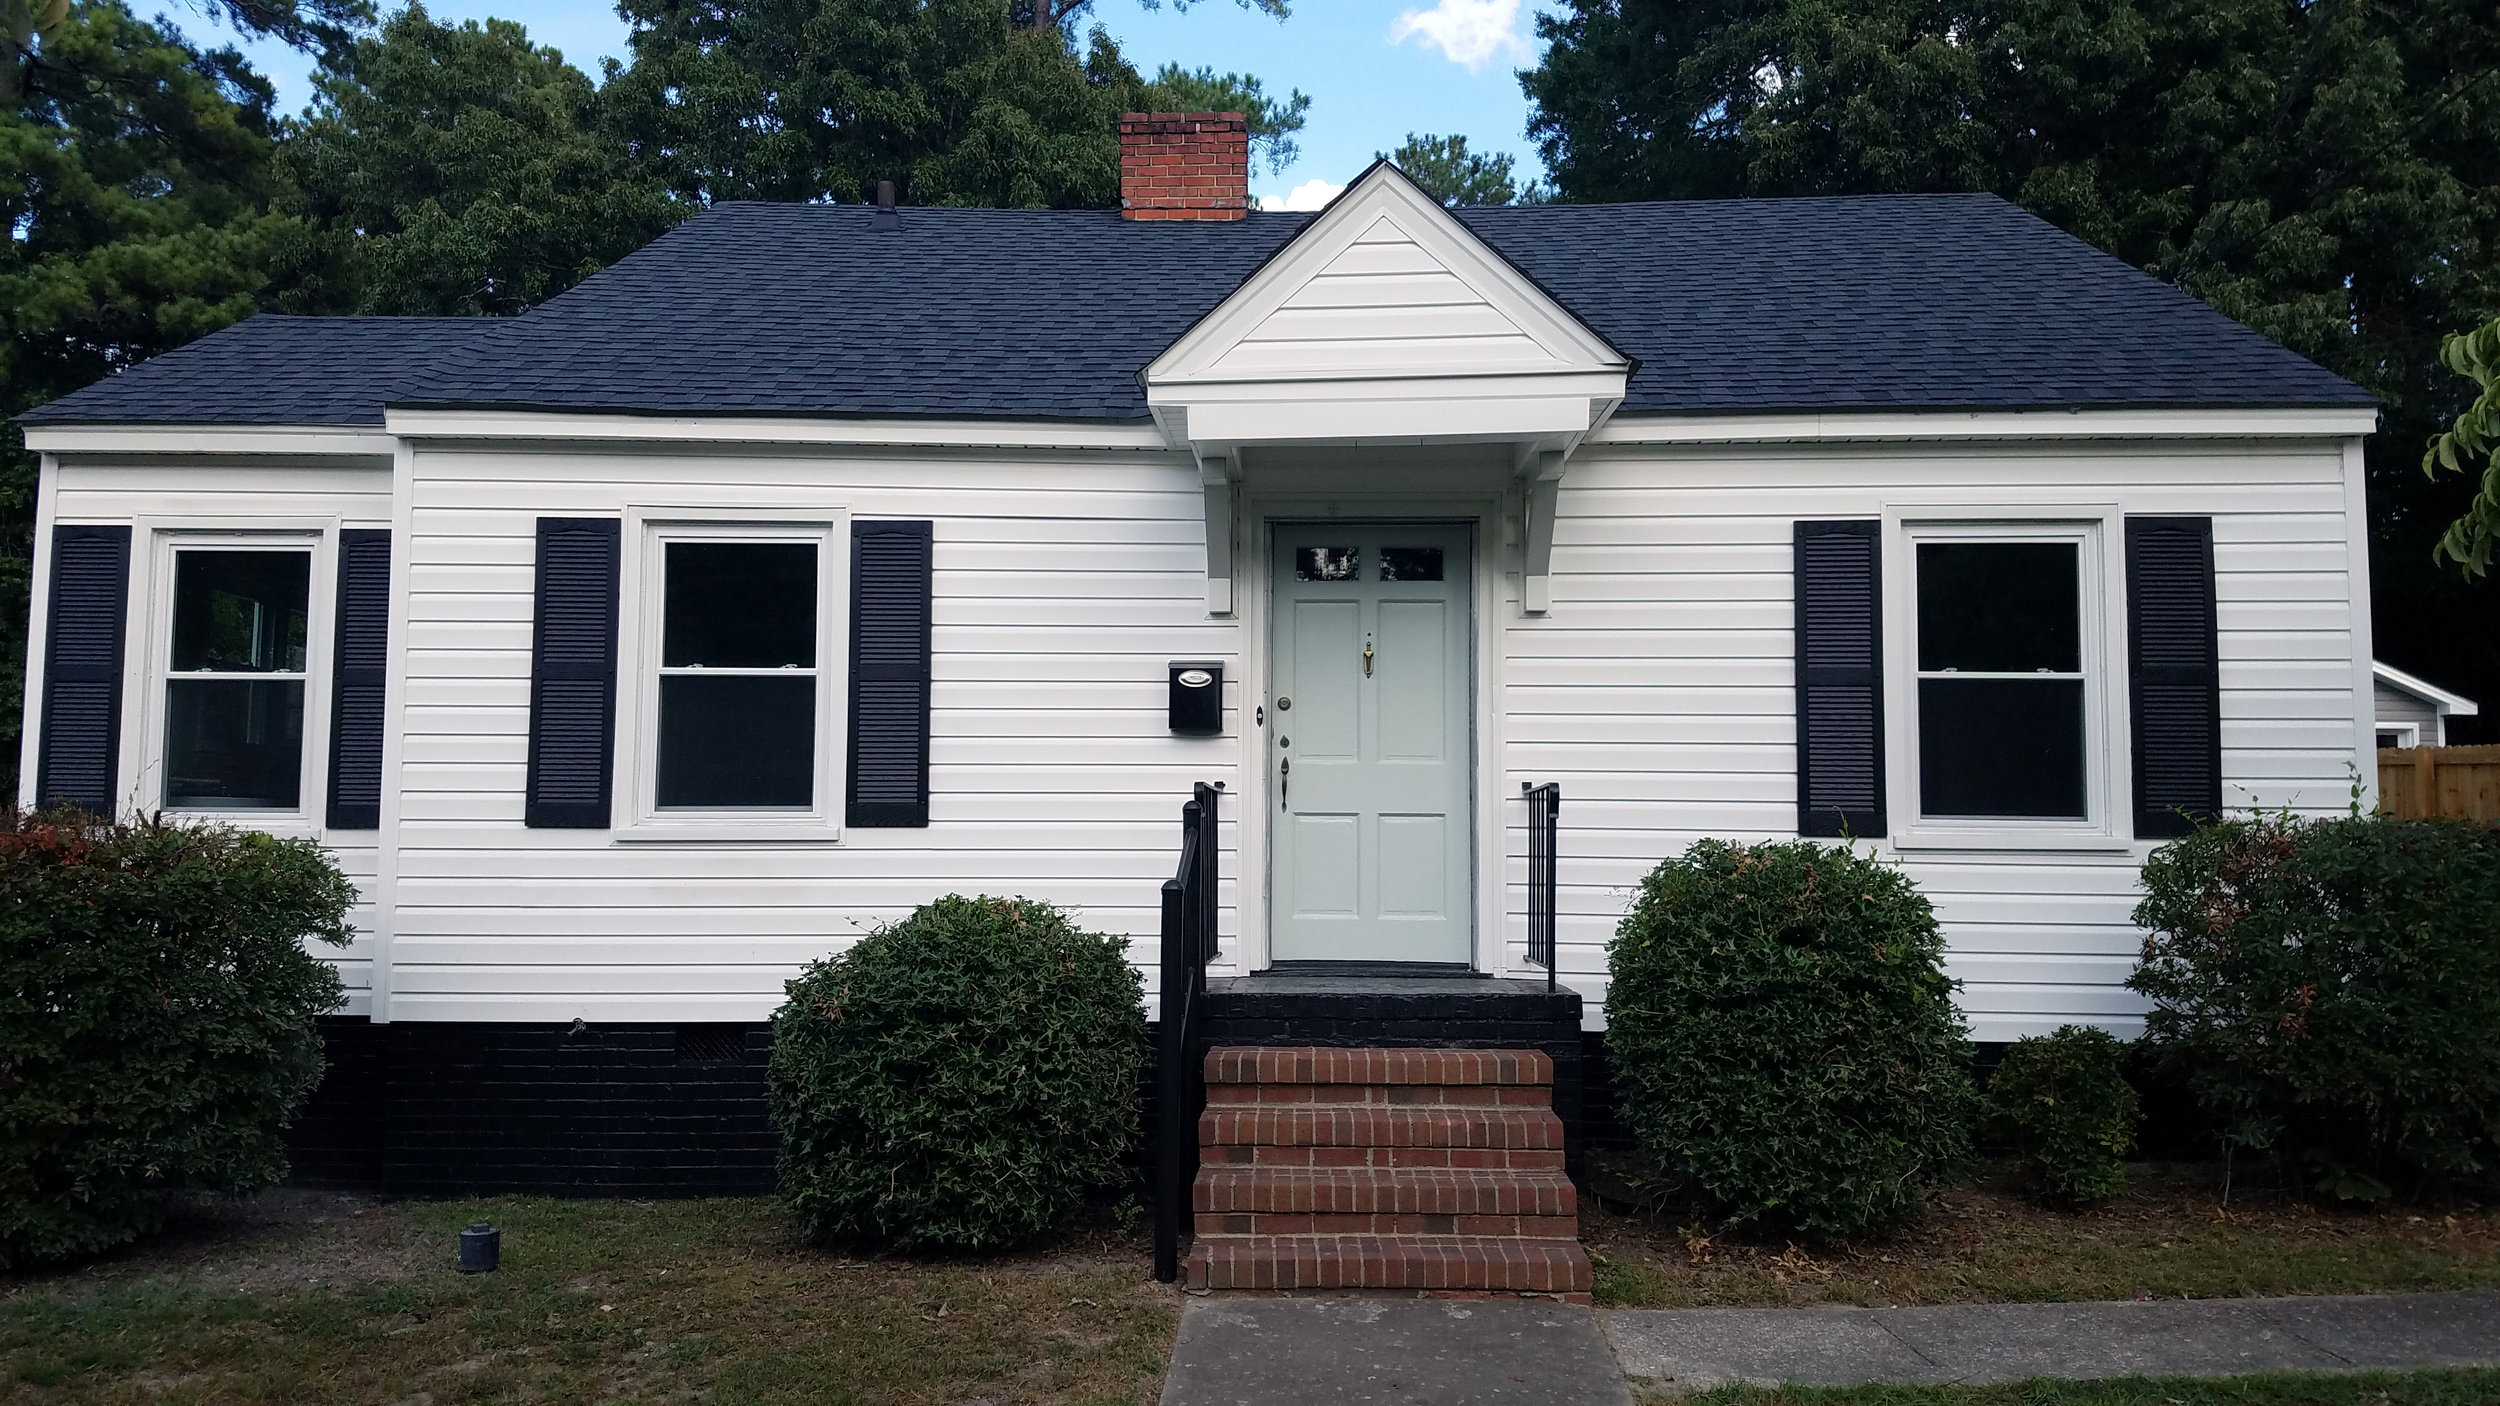
We are so excited to introduce the newest Haymount Home: Greenland Drive. Greenland has an amazing front porch for your sitting pleasure. Add a chair and some sweet tea, and you’ll be ready to relax! The porch was fully replaced and is now sturdy and beautiful richly stained wood. Venture into the back yard and you will have room to roam in the fully fenced space.
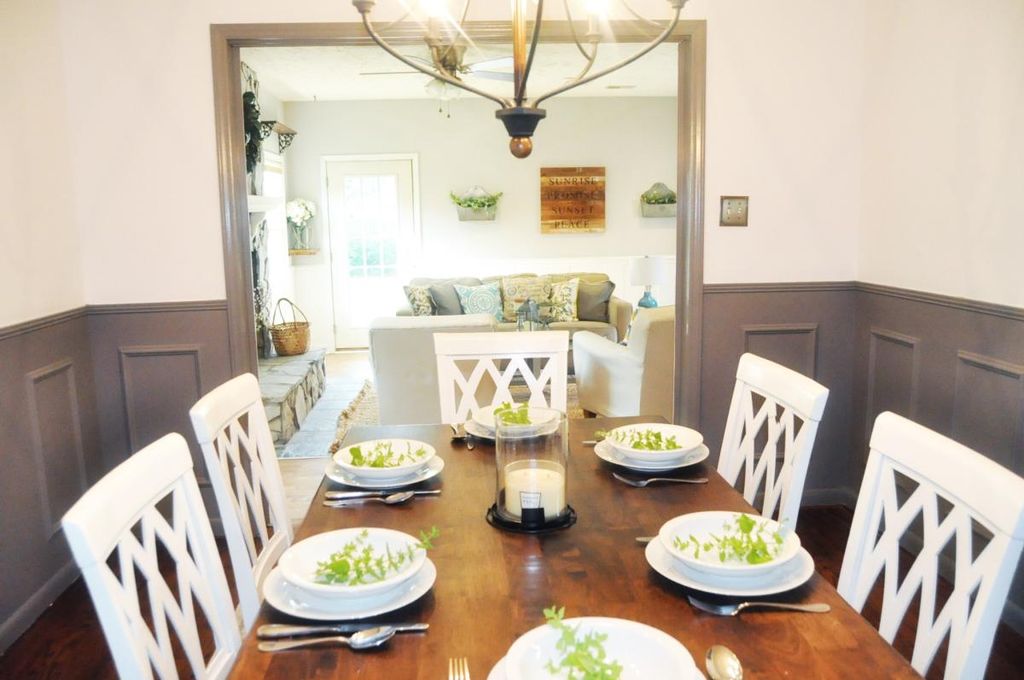
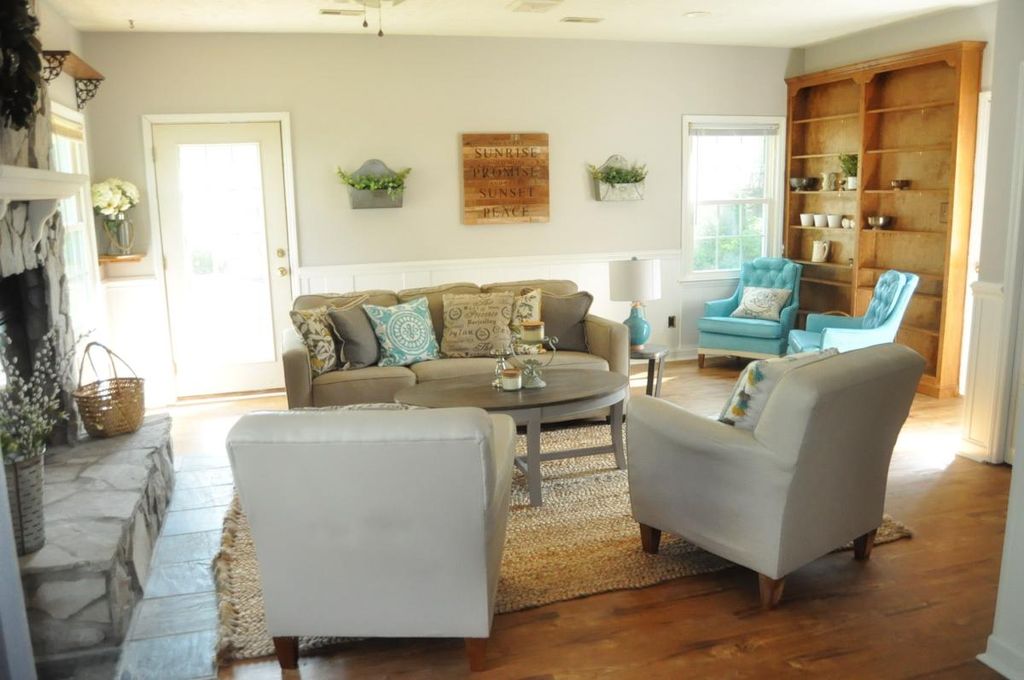
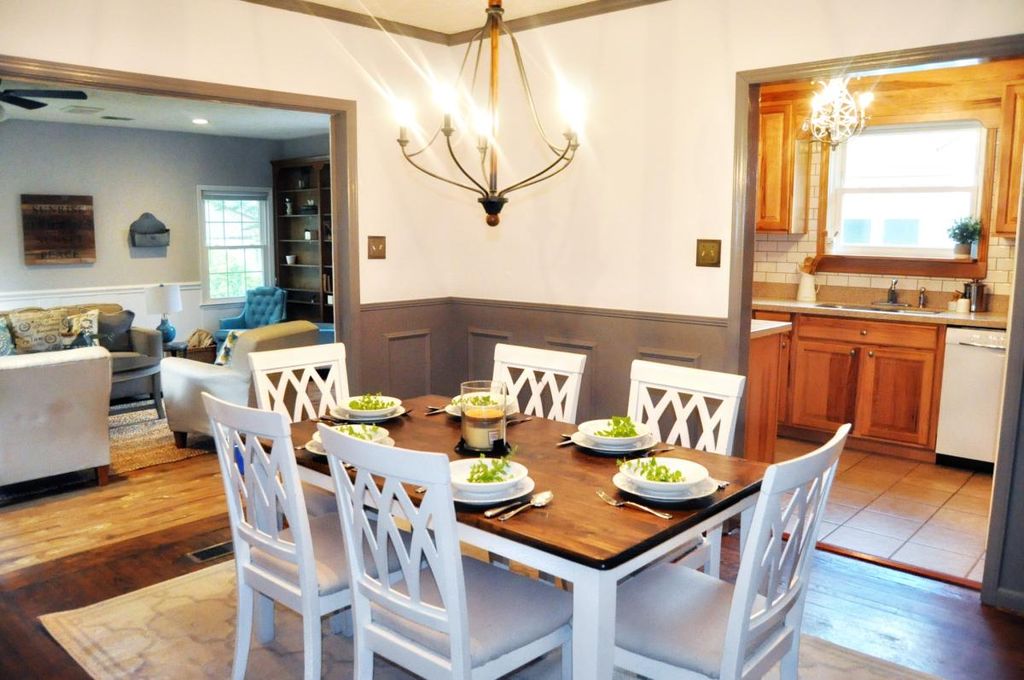
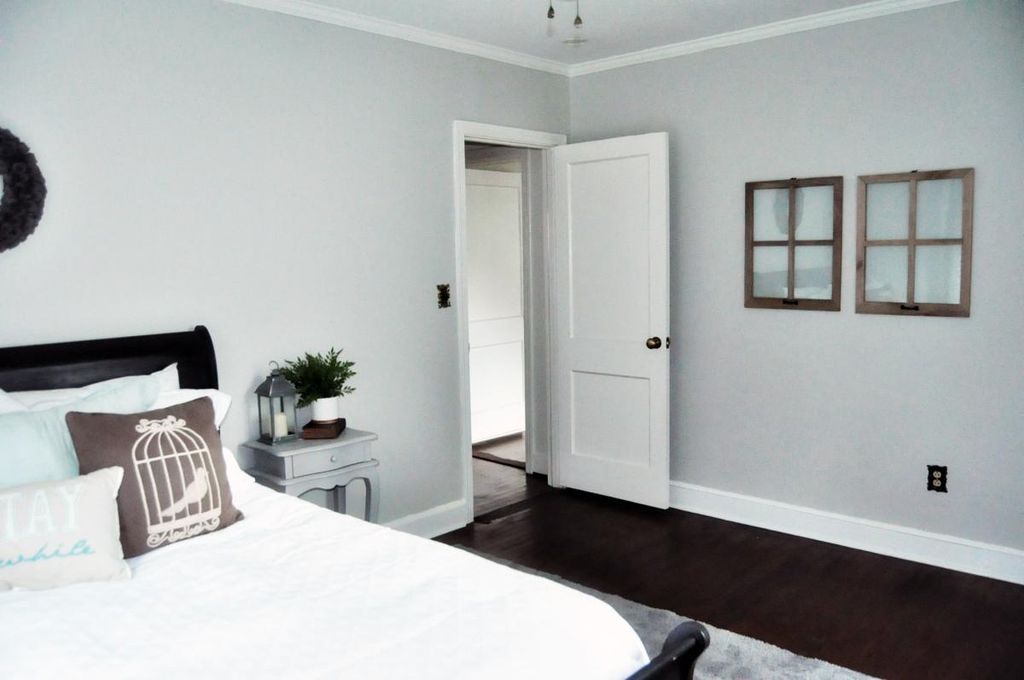
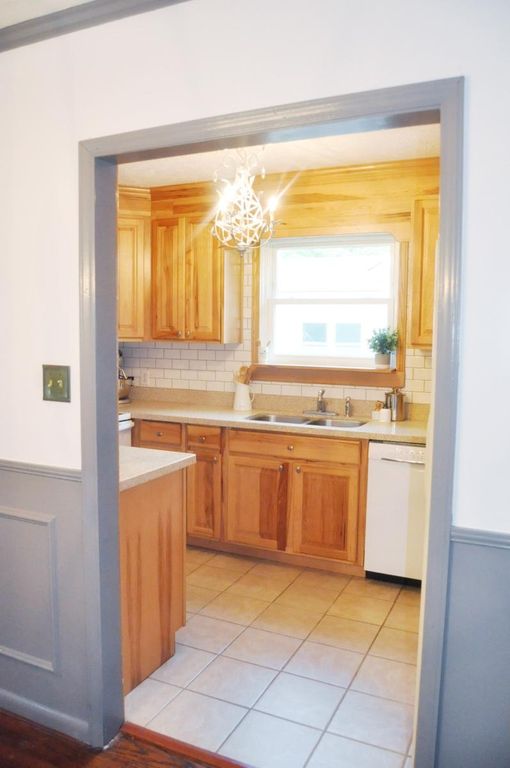
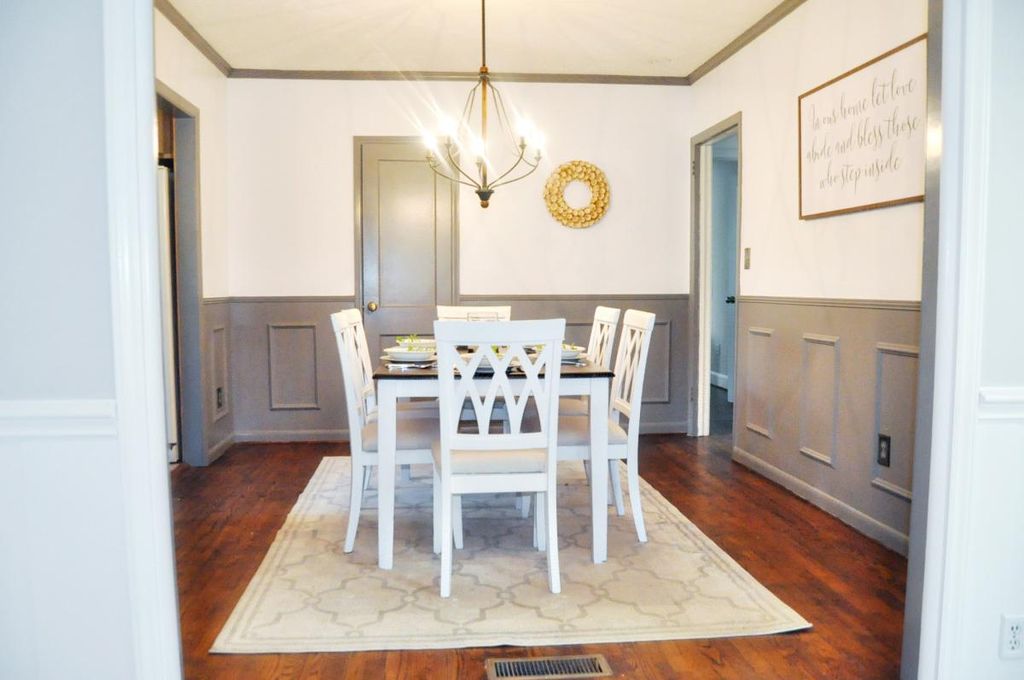
Greenland Drive is a 2 bedroom, 1 bath home and has been lovingly transformed. It boasts farmhouse styling throughout, including a shiplap dining room and kitchen!
Greenland Drive has been quite a project but a labor of love. This has been the largest project we have undertaken and nearly every surface of this amazing home has been transformed. I will post more before and after photos for you in upcoming blog posts. I know everyone loves to see how far the home has come. I can promise you that we saved this little gem from years of neglect.
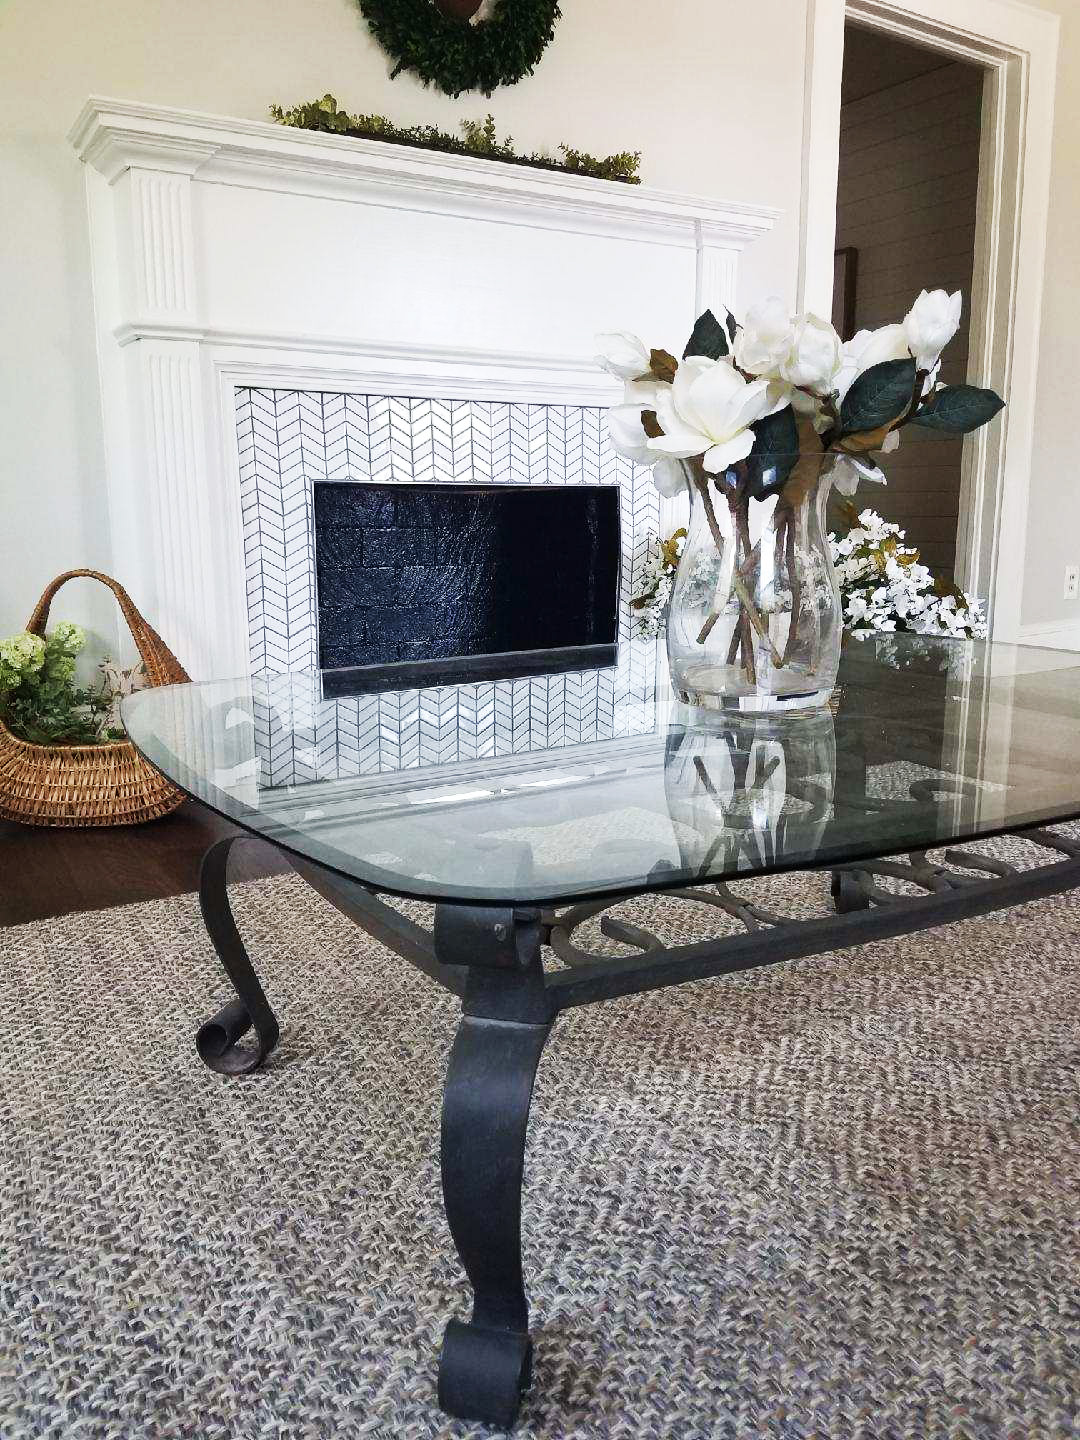
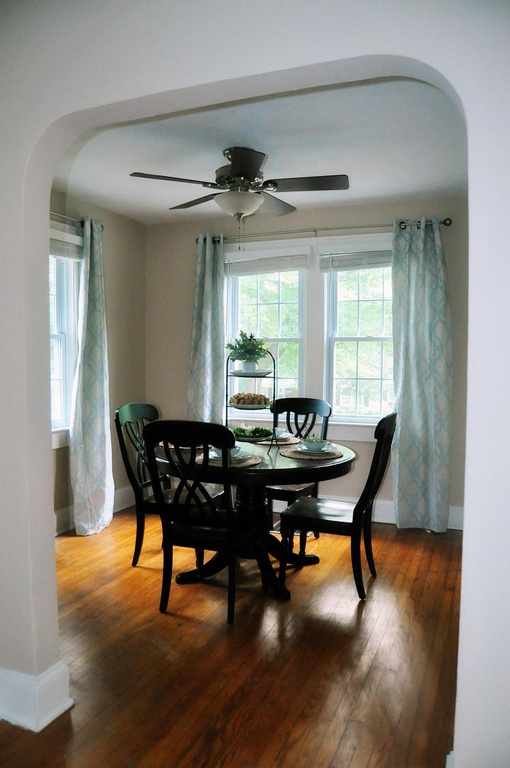
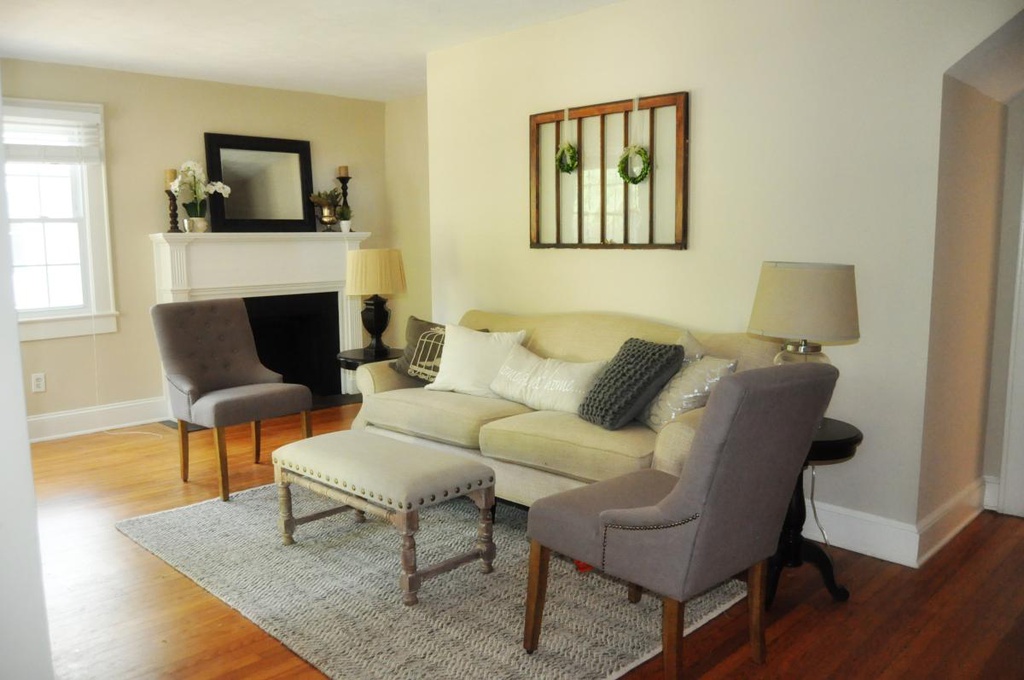
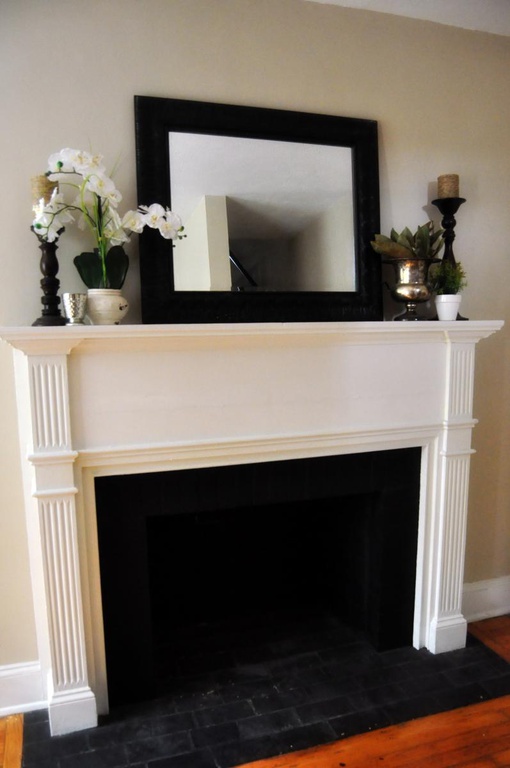
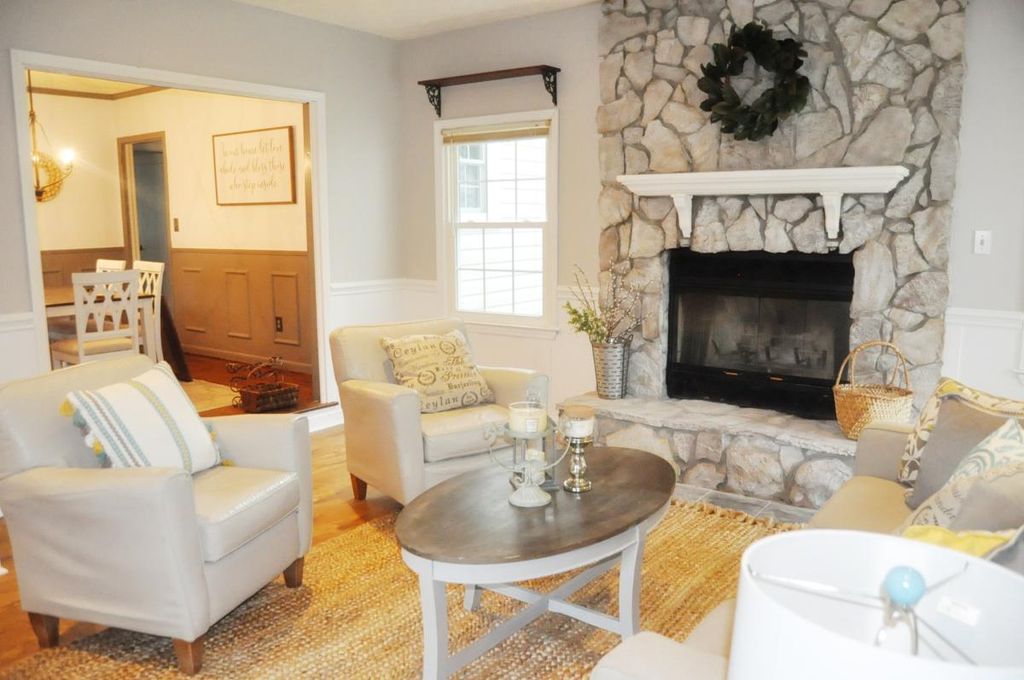
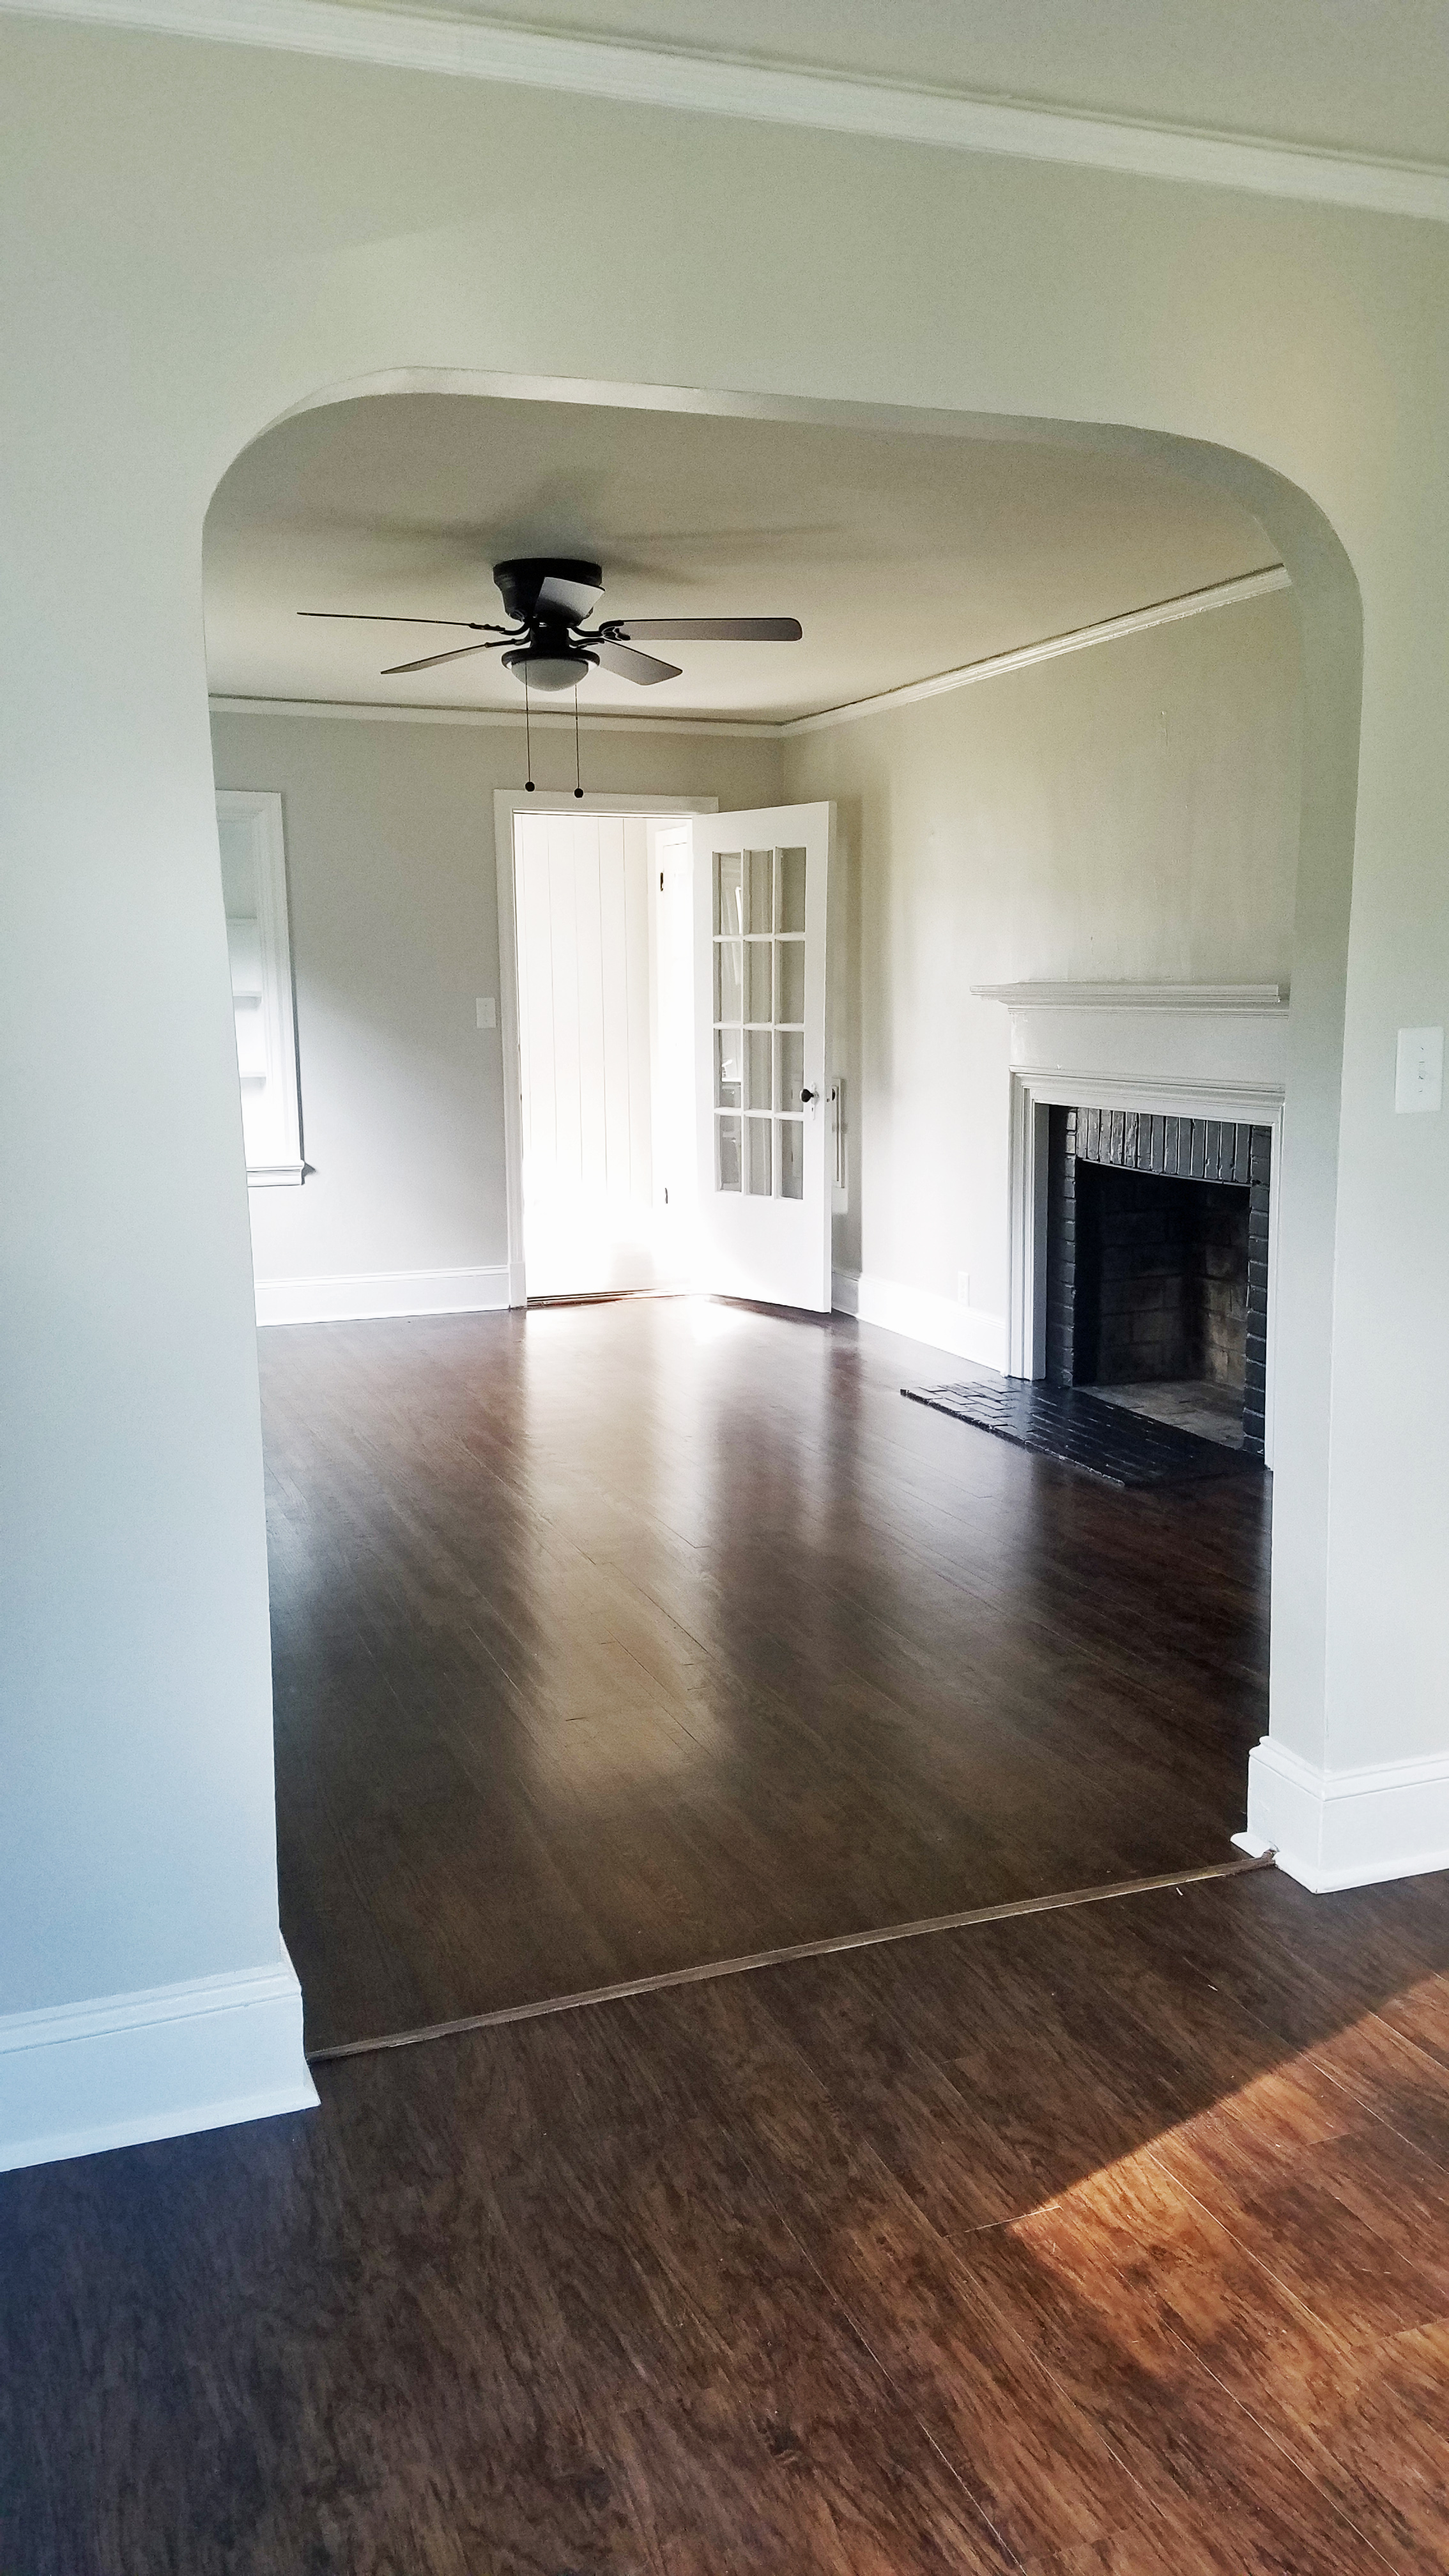
The dining room at Greenland is the hub of the home. Centrally located and accessed from the living room, kitchen, and porch, it will be a gathering space for all your friends and family. The attached living room offers ample space to relax and the gorgeous fireplace is a statement piece. We were able to retain the original mantel and add amazing herringbone tile.
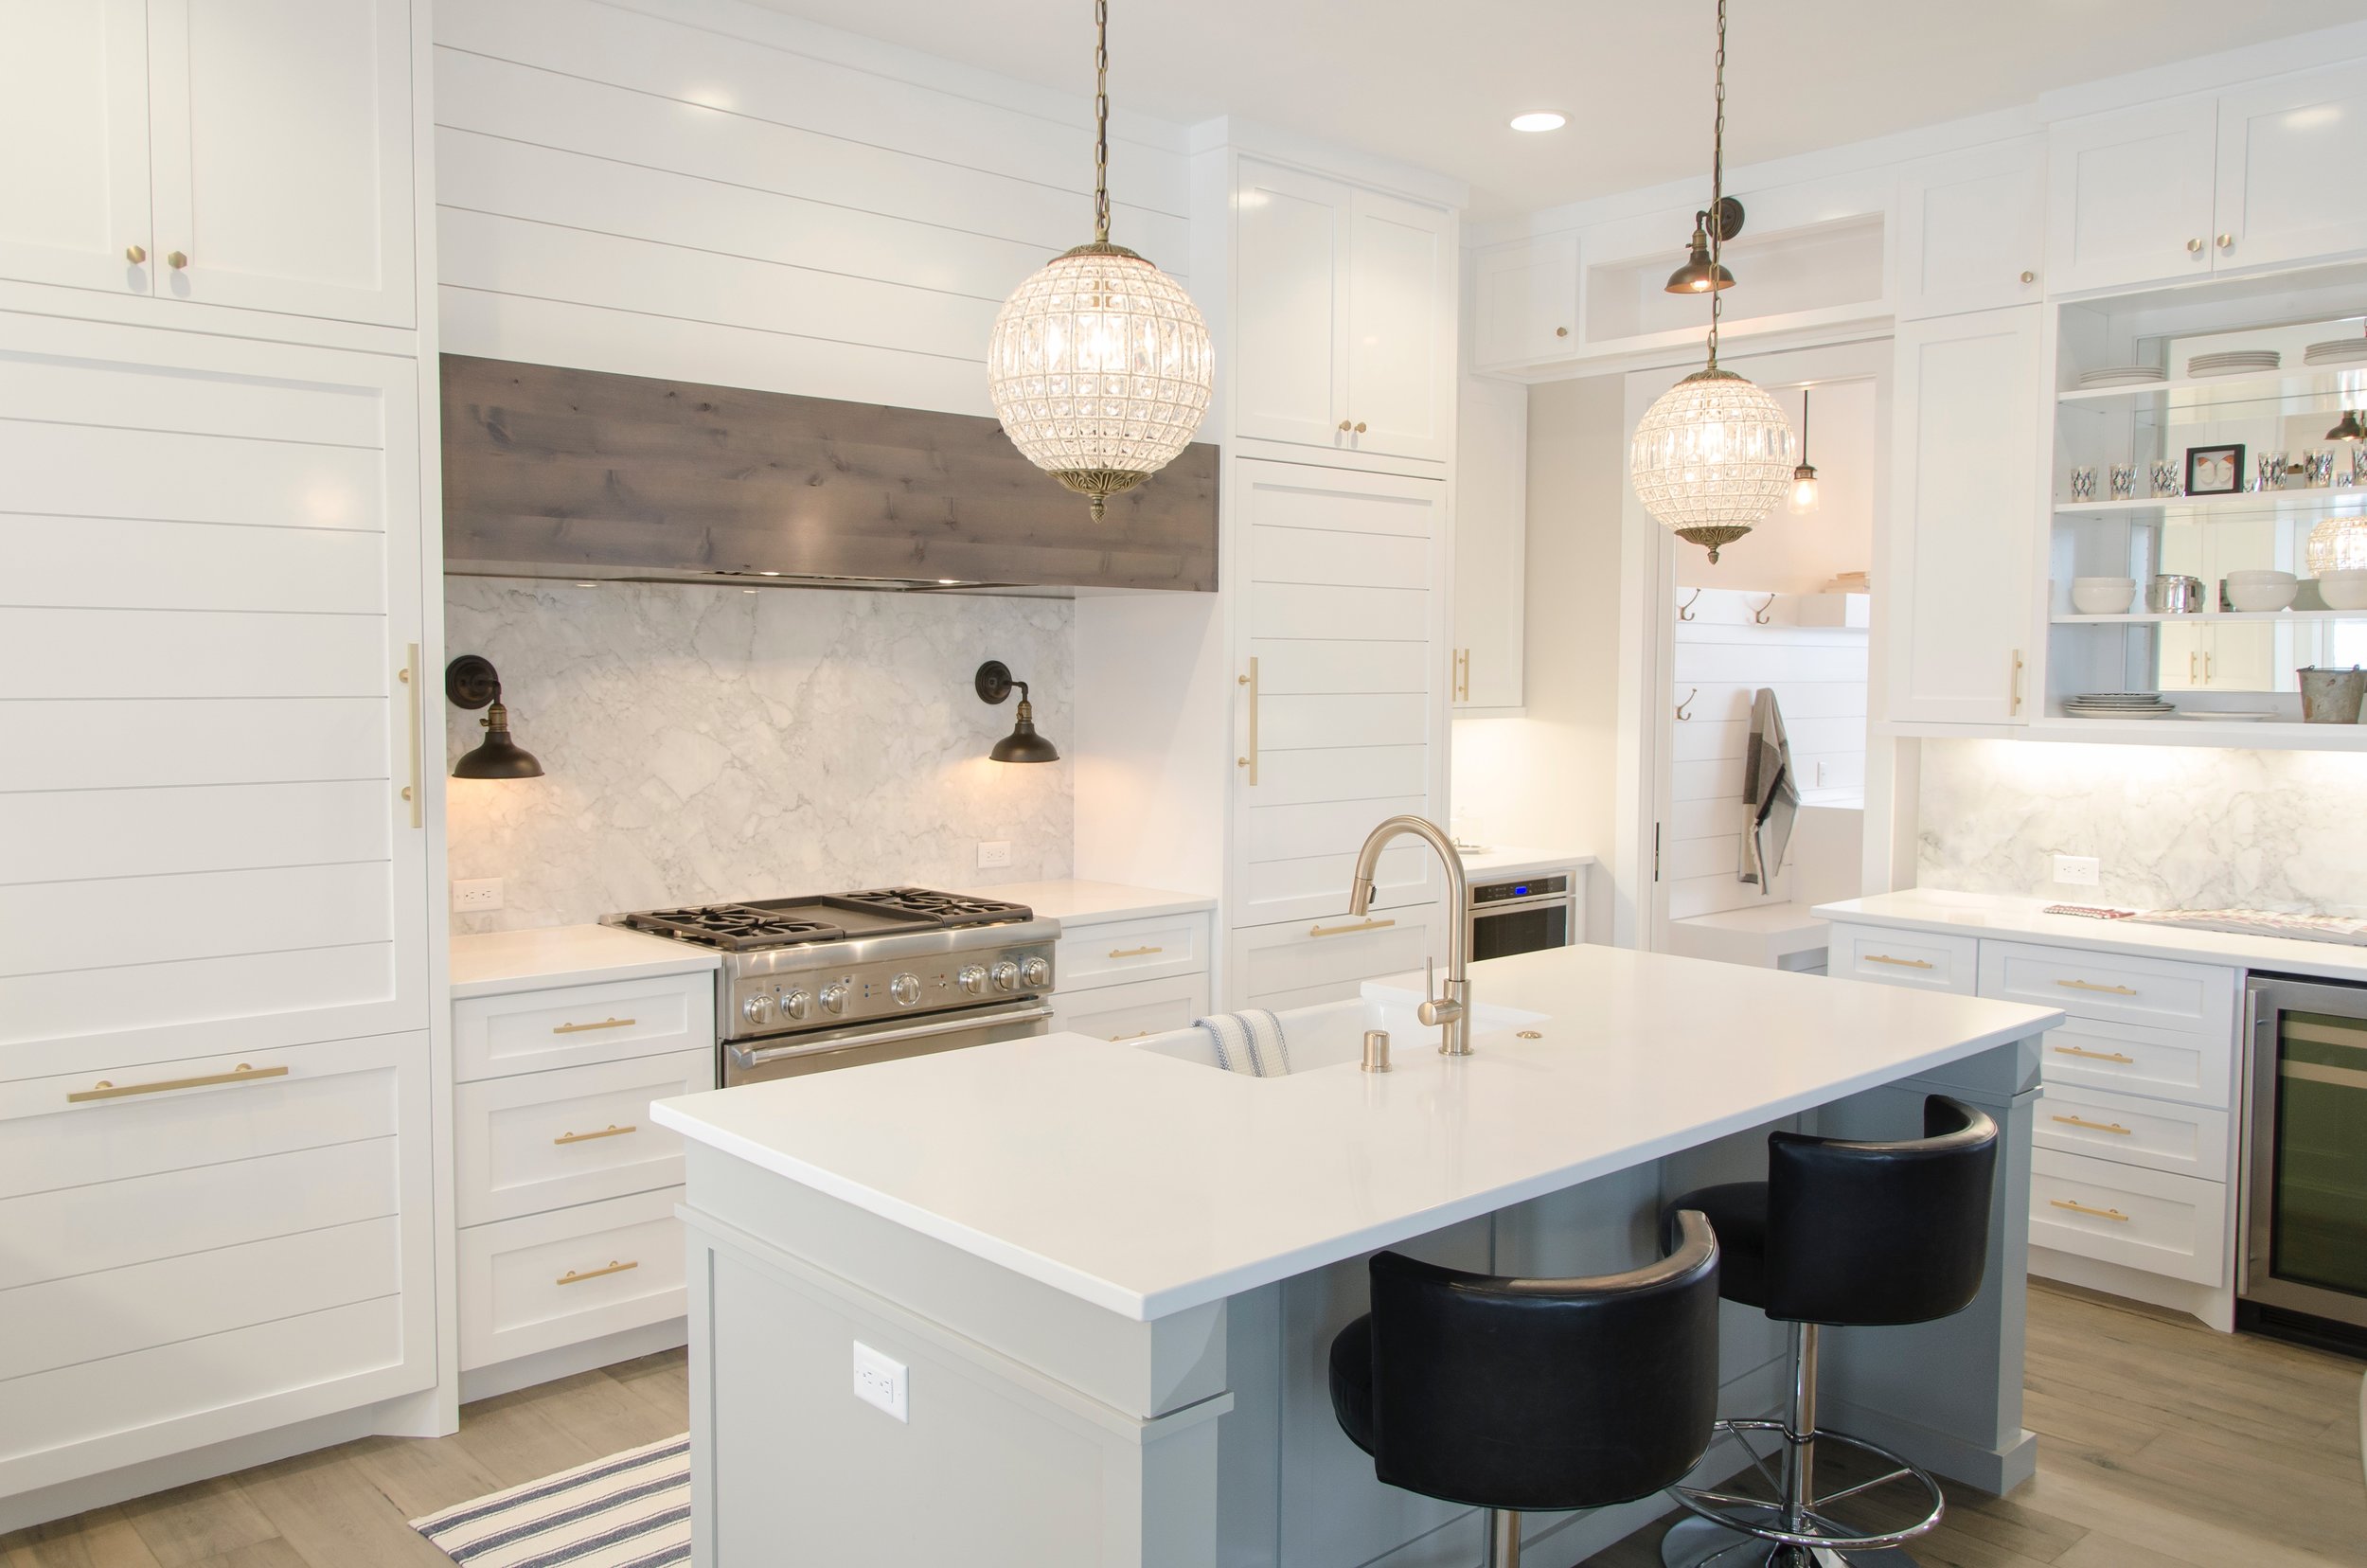
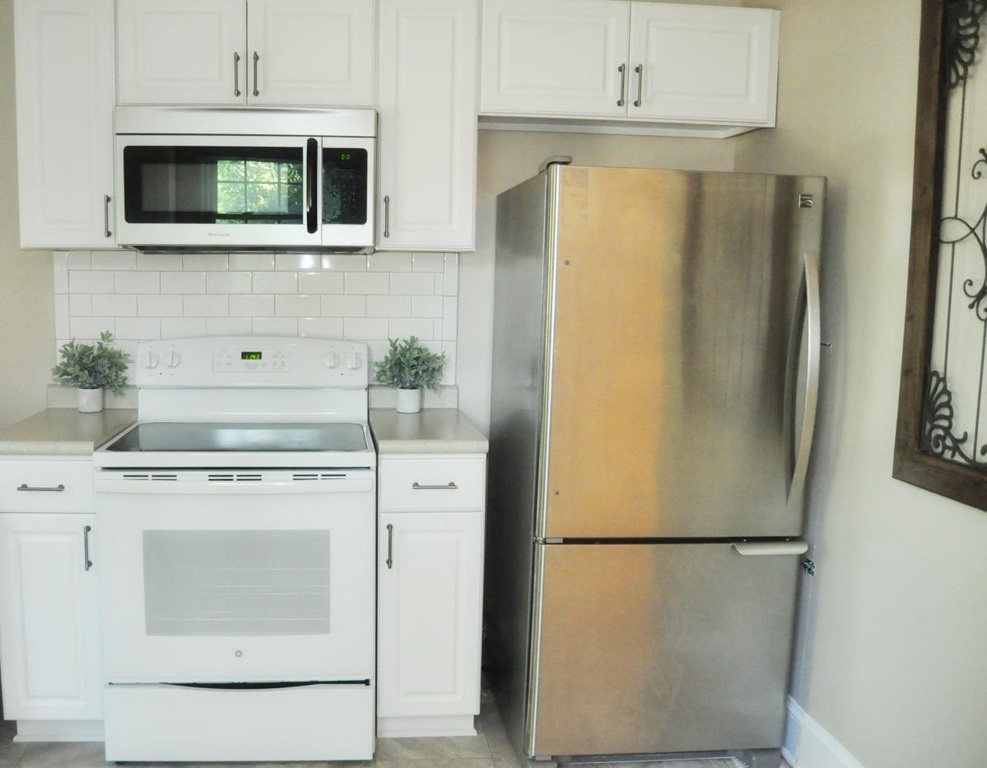
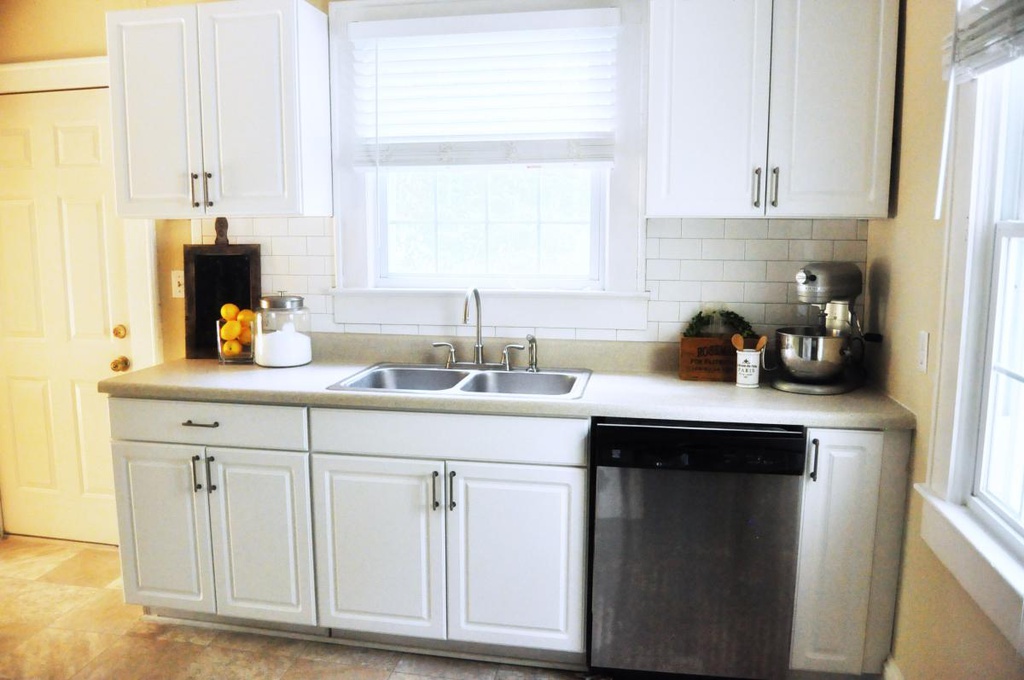
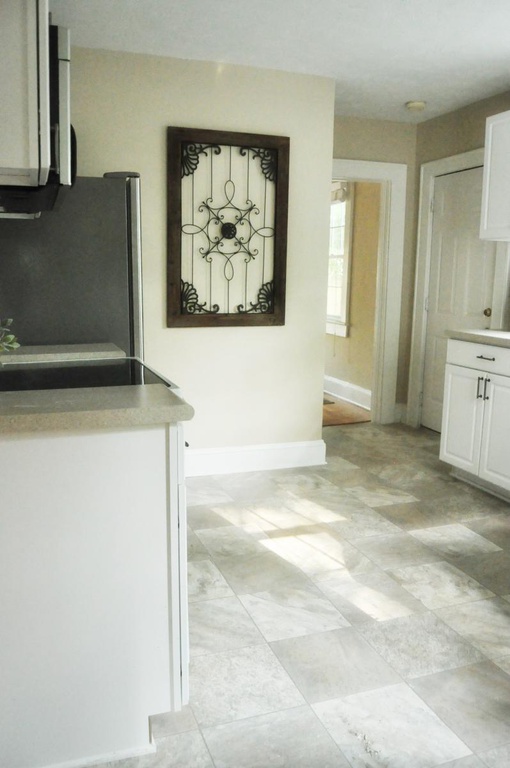
Greenland Drive features hardwood floors throughout the living, dining, and bedroom spaces. The kitchen, porch, and bathroom all have ceramic tile. The brand new kitchen features wood cabinetry from our friends in Southern Pines, soft close drawers, and farmhouse style accents. The amazing black pearl granite countertops offer a honed matte finish and accent the beautiful undermount infinity edge stainless sink. Open shelving finish off the details along with beautiful stainless appliances. Did we mention a gas range? Now your culinary dreams can become reality!
Let’s talk about the porch/mudroom. It’s now beautiful - but oh my, it was not. There is now a lovely enclosed laundry closet, a beautiful tile floor, and amazing sitting area. With easy access to the kitchen and dining room, it is now part of the living space of Greenland.
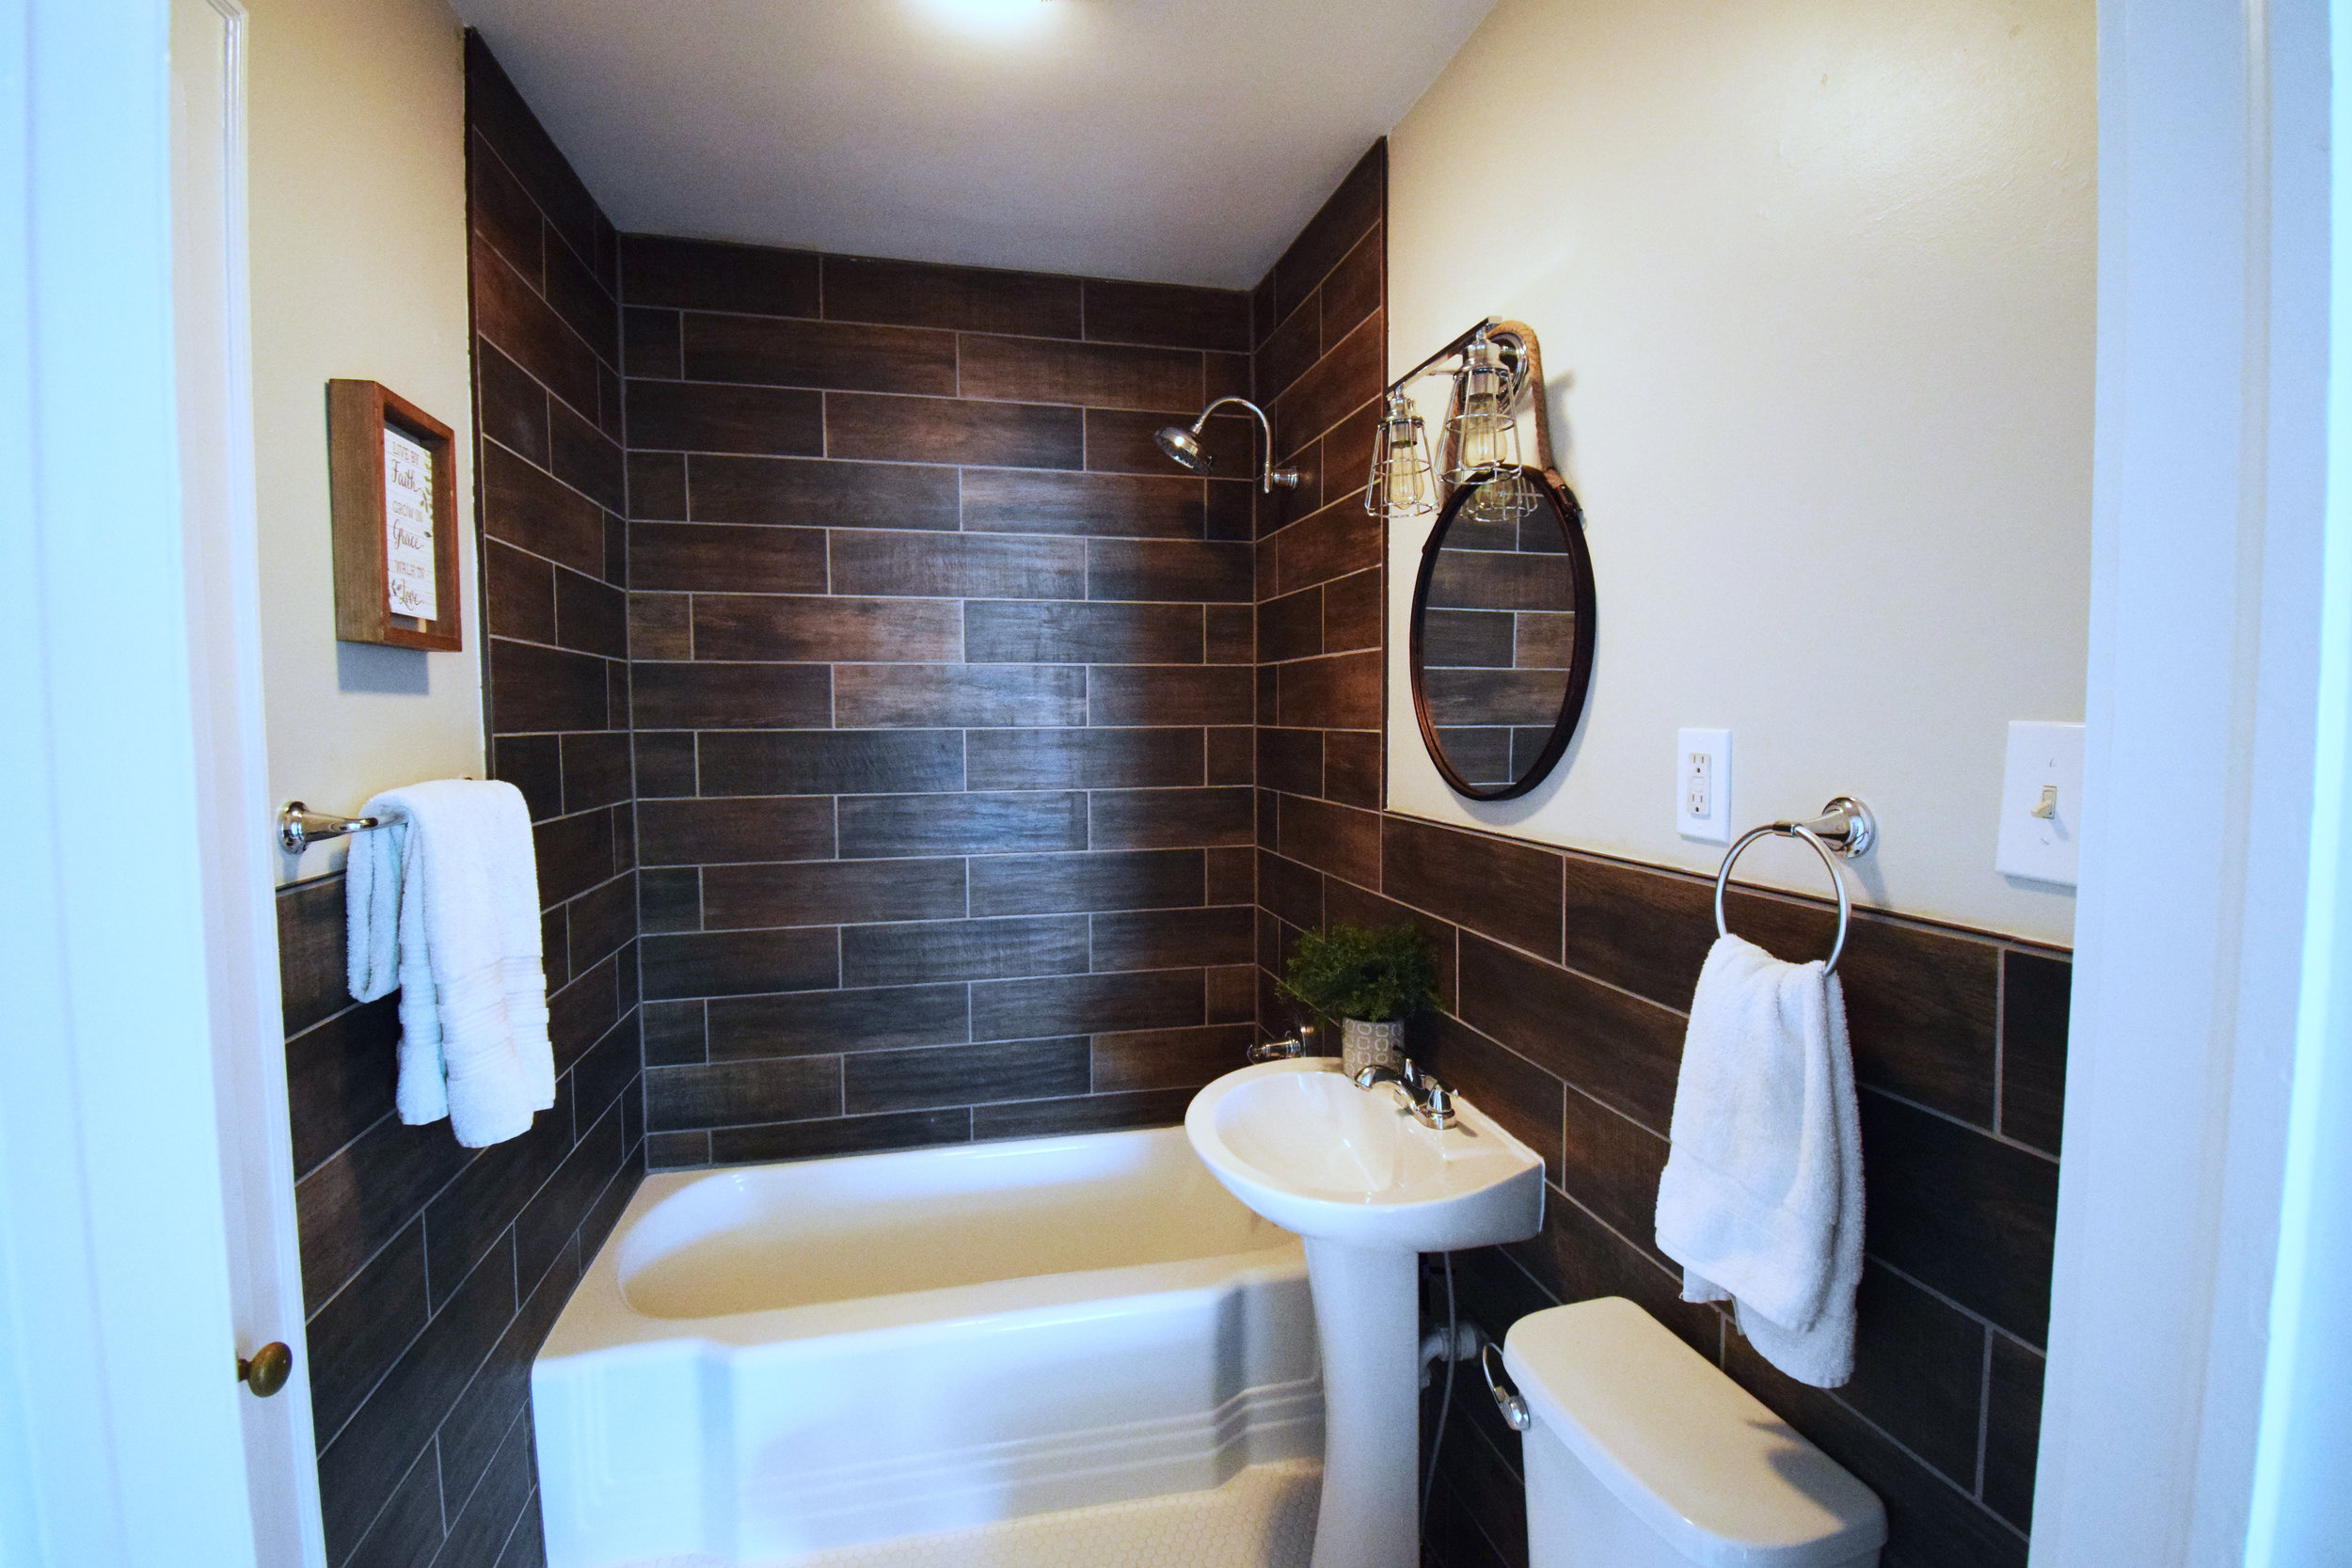
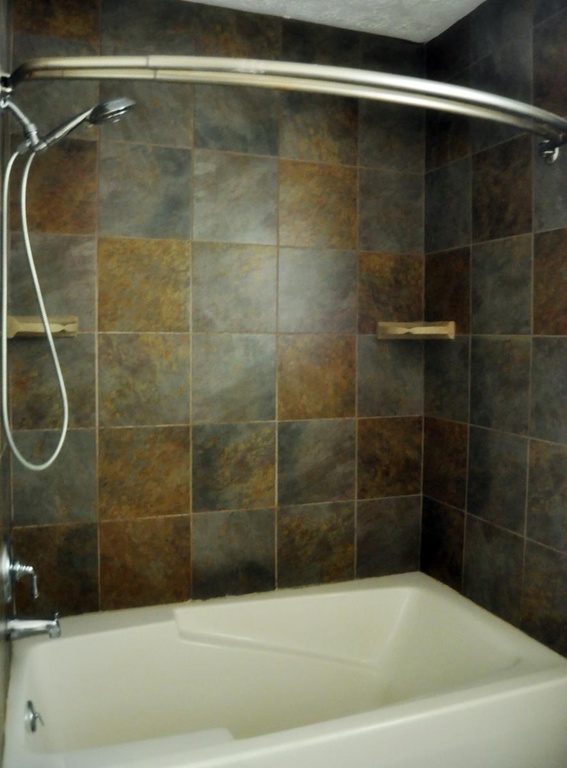
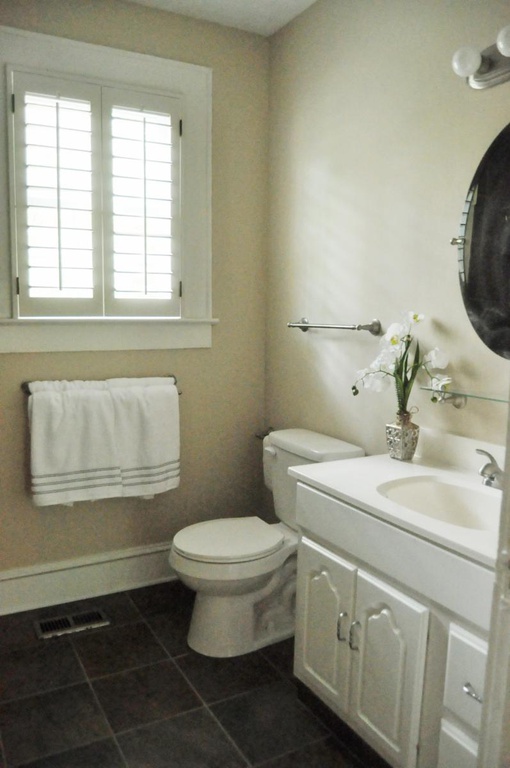
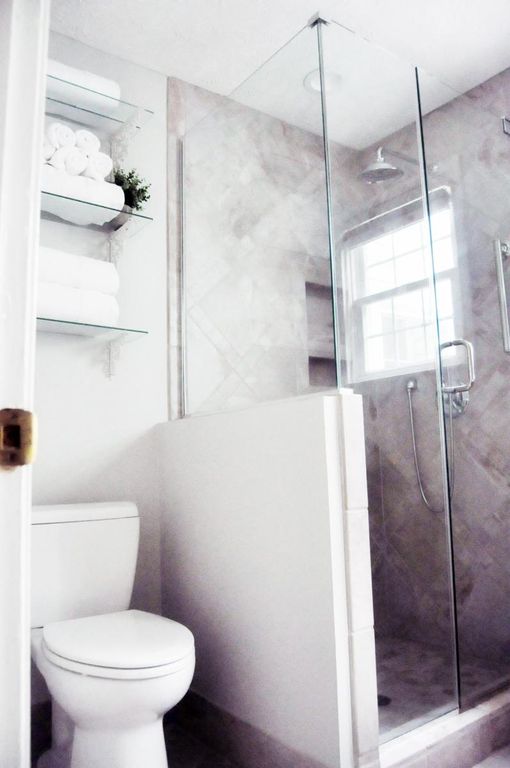
Greenland Drive features a beautiful fully tiled bathroom, complete with pedestal sink and storage closet. The vintage iron soaking tub has been restored and holds the water temperature for so much longer than a plastic tub insert!
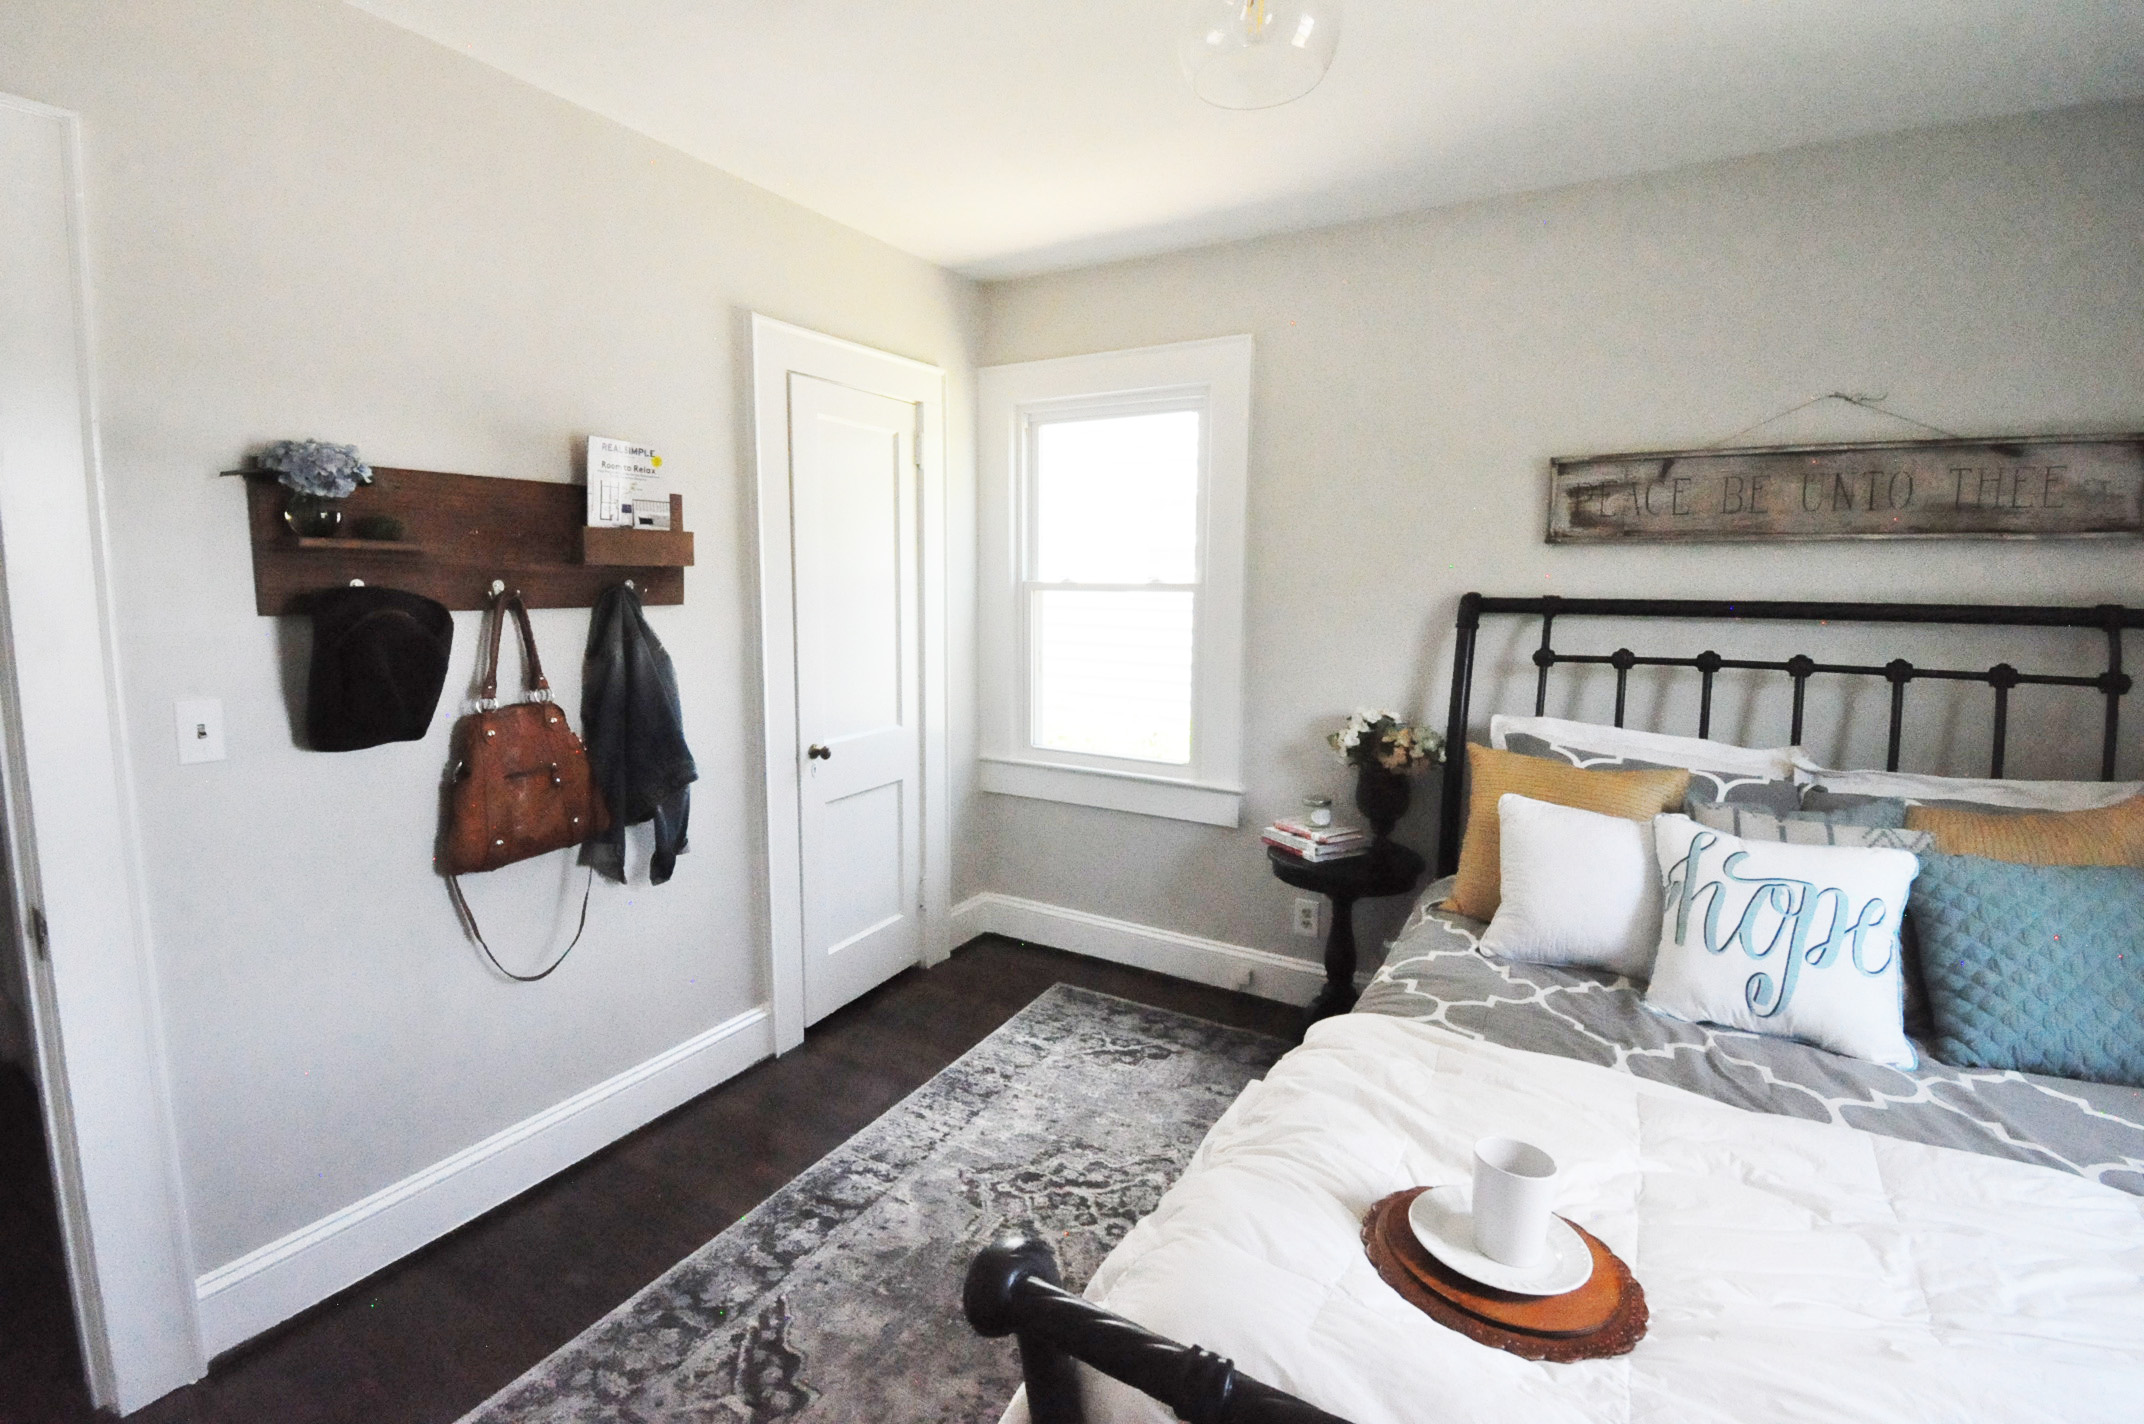
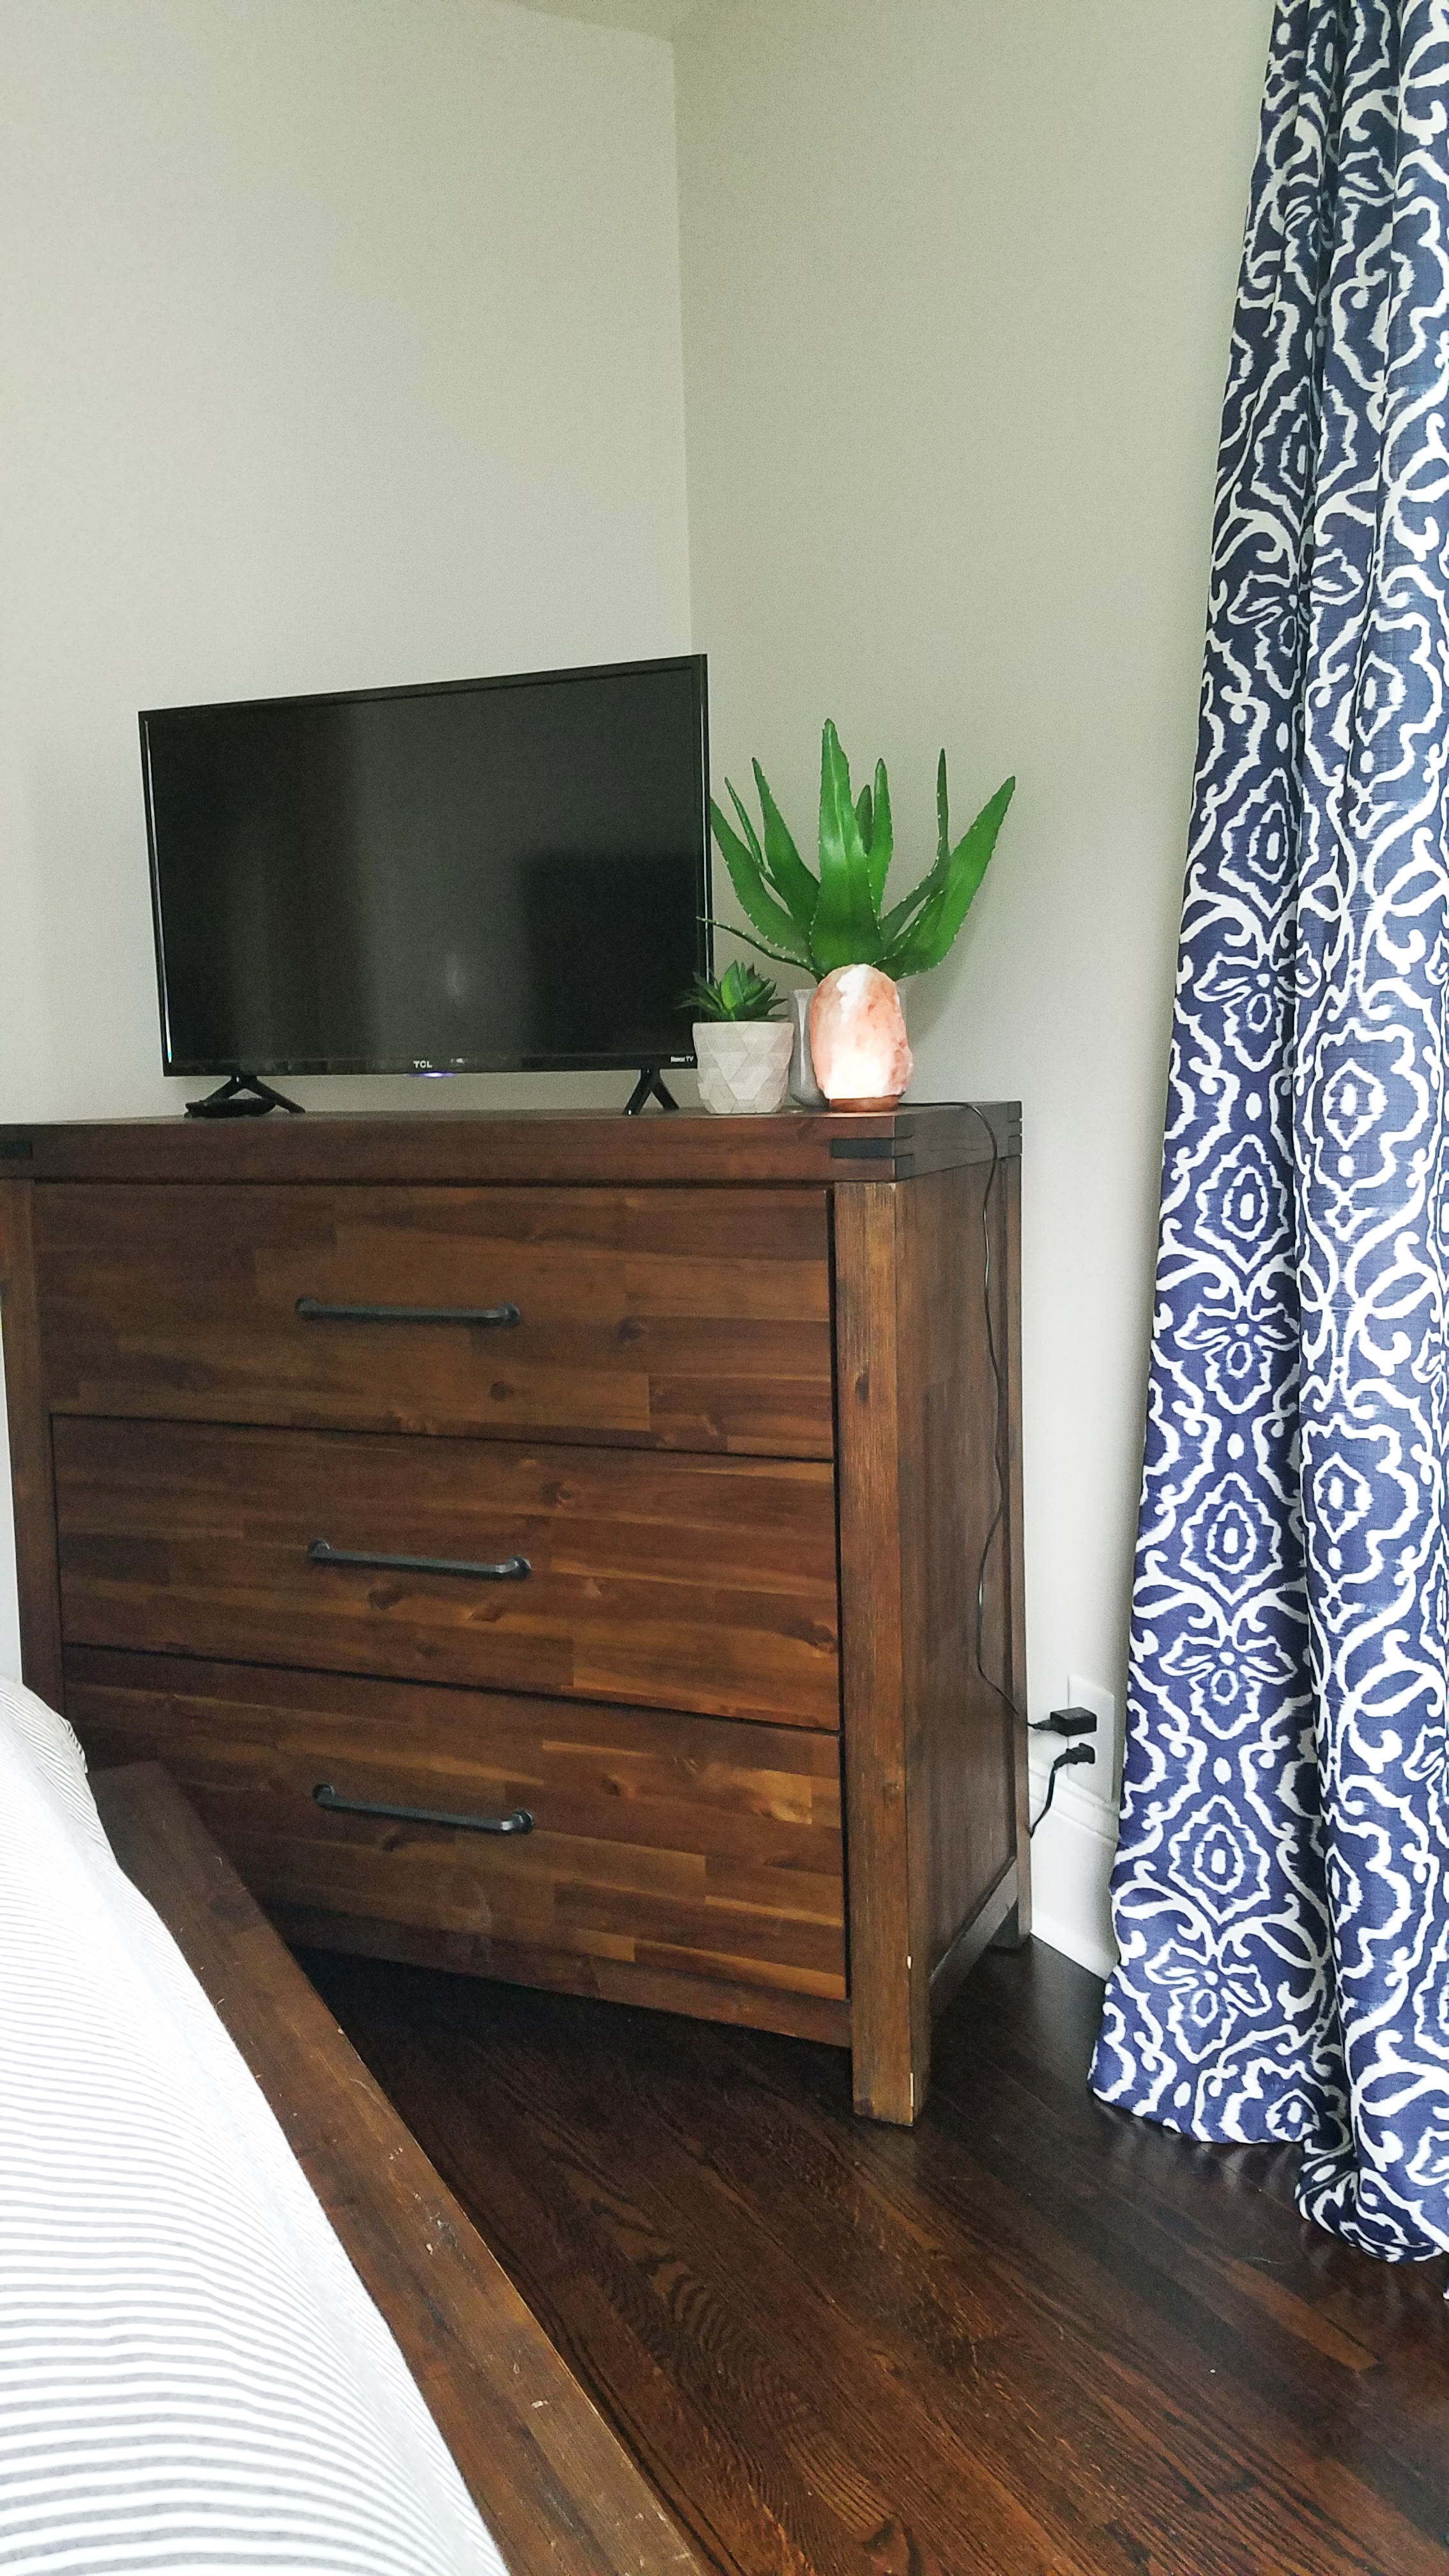
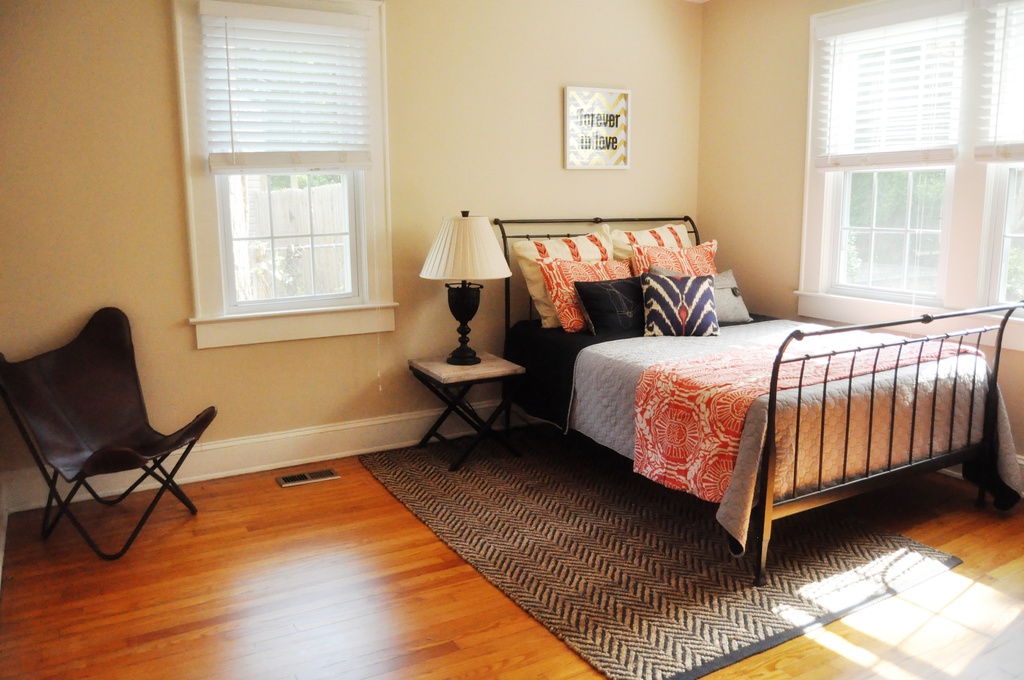
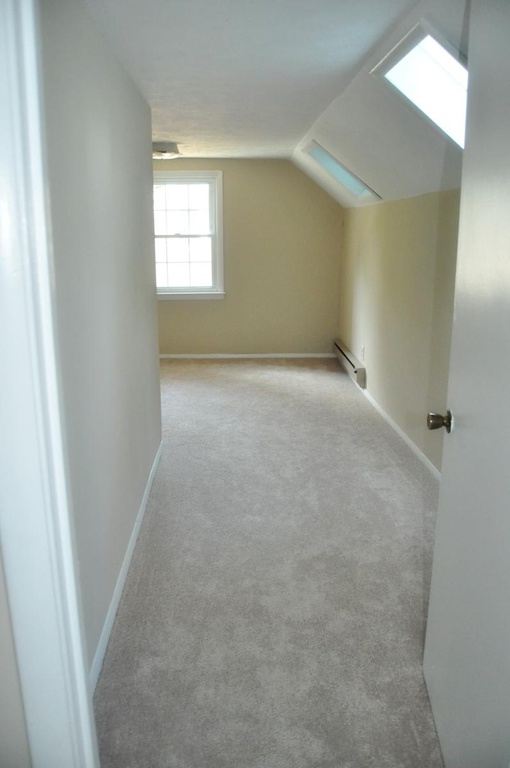
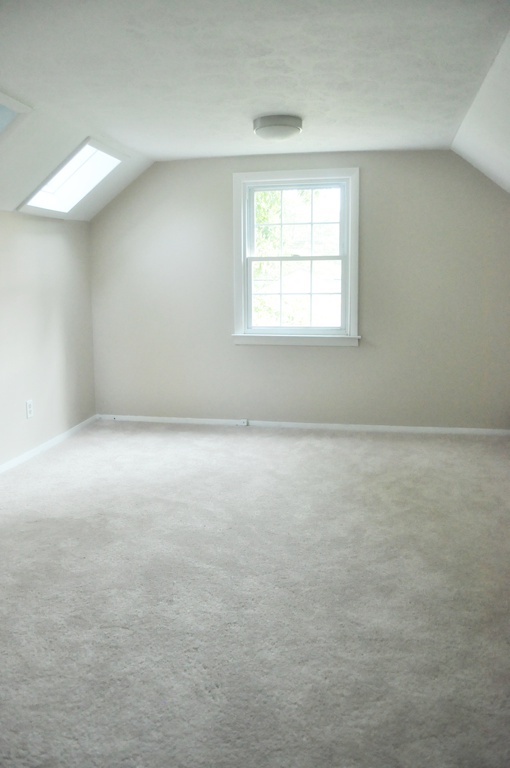
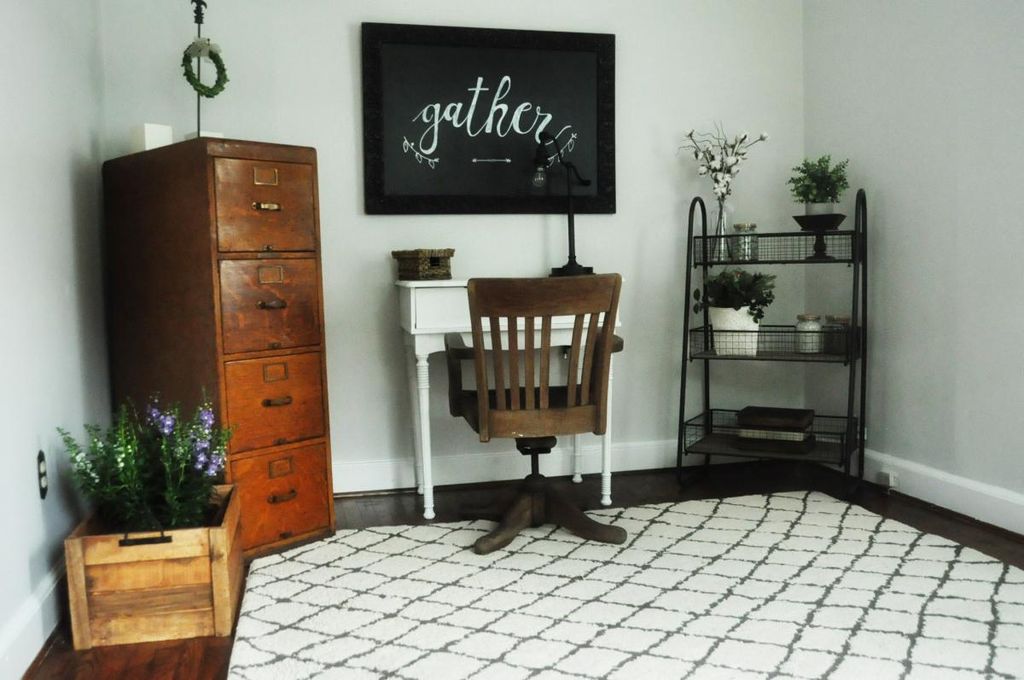
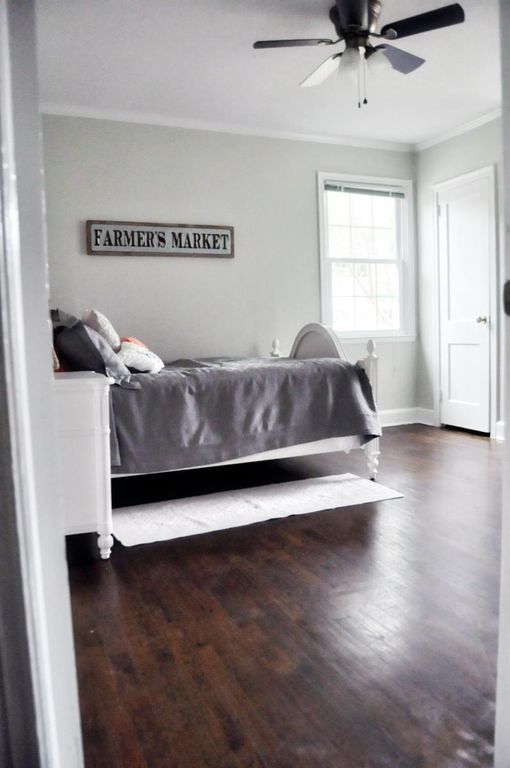
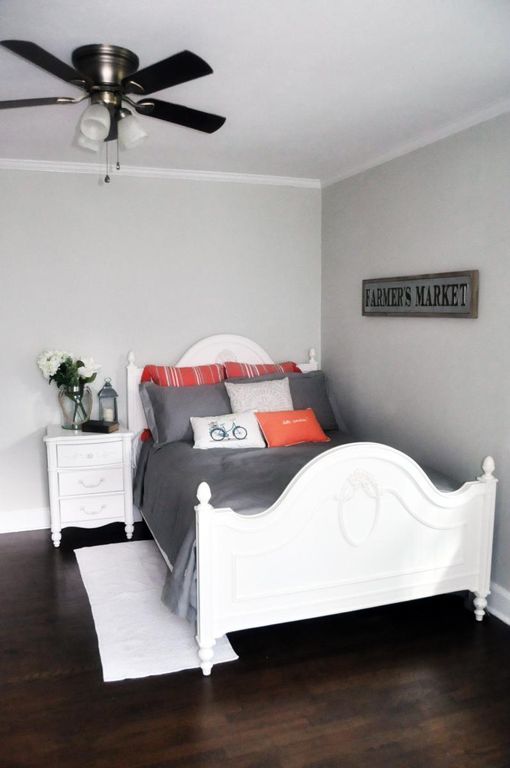
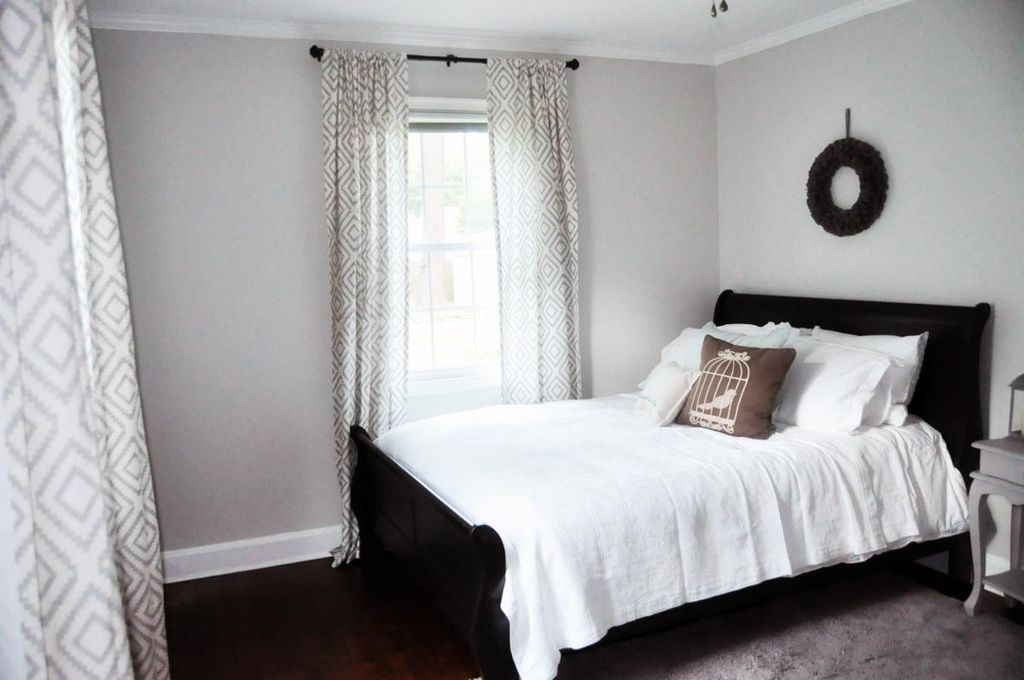
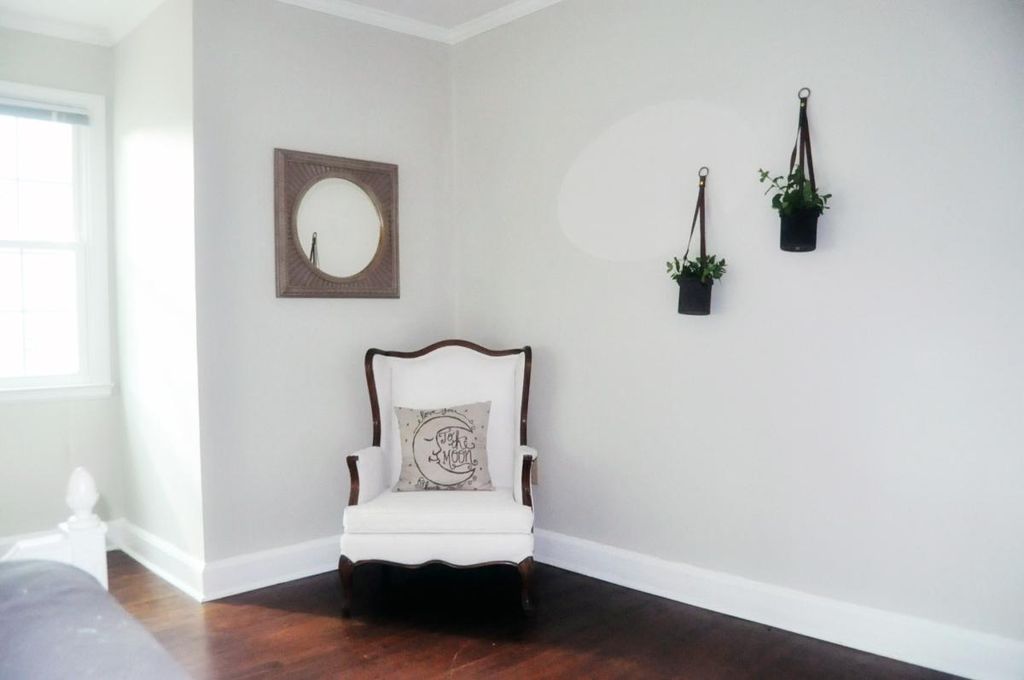
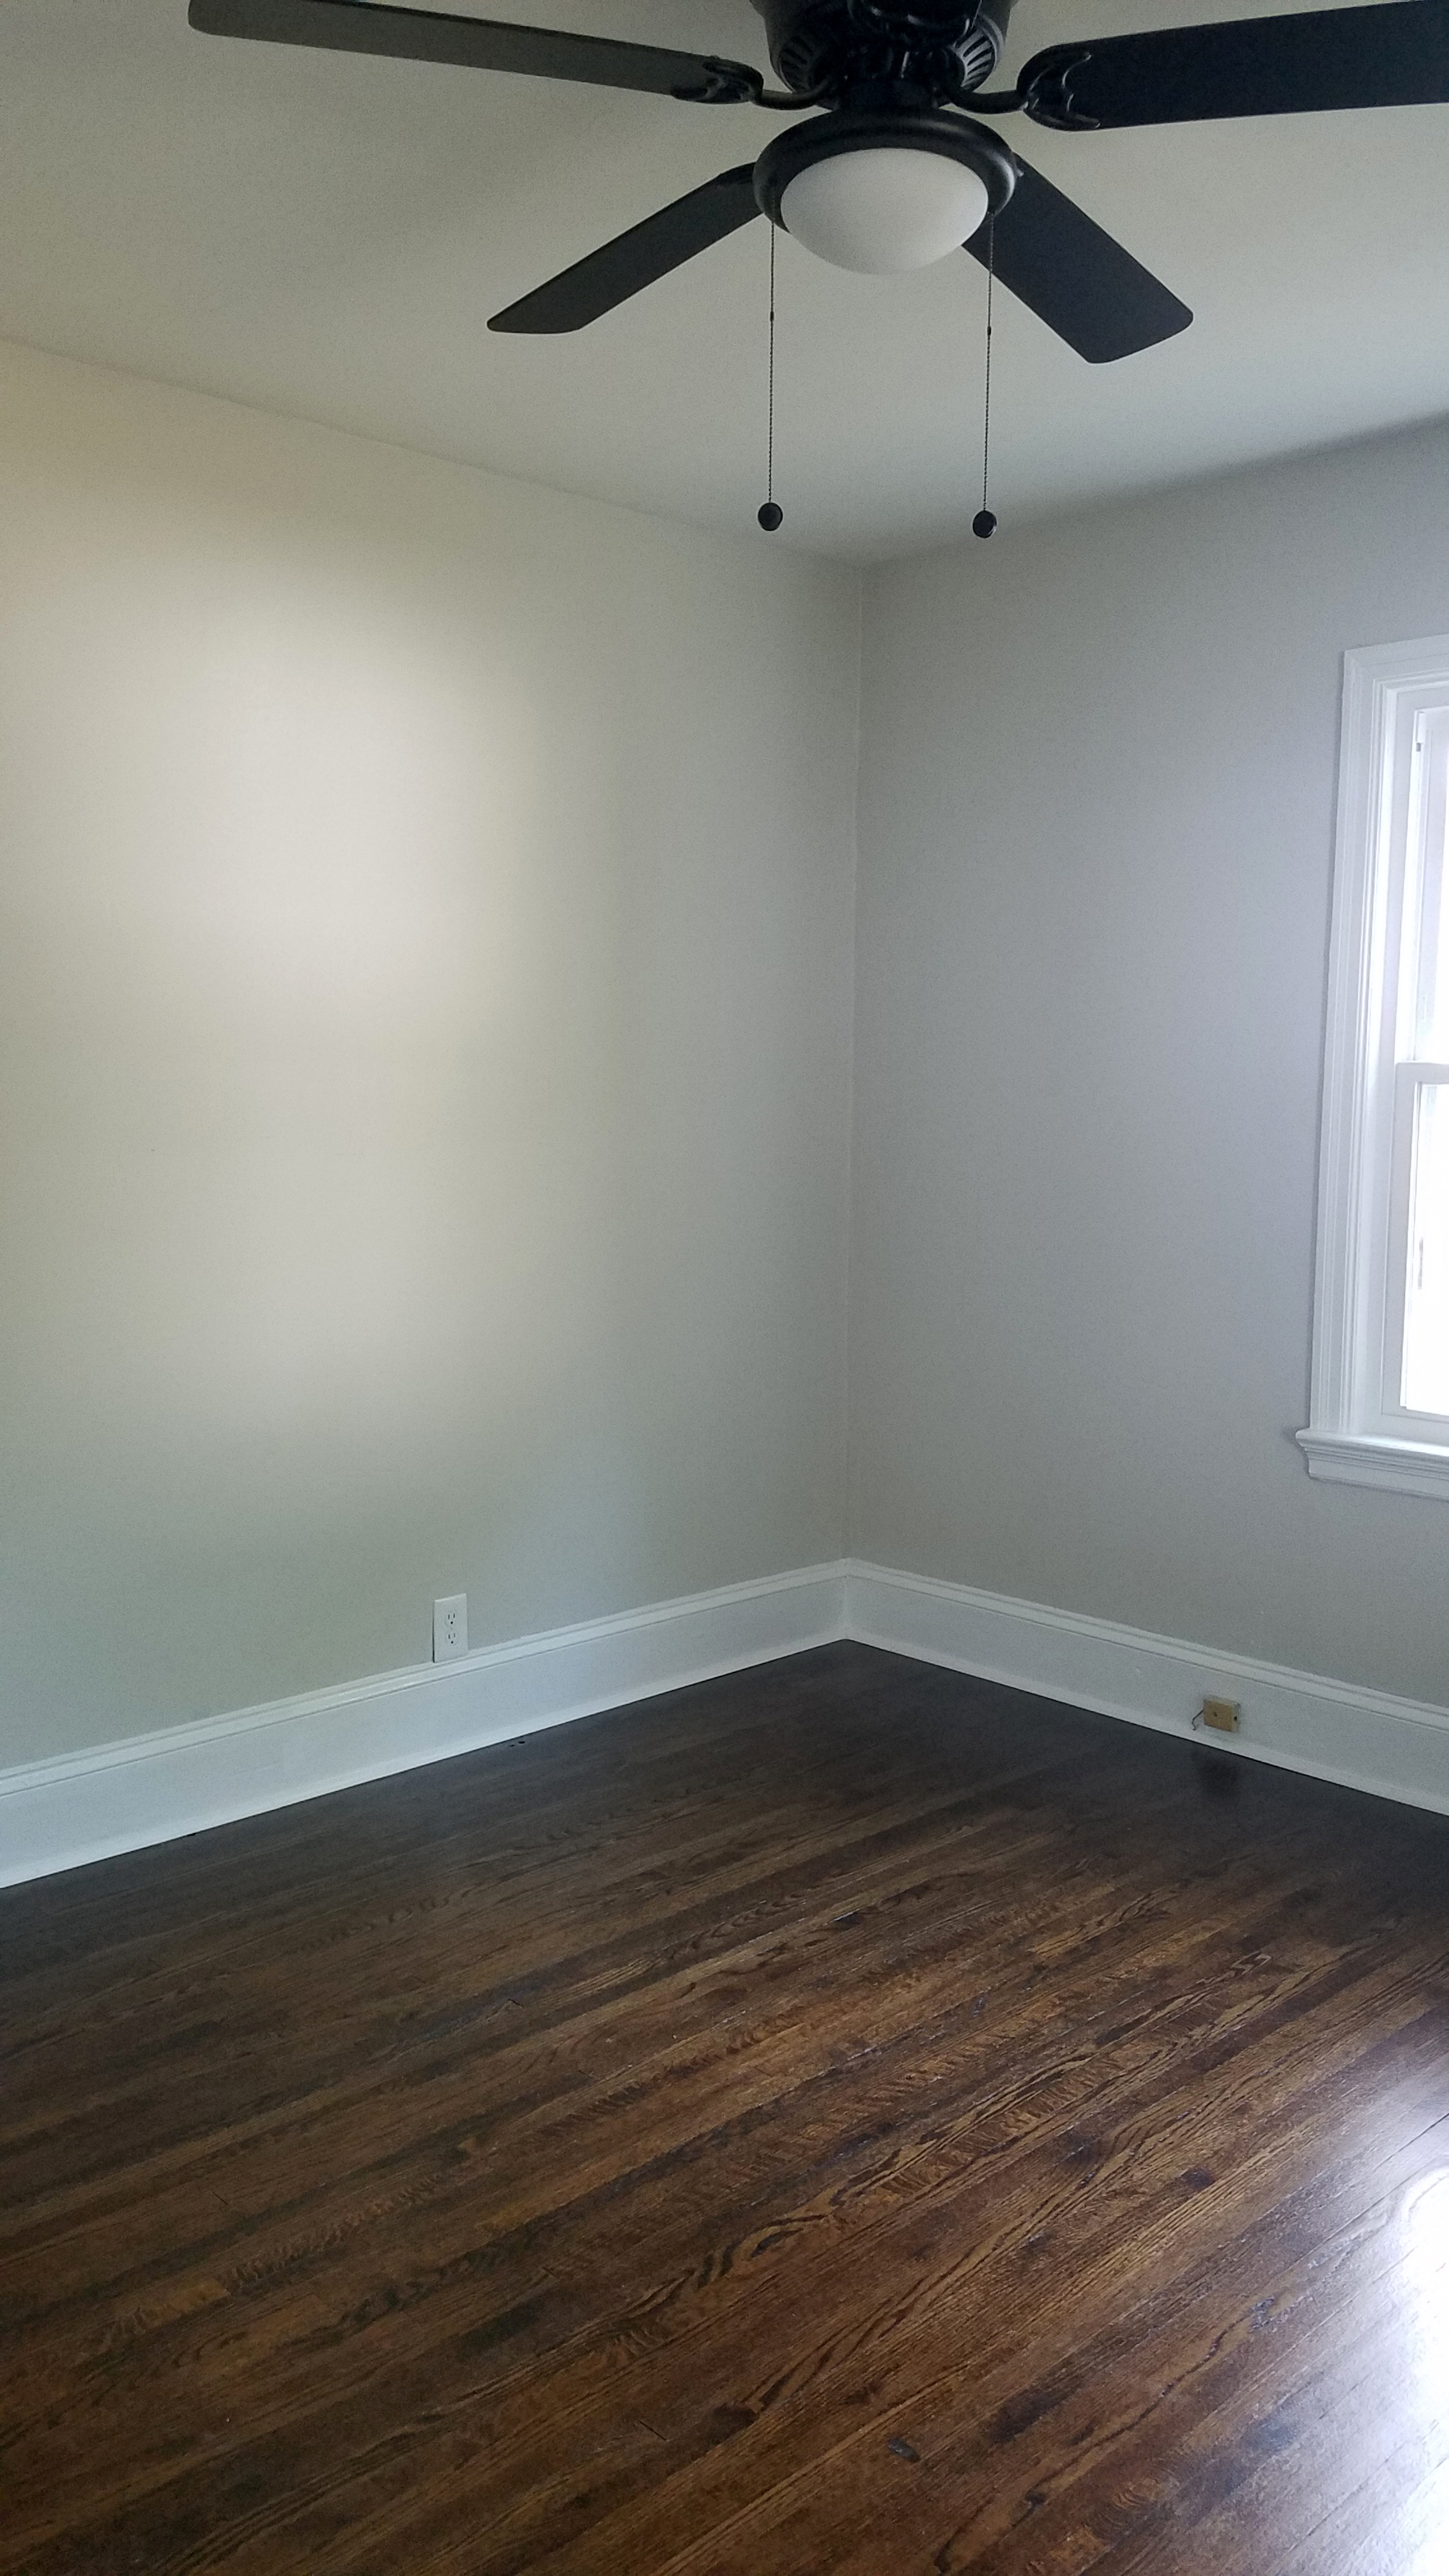
There are two bedrooms in Greenland, both of equal size and both have a closet and two windows. Vintage hardware adornes the doors throughout the home and the doors are solid wood. The home features a new roof and windows for maximal efficiency as well.
Living is easy at Greenland and you will enjoy the vintage charm with updated design. We are so pleased with the outcome and believe it is now a home to love. We would be remiss without thanking the amazing guys that helped us with the project. If you need someone to bring your dreams so life, rest assured that they can help you achieve that goal! You can find their information in the “about us'“ tab on our home page! Special thanks especially to Geo Livingston, Darin Halford, Don Armstrong, Colin Sherrill, Justin Haire, Ricky Hair Jr., Dustin Brewington, Clint Suggs, Kevin Williamson and Ron Geddie on this project; y’all are lifesavers!
Greenland is already home to our newest client. She is a brave soul that reached out to us earlier this year and reserved Greenland as her new home - even in a state of mess and chaos. We were so thrilled that she had the confidence in us and were so delighted to find that she loved her new home as well.
“Whenever you are creating beauty around you, you are restoring your own soul.”
We hope you enjoyed this home tour. Forgive the imperfections in the photos - some day I will really know what I am doing! Don’t hesitate to leave your comments below - what did we get right? What did we miss? We love hearing from you!
Until next time, go on loving your home!
-Casey
CELEBRATING FRIENDS
Good Morning Friends!
It has been quite a week at the Benander house with Carl’s change of command ceremony, celebrations, baseball tournament and first communion. We are blessed to have family visiting to joint in the festivities and we have enjoyed the time so much. It always amazes me the caliber of the families we engage with and the community we have.
On that note, we were also saddened this week to say goodbye to some of our long time friends, Sydney and Adam….and now Baby WILSON! When Sydney and Adam first contacted me to rent our home on Kelburn drive, they were dating and moving to Fort Bragg. I had the pleasure of speaking with Adam’s mom on the phone and she provided me with a great reference for Adam. That reference, however, came with a condition that I try to ensure he asked Sydney to marry him! Ha!
Fast forward life, now four years later, Sydney and Adam are married and have welcomed adorable little Wilson into their world. As they were moving out, I had the chance to hold Wilson and also finally meet Adam’s mother. It was an honor for me and it was fun to joke about the fact that she “owed” me for the engagement success and now her new grandchild :) We had a lot of fun.
Last night, Sydney posted this on facebook and it brought my heart joy:
Goodbye Fort Bragg, hello Fort Campbell. Fort Bragg will always be special to us. We got engaged to married to having our first son in this amazing home. Fayetteville, NC we can’t forget you or the 82nd Airborne! ❤️💙
Homes should be the place of security. The place you feel safe to live, grow, and develop as a person and a family. When we started Haymount Homes, we wanted people to love their surroundings and focus on loving their life. Adam and Sydney’s story has shown just that and we are grateful. Over the last few years, our homes have seen several proposals and engagements, so I know there is more fun in store!
Thank you again Baker family. Though we are sad to see you go, we look forward to your return. Remember, “All Roads Lead to Fayetteville.” God bless you, dear friends!!
- Casey
UNDERSTANDING PAINT SHEEN
Understanding the different sheens of paint - and where and when to use them!
Happy Spring! There is something about spring weather that inspires change. I think it is the season turning over and the new life of spring replacing the dreariness of winter. Don’t get me wrong - I love the coziness of the winter season, but there is a turning point where I am ready to move beyond the dark nights and into the fresh air and sunshine of spring.
Spring brings the energy of change…and with it comes spring fever. For me, that means cleaning house. The funny part is, once my house cleaning train begins, suddenly I am inspired to do more. I see a transformation of decluttering and a space seems new all over again. So, I start thinking about refreshing the space, which usually leads me to my most economical and high impact solution - paint. It’s kind of like the “if you give a mouse a cookie” book. If you give me an hour and a trash bag, I will eventually want to paint a room :) It’s a small disease I have; unfortunately, it’s a chronic illness!
Paint means a lot of things - you find that out the minute you step foot in a paint store. Once you have chosen your paint color, the next question is going to be about what paint sheen you will choose.
There are lot of reasons to choose certain sheens, but I wanted to provide a quick overview on what benefits each each provides, how it is most often used, and when to use each type. Hopefully that will be helpful to anyone out there that is having this question themselves.
Most often, paint can be found in the following sheens:
Flat
Eggshell
Satin
Semi-gloss
Gloss
This can get more complicated by each brand. For example, Sherwin Williams adds additional names to their sheens like Low-Lustre, Pearl, flat Enamel and Matte. Understanding the type of sheen you need will allow you to enter any paint store and ask for the sheen you want and they can provide you with their brand’s equivalent. While there are variations on each type of sheen, this should give you a basic overview. Let’s begin!
FLAT
Flat paint is your most inexpensive paint. It is the most basic of the bunch and is the most economical. For this reason, flat paint is often used in new construction. It costs less, covers easily and is easy to use. Flat paint also tends to hide imperfections and flaws in surfaces. Flat paint is often popular in older homes because walls are imperfect and the paint does not have a reflective quality that highlights flaws.
The drawbacks to flat paint is mostly durability and sheen. It is exactly what it says it is - flat. There is no luster or warmth to the paint, and there is also very little durability. In fact, you can scrub the paint right off the walls if you use water and a rag (or we found out with Mr. Clean magic erasers!). Thus, if you have a low traffic area with some imperfect walls and are on a tight budget, flat paint will likely get your job done. As for me, I almost never use flat paint. If I am going to spend the time and money painting, I am going to do something that will be more durable and warm.
The only place I do consistently use flat paint is on the ceiling. It is almost never touched and I don’t usually need the reflective quality of the paint there. There are times i have made exceptions to this, but typically, you can do flat paint there with little difficulty.
EGGSHELL
Your next step up in paint is Eggshell. Eggshell is like flat paint with a hint of sheen. Eggshell paint has about 10-25"% sheen in it, depending on the brand. The sheen adds a touch of warmth and durability, without being super glossy. It can handle a bit more scrubbing and traffic, but is still not considered a high durability paint. Because it is not super glossy, it still hides imperfections fairly well.
If your budget allows, I would make this your basic minimum paint level for most walls in your home. If you have a high traffic area, then I would upgrade to satin and here’s why….
SATIN
Satin paints are usually about 25-35% sheen. That is a great combination of durability and warmth, without being high reflective and shiny. A satin finish allows a great level of durability (think good solid scrub on the wall), and will not fade as easily. Satin finishes will show imperfections a bit more, but they offer forgiveness for marks and spots which can be removed.
If you have higher traffic areas, pets, or kids (or maybe you are just rough on your living space!), then satin paint is a great happy medium. It does cost more than its little sister Eggshell, but usually lasts longer, can be cleaned, and offers great warmth to a space.
If you are painting a kitchen or a bathroom, this should be your minimum level of sheen. You can also incorporate some anti-bacterial paints into satin for these areas, that is often a good idea since these types of room seen a higher level of moisture.
SEMI-GLOSS
Anytime you see gloss in the title, we have moved into “shine” zone. Gloss paints have more gloss in them. Like in our other paints, more gloss means more durability, but also higher sheen. Now you are going to see more flaws in whatever surface is covered in semi-gloss paint because the gloss will reflect the imperfection when light hits it.
Though it does highlight imperfections, the trade-off is great durability. I like to use semi-gloss paint on cabinets, trim and baseboards because they see heavier wear.
Semi-gloss paint can come in a variety of sheen percentages - anywhere from 35-70%. The higher the sheen, the more durable and shiny the surface will be. There is a recent trend to paint semi-gloss on walls, but for me, it is too reflective.
GLOSS
Gloss paint is glossy (shocking, right?). When you open a can of gloss paint, you’ll know it. Even in the can, gloss paint is thick and shiny; it’s actually quite beautiful. Gloss paint is my favorite for a front door - bright, shiny, and thick. High gloss paint is durable and can be scrubbed and scrubbed. It is also the most expensive since you are paying for that gloss. Some people really believe in high gloss for all cabinets and trim, but I prefer a slightly more matte look. High gloss will highlight any type of surface flaw, so remember that when applying. It is also a little more difficult to paint with as it is very thick.
OTHER CONSIDERATIONS
Room Position
Natural light and also the size of the room can help you decide on your paint sheen. Rooms that are filled with natural light will tend to throw more sheen and color throughout the room. You can safely choose a lower sheen paint (like eggshell) and probably have the same level of warmth as a satin painted room. The inverse is true as well. Poorly lit rooms often benefit from a higher sheen. What little light there is in the room, can more heavily bounce off the sheen and warm up the space.
Wall Texture
Walls that are textured or imperfect will look better in a flatter sheen; it will help smooth them out. Just remember your trade off for the sheen is lack of durability.
Moisture Level
Rooms suspect to higher moisture often benefit from a higher sheen paint as it is more durable and less suspect to moisture retention. The sheen can help reflect moisture.
Room Size
Higher sheen paints allow light to bounce and help make rooms feel larger. It sounds crazy, but can really help ‘open up’ a room visually.
Same Tone, Different Sheen
One of the most popular trends right now is painting the trim and the walls the same color. This look is seamless and really can open up a room, giving a larger visual appearance. The best way to achieve this look is to paint the walls in a lower sheen paint, and then paint the trim in a higher sheen. You want a nice level of contrast here.
Depending on your taste, you might consider an eggshell wall with a semi-gloss trim. If you don’t mind spending a bit more and having a bit more light bounce in the room, then going to a satin finish wall and high gloss trim can work as well. The result is really stunning! The picture above this section with the fireplace illustrates this technique.
“All you need to paint is a few tools, a little instruction, and a vision in your mind.”
I hope that this helps you determine what type of paint sheen is best for your space. Remember to consider cost, lighting, room size, and surface texture when choosing your sheen. Again, my catch-all favorite is satin for walls and semi-gloss for trim, but you should feel free to experiment and find out what appeals to you!
Happy painting!!
-Casey
AVAILABLE SOON - GLENVILLE AVE!
Available soon - our Glenville Ave Haymount Homes
We are excited to announce that our newly renovated Glenville Ave Home is going to be available March 30th. If you have been silently stalking our Haymount Homes collection, now is the time to act (you know who you are :) We are sad to see our current clients go, but the military has its ways of changing plans on all of us! We wish them nothing but the very best!
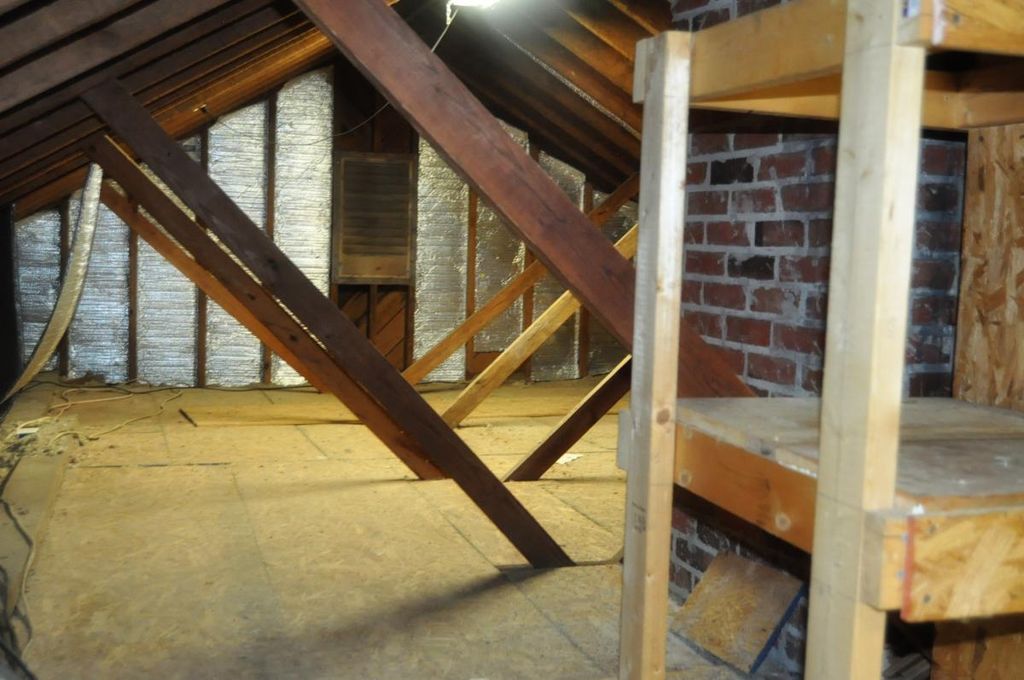
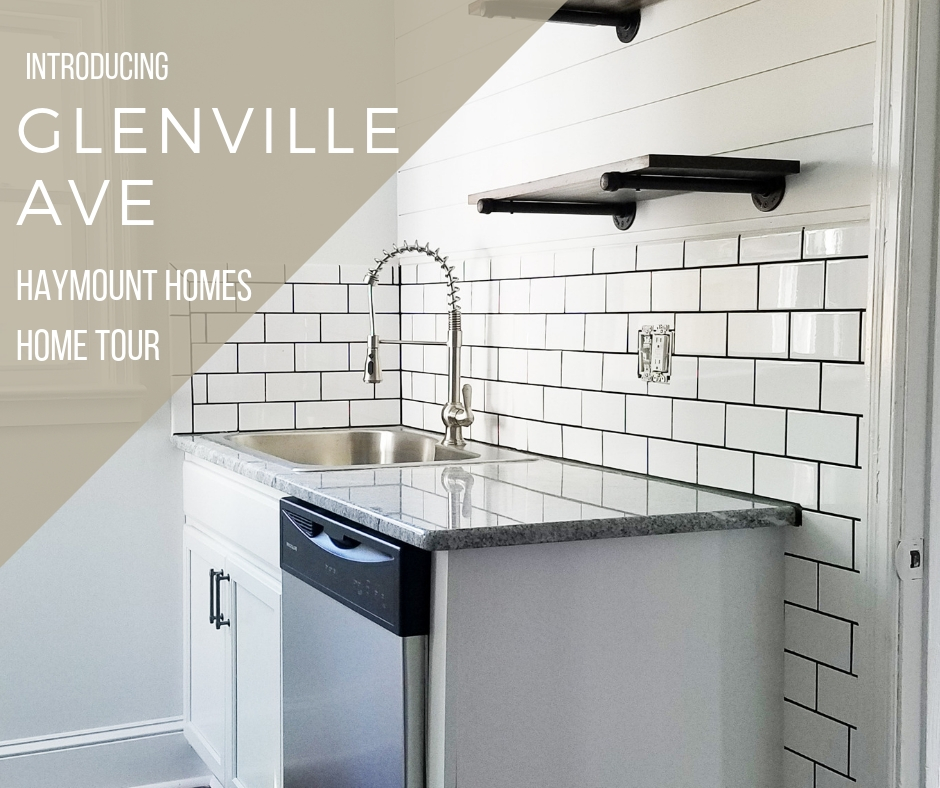
Glenville Ave is sure to be your new favorite spot. With renovations just completed, this darling home boasts subway tile, gas cooking, hardwood floors and more. You can see even more details here. New appliances, energy efficient windows and roof, and custom designs throughout. Love shiplap? Us too - you'll get plenty of it! Featuring two bedrooms, and a full bath, full back yard, attic storage, a workshop, and additional storage building. With lawn care included, off street parking and top rated Terry Sanford Schools, you will be easily situated in convience. A quick walk to Terry Sanford High School or Fayetteville Tech. Centrally located and only 10 minutes from post. Don't pass up this rare opportunity to enjoy classic charm with fully updated style!
“Coming home is one of the most beautiful things. ”
- Casey
The Best White Paint You've Never Heard Of
Discover the only white paint you’ll ever need - and figure out how to get it!
My mom recently asked me the question that I have heard (and had myself) more than once. Her question was , “Do you know of a white paint that is actually just white?”
The question is simple enough, but if any of you have had the experience of selecting a white paint, you know it is far from simple. There you sit, immersed in paint chips, each a slightly different shade of white and your head spins. You think to yourself, “This one looks yellowish; this one gray; this one looks blue; I am pretty sure this one looks like lavender, wait, maybe gray." Finally, after putting them up on the wall, against the baseboards, up by the light, and in the shady corner, you withdraw from your pile what you know to be the winning chip…only to find that it doesn’t seem white at all. You begin to second think yourself, your lighting, your walls, your life…wait, well…maybe not, but you get frustrated.
Defeat over choosing a white paint is one of my least favorite first world problems. Sure, we have bigger fish to fry with our lives, including almost anything that is more important than paint. However, you are talking about living in a space that you want to love and also spending the time and money to paint it. It can be frustrating to use your resources on poor decisions and things that don’t work well. Making a good selection is important and does matter, but we do need to keep it in perspective.
So where does that leave us? I would like to introduce you to the best white paint I know and you have probably never heard of. It’s the same white paint I told my mom to ask for at the paint store. This white paint is not something with a fancy name like “white dove”, “iced mountain”, or “creamy marshmallow.” It is not fancy, but like your favorite pair of jeans, just seems to work every time. This white paint is the secret of the contracting world. In fact, if you cannot quite seem to find the perfect white paint match to the trim that was in your house when you bought it, it’s probably because you don’t know about my favorite secret paint. That paint is B2.
B2? Yup. B2. I know - what on earth is B2, you ask? B2 is simply white paint with a drop or two of black added into it to “make it dirty”. The black paint is subtle and it takes the edge off of the white, but does not compromise the crisp white color. B2 is like a soft neutral white. It never reads “yellow” or “gray”, it doesn’t seem to take on its surrounding colors. It is not too warm, nor too cool. B2 is simply just white. It looks white, it reads white, and it is white (well, dirty white anyway).
Here’s the real life secret. When my mom walked into the paint store and asked for B2, the man helping her replied, “Welcome to the club,” when she placed her order. She was now part of the secret society, the elusive contracting club that knew about B2. They all had a good laugh, but when my mom called me later that day, she was so happy that her cabinets where just white! She wanted white and she got white…..B2 was her new best friend.
All of the photos I have listed in this post are using B2 white paint. It’s simple, it’s clean, and it’s trustworthy. You can use any brand, any sheen, and any level of paint and simply ask for B2. Find a brand/type of paint you love and trust, and then simply ask the store for B2. They should know what to do from there.
““Without black, no color has any depth. But if you mix black with everything, suddenly there’s shadow – no, not just shadow, but fullness. You’ve got to be willing to mix black into your palette if you want to create something that’s real.””
I have a lot of great shades of white that I used in my decorating. Some of my favorites are Benjamin Moore’s White Dove, Sherwin Williams Pure White, and Sherwin Williams Extra White. They are all great and have their use in certain places. However, when you just feel stuck and want to ensure you end up with a pure clean white, you can always fall back on your newest trusty friend, B2. I hope you will give B2 a try the next time you are looking for a basic white paint. It’s loved for a reason - probably because it just works. My mom is the newest big fan. I’d love to hear about your experience with B2 if you do decide to try it. Hopefully this at least helps unravel the white paint mystery and gives you focus!
- Casey
COMING SOON - PEARL STREET - Available 3/1/2019
Don’t miss out on renting our Pearl Street Haymount Home!
Hey everybody! Hope you are all enjoying our transition to spring. We are looking forward to more sun and brighter days.
I was notified today that our clients at Pearl Street have received military orders to move elsewhere. We are sad to see them go because we have loved having them!
However, it DOES mean that our fabulous Pearl Street. home is going to be available a bit sooner than we thought! If you or someone you know is looking to rent a home in Haymount, please contact us right away. We are going to be scheduling showings soon. This home classically rents out very quickly, so please do let me know if you would like to take a peek!
Here is an overview of the home, and you can access the information on our website here at Pearl Street. and also on zillow at 547 Pearl Street, Fayetteville, NC 28303. This home features great materials and designs, and we know you’ll adore it like we do!
Thanks for passing the word and let me know if you are interested or have any questions. I’d love to answer them for you!
All the best - enjoy this gorgeous transition to spring!
- Casey
Rent for Good - Charitable Giving Contest
Donate your rent to charity - tell us what local non-profit deserves it!
MERRY CHRISTMAS!
It is with deep gratitude that I write this post. We started Haymount Homes with the intention of investing in our community. Throughout the last few years, we have been continually blessed with amazing clients and community support. We have often been the first to know about our clients’ most important life events: think expecting a new baby, witnessing a new wedding engagement, or celebrating a promotion. We have been introduced to parents and friends of our clients’, given pardon during difficult repairs, and even been fortunate enough to grant our own level of grace through some of their difficult moments. The network of community gets woven stronger with each interaction and we feel the sense of something very powerful developing. We could have never imagined that this journey would be so amazing, and we are excited to see where it will lead.
In that vein, we are thrilled to announce our giving challenge to our amazing clients. We would like to know what local charity deserves your next rental payment. That’s right. We want you to tell us which local non-profit organization is doing the work that you think is making a difference to our community. From the submissions we will choose one winner and our family will donate 100% of the winner’s next rental payment to that charity.
Let us know who is doing the most good and who is out there making a difference in our community. Who is important to you and why? It’s up to you. We want to know and we want to help. Please email me with your submission by January 10th, 2019. We will choose our winner by the end of January.
“Christmas isn’t just a day, it’s a frame of mind.”
Thank you for all you have done for our family; we are beyond grateful. Together we are building a stronger community. We wish you the very best Christmas and the most blessed new year. We cannot wait to hear about your nominations!
- Casey
Anticipation of Christmas
Anticipating what is to come and celebrating what already is…
Good evening!
I hope your Christmas season is going well and you are nearing the finish line of your “to-do’s”. I just had to write a little something that has been on my mind as of late.
The holidays are full of energy and also a time full of anticipation. There is much to do, much to enjoy, and much to be thankful for. It is easy to find ourselves rushed in the pace of all of it. I know personally there are a lot of things I want to do, but don’t always prioritize what is likely most important.
My youngest son, Oliver, is a quiet force in my world. Even though he was born into a midst of chaos (think moving across country 9 months pregnant), he brought a sense of balance and peace to our lives. Oddly enough, we always knew that there was a fourth child that was belonged in our family. We joke and say he “brought balance to the force” (thank you Star Wars).
Oliver reminds me to look at what I would otherwise miss. As the fourth child, he has learned to go with the flow. He has adapted to schedules, games, home renovations, and deadlines. He has been tossed in the car, scooped up from naps, and has played quietly at the sidelines of his siblings’ activities. I will admit to some lazy parenting at this point. Things that were once the staples of holiday traditions, such as trips to the pumpkin patch, gathering fall leaves, or meeting Santa, have somewhat fallen to the wayside. It’s easy to disregard these activities when you have games to get to, homes to fix, and work deadlines to meet. We can start to view them as “not that important.”
So when Oliver quietly approached me last week and asked when he could meet Santa, I had to take pause. I realized that he had never had the chance to visit Santa. That made me sad. His eyes were anxious with anticipation and that made me think; the holidays are so full of anticipation of what’s to come, that sometimes we miss what is actually already present. Here was Oliver ready to embrace a simple holiday tradition that I had overlooked.
I think my excitement often gets channeled into just being efficient. There seems to be “so much to do”, that the energy of anticipation gets transferred into energy of action. There is great discipline in taking that same anxious anticipation and slowing down to truly appreciate what already is. I know it is a bit cliche, but it was important to me to make that known, even if it was just for myself.
We did go see Santa, and it was amazing. We were treated to a night at the Cape Fear Botanical Gardens Holiday Lights (if you have not been, you still have time to go - it’s pretty incredible). Oliver was nervous, but excited, and he calmly told Santa that he most wished for a pirate ship. He also asked for confirmation that he had been a good boy. That was it. Simple and sweet, but totally perfect. Following Santa, we were able to visit Santa’s treat shop, take a caroling hayride and toast s’mores by the fire. It was fun to be together and just enjoy the holidays.
I hope you find yourselves in great anticipation of Christmas this year. The birth of Christ is a time to look forward to and celebrate without a doubt. In that anticipation, I hope you also find new things in your daily life that pop up as things greater than what you anticipated. Whether it be a silly quote from your child, a gesture from a stranger, or a kind word from a friend, I hope you are able to take pause and be in the moment. It is a struggle for me, but I know it is probably more important than anything else I am planning to do. Life happens in those moments; what we plan to do, doesn’t always pan out.
“..that sanguine expectation of happiness which is happiness itself”
Merry Christmas to your family. May the wonder of it all surround you and may you anticipate what is to come and cherish what you already have.
Casey
WORLD MARKET SALE AND PROMOTION CODE!
Happy December Y’all!
Real quick, my friends at World Market have offered our readers a sale code! I absolutely love World Market - great for stocking stuffers, FOOD!, and awesome decor and gifts. Lots of cute teacher gifts here too. I personally am in love with the Swedish Lucky horse designs they have released this year (Carl is Swedish!). Here are a few of my favorites, but be sure to click the link to get your deal! Happy shopping!
Starting December 6th, World Market Rewards Members will get 30% off plus FREE shipping on $100+ Online with code: REWARDFORYOU. World Market Rewards Members must be logged in to receive this amazing deal. Customers attempting to use this offer without a WMR membership will be prompted to join. Click on that link above to start shopping!
Some of my top picks this season:
Head over to check them out! I had fun shopping and hope you do too!
Casey
Restoring Worn and Faded Leather
How to restore faded and worn leather using recoloring balm
Hey y’all! Can you believe it is December? It seems that time flies faster each year. Last night we had a Christmas potluck and it was wonderful to see so many friends. One of the topics that came up was about our two leather chairs (that currently have no actual home) so I snuck them into the dining room. Like most things that have snuck their way into our home, these two chairs had a story behind them. Also, you have to promise to excuse my unswept floors in all my photos. Alas, it’s true….my floors get dirty and I often don’t feel like dealing with it (especially during a project).
I am a craigslist junkie. There. I said it. I love to look for furniture and other household things that someone is no longer needing and see if we can give it a new life. Just like fixing up our homes, I love to fix up something that has been worn and forgotten; it gives it a new lease on life! Not only does it keep landfills from filling, it gives me a fun project with the kids and it is a great creative outlet. The sense of pride from fixing something is really fun!
That stated, Carl is convinced I am going to die someday by meeting someone on Craigslist. Thus, I have to control my habit to the extent that I know he is going to have to get involved to participate in the exchange. This is NOT his favorite thing to do (I know, right? He just doesn’t quite understand the thrill like I do :) Therefore, I have to be picky about what I have him do.
My two leather chair babies were born onto craigslist a few months back. They were out on a horse ranch in Southern Pines (which is a good hour from us) near Pinehurst. In the photos they looked amazing and I thought they would be perfect for staging our next home. They were priced at $300 for the set. Although they were not a “cheap” craiglist buy, they looked like they were well made and actually real leather, so knew they should be worth the gamble. I tried to pretend I did not want them, but I am a poor actress in that respect. Carl sensed he was about to get roped in and offered to go get them (yes, he is awesome).
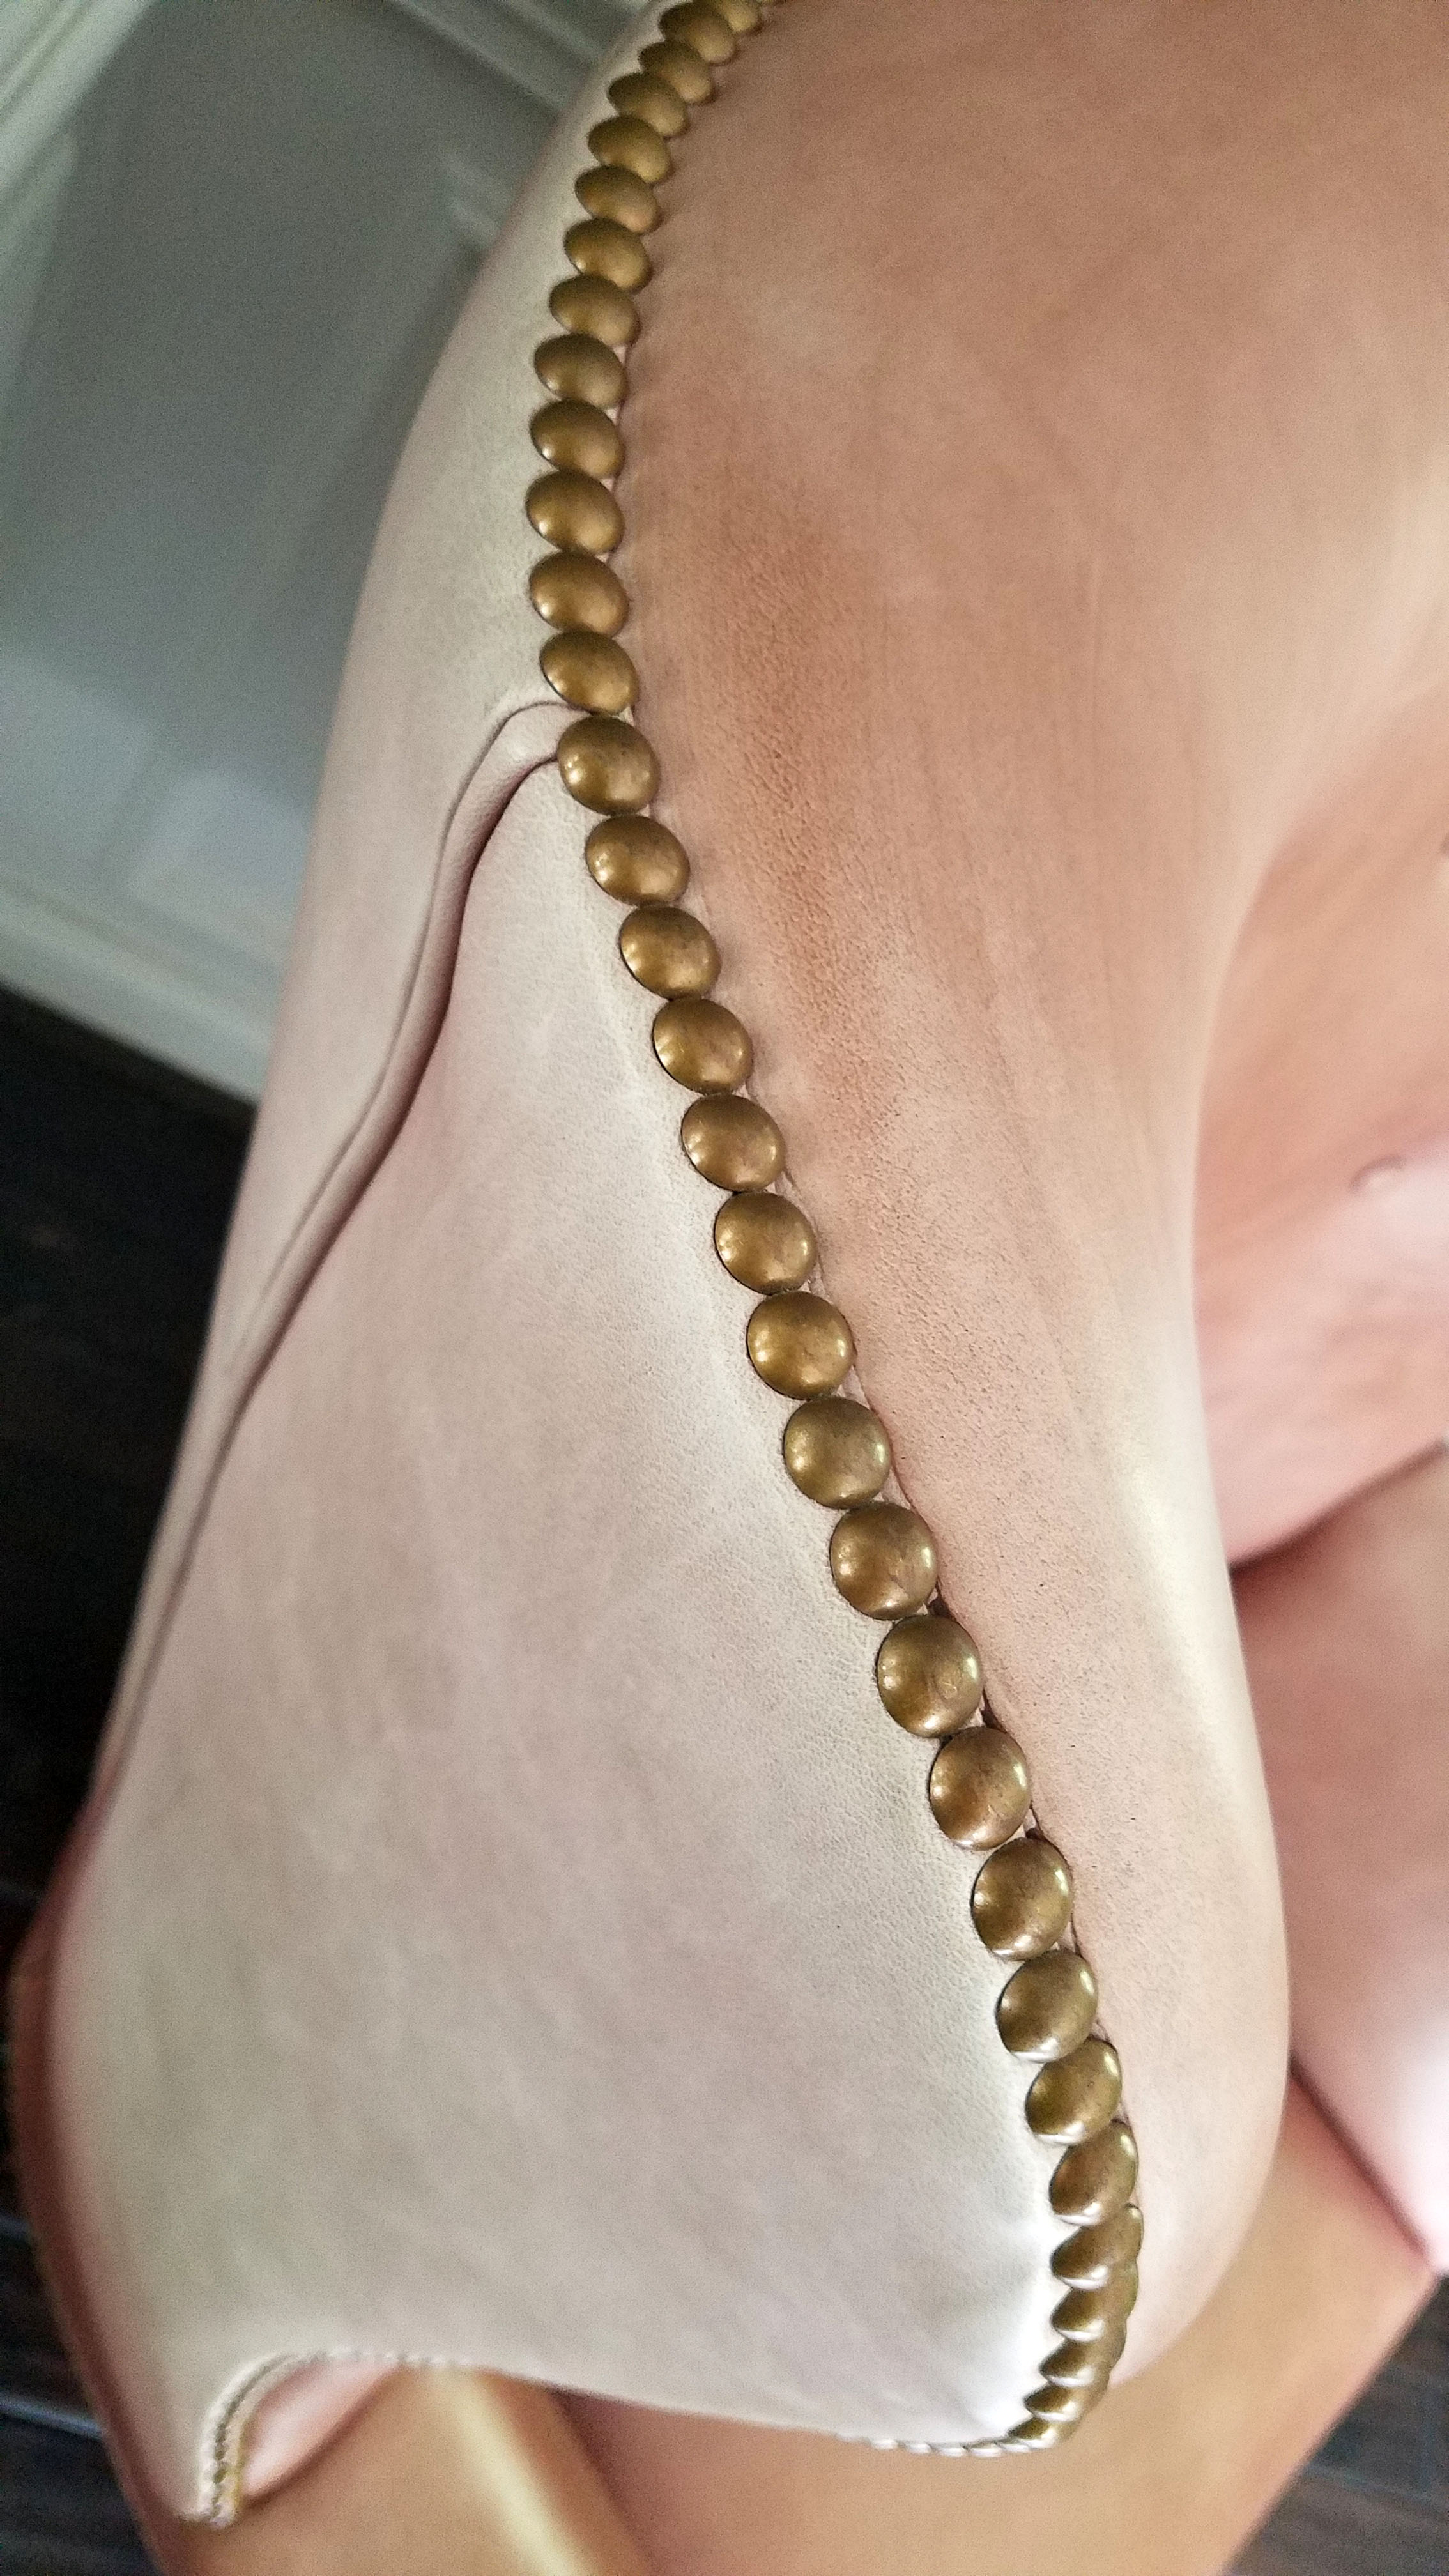
Now, the only real issue with Carl going to get something I want on craigslist, is that he doesn’t quite share the shame discerning eye that I have. Therefore, you can imagine my surprise when my two leather chair babies showed up at our house…..completely faded and PINK (like 1980s mauve pink!!!). !'?#& was the word shouting in my head the moment they arrived. Of course, Carl, who had just driven three hours to get them for me, was less than thrilled that I was less than thrilled (that is the lot of a husband, right?). He even offered to take them all the way back for me, but I could not bring myself to do that. My sunk cost of time and money was too high to just scrap all of it. $300 is not crazy high, but it was high enough that I could not just give them away.
So I had two pinkish faded leather chairs on my hands. What to do???? I could tell they were very well made, so I new that they were likely worth keeping if I could figure out how to salvage them. I considered my options
Just leave them alone. Terrified me. I did not want pink faded chairs. That was out
Recover them. Holy pricey.
Paint them. Seemed like a horrible waste of leather.
Hire someone to fix them. I had no idea who did that or what to even look for.
Stain them. This was the only thing I could figure out to do….so I went with it.
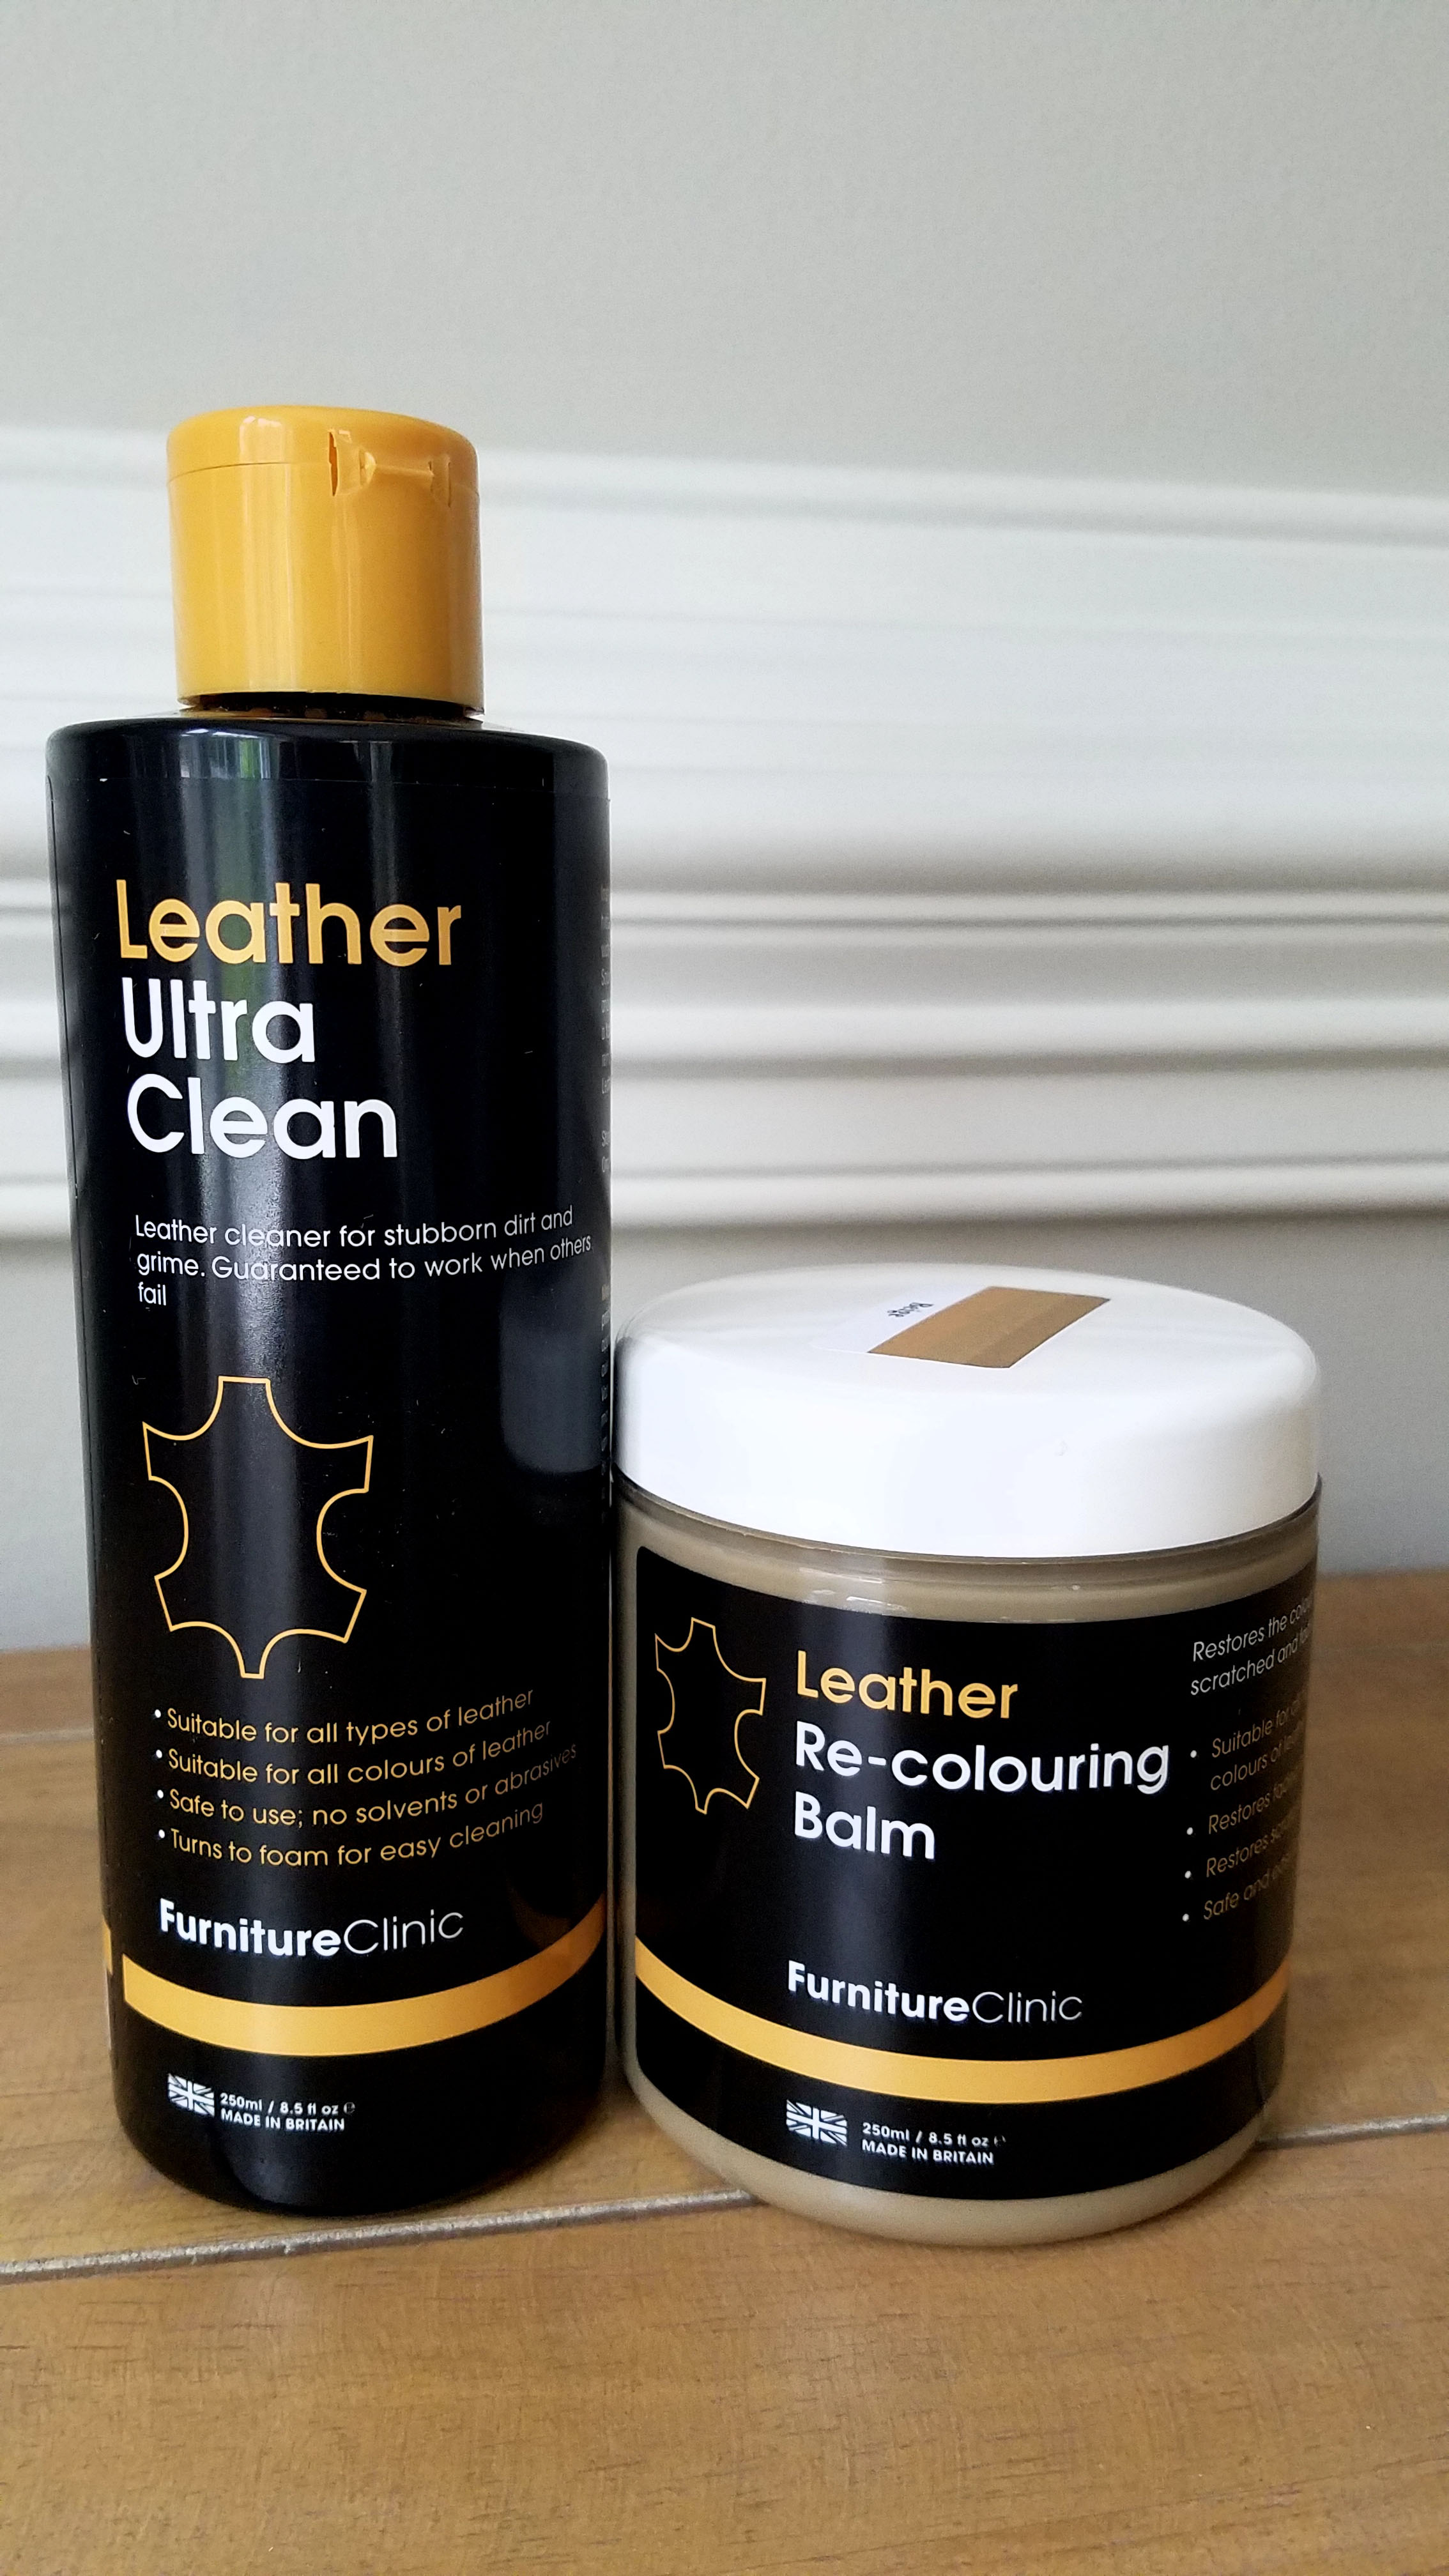
Staining leather? Yes. I figured leather was stained by manufacturers to gain its original color, so it must be the best thing I could do. I actually even considered using minwax wood stain or shoe polish, but then I stumbled across this:
I was intrigued. I figured it was a gamble worth taking. You use this balm to gradually stain back the leather colorization to the material. I did not really know what color the chairs were supposed to be, so I took a gamble on the camel color…..which ended up being wrong. Fortunately, this amazing company allowed me to order a second color free of charge. This time I nailed it with Medium Brown.
The interesting thing about the balm is that you can apply it in layers and it gradually richens in color. That was handy since some of the parts of the chair were more faded than others. It was simple to use. I also started with the leather cleaner to make sure that the leather would absorb the color properly.
Here were the steps. Pretty simple:
Test the leather for absorptive qualities (water drop on the chair and see if the leather pulls the water in. If you have a protective coating on the leather, then the balm cannot absorb)
Clean the leather and allow it to dry (took about 20 minutes)
Start rubbing in the balm. Think about polishing something. If you have ever applied a wax to furniture, it is a similar process.
Allow to dry and then repeat coats (it dries fast)
Clean the leather
Apply stain
Recruites! Even kids could do it
See the difference after a coat or two?
So my next fear was colorfastness. I just figured that the stain would transfer to clothing (and subsequently that I would have unhappy friends!). I let it dry for 24 hours and then I tested the chair by wiggling everywhere on it in a crisp white shirt (gutsy, right??) Guess what? NOT A MARK on my shirt! I could not believe it.
Now, let’s talk cons. This is not perfect. There are some areas that are a bit streaky and imperfect, but leather does sort of lend itself to imperfections. Also, when you consider the fact that the chairs would have been well over $1000 each to recover, I think I can handle my $40 dollar fix.
Are you ready for the fun part? I found out that the chairs were made in Hickory, NC. For those of you that are unfamiliar with that, High Point/Hickory NC and the surrounding area is one of the most high end furniture markets in the world. They manufacture some of the best made furniture you can find. I managed to find out that each of these chairs can still be ordered from Hickory…..to the tune of nearly $3000 per chair! My all in cost on these chairs was $340. I will take that.
I was now hooked. I started to think about shoes and purses in my closet and when I get around to it, I will likely stain those as well. The balm refreshes the leather and brings it back shining!
Also, for note, this tutorial is just from me. I was not paid or given anything by Furniture Clinic. When I was looking at the product, I was hoping that there would be an in depth review or blog post that had used it, but I could not find one. I figured I would post one to help out the next panicked craiglister!! This post does contain affiliate links to the products so you can find them and try them on your next project!
Are you going to try it? I think you should! It was fun and easy, and it really worked pretty well. That is NOT good news for Carl; it opens up waaaaaay too many more options on Criagslist!
We’ll talk soon!
- Casey
HAPPY THANKSGIVING
We are grateful for you!
From our home to yours, Happy Thanksgiving. We hope you can be with those you love. We appreciate each and every one of you!
“It’s not how much we give but how much love we put into giving. ”
With Love,
Casey
COMING SOON - HULL RD - Available 12/1/18
Don’t miss out on renting our Hull Rd. Haymount Home!
Hey everybody! Hope you are all enjoying our transition to fall - I love the brisk cool air and warm sun. I wish we could just hit pause and enjoy it until spring!
I was notified today that our client at Hull Rd. has received military orders to move elsewhere. We are sad to see them go because we have loved having them!
However, it DOES mean that our fabulous Hull Rd. Home is going to be available a bit sooner than we thought! If you or someone you know is looking to rent a home in Haymount, please contact us right away. We are going to be scheduling showings soon.
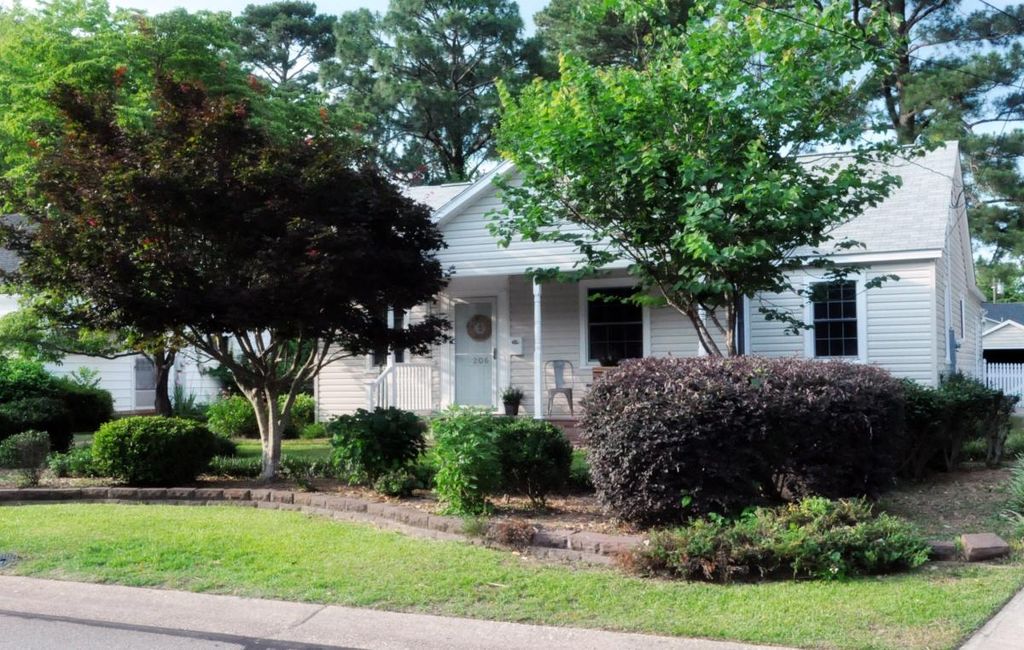
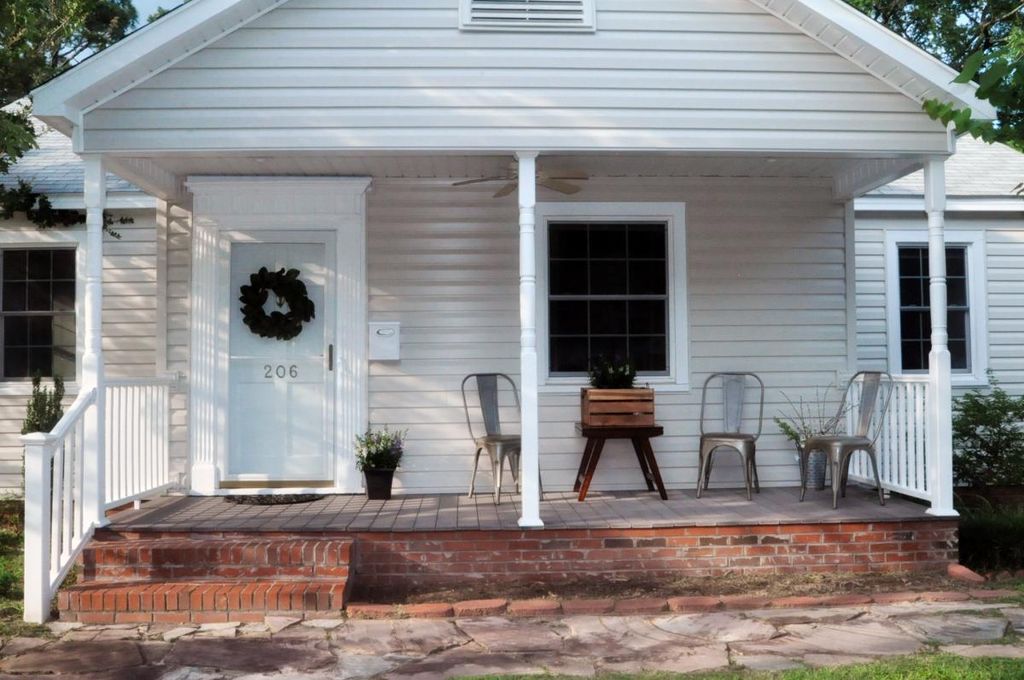
Here is an overview of the home, and you can access the information on our website here at Hull Rd. and also on zillow at 206 Hull Rd. Fayetteville, NC 28303. This home features great materials and designs, and we know you’ll adore it like we do!
Thanks for passing the word and let me know if you are interested or have any questions. I’d love to answer them for you!
All the best - enjoy this gorgeous fall!
- Casey
GLENVILLE AVE BECOMES A HOME
Our newest home is transformed!
Yippee! Our newest clients are happily settled into their new home and they are in love with Glenville; that is worth celebrating! I have to admit, it makes my heart happy to know that they are pleased with their decision to choose Glenville as their new home. I love the feeling of coming home to a place you love. These clients are amazing and did not waste a minute decorating. They were gracious enough to give me a peek when I popped in with my mom this weekend (only a week after they moved in); they had already made Glenville a beautiful home.
I had to snap some photos quick - their decorating style, which they termed “bohemian farmhouse”, is whimsical and fun; much too cute not to share. Everything seemed to fit perfectly in place. I had to snap a few photos to show off their great design. Forgive the quick photos taken with my phone - they don’t really do the space the justice it deserves :)
Enjoy this Glenville home tour! Make sure you get to the bottom of the photos to enjoy a smile - their very creative bathroom letter board sign!
Super cute, right? We continually have so much fun with our clients; they are all so creative and really enjoy dressing up their homes. Thank you to our Glenville crew for the amazing home tour and sneak peak! More renovation before and after photos coming soon!
“Coming home is one of the most beautiful things. ”
- Casey
BANANA CHOCOLATE CHIP BREAD RECIPE - OPTION FOR GLUTEN FREE
One of my most requested recipes and also works great gluten free!
Happy Sunday!
ummm…..sweet smelling banana chocolate chip bread…..ummm
There is nothing much better than the smell of warm bread in the oven. The tantalizing smell draws my sleepy kids from their bed, and even my groggy husband down earlier in the morning. The promise of warm yumminess is just too much to pass up in the morning.
After my co-worker asked me for this recipe, I realized that I am often asked for many of my favorite recipes. I thought it might be fun to start posting some of them on the blog. That way I have a quick reference for the recipes and even more people can enjoy them!
Now many of you that know me well, know that I am very health conscious. That is true. I am by no means going to mascarade around pretending that this banana chocolate chip bread is good for you! However, with that said, I also believe that treats are fun and even sometimes important in helping balance the world of health. There is something wonderfully celebratory about a treat, and I am a firm believer that we can all participate in that - even if it’s only a bite.
This bread is wonderfully versatile. I adapted it from a zucchini bread recipe that I love (maybe I will post that another time) and I think the results are fabulous. We are mostly gluten free at our home, and this bread works beautifully with that option as well. Annika, my oldest daughter, tends to prefer this before school, so I have even added protein powder to it for some “holding power” and improved health benefit (without detection from my family so shhhhhhh).
Let’s talk about the nutmeg. Originally, I was not a nutmeg fan, but once I discovered fresh nutmeg, my thoughts were changed. I actually discovered fresh nutmeg at a restaurant that had included it in a pasta recipe. It gave it just a little enhancement of flavor that was lovely and distinct. I find that fresh nutmeg is much more subtle than pre-ground nutmeg. I use my awesome microplane zester to add just a bit to the recipe and it makes a big difference. You can find those here:
As far as the chocolate chips, you can adjust them to tolerance. This recipe was actually supposed to have more sugar in the original version, but since bananas and the chocolate chips are naturally sweet, I reduced the sugar. I try to minimize the additional sugar with the chocolate chips, but of course, you can always add more if you enjoy it a bit more chocolaty. Also, I use mini chocolate chips because they are lighter and suspend in the batter better; they don’t all sink to the bottom. If I am feeling artsy, I will sprinkle a few more on the top of the batter before it hits the oven.
I hope you enjoy this recipe. We love it and bake it often. Give me your feedback and let me know how it turned out for you. I hope it becomes a staple treat in your home!
Banana Chocolate Chip Bread (Makes 2 full loaves)
3 cups flour (regular or gluten free blend)
1 1/2 cups sugar
3 eggs
1 cup oil
5 ripening bananas
1 tsp vanilla
1 tsp cinnamon
1 tsp baking soda
1/4 tsp baking powder
1 tsp salt
Freshly ground nutmeg (about five or six runs with the zester)
Chocolate chips to taste (about 1/2 cup for us)
Combine bananas, eggs, sugar, and oil. Beat well. Combine the dry ingredients and then mix into the wet batter. Prepare two greased loaf pans and add batter. Bake at 350 degrees for about an hour, checking with a toothpick to make sure it come out dry from the center of the bread. Allow to cool 10 minutes in the pans and then remove. For improved stability and less crumbles, try to resist cutting it until it has cooled a bit more…..but good luck :)
“Nothing says home like the smell of baking”
Did you try it? I’d love to know!
Casey
GLENVILLE RENOVATIONS - THE KITCHEN
How to maximize the space of your galley kitchen
Welcome to the kitchen renovation for Glenville!
This kitchen was a pretty big mess. We had a fuse box from 1941 complete with cylindrical circuits that I had never seen before, a water heater in the corner (typical of this era of home to have the water heater in the kitchen because it is next to the plumbing), and plenty of outdated everything. This kitchen lacked appliances and the layout was awkward. The floor doesn’t look that bad in the photos, but it was sheet vinyl and it had holes throughout. Long story short, this kitchen needed help!
We also wanted to work to optimize the space, so we decided to move this layout to a galley style kitchen. Sometimes galley kitchens can feel tight, so we made decisions that would help reduce that feeling and still make the kitchen functional. More on that throughout the post.
The nuts and bolts to work on:
Trim and Wall Repair
Floor Replacement
Cabinets and Countertops
Door Fixing
Removal of debris
Appliances
Relocation of the Water Heater (it was in the kitchen - we moved it to open up space in the kitchen for cabinets; this is typical of the 1940’s homes)
Replaced all windows
Replaced sheet vinyl flooring in the laundry room with luxury vinyl tile
Ceiling repair and paint
Light Fixture replacement
New sink and faucet
Relocation of the sink for improved layout
Addition of a dishwasher
Gas conversion
Wiring Update and removal of outdated panel box
Paint, paint, and paint!
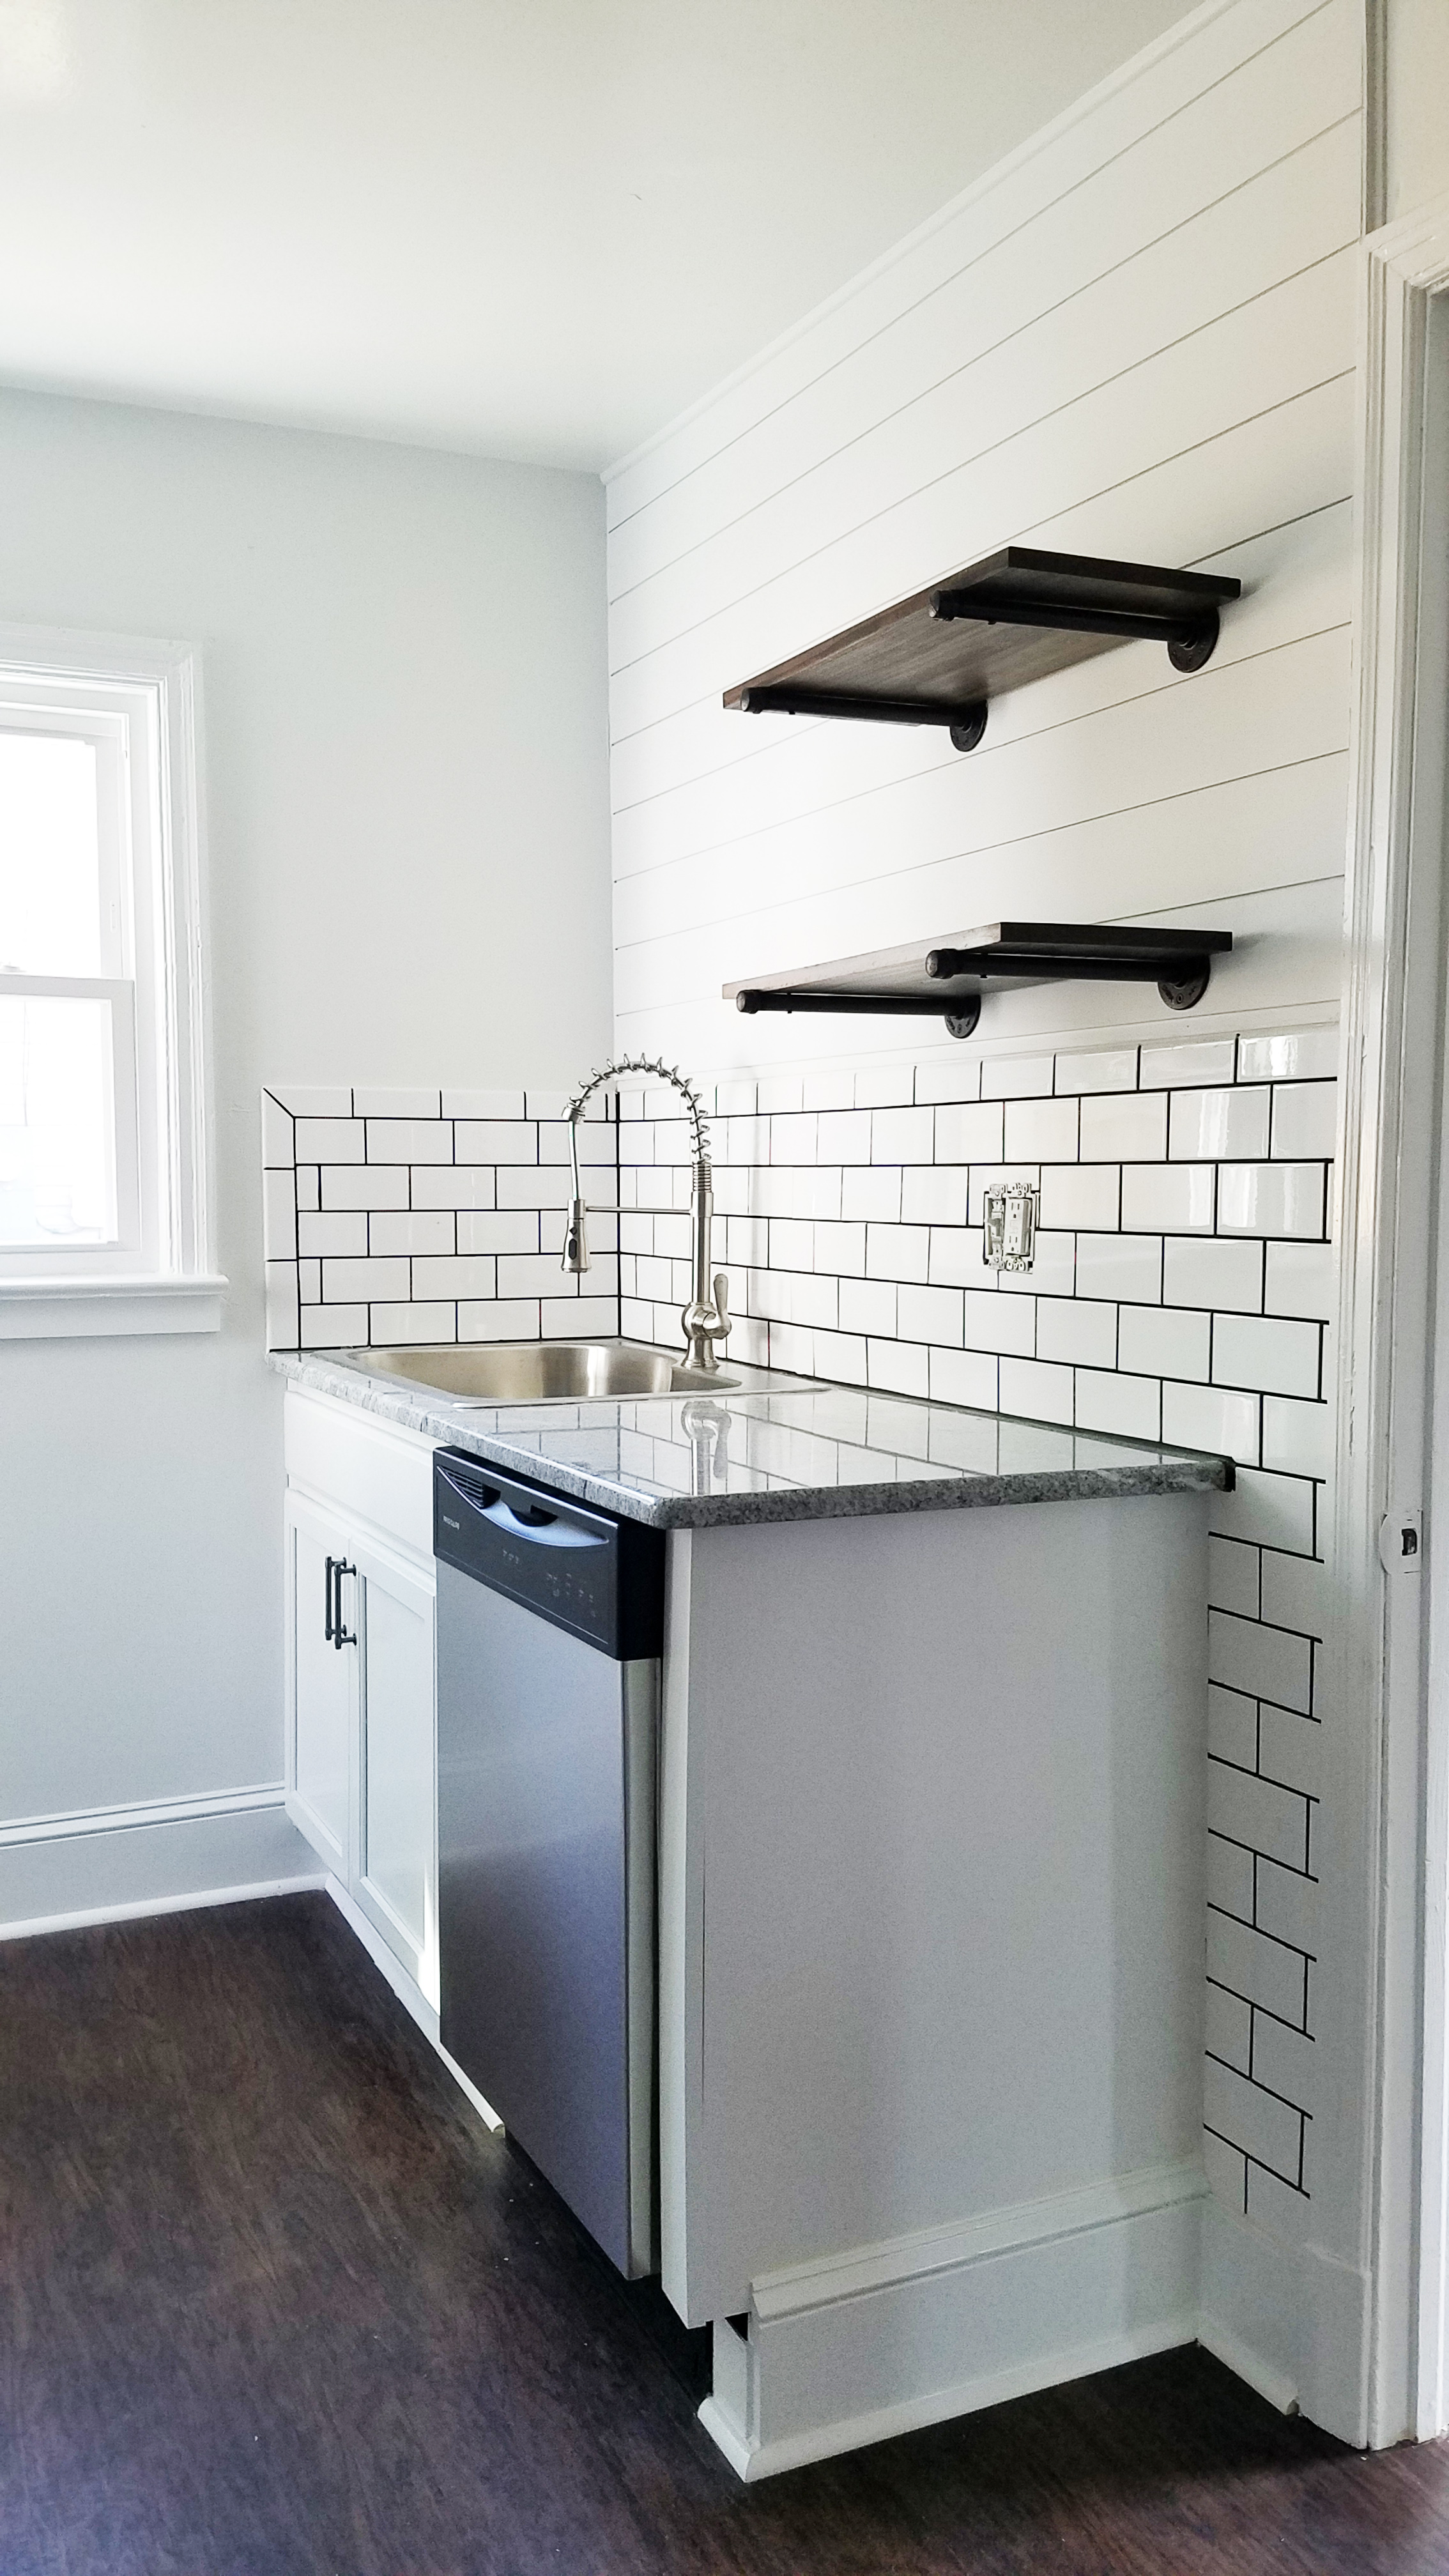
The final product was clean and simple. We used Sherwin Williams Extra White in eggshell which is one of my favorite crisp whites . It is pretty neutral white and doesn’t read as warm yellow or too cool. Also, it looked good against the subway tile from Home Depot. The trim is nearly Sherwin Williams Extra White in a semi-gloss. The kitchen flooring is by Shaw Matrix in Franklin Hickory.
There are a lot of repair work that had to happen first, as well as plenty of problems to solve. Once we got things removed it became a game of how to repair all the different holes in the wall. Our contractor had to get pretty creative with some of the repairs as old plaster walls are not as easy to work with as sheetrock!
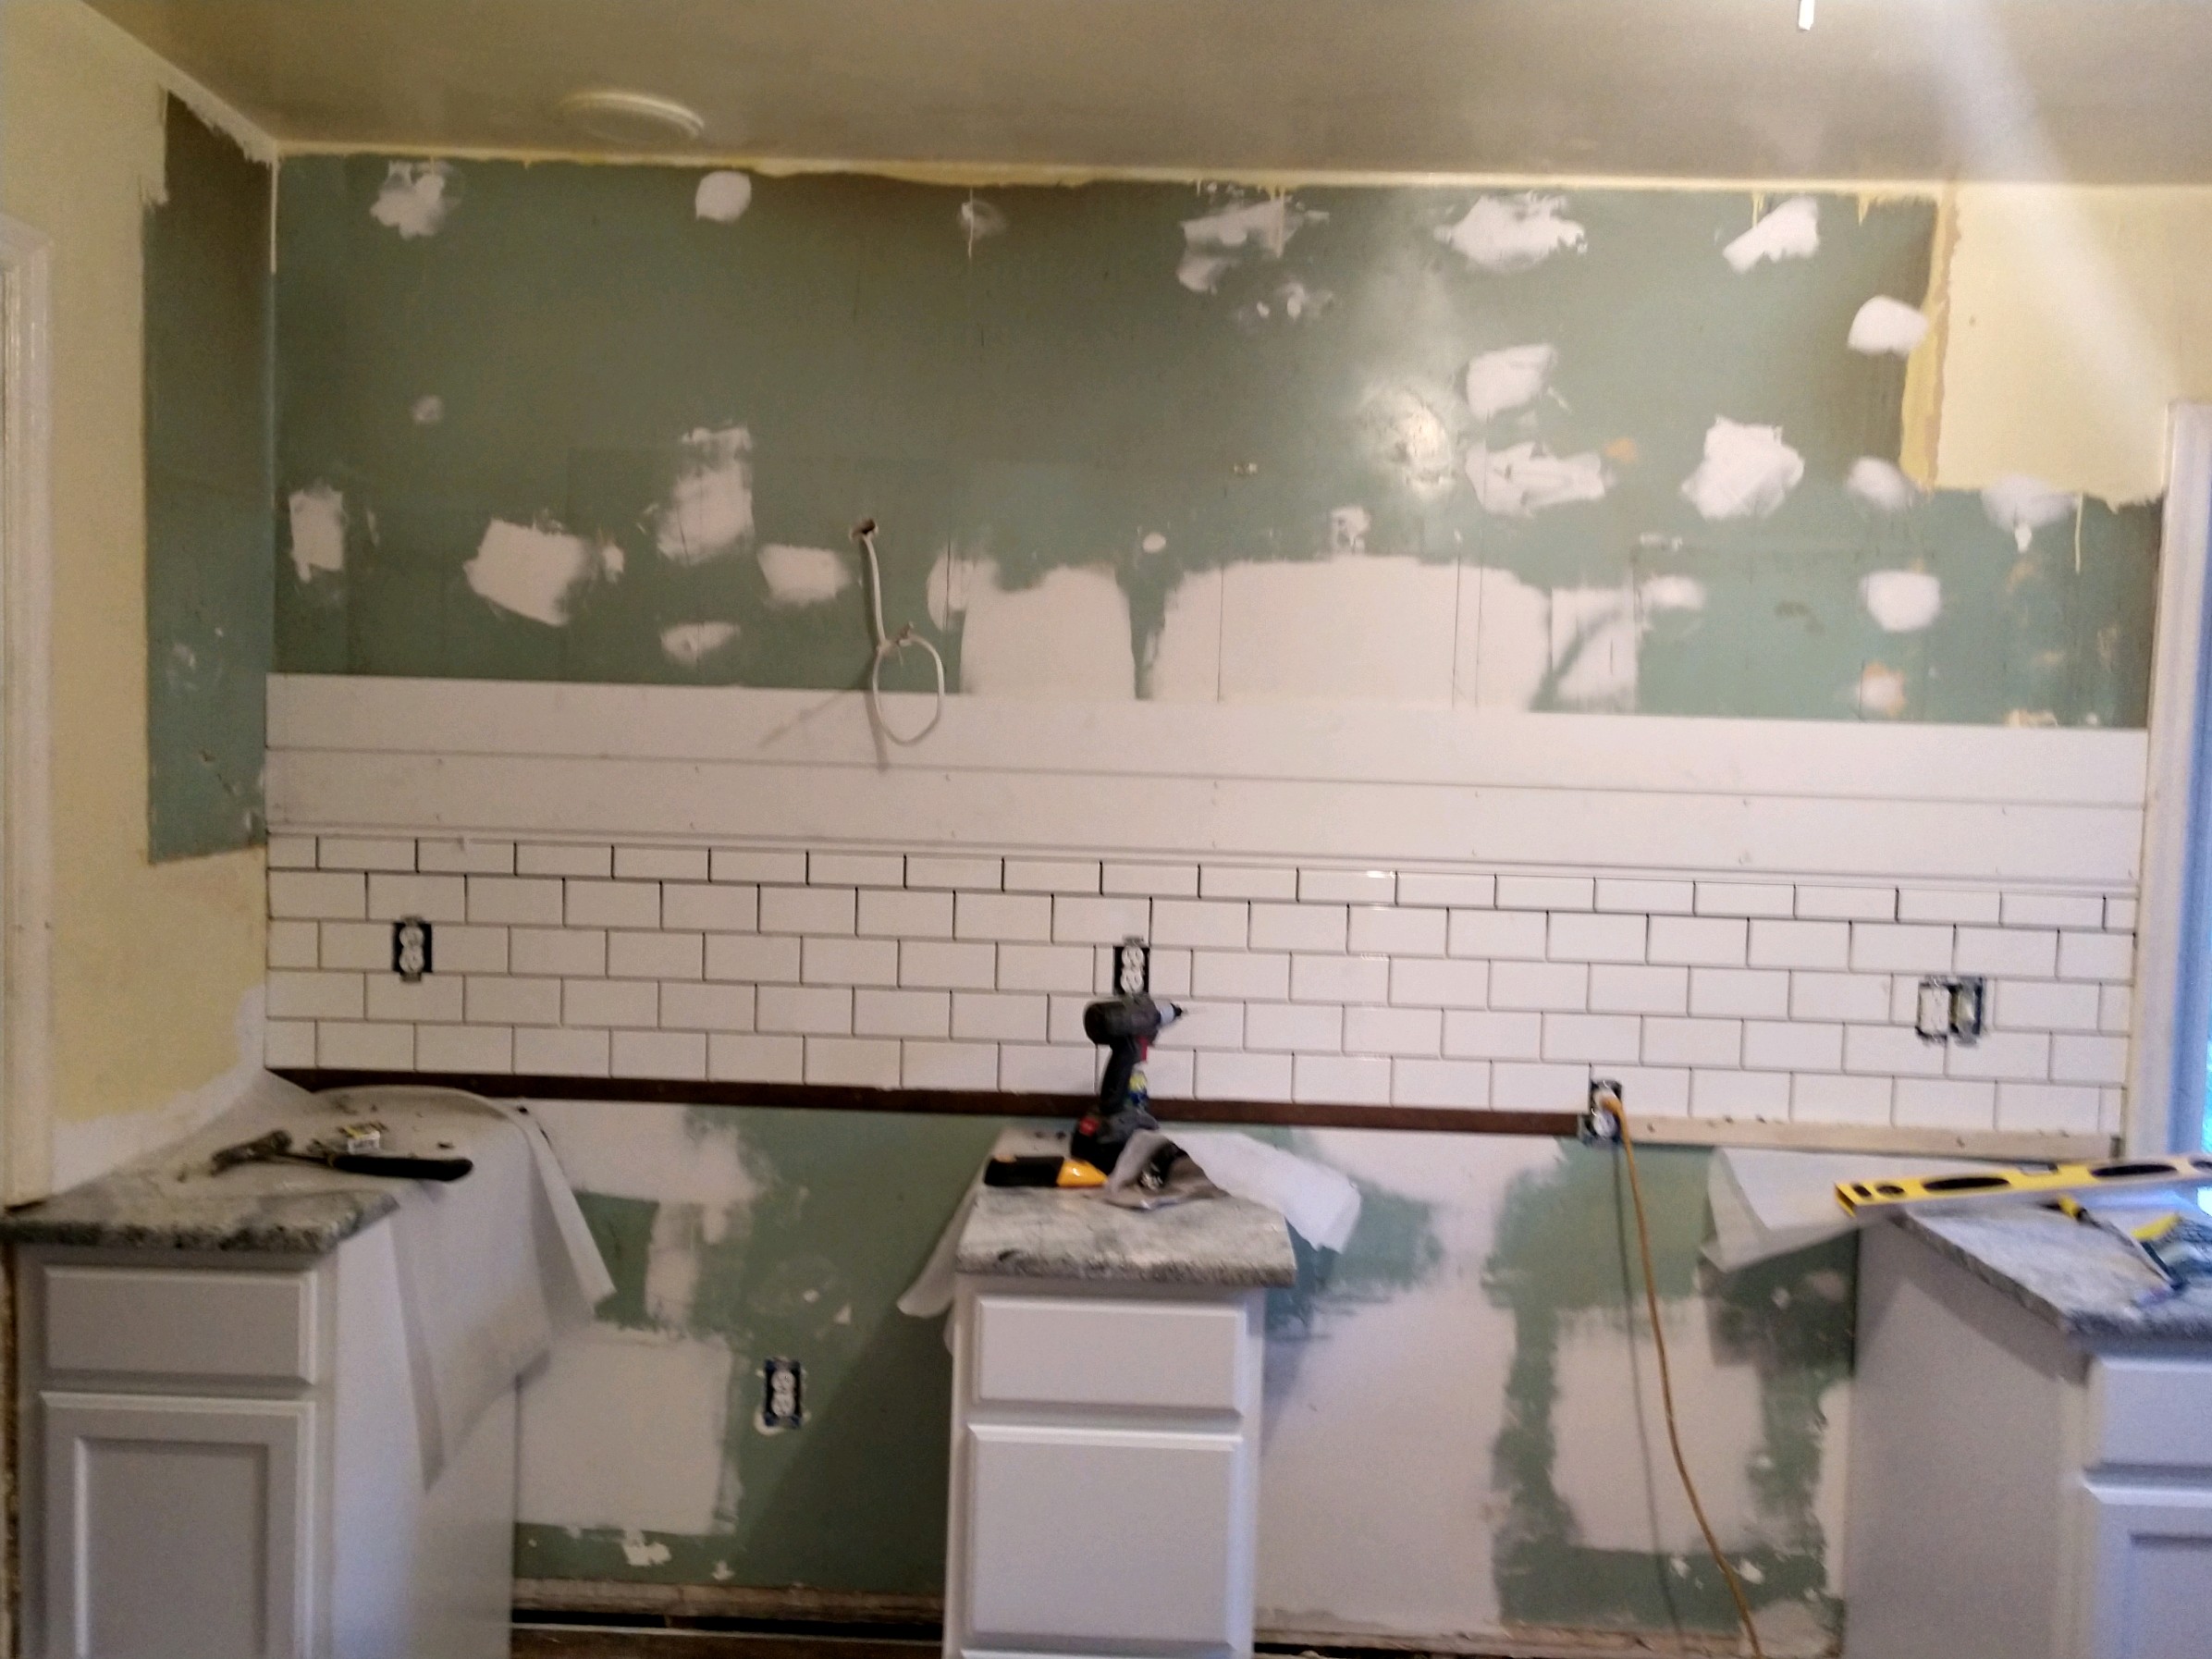
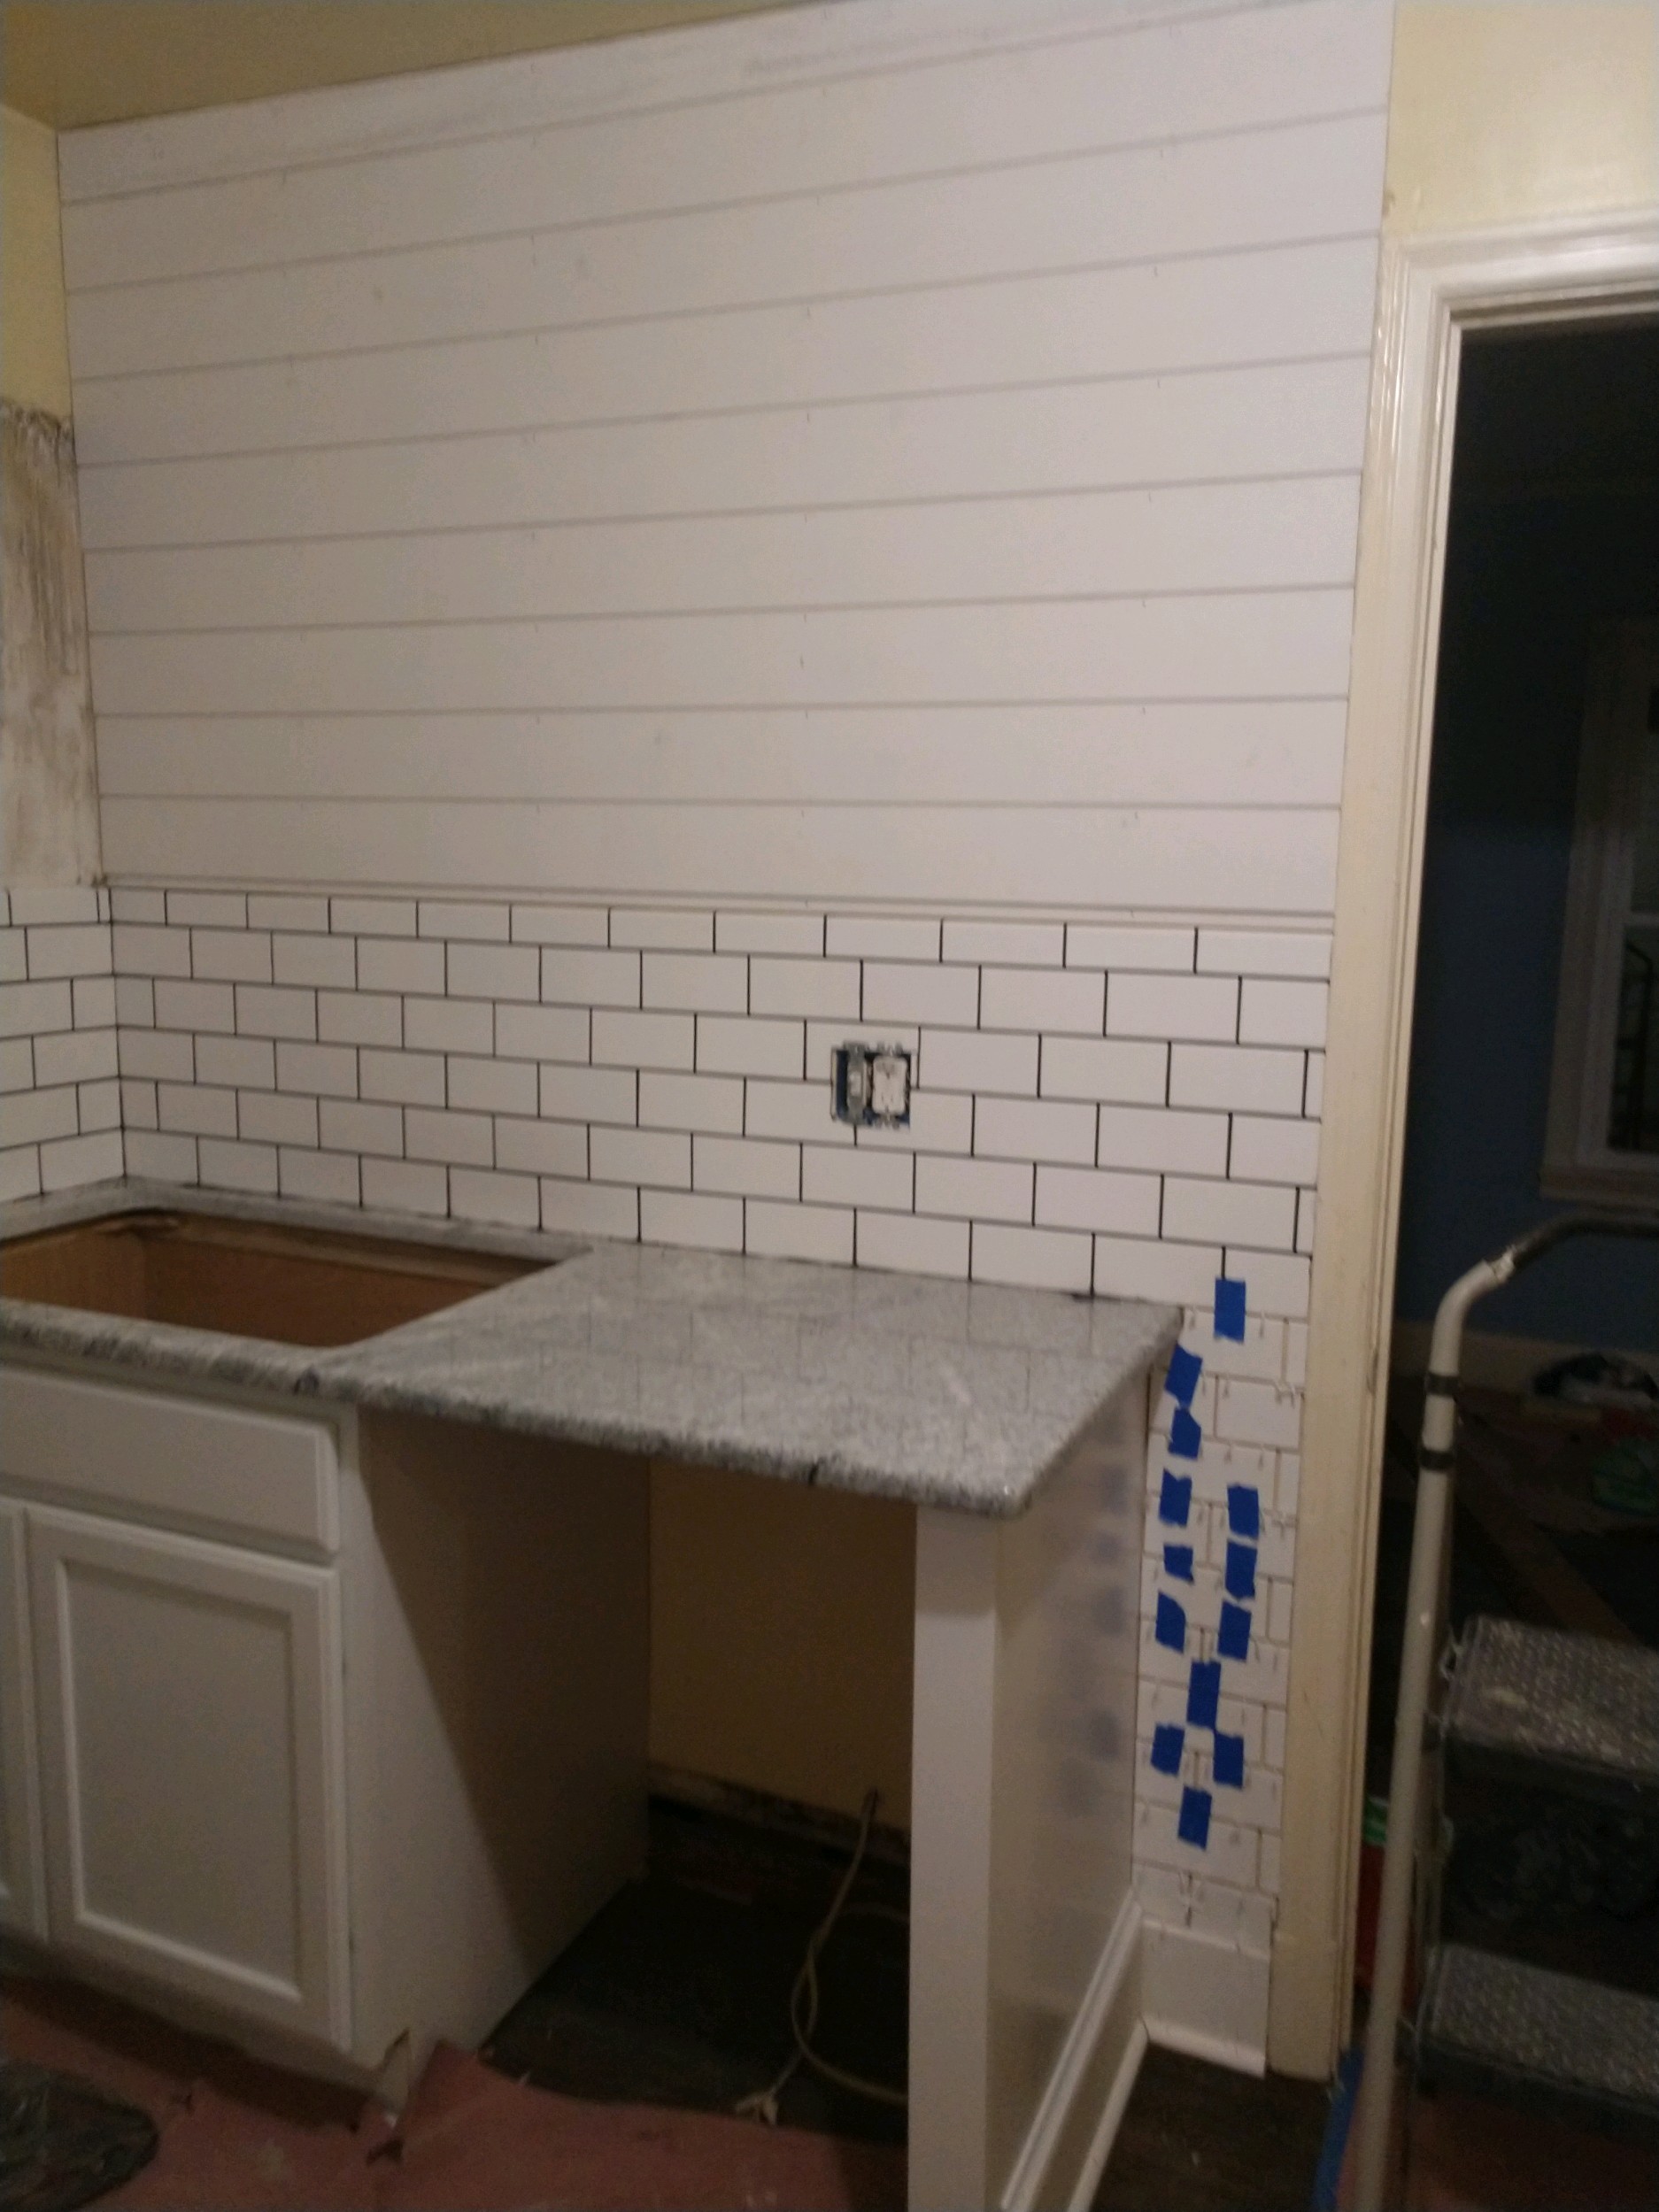
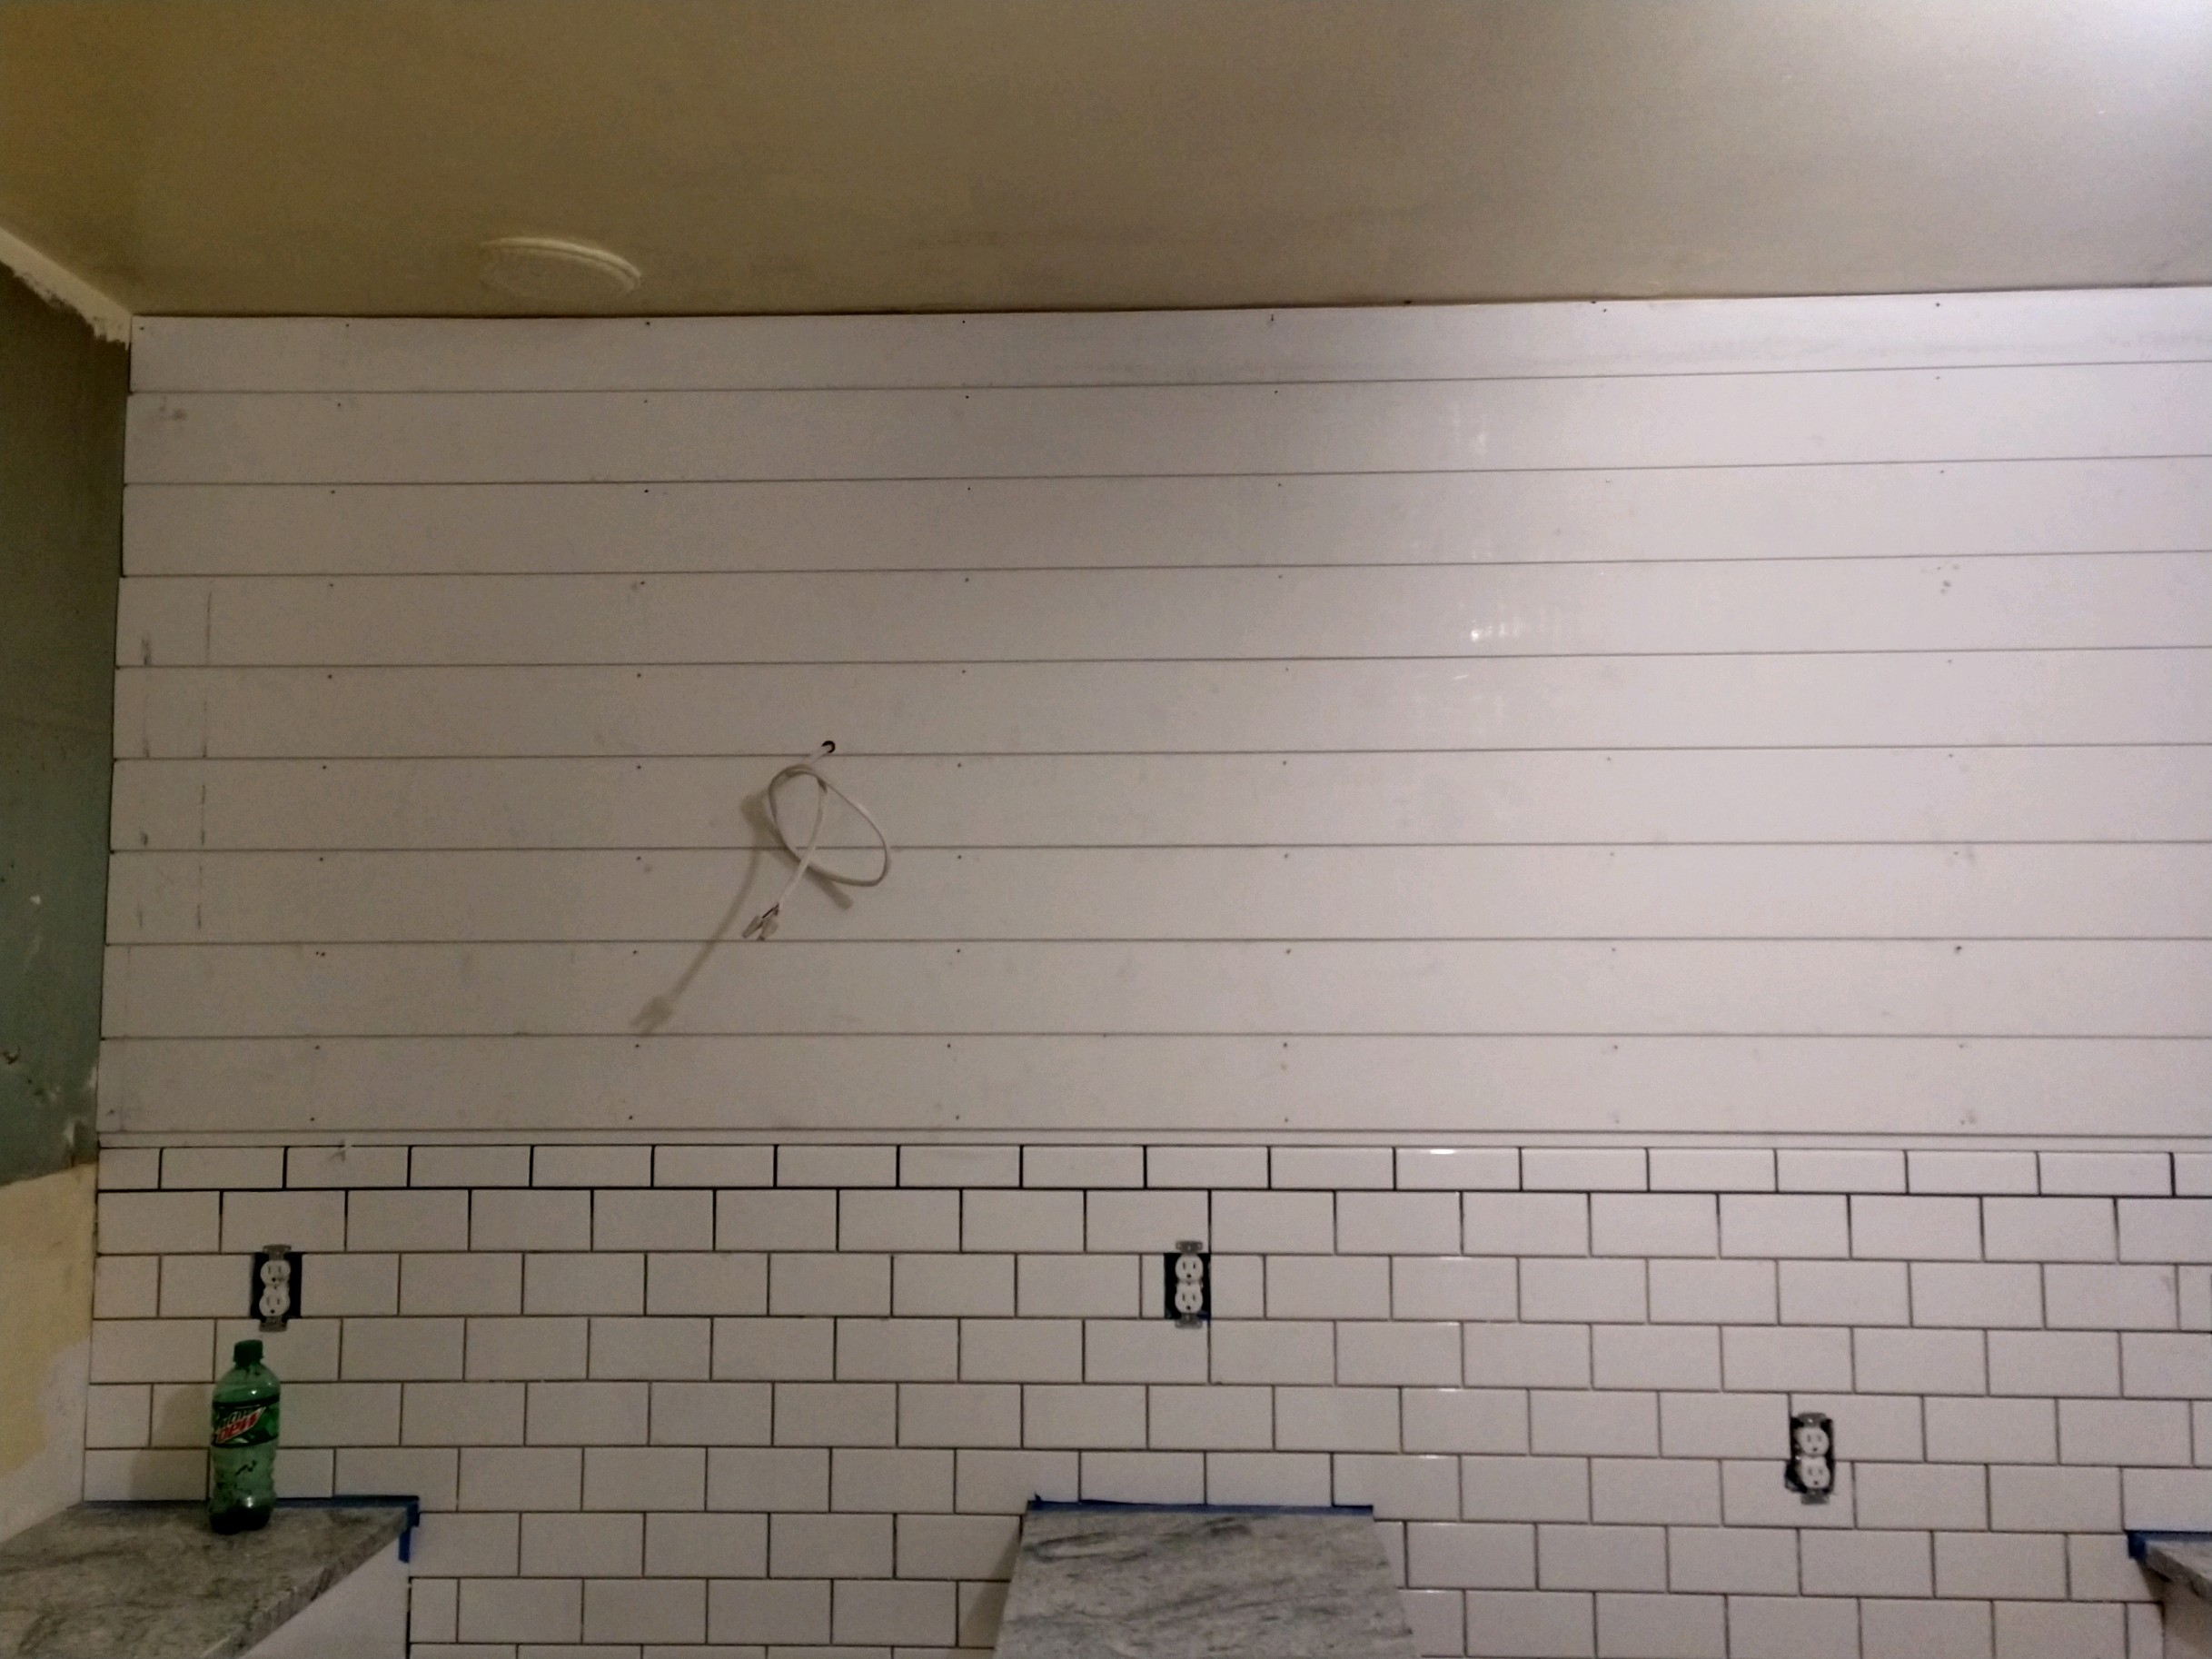
We debated doing a wall of subway tile as the backsplash, simply because we love the vintage look of that. However, we had already done so much tile in the bathroom, we felt that it might be time to add some visual and textural interest in the kitchen. Thus, we went with the shiplap and subway tile combination; we think that the end result was great. We chose Charcoal grout to really accentuate the subway tile and provide contrast to the shiplap. The shiplap was painted in Sherwin Williams Extra White and we used Primed Pine Nickel Gap Ship Lap Board from Home Depot. The subway tile we chose was also from Home Depot and it was by Daltile in Finesse Bright White.
The photo tour that follows does pretty much walk you through the process. If you have questions about anything specific, please ask!
The new flooring has gone in and the sink and base cabinet were removed. That exposed a giant hole in the wall!
Once the backer board was removed from the other wall, we had a wall with scattered holes throughout! Surprise lol :(
An ancient fuse box was present and had to be shut off and removed.
Walls repaired and cabinets arrived!
Granite counters for beauty, texture, and durability.
We ended up subway tiling to the floor simply because the finished product looks better and is more durable. This does cost more but the quality in the final product is worth the additional cost in our opinion.
To optimize space in a galley kitchen, we chose a counter depth refrigerator. Again, this typically does increase the cost of the appliance, but the end result is more floor space to work with and a more seamless presentation for the kitchen. In our opinion, money well spent.
The vent hood was a lovely addition to this kitchen. It brought it up a notch and also helped break up the shiplap wall behind it. Our electrician was pleased with the ease of install and it had a self venting option, meaning you did not have to vent it to the attic and out of the house. That is a win for time and money.
We chose the 30 in. Convertible Wall Mount Range Hood in Stainless Steel with Aluminum Mesh Filters LED lights, Push Button Control and the self venting filters: Range Hood Carbon/Charcoal Filters for Ductless/Ventless Recirculating Installation and Replacement
Another way we improved the functionality of the space is that we added overhang to the countertop granite. Giving the counter an extra 1.5” inch of space off the cabinet, gives just a bit more counter space in an already tight galley kitchen. Even better, it did not cost anything extra since you already buy the granite for the square footage of the project. It is a marginal change and doesn’t increase the cost.
This kitchen is small, and that allowed us additional savings on the granite. We were able to choose a remnant piece of stone since we did not have a great deal of counter space. This saved us on the cost per square foot. Finally, we also paid in cash, which gave us an additional discount. All we did was ask if they could discount it further for cash, and they were able to because it saved them the credit card processing fees. In a renovation, any little savings helps!
Speaking of savings, let’s talk hardware. We have found Amazon to be an excellent source for cabinet hardware. They offer great savings, even compared to Lowes or Home Depot. We chose Heirloom Silver Francisco Kitchen by Franklin Brass for hardware because we’d used it at the Pearl House and we loved the result.
You can find that here:
Like those open shelves? We did too. Another space saving idea in a galley kitchen is open shelving. When you block in every available surface with cabinets, the end result is very tight. Choosing open shelving does cause some level of sacrifice with space, but it is usually worth pairing down what we actually do use and need in a kitchen to have the space feel better. While you can fashion your own pipe brackets and have pieces cut at the store to save you some money over a premade it, the savings were very small and the additional time invested simply was not worth it. We recommend the kit as time is money! They even have different length pipe available.
You can find the shelf brackets here:
We used poplar wood to create the shelves and the brackets were another find on Amazon. They did not arrive with a protective coating and our contractor insisted we coat them to protect them from rust, as they were so close to the sink. We had liked the finish they arrived in, but we agreed long term wear was more important. He won that battle!
Another great area that Amazon can help is with fixture purchases. The faucet and sink were both Amazon purchases. It is a little risky to buy something without personally seeing it, but sometimes the payoff is worth it. The first faucet we bought, however, did not work and had to be returned. That was not a fun delay and our plumber was less than thrilled after installing a dud. The next one ended up being even better and the sink was amazing!
You can find the faucet here:
You can also find the sink here:
We chose simple lighting for the kitchen as there was a lot going on in a small space. This caged flush mount was a great little piece and is available at Lowes. You can find it here: allen + roth 8.4-in W Antique Nickel Metal Semi-Flush Mount Light
All in all, we think the kitchen turned out great! We love the functionality of it and the fact that we were able to optimize the space for a galley kitchen. We’d love to hear your thoughts. What did we get right? What should we have done instead?
Thanks for looking! More renovations to come!
Casey
CAROLINA STRONG - COMMUNITY IN ACTION
Facing Hurricane Florence Together
It’s no secret that I love my neighborhood and Fayetteville. During this time of challenge, that love continues to be reinforced. We have heard from all our dear clients and they are weathering the storm safely. Some have sustained some minor damage to their home, but it is all repairable. I love the old homes that protect us. Their near 100 year old walls were built with purpose, intention and protection.
I appreciate our contractors, electricians and plumbers who have already contacted me to ensure things will be repaired. I love that our community is reaching out, supporting one another and offering support. I see neighbors brushing debris from gutters, sheltering those without power, offering their homes to evacuated families. No one wants to be in a disaster, but it is amazing the strength that arrives when one hits. Even my cousin in Charlotte crowned her barricade with an American Flag. We can face anything.
Our prayers are with our friends to the east as they try to regain our beautiful beaches and shorelines. Our prayers continue for those here in Fayetteville affected by the rising waters. I pray your anxiety will be relieved and your lives will be safe. If you need assistance, please do not hesitate to reach out to us. We will be here for you.
Please continue to pray for the Carolinas and all affected by Hurricane Florence. To those that have already traveled miles to assist us, we extend our gratitude. Please continue to support your own communities. Together we are stronger.
Casey
GLENVILLE RENOVATIONS - LIVING ROOM AND LAUNDRY
Before and after photos of the living room and laundry room
So with the approaching hurricane, I am looking for a distraction. I figured I would start highlighting some of the renovation before and after photos from our Glenville Ave Project. I never did complete that with Hull Rd (our last project), and I had regretted it. I did not want to make that mistake again!
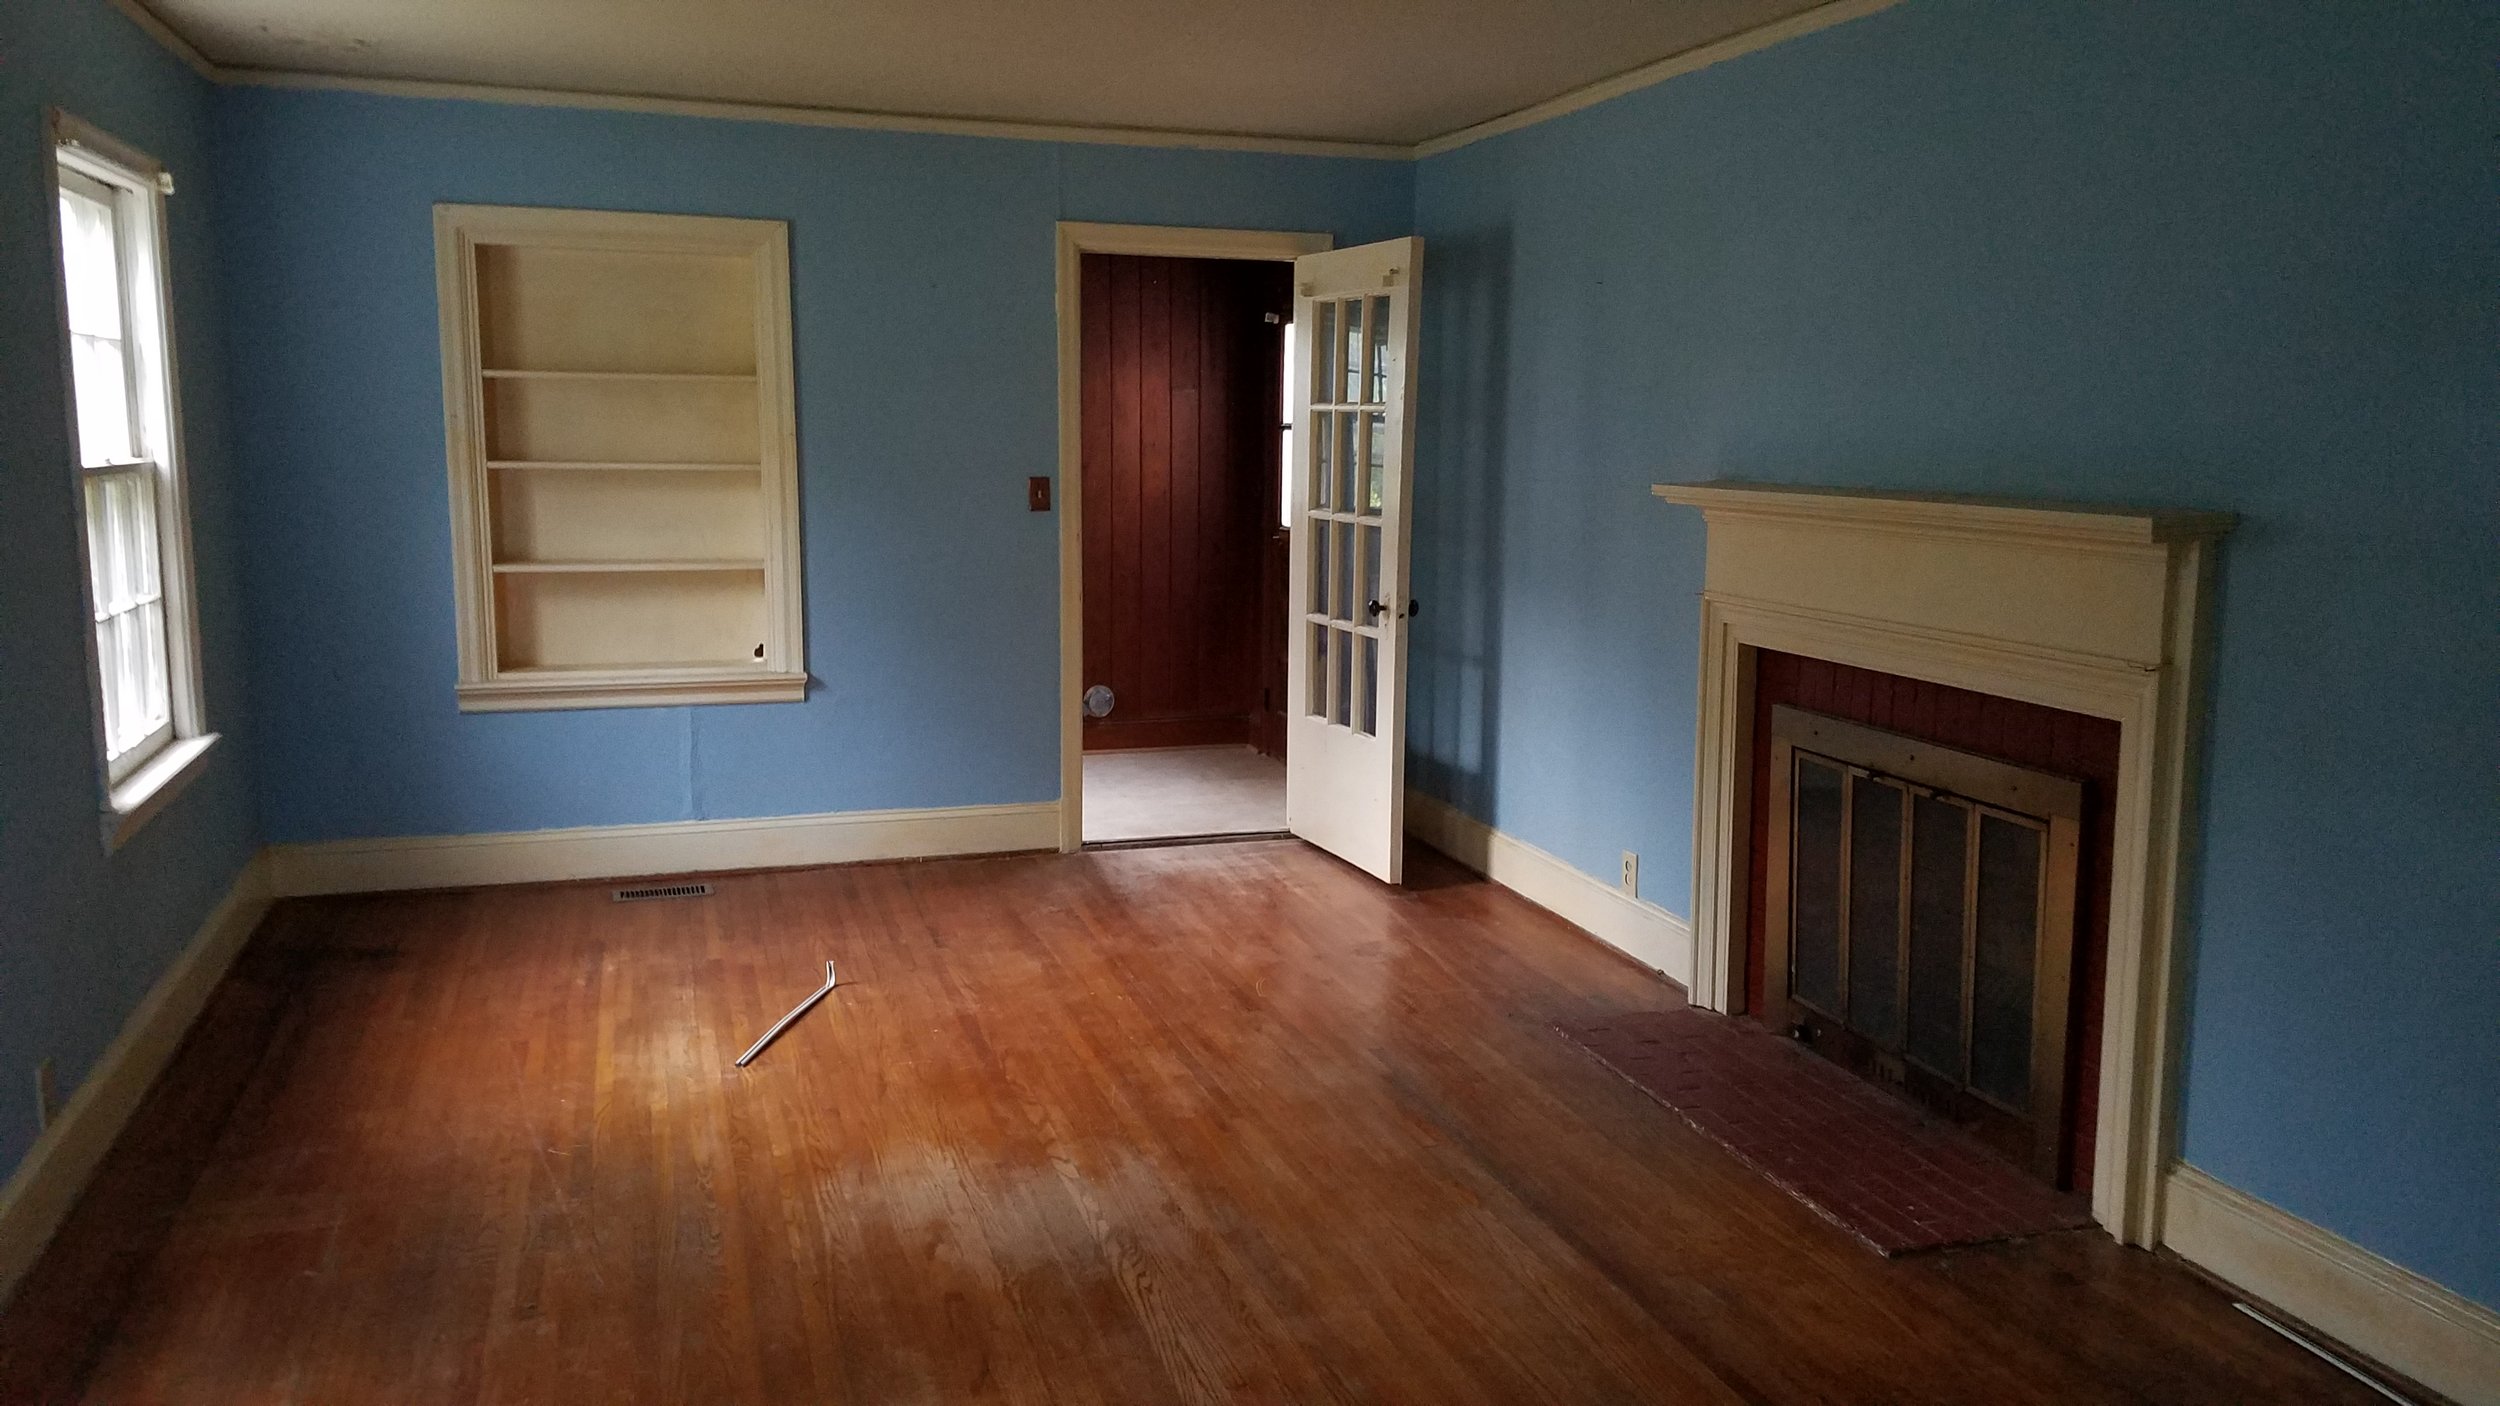
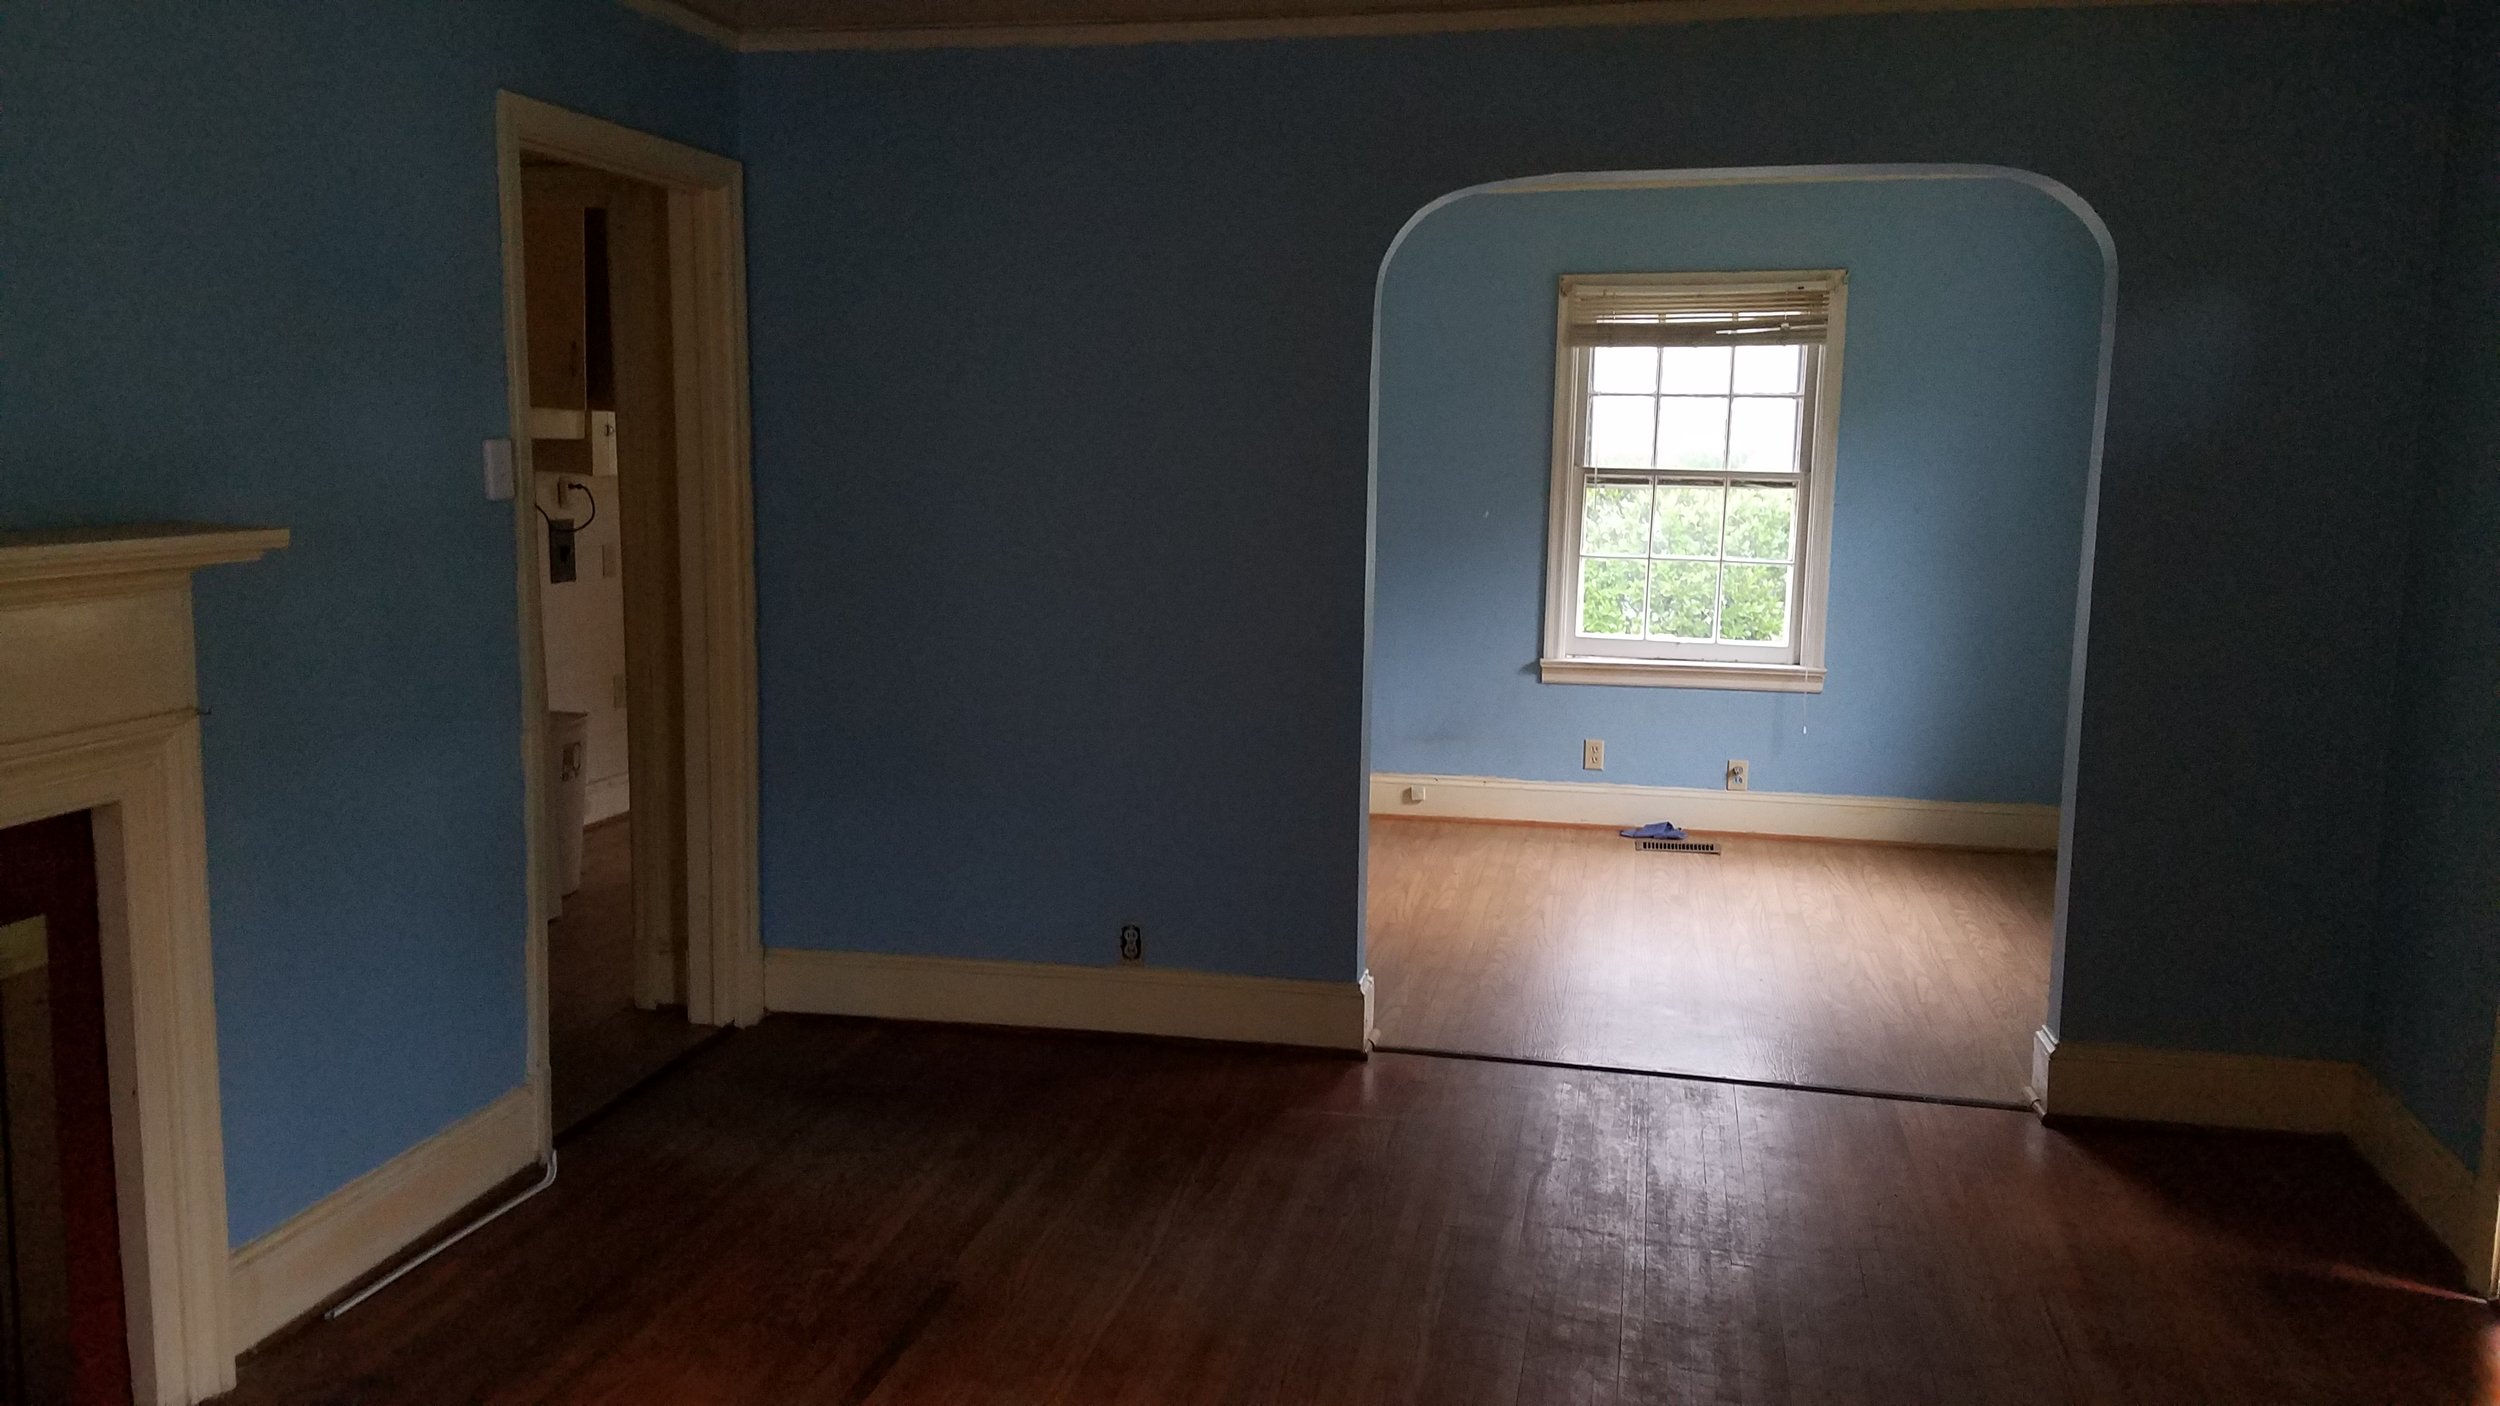
We had a lot to work on with Glenville. The house was built in 1941 and had gone through minimal updates. We began with the living room and laundry. There was a lot to do including:
Trim and Wall Repair
Floor Refinshing
Bookcase repair
Door Fixing
Removal of debris
Fireplace insert removal
Relocation of the Water Heater (it was in the kitchen - we moved it to open up space in the kitchen for cabinets; this is typical of the 1940’s homes)
Replaced all windows
Replaced sheet vinyl flooring in the laundry room with luxury vinyl tile
Ceiling repair and paint
Paint, paint, and paint!
The final product was clean and simple. We used Sherwin Williams Agreeable Gray in eggshell which is one of my favorite greiges/grays . it has enough warmth in it to be cozy, but not so much that it turns something beige. The trim is nearly Sherwin Williams Extra White in a semi-gloss. The laundry room flooring is by Shaw Matrix in Franklin Hickory.
I will talk about the floor staining in another post, so for now, enjoy the befores and afters!
I hope you enjoyed the before and afters of the living room! Stay tuned for the rest of the series! Stay safe during the hurricane please!
Casey
INTRODUCING GLENVILLE AVE - OUR NEWEST HAYMOUNT HOME
Welcome to the home tour of our newest Haymount Home!
We are delighted to announce the completion (or near completion anyway) of the newest Haymount Home: Glenville Ave. This 1941 beauty features 2 bedrooms and 1 one bathroom and is on a wonderful street in the heart of Haymount.
This project was a shotgun renovation, featuring top to bottom renovations throughout, and it was completed in less than 8 weeks. We discovered this home and realized that it needed to be brought back to its full potential and could not wait to get moving on making it shine!
Please enjoy this home tour. Forgive the fact that everything was not perfectly cleaned up (floors still need cleaning and there are a few little things missing like the smoke detectors that are not in and a few missing outlet covers :) They will be finalized this week. There is also a shed that is still under construction and will be renovated as well. Our focus was on the house for now. Don't worry - over the next few weeks we will be featuring a bunch of blog posts with before and after photos for your enjoyment.
Normally we stage all our homes to highlight their beautiful potential, but we were not able to do that for Glenville....because we already have clients moving in! They contacted us prior to finishing the renovations and fell in love with Glenville. We could not turn them away and they promised to decorate it beautifully and let us come back for pictures; we are excited to see how they make it their home!
We welcome your feedback on Glenville. Please drop us a line and let us know your thoughts. What did we get right? What did we miss? Though Glenville was rented before it even hit the market, there is good news in store: we start our next project at the end of the month, so stay tuned!
“House + Love = HOME”
Hope you enjoyed our tour! Drop me a line and let me know what you think! Have a great week!
- Casey and Carl
LITTLE RED RIDING HOOD BIRTHDAY PARTY
Ideas galore for your a fabulous woodland party!
Happy Sunday!
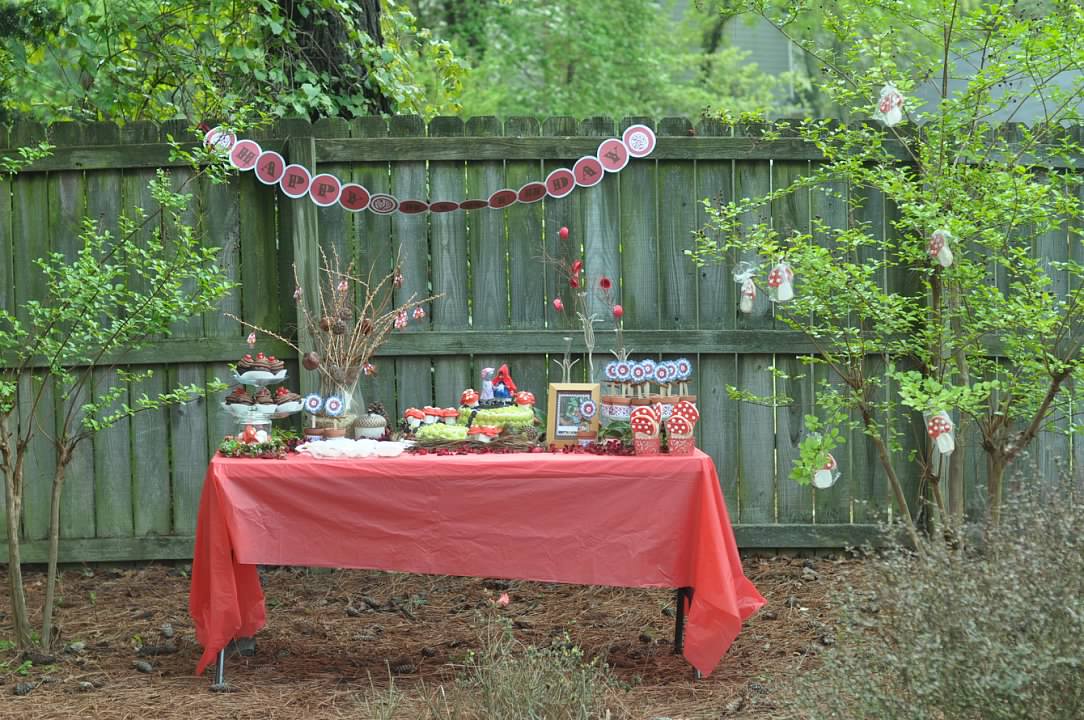
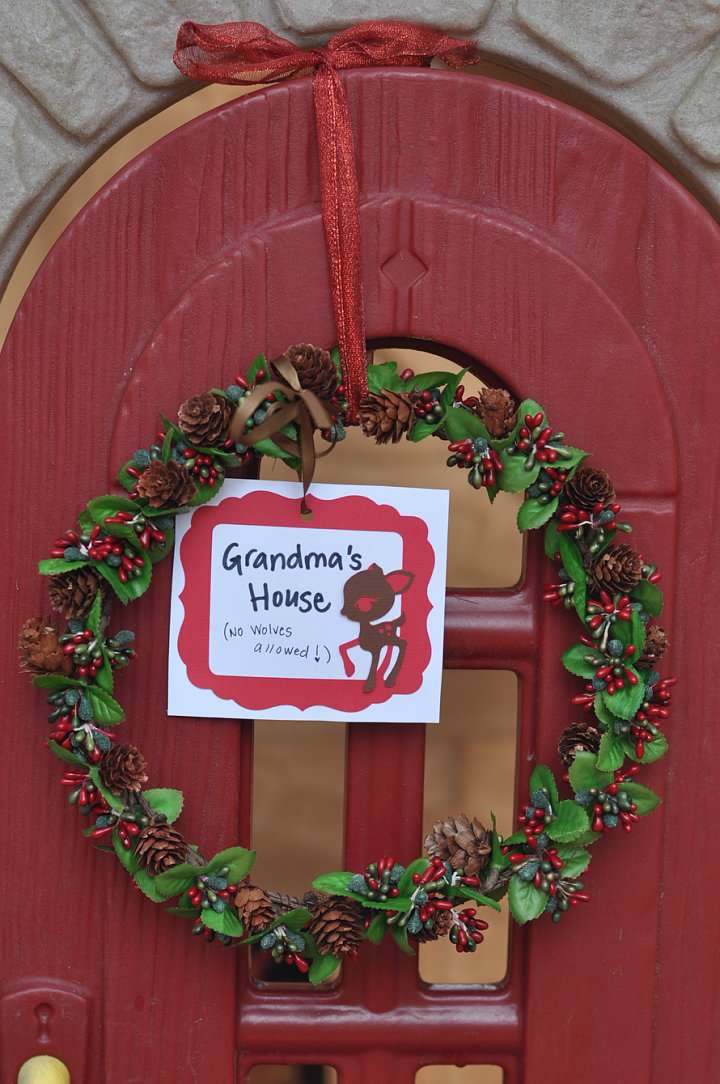
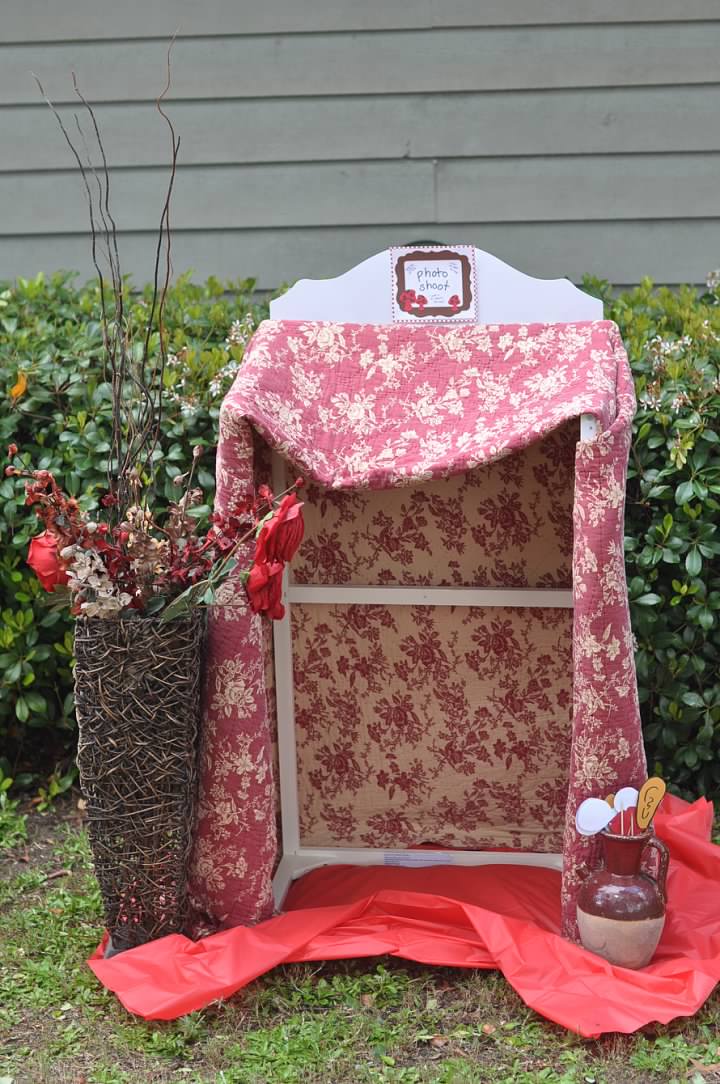
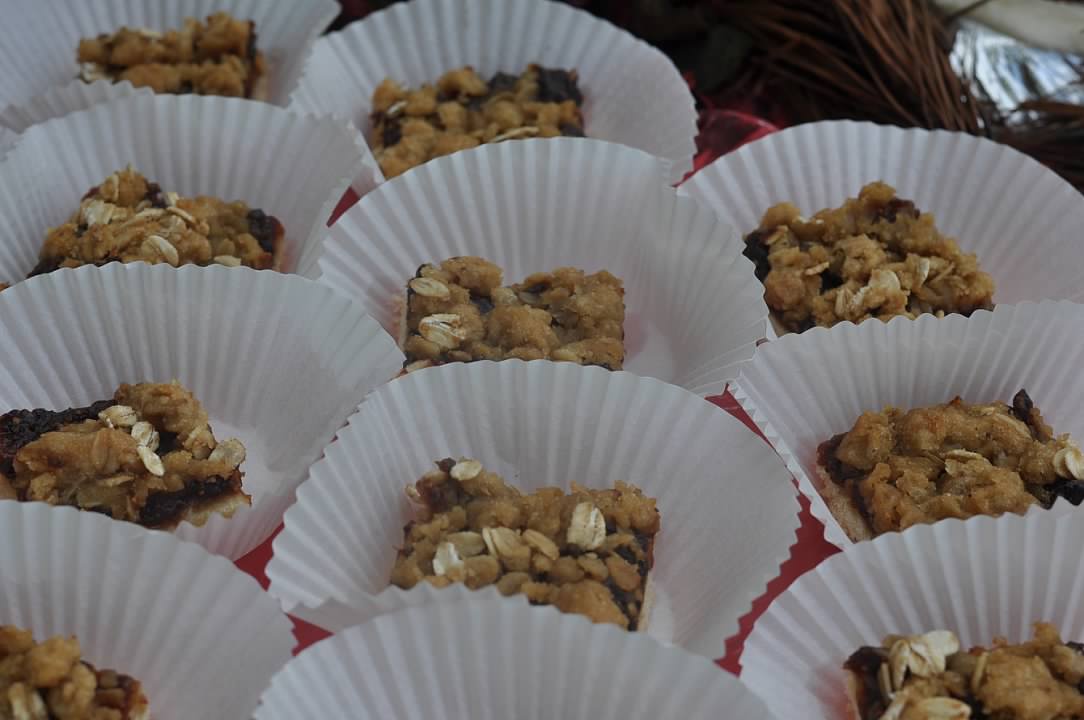
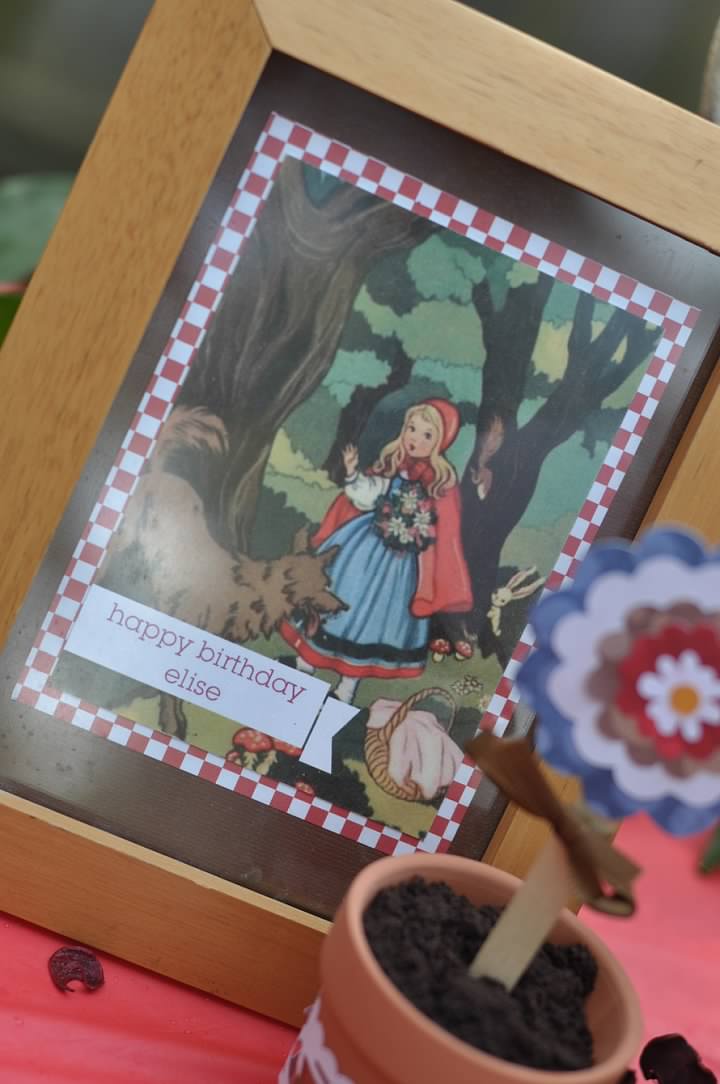
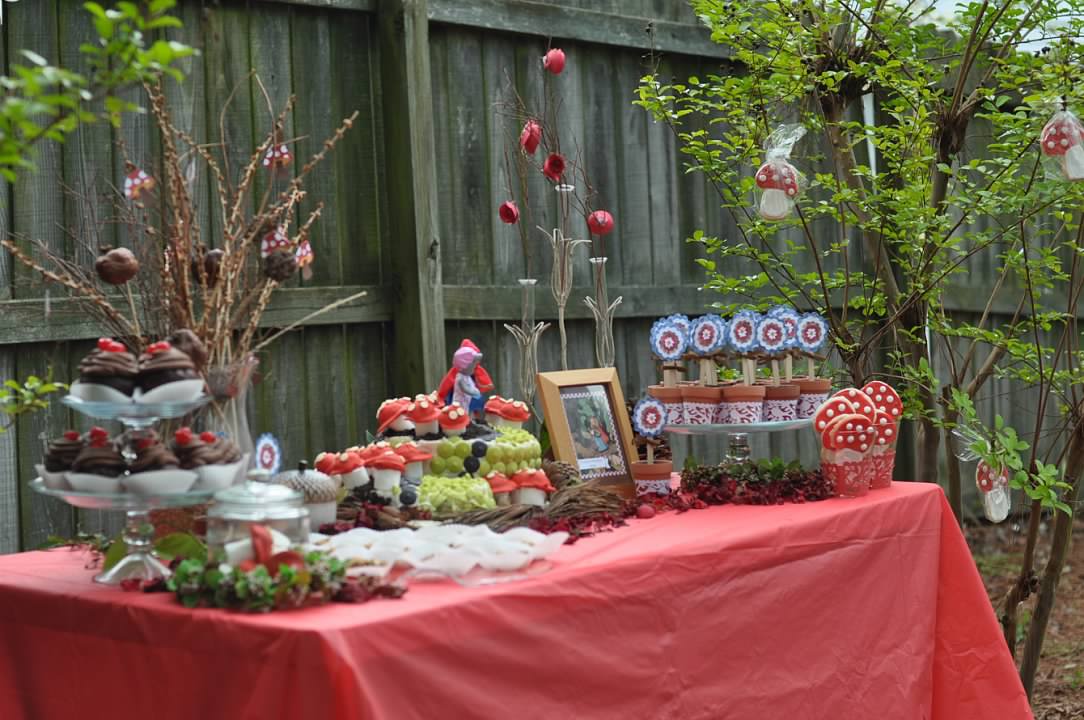
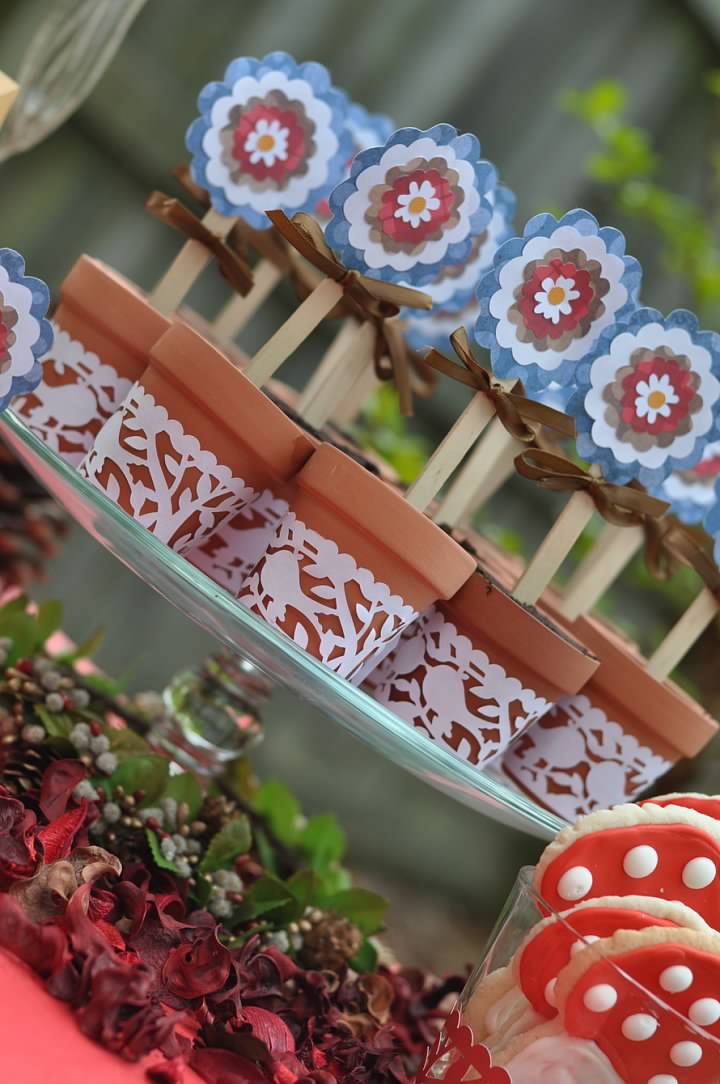
This morning I awoke coming to terms with the end of summer and reflecting on the more "lazy days of summer" (can you tell school and all the schedule chaos has started?). While daydreaming, I was fondly remembering the summer picnic baskets from Elise's 4th Birthday Party. She wanted to have a Little Red Riding Hood party and we loved the idea. Armed with a lot of ideas and fun styles, we created a fun little backyard party for her friends. My amazing Mom sewed costumes for the kids and they got to play games of chase, trying to get to Grandmother's house without losing the contents of their basket....or being caught by a wolf!
I remember it rained up until an hour before the party that day. It was a mad dash to get everything up and ready, but it added to the race theme! The food was so fun and the kids had a great time. Enjoy this fun photo montage of the day and hopefully you can get some ideas for your next party. I did not spend time editing the photos, so please ignore the imperfections and focus on the fun.
“Into the woods she went, basket in hand and wearing a little red riding hood.”
Hope you enjoyed the photos; have a great Sunday!
- Casey
